
Building a custom gun cabinet solves the problem of cramped commercial storage that often damages firearms. You gain full control over spacing, security features, and aesthetic design to perfectly match your collection.
This guide details every step required to build a durable unit using professional woodworking techniques. You will learn proper material selection, precise joinery methods, and how to install ventilation systems that prevent rust.
Plan Dimensions and Spacing for Your Firearms
Defining the purpose of your cabinet dictates every cut you make. You must account for your longest firearm to ensure safe storage without awkward angles or damage to barrels.
Calculate Internal Height Requirements
Start by measuring your longest gun, such as a shotgun with a 32-inch barrel. Your internal cabinet height should be at least 53 inches to allow clearance for the rack and safe handling. This extra space prevents the muzzle from touching the cabinet floor or top.
Optimize Width for Easy Access
A width of 48 inches fits standard plywood sheets and accommodates 10 to 12 long guns comfortably. Allocate 3.5 inches per rifle or shotgun to prevent contact between stocks and barrels. This spacing rule ensures you can grab one firearm without disturbing the others.
Design Shelving for Accessories
Include shelves with 12-inch depths to fit two or three ammo boxes side by side. Allow one foot of vertical clearance per shelf layer for accessories like cleaning kits or optics. Proper spacing keeps your gear organized and easily accessible during use.
Select Durable Materials for Long-Term Security
Your choice of wood determines the lifespan and appearance of your finished project. High-quality materials resist warping and provide a solid foundation for heavy firearms.
Choose the Right Wood Species
- White Oak: Ideal for face frames and doors due to its wear-resistant grain.
- Birch Plywood: Perfect for the main cabinet box because it is stable and void-free.
- SPF Lumber: Use 2x4s for the base and legs to provide strong structural support.
- MDF or Pine: Suitable for budget frames but requires thick finish to hide grain.
Avoid particleboard entirely as it swells with moisture and fails to hold screws over time.
Install Polycarbonate Display Panels
Never use standard glass for gun cabinet doors due to breakage risks. Polycarbonate sheets are 250 times stronger than tempered glass while remaining crystal clear. Cut this material with a fine-tooth table saw blade or score it deeply with a plastic knife before snapping.
Gather Essential Hardware Components
- Concealed European hinges allow full door removal and precise adjustment.
- Cam locks with tube bolts secure double doors effectively.
- Sticky-back felt protects gun stocks and metal from scratches.
- Edge banding hides raw plywood edges on visible surfaces.
- Titebond III glue provides a waterproof bond for critical joints.
Gather Precision Tools for Construction
You do not need a massive shop, but specific tools ensure your cabinet looks like fine furniture rather than a simple box.
Essential Power Tools for Cutting
- Table saw: Rips panels and cuts dados, rabbets, and tenons accurately.
- Router and table: Shapes gun racks and rounds edges for a smooth finish.
- Miter saw: Cuts angled legs and trim pieces with precision.
- Biscuit joiner: Aligns wide panels using number 20 biscuits.
- Band saw or jigsaw: Cuts curves in legs or notches for gun rests.
Hand Tools and Assembly Aids
- Clamps: Use at least six bar or pipe clamps for glue-ups.
- Corner clamping jigs: Keep the box square during assembly.
- Hinge jig: Mortises hinges perfectly for flush door alignment.
- Templates: Make scrap plywood jigs for repeatable cuts.
Construct the Cabinet Box with Rabbet Joints
The box serves as the foundation, so it must be square, strong, and free of raw edges.
Cut and Join Side Panels
Use rabbet joints at the corners by cutting a three-quarter inch groove on the edge of each side panel. This creates a flush, rigid joint that accepts the top and bottom pieces seamlessly. Cut rabbets on a double-width sheet first, then rip it into two panels to ensure perfect alignment.
Glue all joints with waterproof adhesive and clamp them using corner jigs. Reinforce the structure with one and a half inch wood screws that are countersunk below the surface.
Pro Tip: If a nail bends while driving, do not pull it out. Bend the shaft back and forth with pliers to snap the head off below the surface to prevent splitting the wood.
Install Shelves and Back Panel
Cut three-quarter inch dados into the side panels to house fixed shelves and the back panel. This technique hides raw edges and significantly strengthens the overall structure.
Use three-quarter inch oak plywood for small cabinets to maximize rigidity. For larger boxes, split the back panel into two pieces where the top rests on a rabbet and the bottom fits into a shelf dado. This method hides the seam from the interior view.
Build Elevated Base and Angled Legs
Elevating your cabinet improves airflow and prevents moisture damage from the floor.
Fabricate Angled Legs
Create a template from scrap plywood to ensure consistent curves on your legs. Cut one curve on the band saw, rotate the piece 90 degrees, and cut the second curve. Use a chamfer bit to soften sharp edges before running the legs through a jointer to flatten and square them.
Assemble the Base Frame
Build a sturdy frame using SPF 2x4s and attach 2×2 legs so they extend four inches below the trim. Overlap the lower trim over the cabinet base to add strength. Fasten everything with wood glue and screws, adding dowels if the contact surface area is large enough.
Fabricate the Gun Rack with Precision

This component requires exact spacing to prevent scratches and ensure smooth retrieval of your firearms.
Calculate and Mark Spacing
Allow 3.5 inches per long gun to prevent contact. For a 48-inch shelf, you can fit up to 13 rifles comfortably. Mark centerlines every 3.5 inches so each rest straddles the line perfectly.
Cut and Smooth Rest Notches
- Drill holes between 1 and 1/8 inches to 2 inches along the centerlines depending on barrel diameter.
- Use a jigsaw or band saw to connect adjacent holes into U-shaped notches.
- Round all edges with a spindle sander and an E8 roundover bit.
- Sand the surface smooth to prevent snagging on metal or wood finishes.
Install the Rack Securely
Position the rack three-quarters of an inch above the cabinet floor for proper clearance. Apply sticky-back felt to the front face to protect gun stocks. Secure the rack from behind with wood glue and screws, ensuring no sharp edges contact your firearms.
Build and Hang Double Doors
Double doors offer better access than single heavy doors and look more like fine furniture.
Frame the Doors with Mortise and Tenon
Cut a quarter inch groove on the inner edges of stiles and rails to hold the panel. Cut three-eighths inch tenons on rail ends using a table saw with a spacer block. Dry fit the frame first, then glue and clamp it while inserting the polycarbonate panel before attaching the final rail.
Hang with Concealed Hinges
Use European-style concealed hinges for their adjustability in three directions. These hinges allow full door removal for maintenance and require mortising. Use a hinge jig to create perfect, repeatable cuts for a flush fit.
Add Locking Mechanisms
Install a cam lock on one door and a tube-and-bolt receiver on the other. When turned, the bolt slides into the tube to secure both doors tightly. Consider adding a secondary magnetic latch or a deadbolt for high-value collections.
Integrate Lighting and Ventilation Features
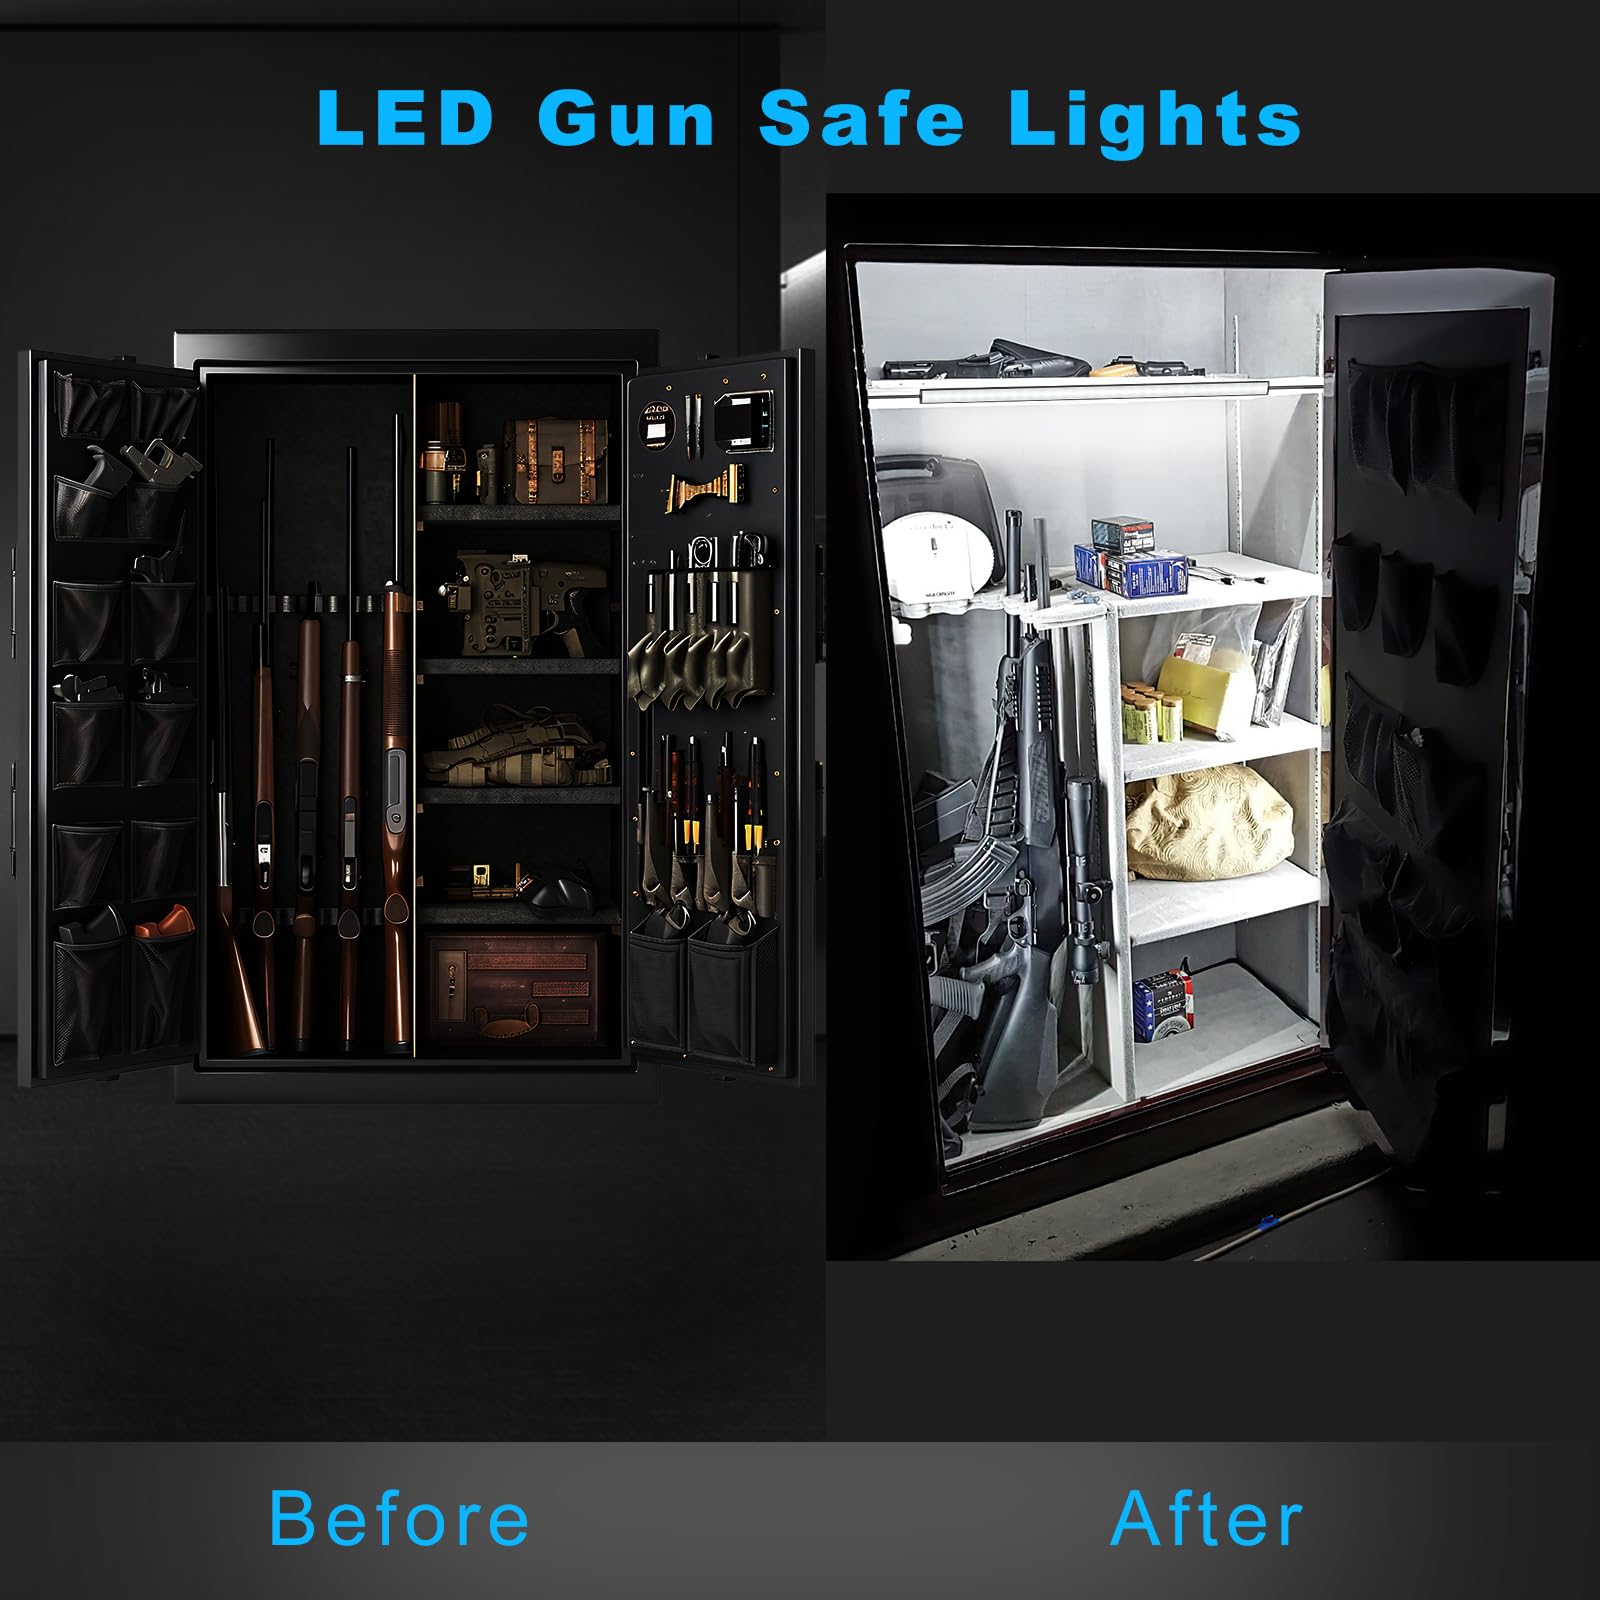
Proper ventilation prevents rust, while lighting transforms your cabinet into a display piece.
Wire for Interior Lights
Replace an existing outlet with an outlet-switch combo to power your cabinet. Run wire through the wall cavity to the top of the cabinet and install LED strip lights along the top edge. Hire a licensed electrician if you are uncomfortable working with household wiring.
Ensure Proper Airflow
Sealed cabinets trap moisture, so install a vented back panel with quarter inch holes spaced every six inches. Use felt-lined shelves to reduce condensation contact and place silica gel packs inside for humidity control.
Finish for Beauty and Durability
A great finish protects the wood and highlights its natural character.
Sand and Prep Surfaces
Sand progressively from 120 to 320 grit for a smooth surface. Wipe with a tack cloth before staining and fill minor voids with a custom paste made of wood glue and sanding dust.
Apply Stain and Topcoat
Use walnut gel stain for even color on porous woods like oak. Wipe it on, let it sit for five to ten minutes, and wipe off the excess. Apply three coats of shellac with a foam pad for depth, or finish with semi-gloss polyurethane for high-traffic areas.
Secure and Maintain Your Gun Cabinet
Regular maintenance ensures your cabinet remains safe and functional for years.
Anchor and Lock Properly
Built-in cabinets are inherently secure when fastened to wall studs. Freestanding units should be anchored to the floor or wall to prevent tipping. Use high-quality locks and test their operation monthly by lubricating hinges with dry graphite.
Control Moisture and Dust
Keep the room climate-stable and use ventilated back panels in damp areas. Dust regularly with a microfiber cloth and check for condensation monthly to prevent rust formation.
Frequently Asked Questions About Gun Cabinets
How much space do I need per firearm?
Allocate 3.5 inches per long gun to prevent contact and allow easy removal. This spacing ensures you can grab one rifle without moving others in the rack.
What is the best material for gun cabinet doors?
Polycarbonate sheets are superior to glass because they are 250 times stronger and shatter-resistant. They remain crystal clear and can be cut with a fine-tooth saw blade.
How do I prevent rust inside the cabinet?
Install a vented back panel with quarter inch holes spaced every six inches. You should also use silica gel packs and felt-lined shelves to reduce condensation contact.
What type of hinges work best for heavy doors?
European-style concealed hinges are ideal because they are adjustable in three directions. They allow for full door removal and provide a clean, professional look.
How tall should my gun cabinet be?
Your internal height should be at least 53 inches if you have a shotgun with a 32-inch barrel. This provides necessary clearance for the rack and safe handling.
Key Takeaways for Building Your Gun Cabinet
Building a custom gun cabinet gives you control over security, spacing, and aesthetics that commercial units cannot match. By prioritizing proper ventilation, precise 3.5-inch spacing, and durable materials like polycarbonate and white oak, you create a safe home for your collection.
Start by planning your dimensions based on your longest firearm and gathering the right tools for precision cuts. Follow these steps to craft a piece that functions like a safe but looks like fine furniture.


