Chipped laminate cabinets often appear in busy kitchens where doors get bumped or humidity causes edges to lift. You do not need to replace the entire cabinet to solve this common household issue.
This guide explains how to repair cracks and chips using simple DIY methods. You will learn to assess damage, match colors, and seal repairs for a factory-fresh look.
Assess the Damage Before Starting Repairs
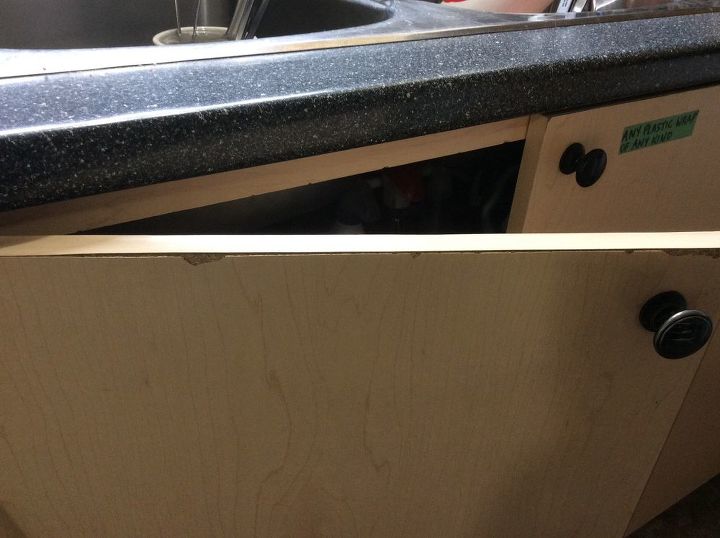
Inspect the chip closely to determine the best repair approach for your specific situation. Not all damage requires the same tools or materials for a successful fix.
Check Chip Size and Depth
- Surface scratches: These only affect the top layer and often buff out easily.
- Small chips: Damage under 1/4 inch works well with putty or wax pencils.
- Large or deep chips: These expose the core and need structural filling to stop moisture.
- Edge delamination: Peeling laminate requires adhesive reactivation and clamping pressure.
Look for loose fragments carefully. If the original piece is intact, clean it and save it for reattachment.
Identify Your Laminate Type
Most cabinets use melamine or high-pressure laminate (HPL) surfaces. Melamine is thinner and chips easier while HPL offers more durability.
Your repair material must match the surface texture like glossy or matte. Wood-grain patterns need specific layering techniques for a seamless blend.
Clean and Prep the Damaged Area
Proper preparation ensures your repair adheres well and lasts for years. Skipping this step often leads to flaking or bubbling later.
Remove Debris and Dust
Use a soft brush or toothpick to clear loose particles from the chipped area gently. Wipe the surface with a lint-free cloth dampened with isopropyl alcohol.
This process removes grease and oils that interfere with adhesion. Avoid water-heavy cleaners since moisture can swell the vulnerable core.
Sand Gently if Needed
Lightly sand deeper chips or rough edges with 220-grit sandpaper. This creates a “tooth” for the filler to grip securely.
Do not over-sand because laminate is thin and you risk damaging it further. Wipe the area clean again after sanding to remove all dust.
Choose the Right Repair Method

Select your fix based on whether you are filling, reattaching, or touching up the surface. The right method depends entirely on your damage type.
Use Laminate Repair Kits for Small Chips
Pre-mixed repair kits contain color-matched putty, applicators, and sealant. These are ideal for minor damage on most cabinet surfaces.
- Apply putty with a plastic tool or toothpick carefully.
- Press firmly to overfill slightly since shrinkage may occur.
- Let dry completely based on package time, usually 15 to 30 minutes.
- Sand flush with 320-grit paper if needed for smoothness.
These kits often come in wood tones like cherry or oak. Solid laminates usually require white or black shades.
Try Wax Filler Pencils for Quick Fixes
Wax pencils work best for hairline cracks or tiny nicks on your cabinets. You can find these at most local hardware stores.
- Rub the pencil over the chip like you are coloring.
- Wipe excess material with a soft cloth immediately.
- Enjoy immediate results with no drying time required.
This method is best for cosmetic touch-ups rather than structural repair.
Reattach Broken Pieces with Contact Cement
Reattaching the original piece gives the most invisible repair possible. This works only if the chipped fragment is still intact.
- Clean both surfaces thoroughly with alcohol.
- Apply a thin layer of contact cement to the chip and cabinet.
- Wait 5 to 10 minutes until the glue feels tacky.
- Press the piece into place firmly and hold for 30 seconds.
- Wipe excess glue with a cloth dampened with mineral spirits.
Use painter’s tape to hold the piece in place for one to two hours. Do not use wood glue because laminate does not bond well with it.
Match the Color Accurately
Even a perfect repair stands out if the color is wrong. Take time to get the shade right for professional results.
Test Multiple Filler Colors
Many kits offer multi-color packs for better matching options. Test each color on a hidden spot like the back of the door.
Layer colors for wood grain by using darker filler in grain lines. Use lighter tones for the background areas.
Blend with Permanent Markers
Use oil-based paint markers to mimic wood grain or texture after the filler dries. Fine-tip markers work best for drawing grain lines.
Feather the ink with a clean brush or cotton swab for realism. Work in thin layers and build the color gradually. Let each layer dry before adding more.
Seal for Long-Term Protection
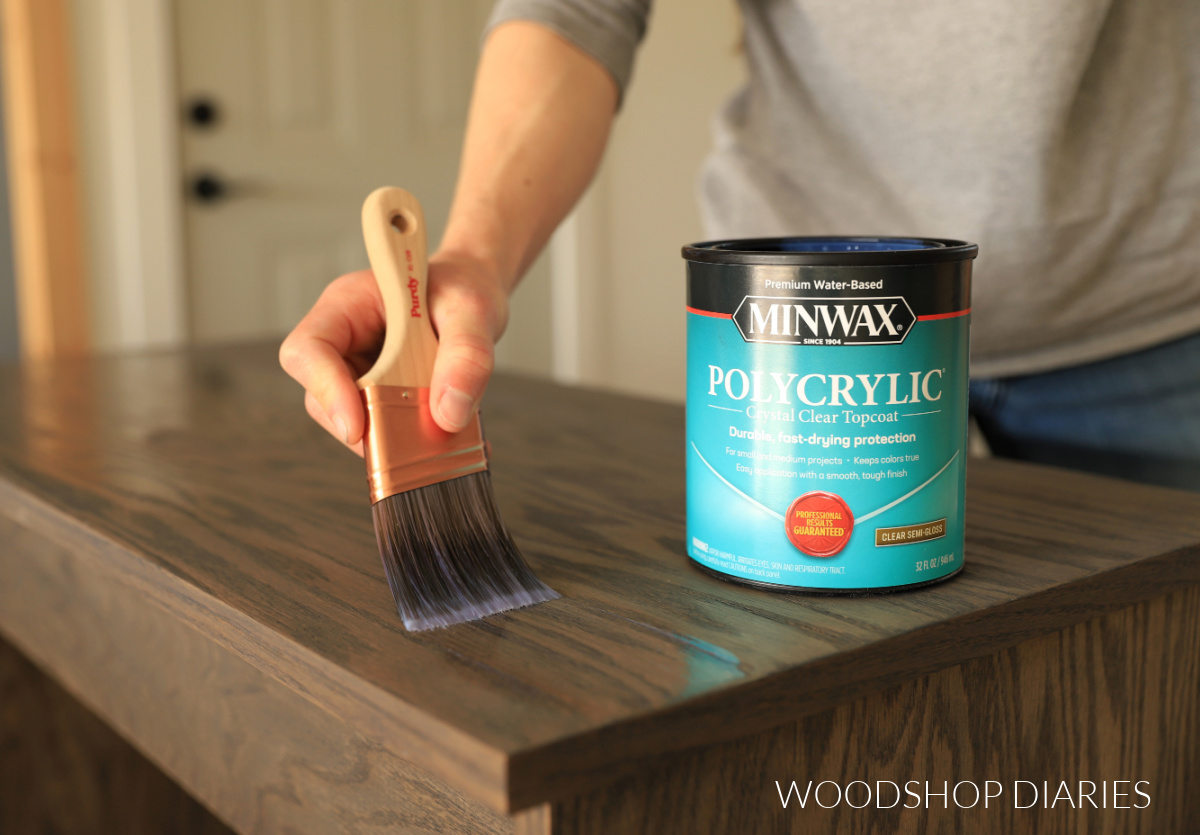
Unsealed repairs can absorb moisture and discolor over time. A clear topcoat locks in the fix and adds durability.
Apply a Clear Protective Finish
Choose a sealant that matches your cabinet sheen and usage needs. Apply one of these options for best results:
- Clear polyurethane: Water-based versions dry fast and do not yellow.
- Lacquer: Offers a fast-drying, glossy finish in well-ventilated areas.
- Clear nail polish: A quick and accessible option for tiny repairs.
Apply one or two thin coats and let each dry fully. Lightly sand between coats with 400-grit paper for a smooth finish. Avoid thick applications because they create visible bumps.
Prevent Future Chipping
A repaired cabinet needs care to stay flawless. Prevent new damage with these simple habits and upgrades.
Install Door Bumpers
Stick adhesive felt or rubber bumpers on opposing cabinet doors. They absorb impact and prevent corner chips from forming.
Avoid Excess Moisture
Wipe up spills quickly, especially near edges and seams. Prolonged moisture causes laminate to swell and delaminate from the core.
Use Soft-Close Hinges
Upgrade old hinges to soft-close models for better protection. They prevent doors from slamming and reduce impact stress.
When to Call a Professional
Some damage goes beyond simple DIY fixes. Know when to seek help for your cabinet issues.
Consider Replacement If:
- Large sections are delaminated or warped significantly.
- Water damage has softened the core structure.
- The cabinet door is cracked completely through the substrate.
Replacing the door or refacing may be more cost-effective in these cases.
Professional Refinishing Options
Companies offer laminate resurfacing with new vinyl wraps or epoxy coatings. Costs range from $100 to $300 per door but extend cabinet life.
Frequently Asked Questions About Fixing Chipped Laminate
Can you fix chipped laminate cabinets without replacing them?
Yes, you can fix most chips using filler, wax pencils, or reattachment methods. Small repairs often take under an hour and cost very little.
What is the best filler for laminate cabinet chips?
Pre-mixed laminate repair kits or wax filler pencils work best for most chips. Choose a kit that matches your cabinet color and finish type.
How do you match the color of repaired laminate?
Test multiple filler colors on hidden spots to find the best match. Use oil-based markers to draw grain lines and blend shades gradually.
Will the repair last in a high-traffic kitchen?
Properly sealed repairs last for years if you avoid excess moisture and impact. Installing door bumpers and soft-close hinges helps prevent future damage.
Can I use wood glue to reattach a chipped laminate piece?
No, wood glue does not bond well with laminate surfaces. Use contact cement for a strong and lasting hold on laminate materials.
Key Takeaways for Fixing Chipped Laminate Cabinets
Fixing chipped laminate cabinets is a simple DIY task that saves money and restores your kitchen. Assess the damage, clean the area, and choose the right filler or adhesive for your specific issue.
Seal your repair with a clear coat to protect against moisture and wear. Start your repair today with a basic kit and keep your cabinets looking new for years.