

A cluttered room often stems from storage that demands too much swing space, but you can solve this when you learn how to build a sliding door cabinet. These sleek units glide smoothly along hidden tracks to save floor space while offering a modern, custom look for any office or closet.
This guide details every step required to construct a sturdy frame, cut precise wooden grooves, and install doors that float on gravity rather than metal rollers. You will discover how to size panels correctly, prevent binding issues, and apply professional finishes using basic tools and plywood.
Design Your Cabinet Frame Dimensions
Successful projects start with accurate measurements tailored to your specific space constraints. Whether you need a low profile unit for under a desk or a tall wall-mounted storage solution, precise dimensions ensure the sliding mechanism functions correctly.
Calculate Standard Floor and Wall Units
For a standard floor unit, cut side panels to 30 inches high and 16 inches deep. The top and bottom panels should measure 28.5 inches wide to fit between the sides, while shelves need to be 11 inches deep to allow door clearance.
Large hanging units maximize vertical space with a 60-inch height and 36-inch width. These deeper frames often require a 12-inch depth and a solid back panel for structural rigidity when mounted to wall studs.
Select Plywood Thickness by Role
Use ¾-inch birch plywood for all structural components like sides, tops, and bottoms. This thickness resists splitting and provides a solid anchor for joints and hardware.
Reserve thinner 6 mm plywood specifically for the sliding doors to keep weight manageable. If you utilize salvaged wood, mill it straight and treat it for woodworm before cutting any pieces.
Cut Precision Grooves for Sliding Tracks
The heart of this system lies in two parallel grooves cut directly into the top and bottom panels. These wooden tracks replace expensive metal rails and rely on precise geometry for smooth operation.
Set Depths for Lift-and-Drop Installation
Cut the bottom groove exactly 5 mm deep to guide the door without excessive play. The top groove must be deeper, approximately 10 mm, allowing you to lift the door high enough to clear the central ridge during installation.
Use a table saw with a 6 mm flat-grind blade or a router with a straight bit. Make two passes to create an 8 mm wide channel, which is 2 mm wider than the 6 mm door thickness for friction-free movement.
Align Tracks to Prevent Binding
Mark your groove positions 10 mm from the front edge on both the top and bottom panels. Maintain a ridge distance of about 7 mm between the two grooves to support the door weight effectively.
Pro Tip: Use a featherboard when cutting long panels to prevent workpiece creep, which causes uneven grooves. Clean the ends of each groove with a chisel to ensure square corners for the door edges.
Assemble the Carcass Squarely

You must assemble the main frame before attempting to install the doors. This sequence ensures the structure is perfectly square, which is critical for the sliding mechanism to work without jamming.
Join Panels Using Floating Tenons or Pocket Holes
Use floating tenons or pocket holes with 2.5-inch screws to join the sides, top, and bottom. Pre-drill all holes in the ¾-inch plywood to prevent splitting during assembly.
Label every corner before cutting mortises or drilling holes to avoid confusion. Glue the joints securely and clamp them until the adhesive sets completely.
Square the Frame Before Glue Sets
Measure the diagonals of your assembled frame to check for squareness. If the measurements differ, apply clamping pressure to pull the frame true before the glue dries.
Glue small plywood squares into the back corners if the frame remains slightly out of square. Install a 4 mm plywood back panel into an 8 mm rabbet to add significant rigidity, especially for tall hanging units.
Size and Cut Doors for Gravity Fit

Doors must be slightly taller than the internal cavity to utilize the gravity-fit installation method. This extra height allows the top edge to lift into the deep upper track while the bottom drops into place.
Apply the Height and Width Formula
Calculate door height by measuring from the bottom of the lower groove to the underside of the top panel, then add 5 mm. This specific overlap lets you lift the door up, swing the bottom in, and drop it securely.
Make each door 25 mm wider than half the total opening width. This ensures the doors overlap in the center, hiding the gap between them for a seamless appearance.
Reduce Gaps with Rabbit Cuts
Cut a rabbit or recess on the bottom edge of each door to minimize the visible center gap. This modification allows the door to overhang the central ridge slightly, creating a tighter seal.
Use a track saw for clean, tear-out-free cuts on your 6 mm plywood. Sand all edges smooth before attempting to fit them into the cabinet frame.
Install Doors Without Binding Issues
Binding occurs when friction prevents smooth movement, often due to tight tolerances or finish buildup. Proper installation techniques and friction-reducing aids ensure your doors glide effortlessly.
Execute the Lift-and-Drop Method
- Insert the top edge of the door into the deep upper groove first.
- Lift the door upward until the bottom clears the central ridge.
- Swing the bottom of the door inward and drop it into the lower groove.
- Test the slide immediately to ensure free movement without resistance.
Repeat this process for the second door, adjusting the groove depth if any binding occurs. The doors should hang freely and stay in place due to gravity.
Apply Low-Friction Solutions
Avoid applying finish to the bottom 1 inch of the door edge to prevent sticking. If you plan to paint, add an extra 1–2 mm of width to your grooves to account for paint thickness.
Attach sticky sliding pads to the bottom edge of the door, ensuring they remain hidden within the groove. Alternatively, apply handmade oil wax to the door edges and groove surfaces, buffing with a cotton cloth for a slick finish.
Add Flush Handles for Clearance
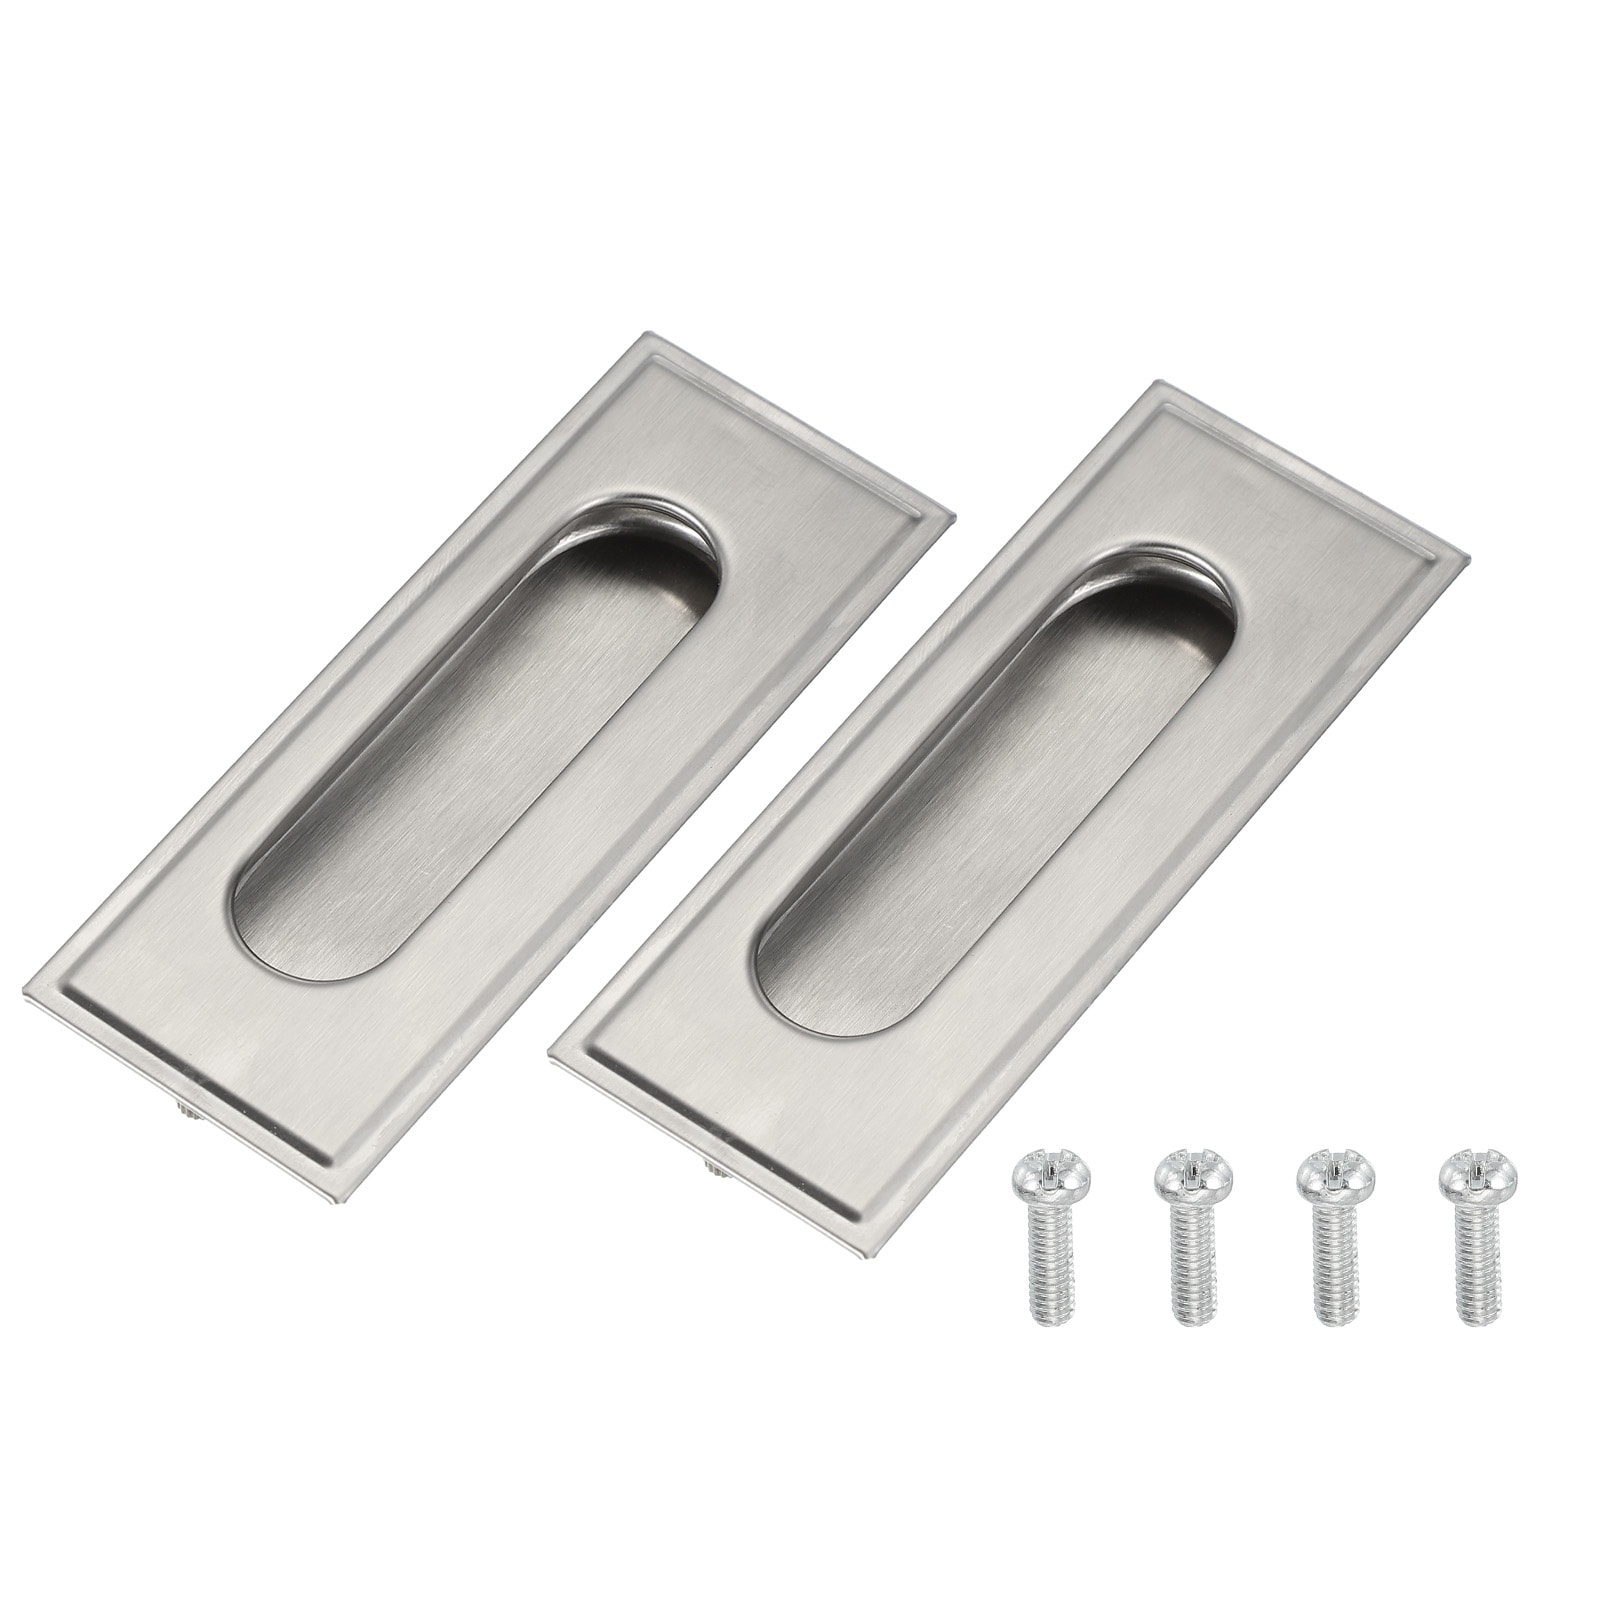
Standard protruding handles will collide when the doors meet in the center, so you must use flush-mounted solutions. These integrated pulls maintain the sleek profile of the cabinet.
Drill Finger Recesses or Install Flush Hardware
Use a countersink bit to drill a finger-sized recess from both sides of the door edge. This simple technique creates a clean pull without needing additional hardware.
Install specialized flush-mounted handles that sit entirely within a routed cavity if you prefer a metal accent. Mark handle positions after the doors are installed to ensure perfect symmetry between the two panels.
Finish for Durability and Style
Finishing protects the wood and enhances the aesthetic appeal of your new cabinet. Proper preparation and application methods ensure a professional result that lasts for years.
Sand Progressively and Clean Dust
Sand interior surfaces before assembly since they become inaccessible later. Progress from 120-grit to 220-grit sandpaper, wiping away dust with a damp cloth between steps.
Fill any screw holes or gaps with wood filler before the final sanding stage. For a glass-smooth result, wet-sand between finish coats using 400-grit wet-and-dry paper.
Apply Water-Based Varnish or Paint
Filter water-based varnish before applying it with a sprayer for an even, particle-free coat. Wear eye protection during spraying, as overspray can cause significant irritation.
Apply two coats, lightly sanding between layers for adhesion. If using salvaged wood where stains bleed through, sand back and apply oxalic acid to bleach the discoloration before finishing.
Optimize Long-Term Performance
Prevent common failures by understanding how wood moves and reacts to environmental changes. Regular maintenance keeps your sliding doors operating smoothly for decades.
Prevent Softwood Splitting and Creep
Avoid narrow ridges under 7 mm when using softwood, as they may split over time. Reinforce these areas with glue or choose hardwood plywood for better durability.
Inspect salvaged wood annually for signs of woodworm re-infestation, even if previously treated. Reapply wax or oil to sliding surfaces every 6 to 12 months to maintain low friction.
Verify Squareness and Load Capacity
Ensure wall anchors support the total weight of hanging cabinets plus their contents. Check diagonal measurements periodically to confirm the frame has not shifted out of square.
Use solid brass handles from reputable suppliers for better longevity compared to plated steel options. These small upgrades significantly enhance the overall user experience and durability.
Frequently Asked Questions About Sliding Door Cabinets
How do I calculate the correct door height for a gravity fit?
Measure from the bottom of the lower groove to the underside of the top panel, then add 5 mm. This extra length allows you to lift the door into the top track and drop it into the bottom track securely.
What causes sliding doors to bind or stick?
Binding usually results from finish buildup on the door edges or grooves that are too tight. Avoid finishing the bottom edge of the door or add extra clearance to the groove width if painting.
Can I build this cabinet using scrap wood?
Yes, you can use mixed-thickness birch plywood offcuts for this project. Use thicker pieces for the frame structure and thinner 6 mm scraps for the doors to save money and reduce waste.
Do I need special metal tracks for sliding doors?
No, you can cut wooden grooves directly into the top and bottom panels to create a track. This hardware-free method relies on precise cuts and gravity rather than commercial metal rails.
How do I hide the gap between the two doors?
Make each door 25 mm wider than half the cabinet opening so they overlap in the center. You can also cut a rabbit on the bottom edge of each door to further close the visual seam.
Key Takeaways for Building Your Sliding Door Cabinet
Building a sliding door cabinet saves significant space and eliminates the need for expensive metal hardware. By cutting precise wooden grooves and sizing your doors with a 5 mm lift allowance, you create a smooth, gravity-fed system that looks custom-made.
Focus on square assembly and proper friction management to ensure long-term reliability. Start with a clear plan, select the right plywood thicknesses, and follow the lift-and-drop installation method for a professional result.


