
Is your kitchen looking outdated, not because it’s worn out, but because the cabinets haven’t kept up with modern style? You’re not alone. Many homeowners face the dilemma of tired, dated cabinets that still work perfectly but drag down the whole look of the space. Full cabinet replacement can cost thousands and involve weeks of demolition and dust. But there’s a smarter, faster, and far more affordable solution: resurfacing kitchen cabinets.
Resurfacing lets you transform your kitchen’s appearance without tearing anything out. Whether you want a sleek new paint finish, updated hardware, or a complete facelift with peel-and-stick veneers or refacing materials, resurfacing breathes new life into existing cabinetry. The best part? You can often do it yourself in a weekend or two with basic tools and materials.
In this guide, you’ll learn every step of how to resurface kitchen cabinets, from assessing whether your cabinets are good candidates, to prep work, material choices, application techniques, and pro tips for long-lasting results. Whether you’re aiming for a farmhouse refresh or a high-gloss modern look, this step-by-step walkthrough ensures your project delivers professional-quality results.
Assess Cabinet Condition First
Before picking up sandpaper or paint, determine if your cabinets are structurally sound enough to resurface. Resurfacing works only when the framework is intact.
Check for Damage and Stability
Inspect each cabinet box, door, and drawer for signs of warping, water damage, or loose joints. Gently shake doors on hinges to test stability. If frames wobble or wood feels soft, repair or reinforce before proceeding. Minor dents or scratches are fine, as they’ll be covered during resurfacing.
Are They Worth Saving?
If doors are cracked, drawers don’t slide smoothly, or the particleboard is swelling, consider replacement instead. But if the layout works and only aesthetics need updating, resurfacing is ideal. Solid wood or high-quality plywood cabinets respond best to refinishing.
Choose Your Resurfacing Method

Several methods deliver excellent results depending on your budget, skill level, and desired outcome.
Paint or Refinish Existing Surfaces
Painting is the most popular DIY option. It changes color and style dramatically with minimal cost. Use high-adhesion primer and durable cabinetry paint for long wear. This method works best on solid wood or MDF surfaces.
Best for: Budget-friendly updates, changing dark cabinets to light, achieving custom colors.
Apply Peel-and-Stick Veneer
Self-adhesive wood or laminate veneer sheets offer a wood-grain look without staining or painting. They’re easy to apply over smooth, flat surfaces. This option works great for renters or quick makeovers.
Best for: Updating laminate cabinets, adding natural wood texture, no-fumes projects.
Install New Facing Panels (Refacing)
Replace just the outer layer, including doors, drawer fronts, and visible face frames, with new materials. Keep existing boxes and hardware or upgrade both. This method mimics full replacement at half the cost.
Best for: Major style shifts, changing door style (e.g., flat to shaker), long-term value.
Add Trim or Molding
Enhance plain cabinets with decorative molding. Use adhesive or nail-on strips to create raised-panel looks, crown detailing, or beadboard effects.
Best for: Adding character, mimicking custom cabinetry, enhancing flat doors.
Gather Essential Tools and Supplies
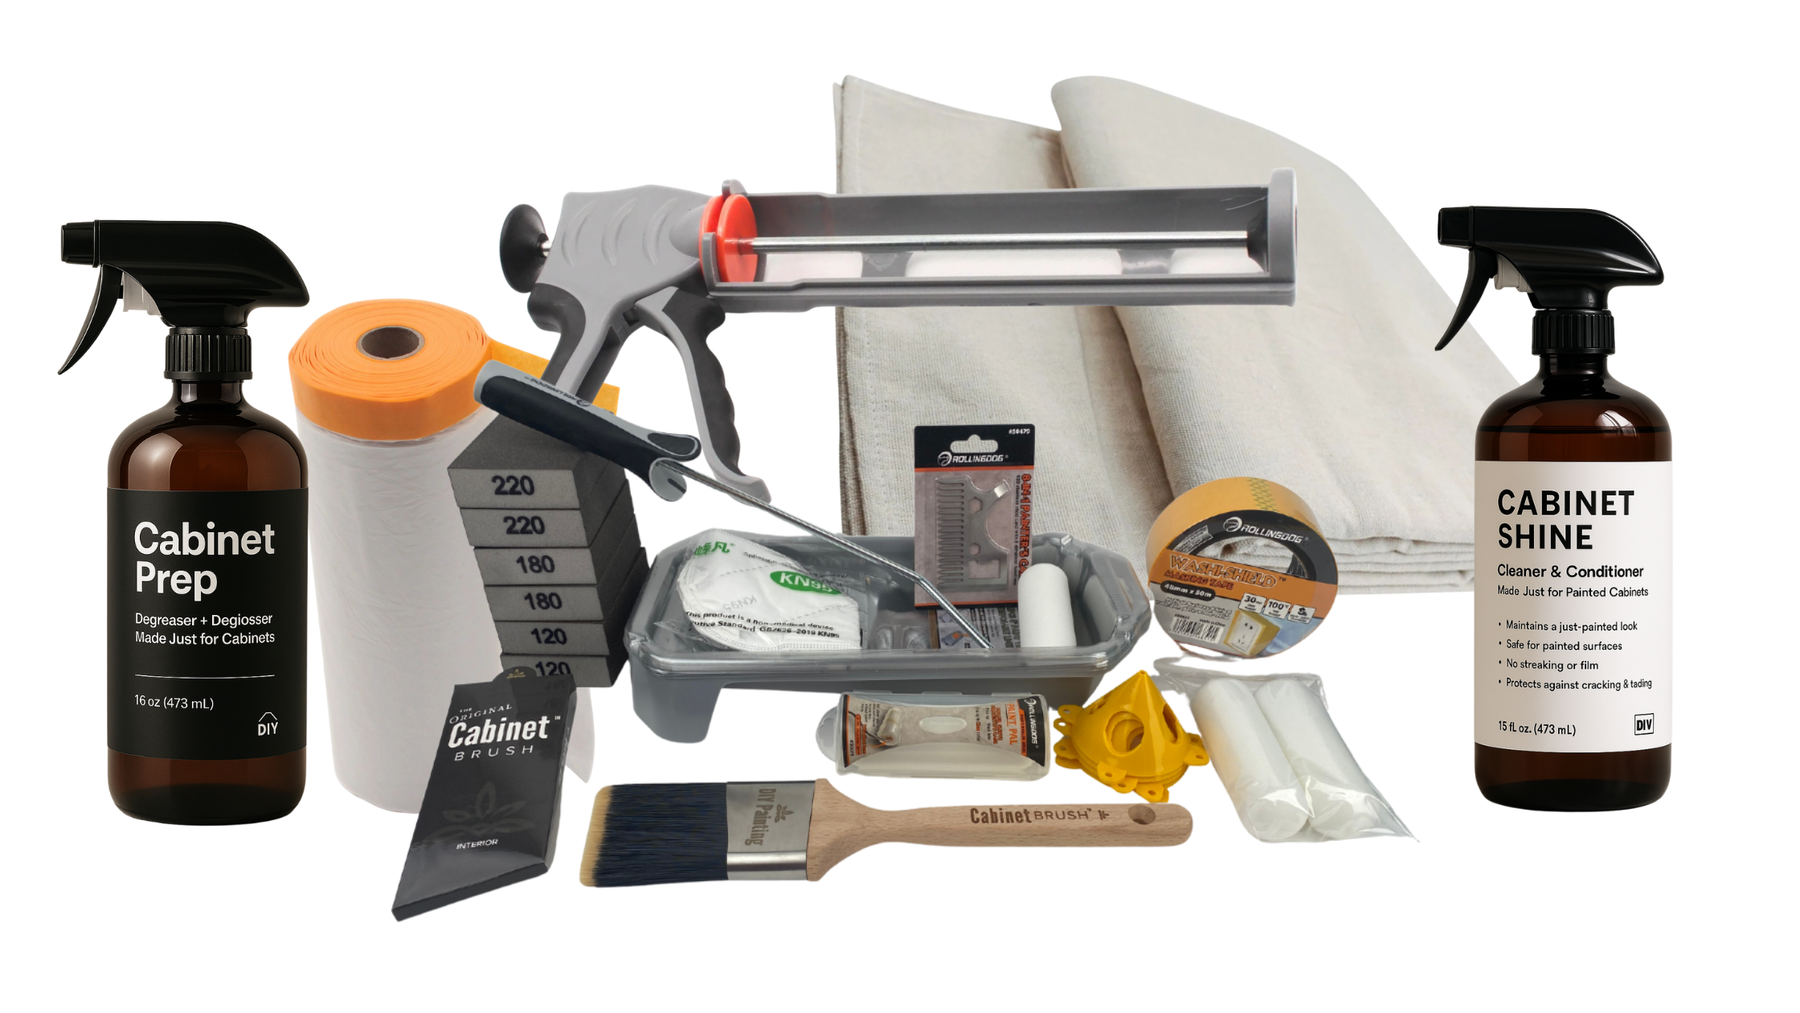
Having the right tools ensures a smooth, professional finish.
Basic Tool List
- Orbital sander or sanding block
- Tack cloth or microfiber rag
- Paintbrushes (angled 2″) and foam roller
- Putty knife or scraper
- Drill with screwdriver bits
- Measuring tape
- Drop cloths or plastic sheeting
Materials by Method
| Resurfacing Type | Key Materials Needed |
|---|---|
| Painting | Degreaser, primer, paint, topcoat |
| Peel-and-stick | Veneer sheets, utility knife, squeegee |
| Refacing | New doors, drawer fronts, hinges, screws |
| Trim addition | Molding strips, adhesive, finish nails |
Pro tip: Label each door and hinge location with painter’s tape before removal to simplify reinstallation.
Prep Cabinets Thoroughly
Skipping prep leads to peeling, bubbling, and uneven finishes. This step makes or breaks your project.
Remove Doors and Hardware
Take off all doors, drawers, and hardware. Label them to match their original positions. Remove hinges and pull-out mechanisms if needed.
Deep Clean All Surfaces
Kitchen cabinets collect grease and grime over time. Wipe down every surface with a degreaser like TSP (trisodium phosphate) or a vinegar-baking soda mix. Rinse with clean water and let dry completely.
Sand for Adhesion
Lightly sand all surfaces with 120 to 150 grit sandpaper. This removes gloss and creates “tooth” for paint or adhesive to grip. Wipe away dust with a tack cloth.
Repair Flaws
Fill dents, holes, or scratches with wood filler. Sand smooth once dry. For laminate or veneer lifting at edges, apply wood glue and clamp until set.
Apply New Finish by Method
Now comes the transformation. Follow these steps based on your chosen technique.
Paint Cabinet Doors and Frames
Prime for Durability
Use a bonding primer like BIN or Zinsser Cover Stain, especially on laminate or glossy finishes. Apply evenly with a brush and roller. Let dry per manufacturer instructions.
Apply Topcoat in Thin Layers
Use 100% acrylic or alkyd paint designed for cabinetry, such as Benjamin Moore Advance or Sherwin-Williams Emerald Urethane. Apply two thin coats, sanding lightly with 220 grit between coats. Let cure fully, waiting 72 hours before reassembly.
Pro Tip: Spray painting with an HVLP or airless sprayer gives the smoothest finish but requires masking and ventilation.
Install Peel-and-Stick Veneer
Measure and Cut Panels
Lay veneer over each panel, leaving an extra inch on all sides. Score with a utility knife using a straightedge, then peel backing and position carefully.
Smooth Out Air Bubbles
Use a plastic squeegee to press out air pockets from center to edges. Trim excess with a sharp blade. Avoid stretching the material.
Seal Edges
Apply edge banding or clear polyurethane to prevent lifting. Reattach hardware after 24 hours.
Install Reface Panels
Match New Doors to Existing Layout
Ensure new doors and drawer fronts align with current openings. Test fit before securing. Update hinges if old ones don’t match new door thickness.
Rehang with Care
Use a drill to reattach doors, starting with top cabinets. Adjust hinges for even gaps. Install soft-close mechanisms for modern convenience.
Add Decorative Trim
Design Your Style First
Lay out molding on the floor to preview styles, such as picture frame, grid, or crown. Cut pieces with a miter saw for clean corners.
Attach Securely
Use construction adhesive like LIQUID NAILS and finish nails for extra hold. Fill nail holes with wood putty, then paint or stain to match.
Update Hardware for Maximum Impact
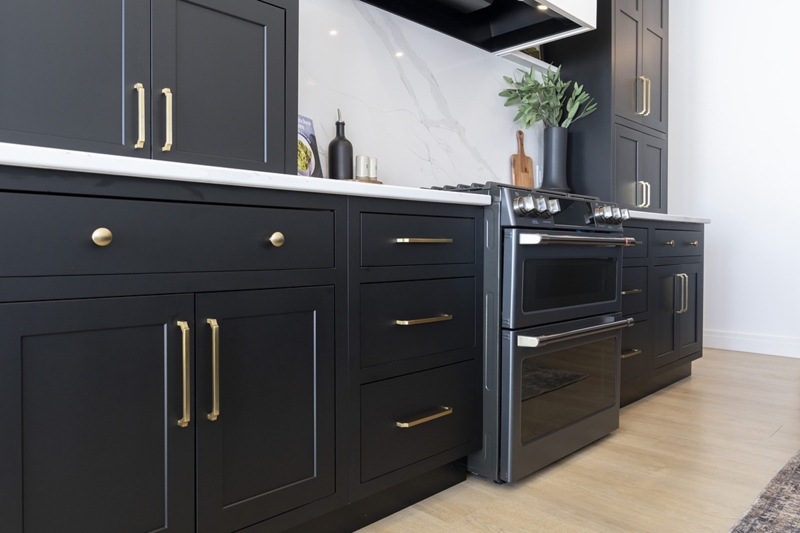
New knobs or pulls instantly modernize resurfaced cabinets.
Choose Complementary Styles
Match hardware to your kitchen’s vibe, such as brushed nickel for contemporary, oil-rubbed bronze for rustic, or matte black for bold contrast.
Maintain Consistent Spacing
Use a jig or template to drill holes evenly. Standard spacing is 3″ or 5″ for pulls and 1.25″ to 3″ for knobs. Measure carefully on each drawer and door.
Shortcut: Install magnetic touch latches instead of knobs for a handleless, modern look.
Protect and Maintain the Finish
A protective topcoat extends the life of painted or refinished cabinets.
Apply Clear Protective Coat
For painted cabinets, use water-based polyurethane like Minwax Polycrylic. Apply 2 to 3 thin coats with a foam brush, sanding lightly between layers.
Avoid oil-based finishes, as they yellow over time.
Clean Gently
Use a soft cloth and mild soap-and-water solution. Never use abrasive cleaners or scouring pads. Wipe spills promptly to prevent moisture damage.
Cost Comparison: Resurface vs Replace

Understanding cost helps justify your decision.
| Option | Average Cost (20–30 sq ft kitchen) | Time Required | Disruption Level |
|---|---|---|---|
| Resurface (DIY paint or reface) | $200–$800 | 3–7 days | Low |
| Full Cabinet Replacement | $5,000–$15,000 | 2–4 weeks | High |
Resurfacing saves up to 90% compared to replacement, with faster turnaround and zero structural changes.
Avoid Common Resurfacing Mistakes
Even experienced DIYers make errors that compromise results.
Rushing the Prep Work
Failing to clean or sand properly causes paint to peel or veneer to bubble. Spend adequate time on prep, as it’s 70% of the job.
Skipping Primer
Primer ensures adhesion and blocks stains. Never skip this step, especially on oak or laminate.
Applying Thick Coats of Paint
Thick paint leads to drips, longer drying times, and a plastic-like finish. Thin, even layers look more professional.
Not Letting Paint Cure
Paint may feel dry in hours but needs days to fully harden. Wait at least 72 hours before rehanging doors.
Frequently Asked Questions About Resurfacing Kitchen Cabinets
Can I resurface cabinets that have a laminate finish?
Yes, laminate cabinets can be resurfaced successfully. Clean them thoroughly, sand lightly to create texture, and use a bonding primer before painting. Alternatively, apply peel-and-stick veneer directly over smooth laminate surfaces.
How long does cabinet resurfacing take?
Most DIY resurfacing projects take 3 to 7 days, depending on the method and drying times. Painting requires extra curing time, while peel-and-stick veneer can be completed faster. Plan for a weekend plus a few weekdays.
Is resurfacing cheaper than replacing cabinets?
Resurfacing costs between $200 and $800 for a typical kitchen, while full replacement runs $5,000 to $15,000. You save up to 90% by resurfacing, making it the budget-friendly choice.
Do I need to remove cabinet doors to resurface them?
Yes, removing doors and drawers makes the job easier and ensures even coverage. Label each piece to match its original location. This also lets you work on flat surfaces for better results.
What paint finish is best for kitchen cabinets?
Semi-gloss or satin finishes work best for kitchen cabinets. They resist moisture, wipe clean easily, and hide minor imperfections. Use 100% acrylic or alkyd paint formulated specifically for cabinetry.
Can I resurface cabinets without sanding?
Sanding is essential for proper adhesion, but you can use liquid deglosser as an alternative. Apply it with a cloth to remove gloss and create grip. However, light sanding still gives the most reliable results.
Key Takeaways for Resurfacing Kitchen Cabinets
Resurfacing kitchen cabinets is one of the most cost-effective ways to transform your kitchen. With proper prep, the right materials, and attention to detail, you can achieve a like-new look without the mess and expense of full replacement. Whether you choose paint, peel-and-stick finishes, or reface panels, this project boosts both aesthetics and home value.
Start by assessing your cabinet condition, then pick the method that fits your budget and skill level. Invest time in prep work, apply finishes in thin layers, and let everything cure properly before reassembly. Update hardware and add a protective topcoat to maximize durability.
Your next step is simple: measure your kitchen, gather your materials, and begin with one cabinet door as a test. Once you see the transformation, you’ll be motivated to finish the entire kitchen in days, not weeks. Enjoy your refreshed space and the pride of a project well done.


