
Bathroom cabinets face relentless moisture from steam, splashes, and humidity, which can lead to swelling, warping, and mold growth. If you notice peeling finishes or a musty odor near your vanity, your cabinet likely lacks proper waterproofing. The good news is that with the right materials and techniques, you can protect your cabinet and extend its lifespan significantly. This guide covers every step to seal out moisture effectively, whether you’re installing a new cabinet or upgrading an existing one.
Water damage rarely appears overnight, but once it begins, it spreads quickly through corners, under sinks, and along base edges. Taking a proactive approach is essential. From sealing joints to selecting moisture-resistant paints, each step contributes to a durable waterproof barrier. Follow this comprehensive strategy to keep your cabinet dry, functional, and visually appealing for years to come.
Choose Waterproof Materials First
Before applying any sealant, start with materials designed to resist moisture. The foundation of a waterproof cabinet lies in what it’s made from.
Use Marine-Grade Plywood or PVC
Cabinets constructed from non-porous materials like PVC, acrylic, or marine-grade plywood offer superior moisture resistance. Marine plywood receives special treatment to resist swelling and delamination, making it ideal for wet environments. Avoid particleboard or MDF unless they carry specific bathroom ratings and receive full encapsulation.
Avoid Standard Particleboard
Most budget-friendly cabinets use particleboard, which swells almost immediately when exposed to water. Even with sealing, this material fails long-term in high-moisture zones. If you must use particleboard, verify it’s moisture-resistant (MR grade) and plan to reseal it annually.
Consider All-Plastic or Metal Options
For maximum waterproofing, switch to all-plastic (like PVC) or powder-coated metal cabinets. These materials absorb no water and remain immune to rot. While less common in traditional residential designs, they’re gaining popularity in modern, spa-inspired bathrooms.
Seal All Seams and Joints
Even the best materials fail when gaps and joints remain unsealed. Water sneaks through tiny openings, especially around corners and where the cabinet meets the wall or floor.
Apply Silicone Caulk to Internal Corners
Use 100% silicone caulk, not acrylic, on all internal corners and joints. Silicone stays flexible and waterproof, preventing cracks over time. Run a continuous bead where side panels meet the top, bottom, and back panels.
Pro tip: Smooth the caulk with a wet finger or silicone tool for a clean, airtight seal.
Seal Where Cabinet Meets Wall and Floor
Moisture creeps in from behind and underneath. Apply a bead of mold-resistant silicone along the top edge where the cabinet touches the wall and at the base where it meets the floor. This stops steam and splash water from penetrating behind the unit.
Don’t Skip the Back Panel Seams
Many installers overlook the back panel, but it’s exposed to wall moisture. Seal the edges where the back attaches to the cabinet frame. If the back consists of thin plywood or hardboard, consider replacing it with moisture-resistant material.
Protect the Interior Surfaces
The inside of your cabinet faces just as much vulnerability, especially under the sink where leaks and condensation accumulate.
Coat Interior with Waterproof Sealant
Use a waterproof sealant like epoxy, polyurethane, or waterproofing primer on all interior surfaces. Apply 2–3 even coats with a brush or roller, letting each dry completely. Pay extra attention to the bottom shelf and base, which are most prone to pooling water.
Install a Waterproof Liner
For added protection, line the cabinet floor with a peel-and-stick waterproof membrane or PVC sheet. Cut it to size, press it into place, and seal the edges with silicone. This creates a catchment layer that directs water out instead of soaking into the wood.
Elevate Stored Items
Keep cleaning supplies and toiletries off the bare floor. Use small plastic trays or risers to lift items, reducing direct contact with any residual moisture.
Waterproof the Exterior Finish
The outer surface faces daily splashes and cleaning products. A standard paint job won’t suffice; use finishes designed for wet areas.
Use Moisture-Resistant Paint
Choose 100% acrylic or epoxy-based paint for the exterior. These options resist mold and form a non-porous barrier. Apply a waterproof primer first, then 2–3 topcoats for full coverage.
Opt for High-Gloss or Semi-Gloss Finish
Glossy finishes shed water better than matte ones. They’re also easier to wipe down and resist mildew. Avoid flat paints in bathrooms; they trap moisture and prove harder to clean.
Reapply Finish Annually
Even the best finishes degrade over time. Inspect the cabinet yearly for chips, peeling, or discoloration. Sand lightly, clean, and reapply sealant or paint as needed to maintain protection.
Protect the Sink and Countertop Edges
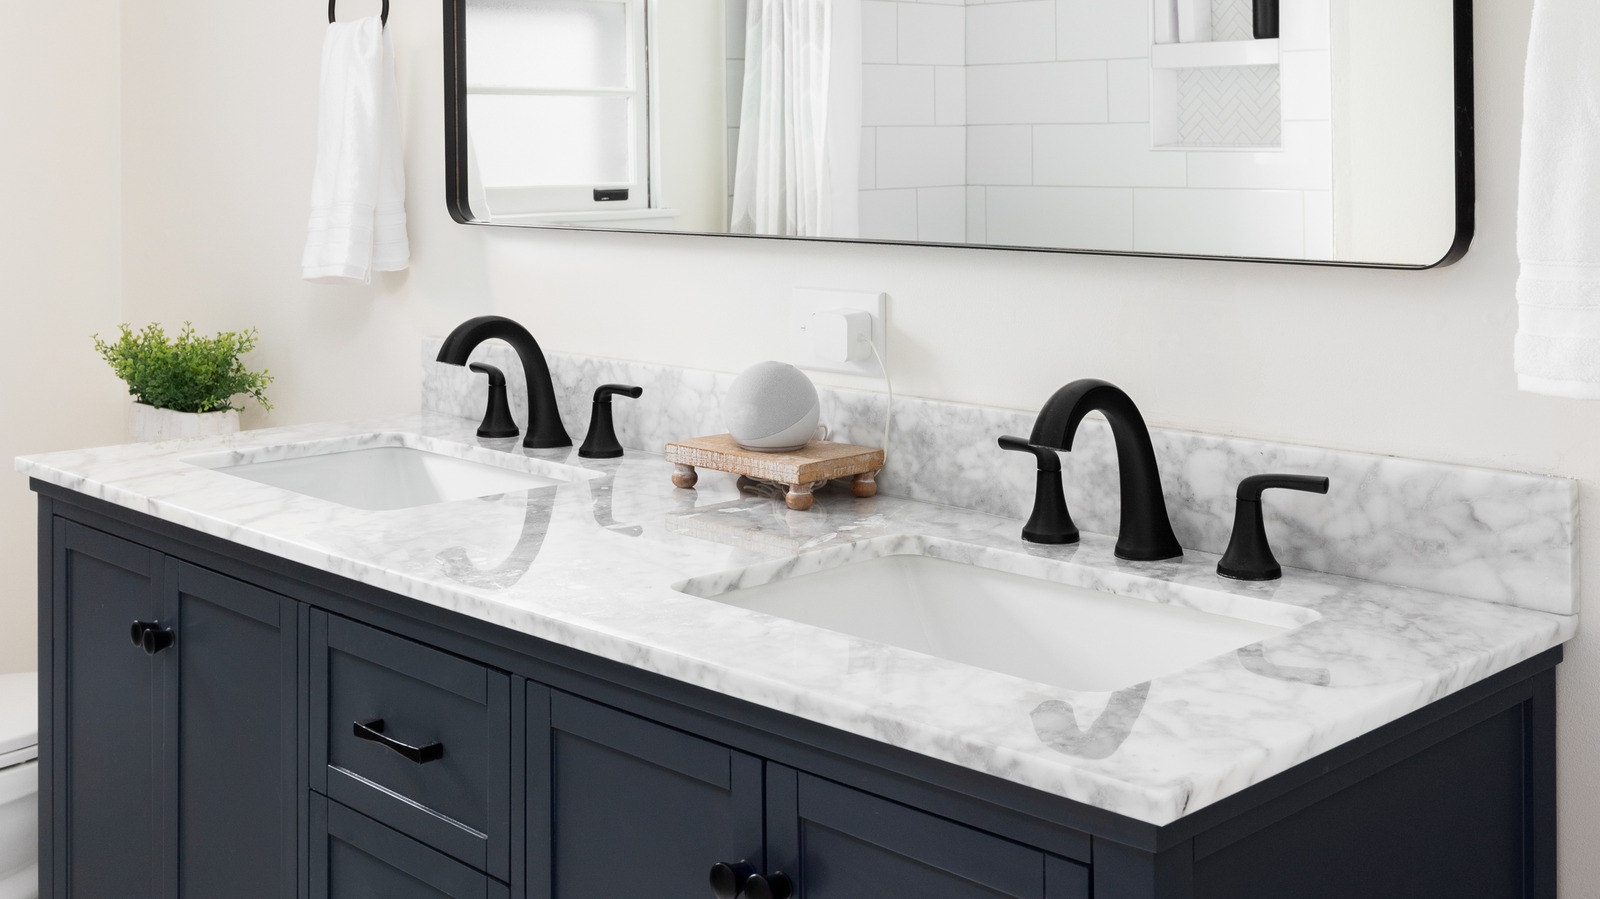
Water often enters where the sink or countertop meets the cabinet. These junctions need special attention.
Seal Countertop-Cabinet Gap with Caulk
Apply a continuous bead of silicone caulk along the seam between the countertop underside and the cabinet top edge. This prevents water from dripping down into the cabinet frame during sink use.
Check Faucet and Drain Connections
Leaky pipes under the sink serve as a major moisture source. Wrap threaded joints with plumber’s tape and use rubber gaskets. Place a drip tray or pan underneath to catch minor leaks.
Install a Sink Apron or Skirt
Some vanities include a front apron or side skirts that extend below the sink. Ensure these are sealed and made from waterproof material. If not, add a PVC or metal trim to block water spray.
Maintain Ventilation and Dry Conditions

No amount of sealing works long-term without proper ventilation. Moisture control starts with air flow.
Run an Exhaust Fan During and After Showers
Turn on the bathroom fan for at least 20–30 minutes after showering. This removes humid air before it condenses on cabinet surfaces. Clean fan vents regularly to maintain efficiency.
Leave Cabinet Doors Open Occasionally
Air out the cabinet by leaving doors open once a week, especially after hot showers. This reduces internal humidity and prevents musty odors.
Use a Dehumidifier in Poorly Ventilated Bathrooms
If your bathroom lacks a window or fan, consider a small dehumidifier. It pulls moisture from the air, protecting not just the cabinet but walls and flooring too.
Handle Repairs Immediately
Even the best-protected cabinet can suffer damage. Act fast when you spot warning signs.
Fix Leaks Within 24 Hours
A dripping faucet or loose supply line can saturate a cabinet in hours. Shut off the water, tighten connections, and dry the area completely with towels and a fan.
Dry Out Wet Cabinets Fast
If the interior gets wet, remove all contents and use a hairdryer or portable fan to dry every surface. Never close the doors until it’s fully dry; trapped moisture leads to mold.
Replace Swollen or Moldy Panels
If wood has warped or shows black mold, cut out the damaged section and replace it with waterproof material. Clean surrounding areas with a bleach solution (1 part bleach to 10 parts water) before resealing.
Frequently Asked Questions About Making Bathroom Cabinets Waterproof
What is the best material for a waterproof bathroom cabinet?
Marine-grade plywood, PVC, and powder-coated metal offer the highest moisture resistance. These materials don’t absorb water and resist rot, making them ideal for bathroom environments.
Can I waterproof an existing particleboard cabinet?
Yes, but with limitations. Use a waterproofing primer and multiple coats of epoxy or polyurethane sealant on all surfaces. Plan to reseal annually since particleboard remains vulnerable to swelling.
How often should I reseal my bathroom cabinet?
Inspect your cabinet yearly and reapply sealant or paint as needed. High-use bathrooms may require touch-ups every 6–12 months, especially around sink and countertop edges.
Does silicone caulk prevent water damage?
Yes, 100% silicone caulk creates a flexible, waterproof barrier at joints and seams. It’s essential for internal corners, wall connections, and countertop gaps.
What’s the fastest way to dry a wet bathroom cabinet?
Remove all contents, open doors, and use fans or a hairdryer on low heat. Keep doors open until every surface feels completely dry to prevent mold growth.
Can I use regular paint on bathroom cabinets?
Regular paint lacks moisture resistance and will peel quickly. Use 100% acrylic or epoxy-based paint with a waterproof primer for lasting protection.
Key Takeaways for Waterproofing Your Bathroom Cabinet
Making a bathroom cabinet waterproof requires a multi-layered approach. Start with moisture-resistant materials, seal every seam with silicone caulk, and apply protective coatings inside and out. Combine this with proper ventilation and prompt leak repair to maintain a dry, functional cabinet.
The most critical steps involve sealing internal corners, protecting the base, and using high-gloss finishes. Regular maintenance, including annual inspections and touch-ups, ensures your protection stays effective. Address any water damage immediately to prevent mold and structural deterioration.
Your next step is simple: inspect your cabinet today for any signs of moisture damage. Check the corners, under the sink, and along the base. Then apply the sealing and finishing techniques from this guide to create a durable waterproof barrier that withstands daily bathroom use.


