

A rattling glass panel in a cabinet door is more than a minor annoyance. Over time, that movement can lead to stress fractures, chipped edges, or a completely shattered pane. Whether you are restoring an antique piece or installing new glass, knowing how to secure glass in a cabinet door correctly protects your investment and keeps your kitchen safe. Many people assume the frame alone holds the glass, but without proper glazing points, beads, or adhesives, daily use will eventually loosen the fit. This guide covers proven methods for fastening glass securely while preserving the door’s visual appeal.
You will learn how to inspect your frame, choose the right retention method, and apply each technique with precision. We also cover quick fixes for loose panels and long-term prevention strategies. By the end, you will have the confidence to handle this common cabinetry task yourself, saving time and avoiding costly repairs.
Inspect the Door Frame Before You Begin
A secure glass installation starts with a sound frame. If the wood or metal structure has issues, no fastening method will hold the glass reliably. Take a few minutes to examine the condition of your cabinet door first.
Check for Warping, Rot, or Splits
Run your hand along the inner edges of the frame where the glass will rest. Look for signs of warping, moisture damage, or cracks. Older cabinets in humid environments are especially prone to these problems. A warped frame creates uneven pressure on the glass, which can cause it to crack during installation or during normal use. If you discover significant damage, repair or replace the frame before proceeding.
Measure the Rabbet Depth
The rabbet is the recessed groove inside the frame that holds the glass panel. Use a caliper or a simple ruler to measure its depth. This measurement determines which securing method will work best. Standard glass panels are about 1/8 inch thick, so the rabbet should be at least 3/8 inch deep to accommodate both the glass and any glazing beads or molding. If the rabbet is too shallow, the glass will not sit properly and may push against the frame surface.
Confirm the Glass Fits Properly
Place the glass into the frame without any fasteners. It should sit evenly within the rabbet with about 1/16 inch of clearance on each side. This small gap allows for natural expansion and contraction of the materials. If the glass fits too tightly, it will experience stress when the frame expands. If it fits too loosely, it will rattle and shift. Either scenario requires adjustment before you proceed with securing.
Select the Right Securing Method for Your Cabinet
Different cabinet styles and glass types call for different fastening techniques. The method you choose affects both the appearance and the ease of future glass removal. Consider how often you might need to access the glass for cleaning or replacement before deciding.
Use Glazing Beads for a Clean, Traditional Look
Glazing beads are thin strips of wood or vinyl that fit into the rabbet and press against the glass. They offer a classic appearance that suits shaker-style and mullion-designed cabinet doors. Installation is straightforward and the beads can be removed easily if you need to access the glass later.
- Cut each bead to fit the exact length of its corresponding side
- Apply a thin layer of painter’s caulk behind the bead to dampen vibrations
- Secure with small finish nails spaced every 6 to 8 inches
- Countersink the nails slightly and fill the holes with wood putty
- Paint or stain the beads to match your cabinet finish
This method provides a polished look while keeping the glass firmly in place.
Install Glazing Points for a Low-Profile Hold
Glazing points are small triangular metal clips that wedge between the glass edge and the rabbet. They are nearly invisible once installed, making them ideal for cabinets with a trimless or minimalist design. This traditional approach has been used for generations and remains highly effective.
- Position a point every 4 to 6 inches around the glass perimeter
- Use a putty knife or a dedicated glazing tool to press each point into the wood
- Ensure the point contacts both the glass edge and the frame surface
- Avoid excessive force, which could crack the glass
Keep in mind that glazing points are difficult to remove without damaging the frame. Choose this method only if you do not anticipate needing frequent access to the glass.
Apply Silicone Adhesive for Maximum Vibration Resistance
A continuous bead of clear silicone caulk along the rabbet creates a flexible bond that absorbs shock and prevents movement. This method works exceptionally well in busy kitchens where cabinet doors are opened and closed constantly.
- Clean the rabbet surface thoroughly to ensure proper adhesion
- Run a thin, even bead of 100% silicone around the entire groove
- Press the glass gently into place, applying even pressure
- Wipe away any excess silicone with a damp cloth before it cures
Silicone provides excellent stability but makes future glass removal difficult. Reserve this method for installations where permanence is acceptable.
Reinforce the Glass With Compression Moldings

For added stability, you can combine multiple securing techniques. Compression moldings press against the glass surface, holding it firmly without visible hardware. These options work well for contemporary cabinet designs.
Install U-Shaped Rubber Gaskets
Rubber or vinyl gaskets fit into the rabbet and compress when the glass is inserted. They provide excellent vibration absorption and create a tight seal that prevents rattling. This method is common in modern framed glass doors.
- Select a gasket that matches your glass thickness
- Press the gasket into the rabbet groove along all four sides
- Insert the glass at a slight angle, then press it flat
- Verify that pressure is even across all edges
Gaskets are nearly invisible once installed, making them perfect for frameless or minimalist designs.
Add Decorative Interior Molding Strips
Interior molding strips serve both a functional and aesthetic purpose. They hold the glass securely while adding visual character to the door. This approach works beautifully for divided lite or multi-pane cabinet doors.
- Miter-cut the corners at 45 degrees for seamless joints
- Apply wood adhesive to the back of each strip
- Press into place and clamp lightly until the adhesive dries
- Sand the strips smooth and finish them to match the door
This method enhances the overall design while providing reliable glass retention.
Handle Glass Safely During Installation
Improper handling is one of the most common causes of glass breakage during installation. Protect yourself and the material by following these safety practices.
Wear Protective Gear
Always wear cut-resistant gloves and safety glasses when working with glass. Even small shards can cause serious injury. Work on a soft, flat surface such as a foam pad or folded towel to prevent scratching and reduce breakage risk.
Support the Full Panel
Never lift glass by the edges alone. Use both hands to support the entire surface, distributing the weight evenly. For larger panels, ask a second person to assist. This reduces the risk of dropping or flexing the glass to its breaking point.
Insert the Glass at an Angle
Tilt one edge of the glass into the rabbet first, then lower the opposite side gently into place. Forcing the glass straight down creates pressure points that can lead to cracks. Take your time and guide the panel smoothly into position.
Fix a Loose Glass Panel Without Full Replacement
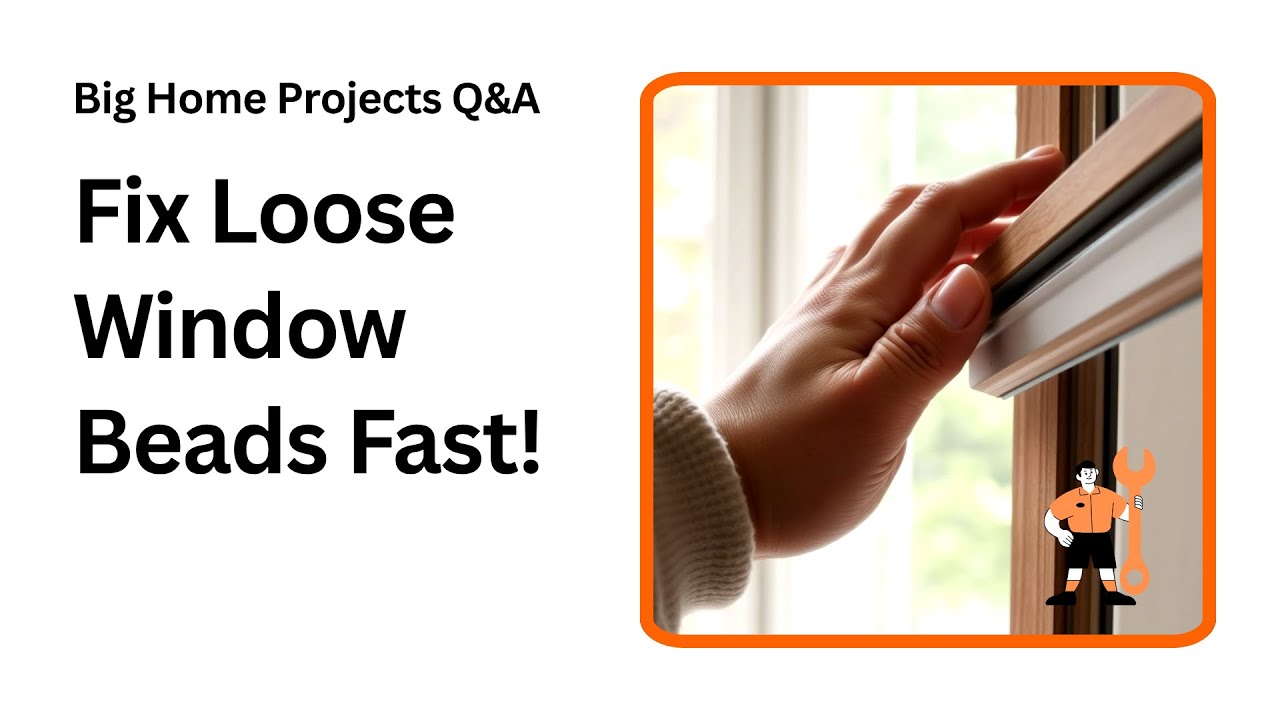
If your existing glass rattles or shifts, you may not need to remove and reinstall it completely. Several targeted repairs can restore stability quickly.
Tighten Existing Fasteners
Inspect any glazing beads or molding strips for loose nails or screws. Re-secure any that have worked their way out. Replace damaged beads that no longer hold the glass firmly. This simple maintenance often resolves the problem.
Add Silicone Dots Behind the Beads
If the glass still moves slightly after tightening, apply small dabs of clear silicone behind the glazing bead before reattaching it. This cushions the glass without requiring a full reinstallation.
- Place 3 to 4 pea-sized dabs along each side
- Reinstall the bead and allow 24 hours for the silicone to cure
- Avoid over-application, as excess pressure can distort the glass
This quick fix works well for minor looseness in older cabinets.
Replace Missing Glazing Points
Corroded or missing glazing points leave the glass unsupported. Use a glazing tool to install new points, positioning them directly opposite existing ones for balanced support. This ensures even pressure around the entire panel.
Prevent Future Glass Movement
Even a properly secured panel can loosen over time due to daily use and environmental factors. Proactive measures help maintain a tight fit for years to come.
Dampen Cabinet Door Slams
Frequent slamming creates vibrations that gradually loosen fasteners. Install soft-close hinges or adhesive door bumpers to reduce impact. This simple upgrade protects both the glass and the cabinet frame.
Inspect Annually for Wear
Set a reminder to check your cabinet glass once a year. Look for signs of movement, hairline cracks, or deteriorating sealant. Early detection allows you to address minor issues before they become major problems.
Control Humidity Levels
Wood expands and contracts with changes in moisture. In humid environments, use a dehumidifier or improve ventilation to stabilize conditions. This protects both the frame and the glass from stress-related damage.
Consider Upgrading to Safety Glass

For high-traffic kitchens or homes with young children, upgrading to safety glass provides extra peace of mind.
Choose Tempered Glass for Strength
Tempered glass is significantly stronger than standard glass and breaks into small, dull pieces rather than sharp shards if shattered. It is an excellent choice for lower cabinets or areas prone to impact.
Use Laminated Glass for Maximum Protection
Laminated glass contains a plastic interlayer that holds the glass together when broken. While more expensive, it offers the highest level of safety for frequently accessed cabinets. Both options require professional cutting but deliver lasting durability.
Frequently Asked Questions About Securing Glass in Cabinet Doors
What is the best way to secure glass in a cabinet door?
The best method depends on your cabinet style and how often you need access to the glass. Glazing beads offer a classic look and easy removal. Glazing points provide a low-profile hold. Silicone adhesive delivers maximum vibration resistance. For modern designs, rubber gaskets work exceptionally well.
Can I use silicone to hold glass in a cabinet door?
Yes, clear 100% silicone caulk creates a strong, flexible bond that prevents movement. Apply a thin bead along the rabbet, press the glass into place, and wipe away excess. Keep in mind that silicone makes future glass removal difficult.
How do I stop glass from rattling in my cabinet door?
Tighten any loose fasteners first. If the rattle persists, add small silicone dots behind the glazing beads or install rubber gaskets. These cushion the glass and absorb vibrations from daily door use.
Do I need special tools to install glazing points?
A putty knife or a dedicated glazing tool works well for pressing points into the wood frame. These tools are inexpensive and available at most hardware stores.
How much clearance should there be between glass and frame?
Leave about 1/16 inch of clearance on all sides to allow for natural expansion and contraction. Too little clearance creates stress points, while too much allows the glass to shift.
Can I secure glass in a metal cabinet frame?
Yes, but use methods compatible with metal frames. Rubber gaskets and silicone adhesive work well. Glazing points require wood to bite into, so they are not suitable for metal frames.
Key Takeaways for Securing Glass in Your Cabinet Door
Securing glass in a cabinet door requires attention to frame condition, proper material selection, and careful installation technique. Start by inspecting the rabbet depth and overall frame integrity. Choose a securing method that matches your cabinet style and maintenance preferences. Glazing beads offer classic aesthetics, glazing points provide a low-profile hold, and silicone delivers maximum stability.
Combine methods for enhanced security, such as pairing glazing beads with silicone dots for vibration damping. Always handle glass safely during installation and address loose panels promptly to prevent damage. Regular annual inspections and humidity control extend the life of both the glass and the frame. For high-use areas, consider upgrading to tempered or laminated glass for added safety.
Your next step: Inspect your cabinet door today and identify which securing method fits your needs. With the right approach, you will enjoy a rattle-free, professional-looking installation that lasts for years.


