
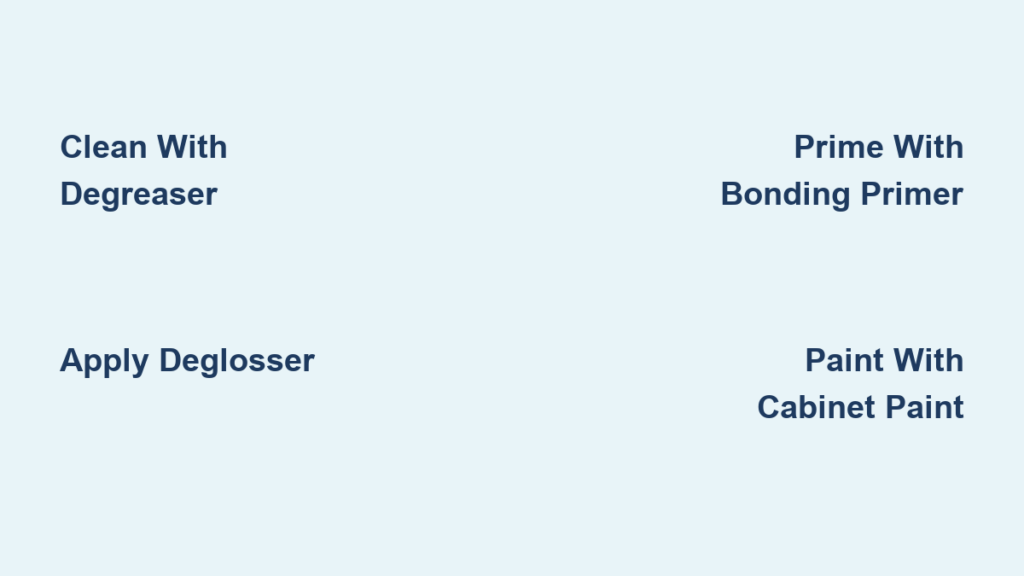
Tired of outdated kitchen cabinets but dreading the hours of sanding? You’re not alone. Many homeowners avoid cabinet painting because they assume it requires aggressive prep work. The good news: you can repaint kitchen cabinets without sanding and still get a smooth, professional-looking finish.
With the right materials and method, skipping the sandpaper is not only possible but practical. This guide walks you through a proven 7-step process that skips sanding entirely, using deglossers and bonding primers to prep your cabinets for a long-lasting transformation. Whether your cabinets have a glossy, semi-gloss, or even chipped old finish, you’ll learn how to clean, prime, and paint them efficiently, saving time, effort, and your elbow grease.
Clean Grease and Grime First
Before any paint or primer touches the surface, you must remove built-up kitchen grime. Oils from cooking, fingerprints, and dust create a barrier that prevents paint from sticking, especially on non-sanded surfaces.
Use a Strong Degreaser
Wipe down all cabinet surfaces with a degreasing cleaner. A TSP (trisodium phosphate) substitute works best, but a mix of warm water and dish soap can also be effective for lightly soiled cabinets. Use a microfiber cloth or sponge to scrub every inch, including frames, doors, and drawer fronts.
Rinse with a clean, damp cloth to remove cleaner residue. Let all parts dry completely. Moisture left behind can cause bubbling or poor adhesion.
Pro Tip: Pay extra attention to areas around the stove and handles. These spots collect the most grease and are common failure points if not cleaned thoroughly.
Apply Liquid Deglosser
Since you’re skipping sanding, a liquid deglosser is your secret weapon. It chemically dulls the glossy finish, etching the surface just enough for primer and paint to bond.
Wipe Down With Denatured Alcohol (Optional)
For cabinets with heavy buildup or unknown finishes, wipe surfaces with denatured alcohol after cleaning. This removes any leftover film and ensures the deglosser works effectively.
Use a Deglosser for Maximum Adhesion
Choose a product like Krud Kutter Gloss-Off or Minwax Deglosser. Apply it with a lint-free cloth or sponge, working in small sections. Rub in circular motions until the surface loses its shine. The finish should feel slightly tacky, not slimy.
Let the deglosser dry as directed, usually 15 to 30 minutes. Do not rinse. Once dry, the surface will be ready for primer.
Warning: Work in a ventilated area and wear gloves. Deglossers contain strong chemicals that can irritate skin and lungs.
Prime With a Bonding Formula

Skipping sanding means your primer must do the heavy lifting. A bonding primer creates a mechanical grip on slick surfaces, preventing peeling and flaking.
Choose the Right Primer Type
Use one of these high-adhesion primers:
– Zinsser Bullseye 1-2-3 (water-based, universal adhesion)
– Zinsser BIN (shellac-based, excellent for glossy finishes)
– Kilz Adhesion (designed for slick, hard-to-paint surfaces)
Oil-based primers also work well but take longer to dry and require mineral spirits for cleanup.
Apply Thin, Even Coats
Use a high-quality synthetic brush or foam roller to apply primer. Cut in edges first, then roll flat surfaces. Avoid thick coats, as they can sag or create texture.
Let the first coat dry completely. Check the label, as drying typically takes 1 to 2 hours. Inspect for missed spots or thin coverage. Apply a second coat if needed, especially on dark or glossy cabinets.
Expert Note: On cabinets with minor chips or dents, lightly fill them with spackle before priming. Sand only the filled spots lightly with 220-grit paper. This is the only sanding recommended.
Pick Durable Cabinet Paint
Not all paints can withstand kitchen wear. Choose a scrubbable, chip-resistant formula designed for cabinets and trim.
Use Semi-Gloss or Satin Finish
Opt for semi-gloss or satin acrylic enamel. These finishes:
– Resist moisture and stains
– Withstand frequent cleaning
– Hide imperfections better than high-gloss
Avoid flat or matte paints. They show every flaw and wear down quickly in kitchens.
Recommended Paint Brands
Top choices include:
– Benjamin Moore Advance (waterborne alkyd, self-leveling)
– Sherwin-Williams Emerald Urethane Trim Enamel (extremely durable)
– Behr Alkyd Semi-Gloss (budget-friendly but tough)
All are low-odor, low-VOC, and clean up with soap and water.
Paint in Thin, Controlled Coats
How you apply the paint matters as much as the product you use. Thick, rushed coats lead to drips, brush marks, and longer drying times.
Use the Right Tools
- Angled sash brush for edges and corners
- High-density foam roller (1/4″ nap) for flat panels
- Paint sprayer (optional) for ultra-smooth results
Pour paint into a roller tray. Don’t overload your brush or roller. Less is more.
Work Panel by Panel
Start with cabinet doors, then move to frames and drawers. For shaker-style cabinets:
– Paint the raised panel first
– Then the stiles and rails (edges)
– Finally, the center panel
This prevents smudging already-painted areas.
Apply the first coat in long, even strokes. Let it dry fully, usually 4 to 6 hours. Lightly dust the surface with a tack cloth before the second coat to remove lint.
Apply a second coat for full coverage and durability. Most cabinets need just two coats.
Pro Tip: If using a sprayer, thin the paint slightly and apply 2 to 3 mist coats instead of one heavy pass.
Allow Full Cure Time
Paint may feel dry to the touch in hours, but it takes much longer to fully cure. Rushing this step can ruin your finish.
Wait at Least 72 Hours
Keep cabinet doors closed and drawers shut for 3 full days. Avoid hanging heavy items or wiping surfaces during this time.
Curing can take up to 2 weeks for maximum hardness, especially with alkyd or oil-based paints.
Warning: Opening a freshly painted cabinet too soon can cause doors to stick or paint to peel at the hinges.
Add a Protective Top Coat (Optional)
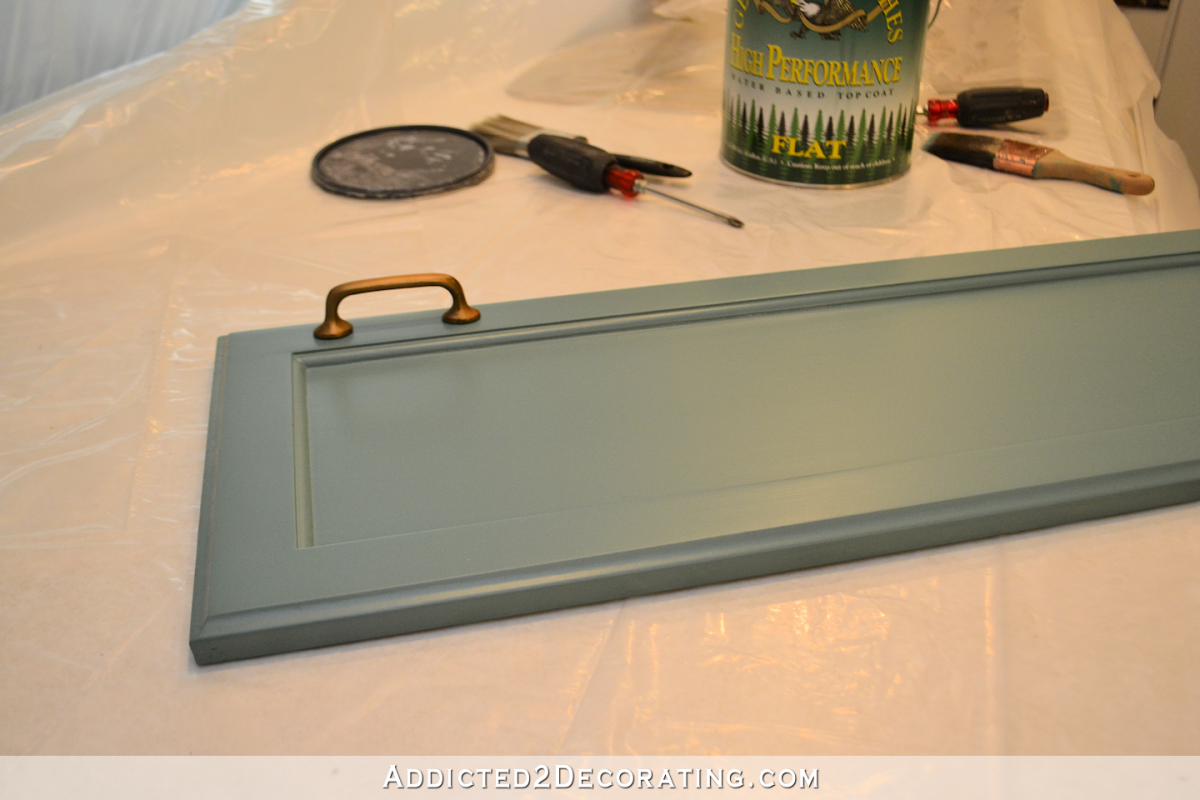
For kitchens with kids, pets, or heavy daily use, a clear top coat adds extra protection.
Choose Water-Based Polyurethane
Use a satin or semi-gloss water-based polyurethane like:
– Minwax Polycrylic
– General Finishes High-Performance Top Coat
It dries clear, resists yellowing, and has minimal odor.
Apply With a Foam Brush
Use a small foam brush or lambswool applicator. Apply in thin, even strokes and avoid bubbles. Let dry 2 to 4 hours between coats. Two light coats are better than one thick one.
Skip this step if your paint is already a urethane-enriched formula, like Sherwin-Williams Emerald Urethane.
Note: Never use oil-based poly over water-based paint. It can cause cracking.
Reinstall Hardware and Hangers
After full cure time, it’s time to reassemble.
Replace or Upgrade Hardware
Clean old knobs and pulls with soapy water, or install new ones for a fresh look. Use a hardware template to align holes perfectly.
If you removed cabinet doors, rehang them using a helper or door jack. Adjust hinges as needed to ensure smooth closing.
Touch Up Where Needed
Use a small artist’s brush to fix nicks or missed spots around screw holes or edges.
Frequently Asked Questions About Repainting Kitchen Cabinets Without Sanding
Can I paint over varnished or stained cabinets without sanding?
Yes, but you must use a deglosser and a bonding primer. The deglosser dulls the glossy varnish, and the primer creates a surface the paint can grip. Without these steps, paint will peel quickly.
How long does it take to repaint kitchen cabinets without sanding?
Plan for 3 to 5 days total. Cleaning, deglossing, and priming take one day. Painting takes one to two days. Full cure time requires at least 72 hours before you can use the cabinets normally.
What is the best paint for kitchen cabinets without sanding?
A semi-gloss or satin acrylic enamel designed for cabinets is best. Brands like Benjamin Moore Advance and Sherwin-Williams Emerald Urethane offer excellent durability and self-leveling properties.
Do I need to use a primer if I use a deglosser?
Yes. The deglosser preps the surface, but the primer ensures proper adhesion and blocks stains from bleeding through. Skipping primer increases the risk of peeling and uneven color.
Can I use a paint sprayer for cabinet doors?
Absolutely. A sprayer gives the smoothest finish. Thin the paint slightly and apply multiple light coats to avoid drips. Always spray in a well-ventilated area.
How do I clean cabinets after repainting without damaging the finish?
Use a soft cloth with warm, soapy water. Avoid abrasive scrubbers and harsh chemical cleaners for at least 2 weeks after painting. Once fully cured, mild cleaners are safe.
Key Takeaways for Repainting Kitchen Cabinets Without Sanding
Repainting kitchen cabinets without sanding is a realistic, time-saving upgrade when done right. The key is surface prep without sandpaper: clean, degloss, prime, and paint with durable products.
The most critical steps are thorough cleaning with a degreaser and applying a liquid deglosser. These two actions replace sanding and ensure your new paint bonds properly. A bonding primer and high-quality cabinet paint complete the foundation for a finish that lasts.
Avoid shortcuts like skipping the deglosser or using wall paint. With this method, you can complete the project in a weekend and save hundreds compared to replacement. Ready for the next step? Consider painting the walls or replacing countertops to complete your budget-friendly kitchen makeover.


