

A cracked cabinet door panel can ruin the look of your kitchen or bathroom, and if left unattended, it may worsen over time. Whether it’s a hairline crack in a painted MDF door or a deep split in solid wood, you don’t always need to replace the entire door. With the right tools and techniques, most cracks can be repaired effectively and affordably.
This guide walks you through how to fix a cracked cabinet door panel step by step, using proven methods tailored to different materials and damage types. You’ll learn how to assess the crack, choose the best repair method, and refinish the door so the fix is nearly invisible.
Assess the Crack Type Before Repairing
Identify the Door Material and Damage Level
Before starting any repair, determine what your cabinet door is made of: solid wood, veneer, MDF, or plywood. Each material reacts differently to damage and requires specific repair techniques. A solid wood door may crack along the grain due to humidity changes, while MDF doors often develop edge cracks from impact. Veneer over substrate can show surface splitting without damaging the core.
Examine the crack closely to determine if it’s a thin hairline, a full split, or a chipped corner. Gently press near the crack to check for movement. If the panel shifts, it’s likely a structural issue needing reinforcement. Use a flashlight to see if the crack goes all the way through. Also inspect for signs of moisture damage or delamination, especially in plywood or veneer doors.
Classify the Crack Type
- Hairline crack: Surface-level and non-structural. Common in painted finishes.
- Split: Separated wood fibers, often along the grain. Requires glue and clamping.
- Structural crack: Extends through the panel and compromises strength. Needs reinforcement.
- Corner or edge crack: Frequently seen in raised-panel doors. May require filling or patching.
- Veneer lift: Top wood layer peeling or cracked. Can often be reattached.
Knowing the crack type ensures you apply the correct fix. This prevents over-treating minor flaws or under-repairing serious damage.
Gather Essential Tools for Cabinet Door Repair
Basic Tools and Supplies
To fix a cracked cabinet door panel, you’ll need:
- Wood glue (PVA or aliphatic resin)
- Clamps (bar, spring, or pipe)
- Putty knife or scraper
- Sandpaper (80, 120, and 220 grit)
- Utility knife
- Syringe or glue injector
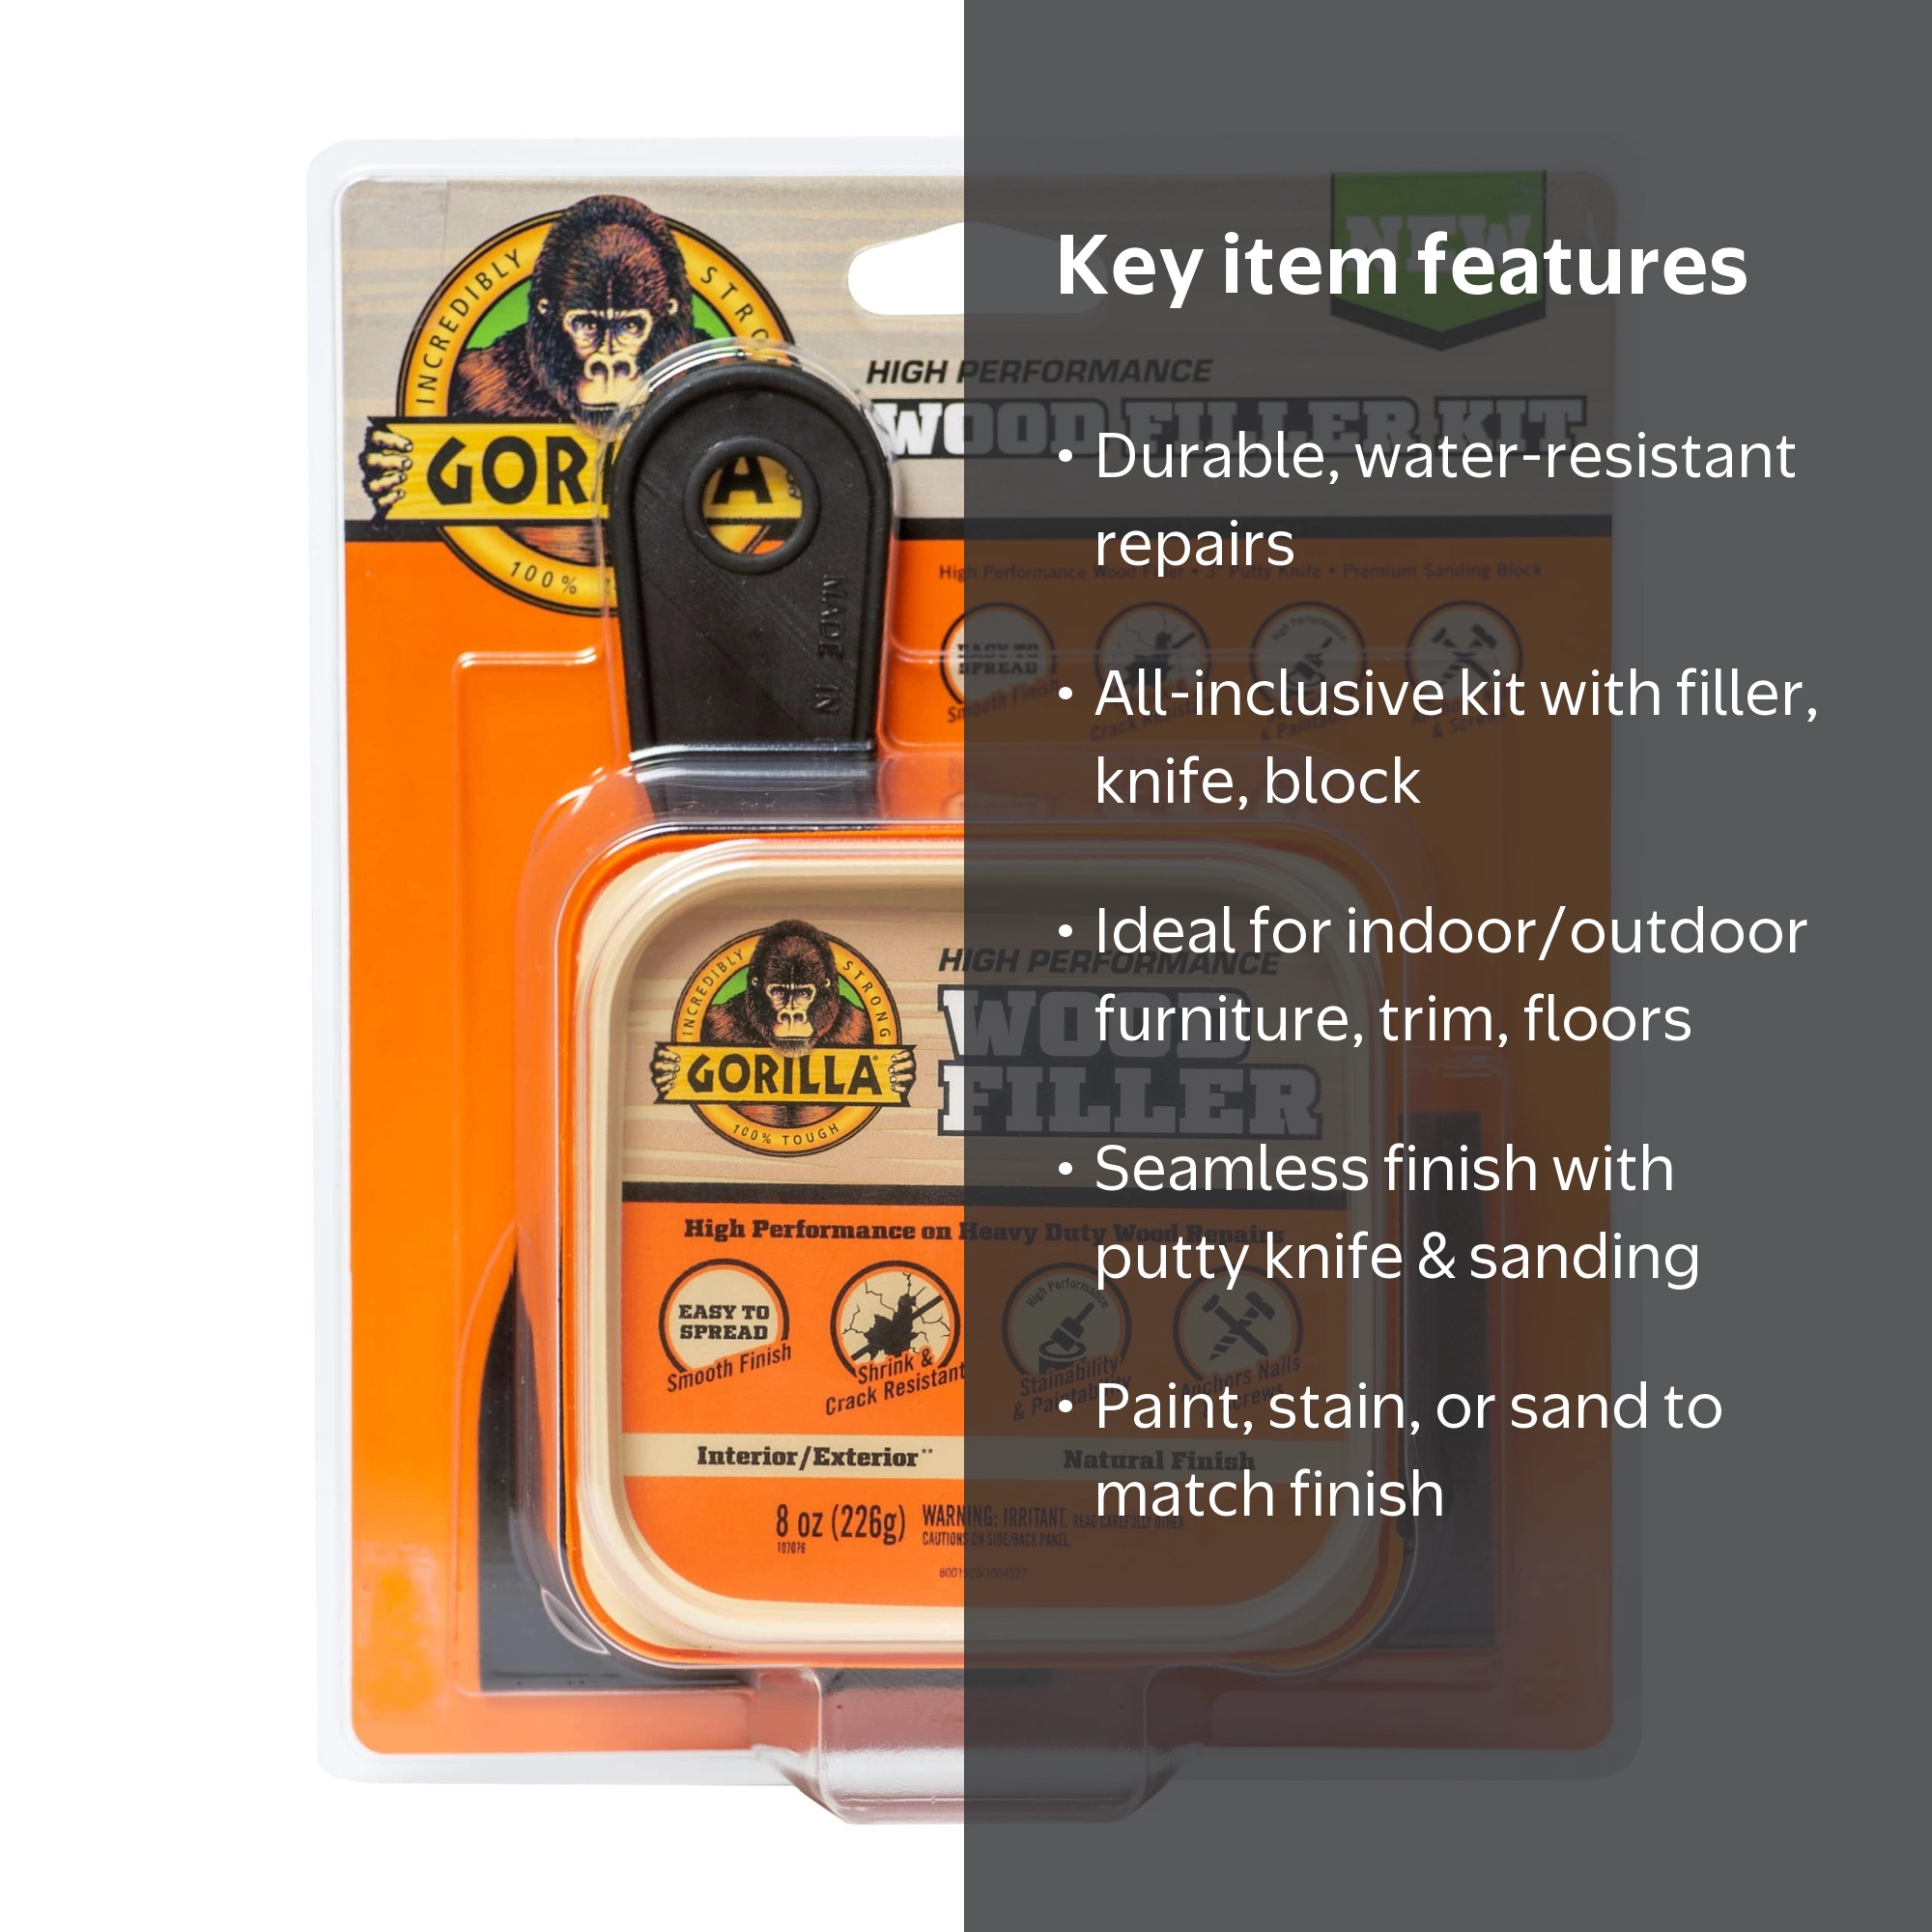
- Wood filler or epoxy for gaps
- Clean cloths and tack cloth
- Vacuum or compressed air
- Matching paint, stain, or finish
- Safety glasses and dust mask
For veneer repairs, have veneer adhesive and a small roller or flat block for pressing. Epoxy is ideal for MDF or deep cracks where strength is critical.
Optional Tools for Advanced Repairs
If the crack is severe, consider these additional tools:
- Biscuit joiner or dowel jig for joint reinforcement
- Router to cut out damaged sections
- Backer plate made of plywood or solid wood for hidden support
- CA glue with activator for fast, small fixes
Prepare your workspace with good lighting and ventilation. Remove the door and all hardware for easier access and better clamping.
Repair Hairline Cracks in Cabinet Door Panels
Fill and Refinish for a Smooth Surface
For minor surface cracks in painted or stained cabinets, follow these steps:
- Clean the crack with compressed air or a vacuum.
- Apply flexible wood filler or a mix of wood glue and fine sawdust using a putty knife.
- Overfill slightly, then let it dry completely.
- Sand with 120-grit, then 220-grit for a smooth surface.
- Wipe away dust and apply matching paint or stain.
For painted MDF, prime the filled area before painting to prevent uneven absorption. Use a fine brush or foam roller for a seamless finish.
Use Touch-Up Markers for Quick Fixes
If the crack is extremely fine, a wood touch-up marker or wax stick in a matching color can disguise it without sanding. Test on a hidden area first. This method works best on finished surfaces where structural integrity isn’t compromised.
Fix Splits in Solid Wood Cabinet Doors
Glue and Clamp the Split Properly
For visible splits in solid wood doors, follow this procedure:
- Open the crack slightly with a putty knife to expose clean wood.
- Inject wood glue using a syringe, working it deep into the split.
- Wipe excess glue with a damp cloth before it dries.
- Clamp the door tightly with bar clamps, using wooden cauls to distribute pressure and avoid dents.
- Tighten gradually until glue oozes out, then wipe clean.
- Let cure for 24 hours before removing clamps.
Use aliphatic resin glue like Titebond II for strong, water-resistant bonds. Avoid over-clamping, which can starve the joint of glue.
Prevent Future Splitting in Wood
After repair, sand and refinish the area. Apply a wood conditioner before staining to ensure even color. Maintain stable indoor humidity between 35 and 50 percent to prevent seasonal expansion and contraction that causes cracks.
Reinforce Structural Cracks for Long-Term Stability
Add Splines or Backer Plates
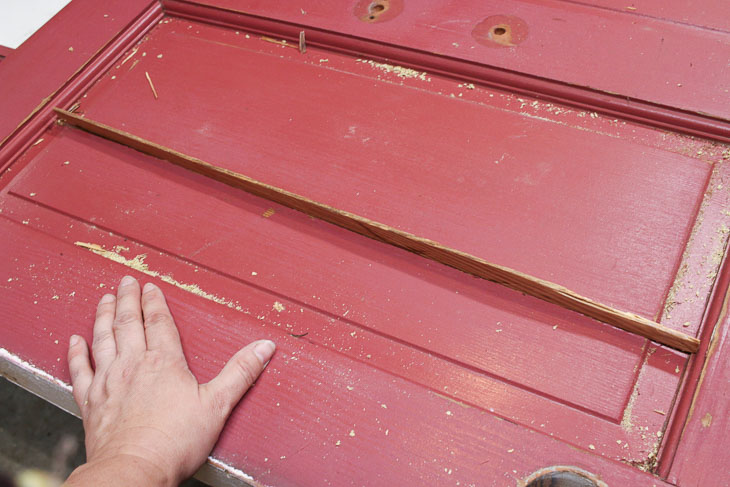
When a crack compromises the door’s strength, use this method:
- Clean both sides of the split.
- Cut a slot across the crack using a biscuit joiner or saw.
- Insert a wood spline or biscuit coated in glue.
- Clamp and let cure.
For larger splits, install a backer plate on the inside of the door. Cut a piece of quarter-inch plywood or solid wood to span the crack. Apply wood glue and attach with countersunk screws or clamps. Ensure screws don’t penetrate the front surface.
This hidden reinforcement adds long-term stability without affecting appearance.
Use Epoxy Injection for Deep Cracks
For tight or deep cracks that are hard to reach with glue, follow these steps:
- Drill small injection holes about one inch apart along the crack, stopping before breaking through the front.
- Inject low-viscosity epoxy with a syringe.
- Clamp the door and let cure for 24 to 48 hours.
- Sand and finish.
Epoxy wicks into tiny gaps and hardens into a durable, waterproof bond. This makes it ideal for MDF or damaged edges.
Repair Veneer and MDF Cabinet Door Panels
Fix Cracked or Lifting Veneer
If the crack is in a veneer layer, follow these steps:
- Carefully lift the loose veneer with a utility knife.
- Clean the substrate and apply veneer adhesive or wood glue underneath.
- Press down with a flat block and clamp lightly.
- Wipe excess glue and let dry for 24 hours.
For missing veneer, cut a patch from matching veneer, glue it in place, and clamp. Sand edges flush and refinish. Use a warm iron over a damp cloth to reactivate old adhesive if reattaching blistered veneer.
Fill MDF Cracks with Epoxy Filler
MDF doesn’t hold screws well and absorbs moisture, making cracks common at edges. Here’s how to fix them:
- Remove loose fibers and clean the area.
- Apply two-part epoxy filler designed for MDF.
- Overfill, shape, and let cure.
- Sand smooth with 120 then 220 grit.
- Prime and paint.
For wide cracks, embed fiberglass mesh tape before applying filler to prevent future splitting.
Sand and Refinish the Repaired Panel
Prepare for a Seamless Finish
After the repair has cured, follow these sanding steps:
- Start sanding with 80-grit to level filler or glue.
- Progress to 120-grit, then 220-grit for a smooth surface.
- Sand with the grain on solid wood and use circular motion on MDF.
- Vacuum and wipe with a tack cloth to remove dust.
Avoid over-sanding, which can create dips or wear through veneer.
Match the Existing Cabinet Finish
For stained wood, test stain on a scrap or hidden area first. Mix stains to match the original color. Apply with a cloth, wipe excess, and let dry. Seal with polyurethane, applying two to three coats and sanding between each.
For painted doors, prime bare wood or filler before painting. Use a high-quality brush or sprayer for even coverage. Apply thin coats, sanding lightly with 320-grit between layers. Match the sheen, whether satin or semi-gloss, to the original.
Use a graining tool or fine brush to mimic wood grain over filled areas on painted doors.
Prevent Future Cracks in Cabinet Doors
Control Humidity and Sunlight Exposure
Wood expands and contracts with humidity changes. Use a dehumidifier or humidifier to keep levels between 35 and 50 percent. Avoid placing cabinets in direct sunlight, which dries out wood and causes cracking.
Maintain Hardware and Finish Regularly
Lubricate hinges regularly to reduce stress on doors. Don’t hang heavy items on cabinet doors. Reapply a protective finish every few years to guard against moisture. Inspect doors periodically for early signs of stress or small cracks, and fix them quickly before they worsen.
When to Repair Versus Replace a Cabinet Door
Evaluate Cost and Damage Level
Repairing a cracked cabinet door panel is usually cheaper and more sustainable than replacing it. Basic repairs cost between 10 and 50 dollars in materials and take one to two days. Replacement panels cost 30 to 100 dollars or more and may not match the original style or finish.
Choose repair for minor to moderate cracks, good overall door condition, or when you want to preserve original cabinetry. Choose replacement if the panel is warped or severely damaged, multiple cracks exist, or the door is old and outdated.
For antique or high-end cabinets, consider hiring a professional woodworker for invisible, durable results.
Frequently Asked Questions About Fixing Cracked Cabinet Door Panels
Can I repair a cracked cabinet door panel without removing it from the cabinet?
Yes, but it is more difficult to clamp and may result in a less precise repair. Removing the door allows for better access, clamping, and finishing.
What is the best glue for fixing a cracked cabinet door?
For most wood repairs, PVA wood glue like Titebond II is recommended. For MDF or severe cracks, use epoxy for added strength.
How do I match the color of the repaired area to the rest of the cabinet?
Use a stain or paint that matches the existing finish. Test on a hidden area first. For painted cabinets, take a sample to a paint store for computerized color matching.
How long does the repair take?
Active work time is typically one to three hours, but drying and curing times add 24 to 48 hours. Plan for a full day for the repair, with additional time for finishing.
Can I prevent cracks from recurring?
Yes, by maintaining stable humidity, avoiding direct sunlight, and properly maintaining the finish. Regular inspection and early repair also help.
Is it worth repairing an old cabinet door, or should I replace it?
If the crack is minor and the door is otherwise in good condition, repair is cost-effective. If the door is severely damaged, warped, or has multiple issues, replacement may be more practical.
Key Takeaways for Fixing Your Cracked Cabinet Door Panel
Fixing a cracked cabinet door panel is a practical DIY project that saves money and maintains your kitchen’s aesthetic. Start by assessing the crack type and material, then choose the appropriate repair method. Whether you’re filling a hairline crack, gluing a split, or reinforcing a structural issue, the right tools and techniques make all the difference.
Remember these essential points:
- Match your repair method to the door material and crack severity
- Allow adequate curing time for glue and filler
- Sand progressively and finish with matching paint or stain
- Control humidity to prevent future cracks
With preventive care and prompt attention to damage, your cabinets can stay crack-free for years to come. Start with a simple repair today and enjoy the satisfaction of restoring your cabinetry to its former beauty.


