

Nothing ruins the peace of a quiet kitchen like the high-pitched squeal of a cabinet door every time you reach for a coffee mug. Squeaky cabinet doors are more than just annoying, they can signal underlying issues with hinges, alignment, or wear. The good news? Most squeaks are easy to fix with simple tools and household items.
Whether your cabinets started squeaking after a fresh coat of paint or from years of use, this guide will help you diagnose and eliminate the noise fast. You will learn the most common cause, which is often overlooked, and the best mess-free ways to apply fixes that last. No guesswork, no overhauls, just proven step-by-step solutions.
Diagnose the Squeak Source
Find the Noisy Hinge
Start by pinpointing which hinge is causing the problem. Open and close the door slowly while listening closely. Most cabinets have two or three hinges, so check each one individually. The squeak usually comes from either the door-side hinge, which attaches to the door itself, or the cabinet base-side hinge, which mounts to the frame. Focus your fix on the exact spot where the noise occurs.
Check for Recent Changes
Ask yourself: Did the squeak start after painting or replacing hardware? Paint buildup on hinges is a top cause of sudden squeaking. Even a thin layer increases pressure on the hinge, making screws too tight. Newly installed hinges can also be overtightened during setup. If your cabinets were recently updated, the issue is likely mechanical rather than a lubrication problem.
Loosen Door Hinge Screws
Use the Half-Turn Fix
For squeaks after painting or installation, loosen the screws on the door-side hinge by a half turn. This simple move relieves pressure caused by paint thickness or over-tightening. Use a screwdriver to turn each screw counterclockwise just 180 degrees. Do not remove them, just ease the tension.
Why this works: Paint adds bulk. Screws tightened after painting clamp the hinge too hard, creating friction. A half-turn reduces pressure without compromising stability. Test the door after adjusting. In most cases, the squeak vanishes instantly.
Avoid Common Mistakes
Never loosen both door and cabinet base-side hinges at once. This can misalign the door or cause it to sag. Start with the door-side only. If the squeak persists, then consider a slight adjustment on the frame side. But most paint-related squeaks are solved with the door hinge fix alone.
Apply Precision Lubrication
Use a Q-Tip for Clean Application
When screw adjustment is not enough, lubrication is your next step. Apply lubricant with a cotton swab (Q-tip) for precision. This prevents messy drips and keeps oil off wood or paint. Insert the swab into the hinge pivot point, which is the central knuckle where movement occurs, and work it back and forth to distribute the lubricant.
This method beats spraying directly. No overspray. No greasy fingerprints. And you use less product. It is the go-to technique recommended by users and experts alike.
Choose the Right Lubricant
Not all lubricants are equal. Match your choice to the cabinet’s location and usage.
WD-40 with Q-Tip
WD-40 is a reliable, widely used option. Spray a small amount onto the swab, not the hinge directly. Apply to the moving parts. It penetrates rust and frees stiff joints. Effective for immediate results, though it may need reapplication every few months.
Silicone Spray
Silicone lubricant lasts longer and attracts less dust than WD-40. It is ideal for kitchens where cleanliness matters. Apply the same way, swab to hinge. Provides smooth operation without sticky residue. Great for regular maintenance.
Dry Lubricants
Liquid Wrench Dry Lubricant is perfect for dust-prone areas. It dries quickly and leaves no film. Use it where grease could collect dirt or where appearance matters. Safe for frequent use.
White Sewing Machine Oil
This lightweight oil flows easily into tight spaces. Its precision tip lets you target the hinge core. Less messy than general oils. Works well in bathroom or bedroom cabinets with delicate finishes.
Try Household Alternatives
Use What You Have On Hand
No lubricant? Try common household items. They work and cost nothing.
Vaseline (Petroleum Jelly)
Vaseline is thick and long-lasting. Rub a small amount directly into the hinge with your finger. It stays in place and resists heat and moisture. Ideal for high-use kitchen cabinets. Reapply every 6 to 12 months.
Candle Wax
Rub a candle, whether paraffin or beeswax, over the hinge. The wax transfers into moving parts and reduces friction. No mess, no drips. Instant fix. Best for occasional-use cabinets like pantries or linen closets.
Pan Spray (Cooking Oil)
Cooking spray is an emergency substitute. Spray a quick burst on a paper towel, then wipe onto the hinge. Do not spray directly, grease attracts dirt. Use sparingly. Effective for temporary relief.
Cuticle Oil
Perfect for bathroom cabinets. Apply a drop with the brush applicator. It is light, moisture-resistant, and already in your bathroom. Doubles as a hinge lube and nail treatment.
Cocoa Butter
Rubbed in with fingers, cocoa butter softens and lubricates. Users report success with squeak elimination. Natural and safe. Best for low-traffic cabinets.
Compare Lubricant Options
Match Solution to Situation
| Lubricant | Best For | Longevity | Residue | Dust Risk |
|---|---|---|---|---|
| Screw Adjustment | Post-painting squeaks | Permanent | None | None |
| WD-40 | Quick fix, all cabinets | 1 to 3 months | Light | Moderate |
| Silicone Spray | Long-term use | 6+ months | Minimal | Low |
| Dry Lubricant | Dust-sensitive areas | 3 to 6 months | None | None |
| Vaseline | Heavy-use cabinets | 6 to 12 months | Heavy | Low |
| Candle Wax | Emergency fix | 1 to 3 months | None | None |
| Cooking Spray | Temporary fix | Days to weeks | Greasy | High |
Choose wisely. For kitchens, silicone or dry lube keeps things clean. For bathrooms, cuticle oil or Vaseline resists humidity. For pantries, candle wax is invisible and effective.
Follow the Right Fix Sequence
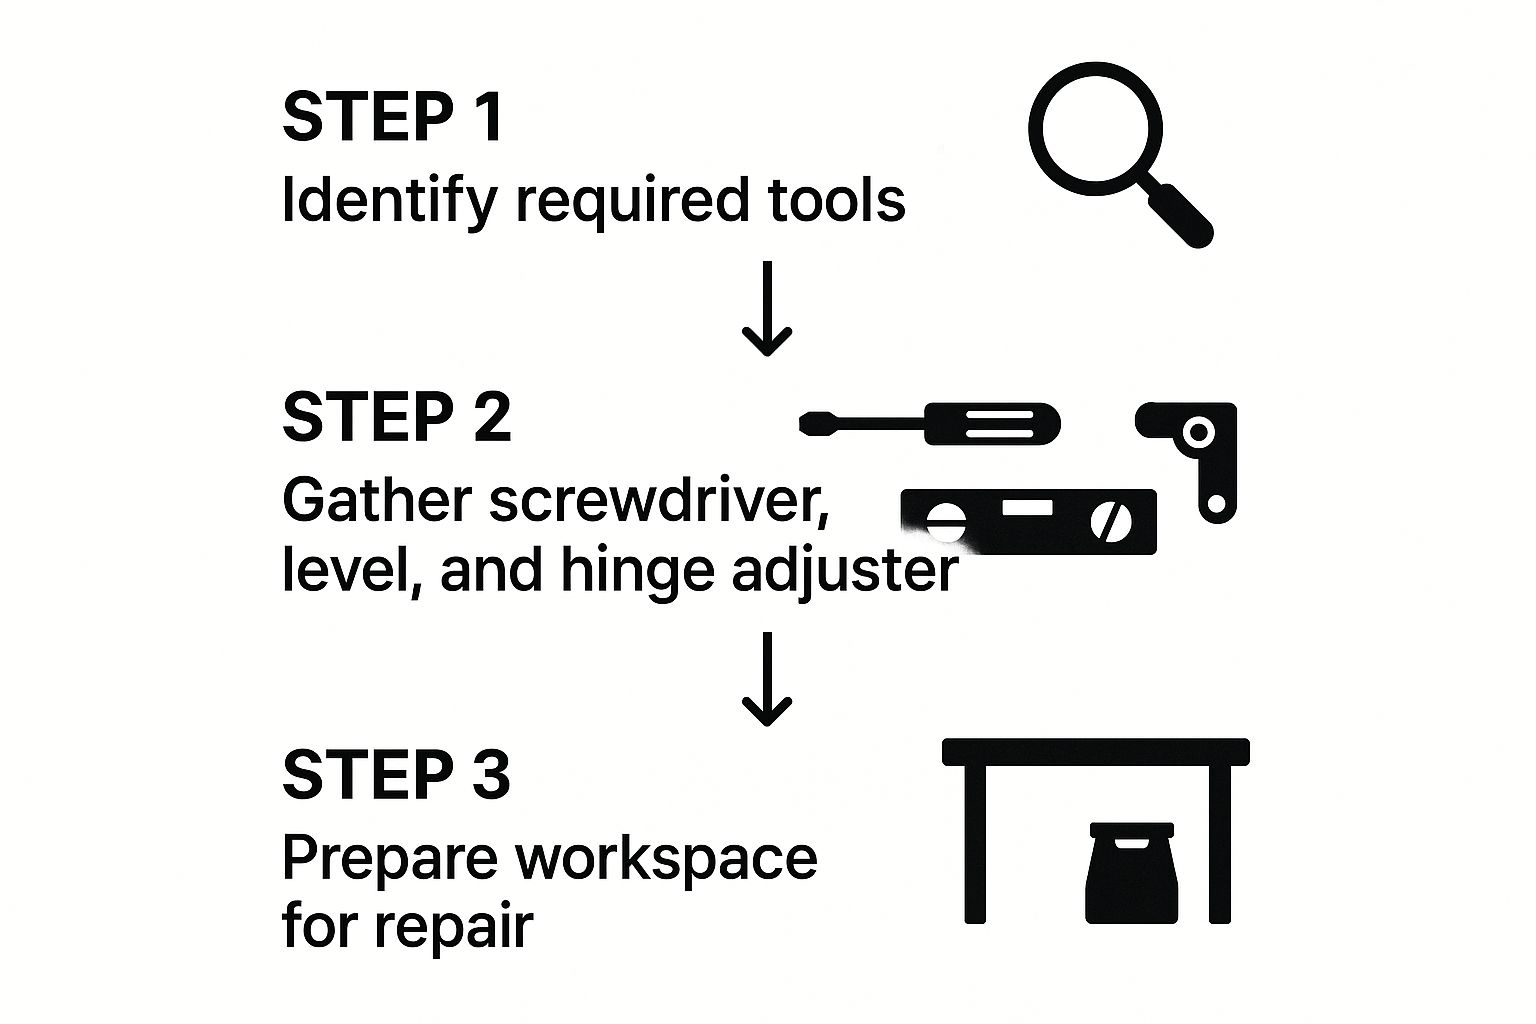
Start Simple, Then Advance
Follow this order to avoid unnecessary work:
-
Loosen door hinge screws by half a turn
Test the door. If the squeak stops, you are done. -
Apply lubricant via Q-tip
Use WD-40, silicone, or a household substitute. Work it into the hinge. -
Test again
Open and close several times. If the noise returns, reapply or switch lubricants. -
Adjust cabinet base-side screws only if needed
If the door still binds, slightly loosen the frame-side hinge. But never both sides at once.
This sequence ensures you do not over-lubricate or misalign the door. Most squeaks are fixed in under five minutes with the first two steps.
Prevent Future Squeaks
Adjust Smart During Projects
When painting cabinets, mask hinges with tape to prevent buildup. If paint does get on them, do not overtighten screws when reinstalling. The added layer means they do not need full torque. A snug fit is enough.
When installing new hinges, tighten gradually. Stop when the hinge is secure, do not crank down. Soft-close hinges are especially sensitive. Follow manufacturer specs. Over-tightening damages the mechanism.
Maintain Hinges Regularly
Check hinges every 6 to 12 months. Look for rust, wobble, or resistance. Apply a dry or silicone lubricant preventively. Clean dust and grime with a dry cloth. A little maintenance stops squeaks before they start.
Know What Works: Real User Results
Proven Fixes That Deliver
- Half-turn screw adjustment: Fixed squeaks after painting in multiple kitchens. Users said, “I wasted money on WD-40 before learning this trick.”
- WD-40 with Q-tip: Worked on all hinge types. “No mess, no drip, just silence.”
- Candle wax: “Rubbed a birthday candle on the hinge. Squeak gone. Zero cleanup.”
- Vaseline: “I use it on my pantry door. Still working after a year.”
- Cuticle oil: “Perfect for my bathroom cabinet. Smells nice, too.”
Precision beats quantity. Users agree: a little lubricant, well-placed, beats drenching the hinge.
Frequently Asked Questions About Fixing Squeaky Cabinet Doors
Why do my cabinet doors squeak after painting?
Paint adds thickness to hinge components, which makes screws overly tight. The added layer increases physical dimensions, causing a tighter fit than before painting. Loosening the door hinge screws by a half turn typically resolves this issue.
Should I loosen both sides of the hinge?
No. Start with the door-side hinges only. Loosening both door and cabinet base-side hinges simultaneously can misalign the door or cause it to sag. Only adjust the cabinet base-side if the squeak persists after the door-side adjustment.
What is the best lubricant for squeaky cabinet hinges?
The best choice depends on your environment. Silicone spray lasts longer and attracts less dust, making it ideal for kitchens. Dry lubricants work well in dust-prone areas. Vaseline provides thick, long-lasting lubrication for heavy-use cabinets.
Can I use cooking spray on my cabinet hinges?
Yes, as an emergency substitute. Apply a quick burst to a paper towel, then wipe onto the hinge. Do not spray directly, as grease attracts dirt. This provides temporary relief until you can apply a proper lubricant.
How often should I lubricate my cabinet hinges?
Check hinges every 6 to 12 months. Apply a dry or silicone lubricant preventively. For high-use kitchen cabinets with Vaseline, reapply every 6 to 12 months. WD-40 may need reapplication every few months.
Is candle wax really effective for squeaky hinges?
Yes. Rub a paraffin or beeswax candle directly over the hinge. The wax transfers into the moving parts and reduces friction. Users report the squeak stops immediately with zero cleanup required.
Key Takeaways for Fixing Squeaky Cabinet Doors
Fixing squeaky cabinet doors does not require special tools or expertise, just the right approach. Start with the half-turn screw fix, especially if your cabinets were recently painted. This addresses the most common cause, which is excessive tightness from paint buildup. If that fails, apply lubricant with a Q-tip for clean, targeted results.
Choose your product based on location and longevity needs. Household items like Vaseline, candle wax, and cuticle oil work just as well as commercial products. Prevent future issues by avoiding over-tightening screws and maintaining hinges regularly. With these steps, you will silence squeaks fast and keep your cabinets quiet for months.


