
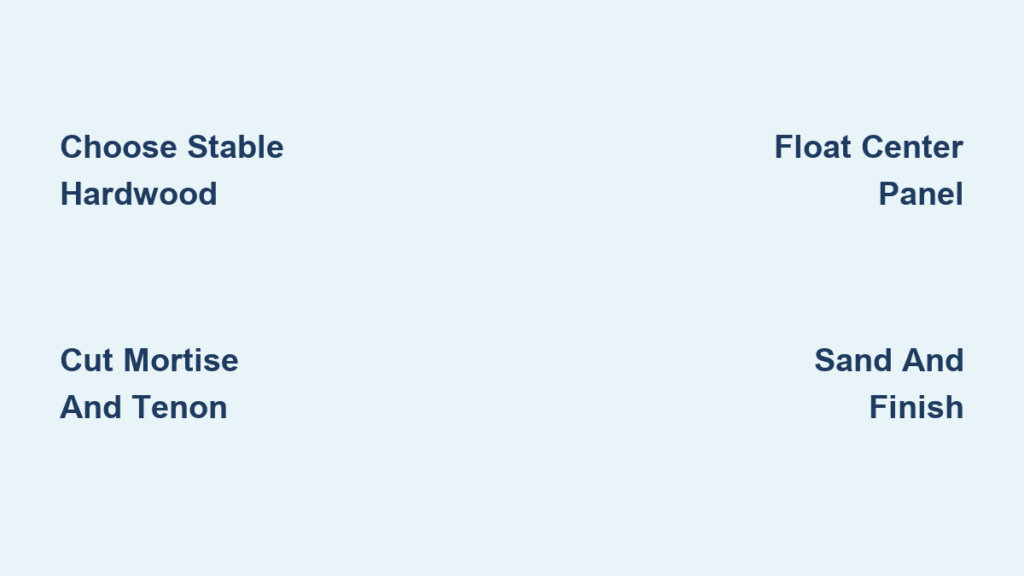
You have decided to upgrade your kitchen or bathroom with custom cabinetry, and Shaker cabinet doors are the perfect choice. Known for their clean lines, timeless design, and handcrafted appeal, Shaker doors combine simplicity with elegance. Whether you are a DIY enthusiast or a beginner woodworker, learning how to make Shaker cabinet doors is a skill worth mastering. With just a few essential tools and some quality hardwood, you can build professional-looking doors that rival custom carpentry, all from your own workshop.
This guide walks you through every step: selecting the right wood, cutting precise joinery, assembling the frame, and finishing for durability. You will learn how to avoid common pitfalls, save time with smart techniques, and customize the size and style to fit any cabinet. By the end, you will have beautiful, hand-built doors ready for staining or painting. Let’s get started.
Choose the Right Wood Species
Select a Stable, Workable Hardwood
The best Shaker doors come from stable, straight-grained hardwoods that resist warping and take finish well. Common choices include:
- Poplar: Affordable, easy to machine, and paints beautifully. Ideal for painted cabinets.
- Maple: Hard, smooth, and durable. Great for modern or high-traffic kitchens.
- Cherry: Rich color that deepens with age. Perfect for stained finishes.
- White Oak: Strong grain pattern, water-resistant, and long-lasting.
Avoid softwoods like pine for painted doors unless you are sealing well. They dent easily and show grain telegraphing through the finish.
Match Wood for Consistency
Cut all parts of a single door from the same board when possible. This ensures consistent color and grain, especially important for stained finishes. For multiple doors, batch-cut all rails and stiles together to maintain uniformity across the entire set.
Cut Rails and Stiles to Size
Measure Cabinet Opening Accurately
Before cutting wood, measure the cabinet frame opening precisely. Shaker doors typically need a 1/8 inch gap on all sides for clearance. For example, if the opening is 18 inches wide, the door should be 17-3/4 inches. Subtract 1/4 inch from both width and height. Standard door thickness is 3/4 inch, so dimension your stock accordingly.
Cut Stiles (Vertical Pieces) First
Stiles run the full height of the door. Cut these first:
- Use a table saw or miter saw for straight, square cuts.
- Set your crosscut sled or fence for accuracy.
- Typical stile length equals door height minus rail width, usually 1-1/2 or 2-1/2 inches.
Keep edges smooth and parallel for a clean final look.
Cut Rails (Horizontal Pieces) Next
Rails fit between the stiles at top and bottom, and middle if applicable. Their length is calculated as door width minus two times the stile width. For a 1-1/2 inch wide stile and 18 inch door, the rail length is 15 inches. Cut top and bottom rails to this dimension. Use a stop block for repeatable accuracy across multiple doors.
Mill the Frame Profile
Cut the Center Panel Recess (Groove)
Shaker doors feature a recessed center panel. You create this by routing a 1/4 inch deep by 1/2 inch wide groove around the inner edge of rails and stiles. Use a table-mounted router with a straight bit, or a stacked dado blade on a table saw:
- Set cutting depth to 1/4 inch.
- Make multiple passes if needed.
- Cut grooves on both faces of each rail and stile’s inside edge.
Ensure the groove runs the full length of each piece for proper panel seating.
Create the Rabbet on the Panel
The center panel has a loose fit. It floats within the frame to allow for wood movement. Cut its edges to fit snugly into the groove:
- Use a rabbet bit or table saw to cut a 1/4 by 1/4 inch rabbet on all four edges.
- Final panel size should be groove-to-groove distance minus 1/8 inch per side for expansion.
For example, if the inner opening is 14 by 16 inches, cut the panel to 13-7/8 by 15-7/8 inches.
Cut Mortise and Tenon Joints
Mark and Cut Tenons on Rails
The rails connect to the stiles using mortise and tenon joints. This strong, traditional joinery is perfect for doors. Use a tenoning jig on the table saw:
- Set blade height to 3/8 or 1/2 inch.
- Cut shoulders on both ends of each rail.
- Make cheek cuts by adjusting the fence and making two passes per side.
Tenon thickness should match your stock, typically 3/8 inch for 3/4 inch wood.
Cut Mortises in Stiles
Mortises are rectangular holes in the stiles that accept the tenons. Use a mortising machine, drill press with Forstner bit, or plunge router:
- Mark centerlines on stile ends.
- Drill a series of overlapping 3/8 inch holes along the mortise area.
- Clean up edges with a sharp chisel.
The mortise should be 3/8 inch wide, 1-1/2 inch long, and 3/8 inch deep, matching the tenon exactly.
Dry Fit and Test Assembly
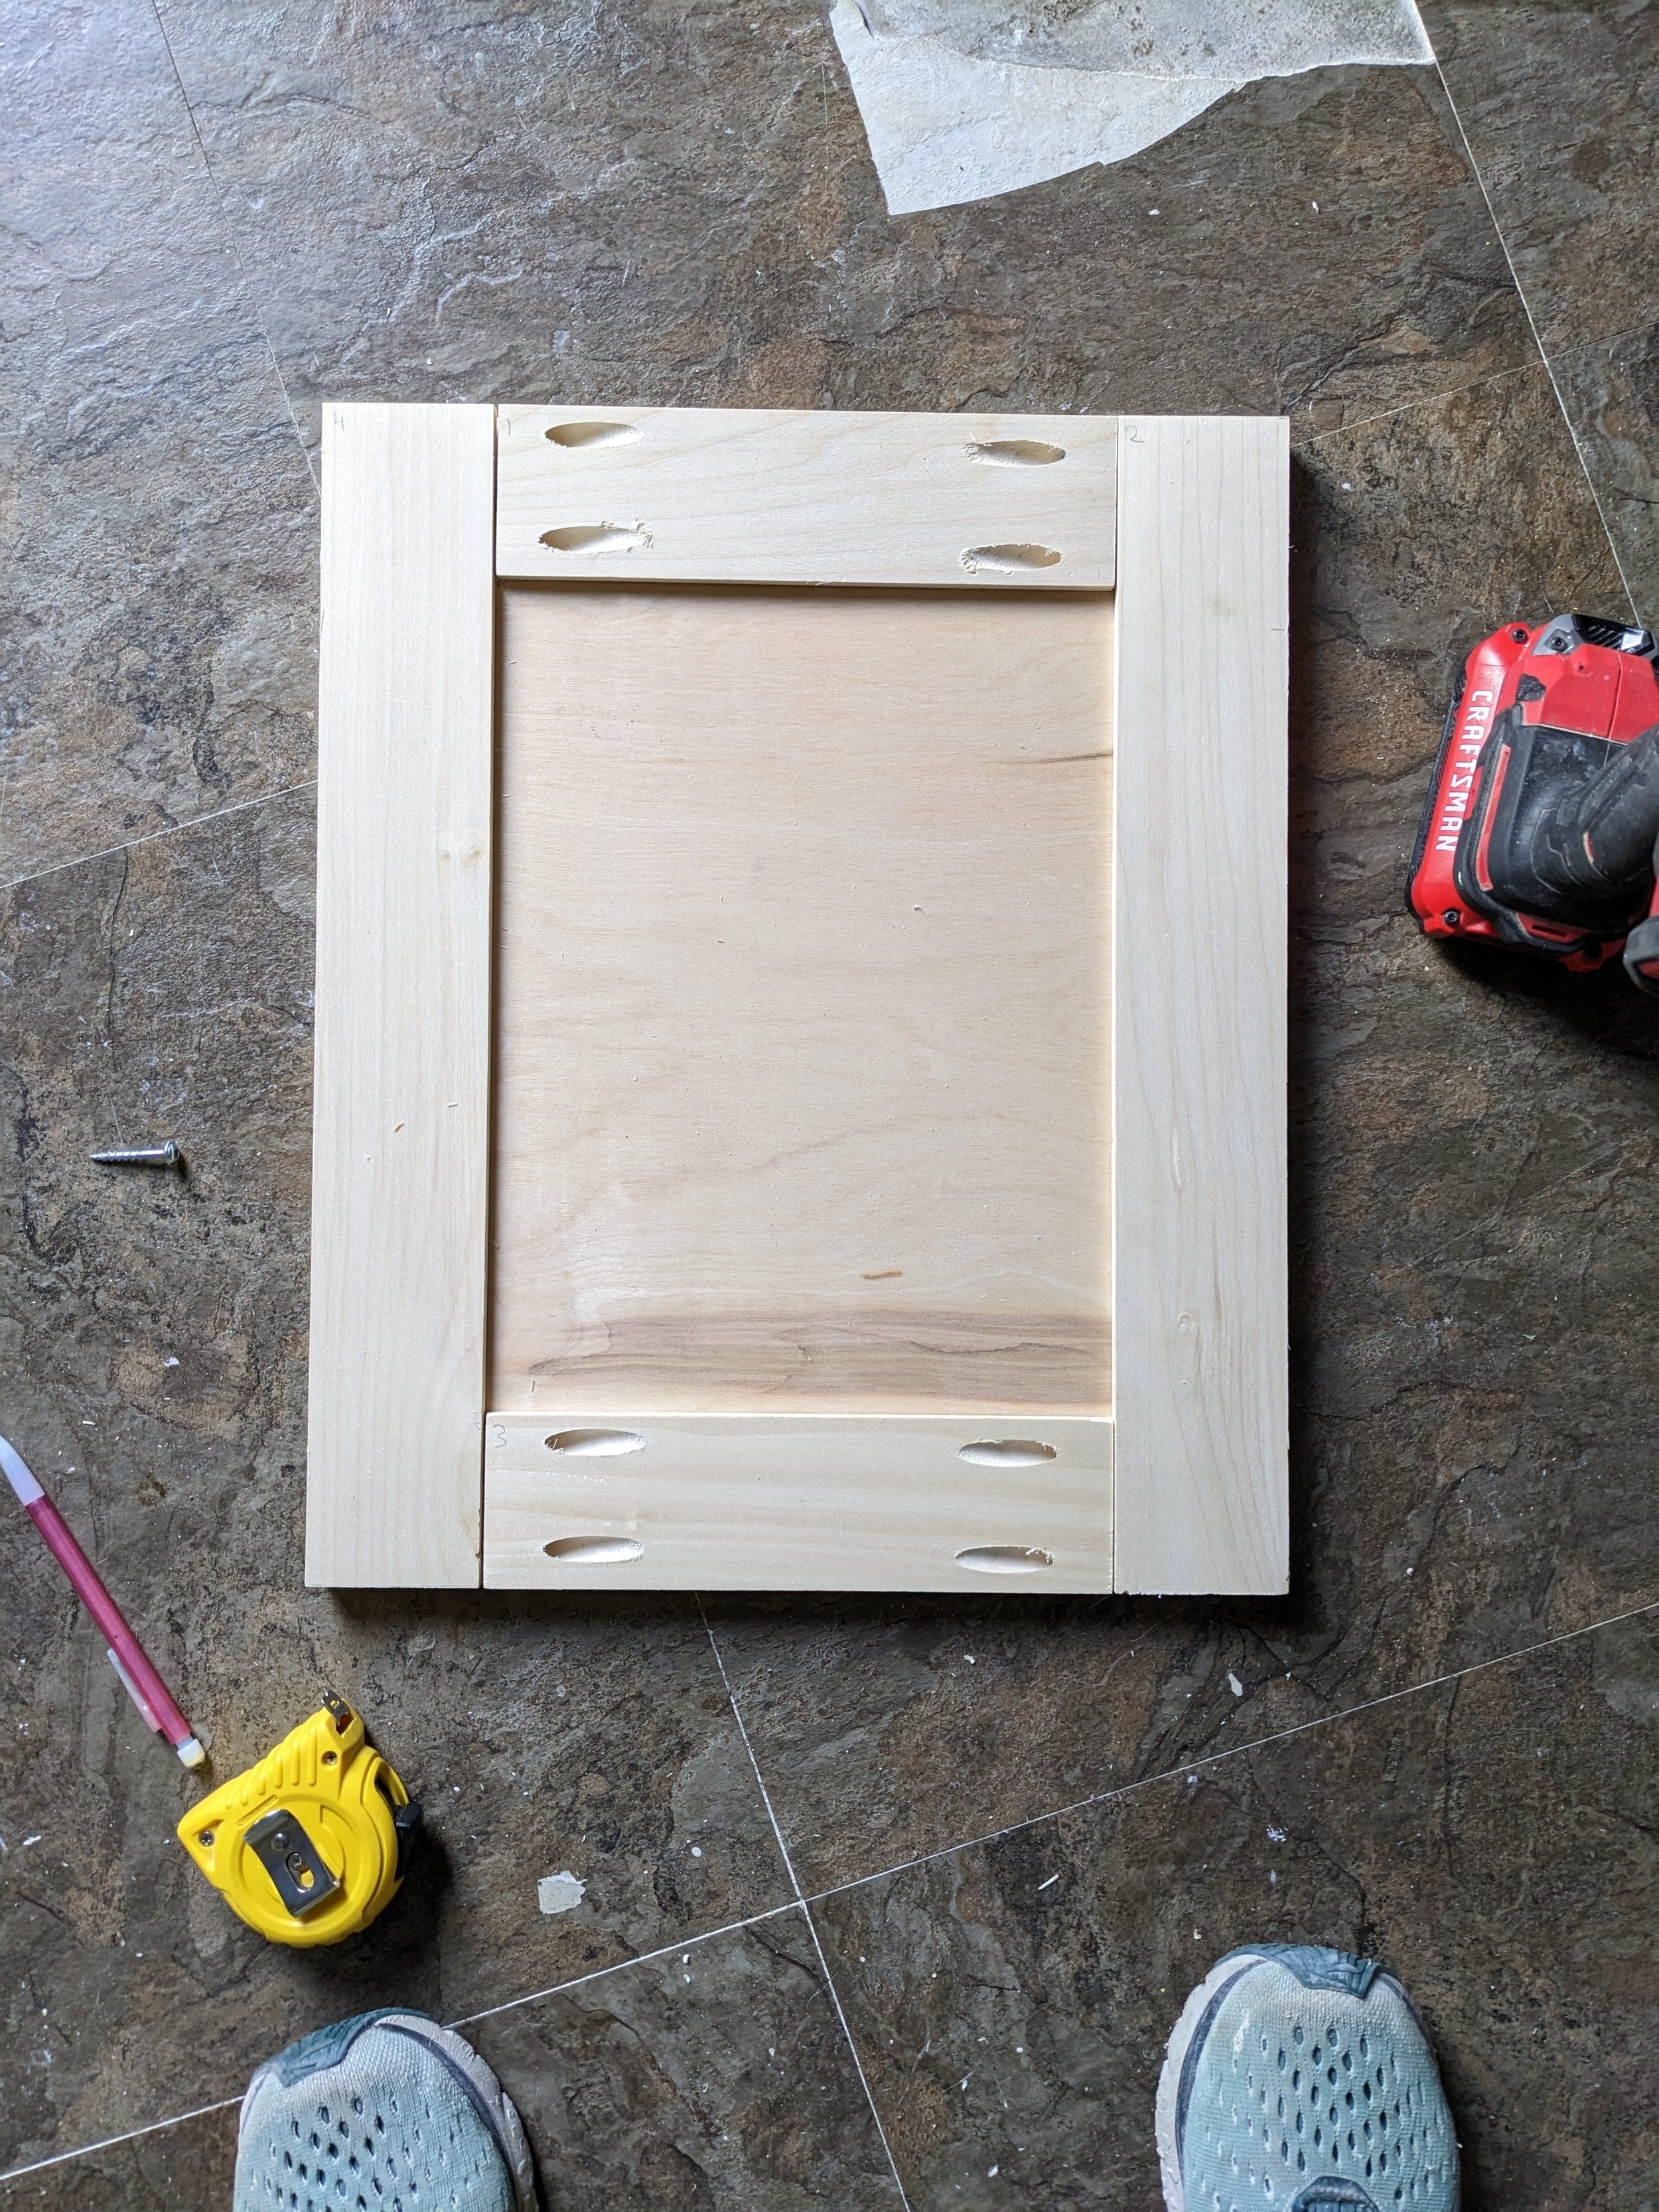
Test Joint Fit Before Gluing
Assemble the door without glue first:
- Insert tenons into mortises.
- Check for squareness with a framing square.
- Ensure the center panel sits flat in the groove with room to expand.
Adjust joints as needed. A snug fit is ideal, with no gaps or forcing required.
Verify Panel Clearance
Place the panel in the frame and measure gaps:
- 1/16 to 1/8 inch on all sides is ideal.
- Too tight? Sand panel edges slightly.
- Too loose? Recut or shim carefully.
This prevents cracking due to seasonal wood expansion and contraction.
Glue and Clamp the Frame
Apply Wood Glue Strategically
Use yellow carpenter’s glue, also known as PVA:
- Apply only to tenon cheeks and shoulders.
- Do not glue the panel. It must float freely.
- Wipe excess glue with a damp cloth before clamping.
Gluing only the frame ensures long-term durability and prevents panel cracks.
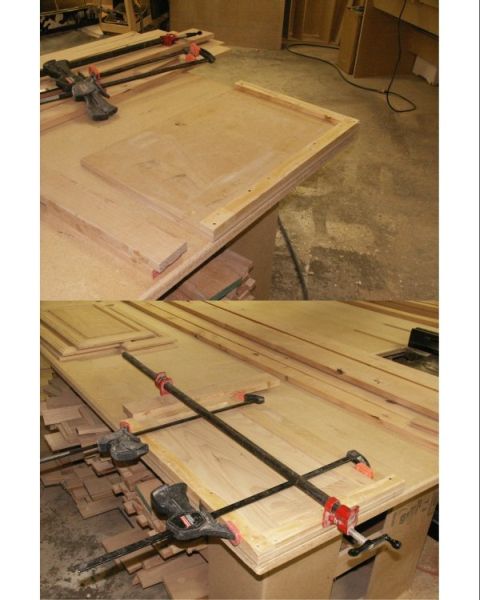
Clamp with Even Pressure
Use bar clamps across the corners:
- Place cauls, which are wood pads, over clamp jaws to prevent marring.
- Alternate clamp positions top and bottom to avoid bowing.
- Check for square by measuring diagonals. They should match exactly.
Let the assembly dry for 4 to 6 hours or overnight for best results.
Sand and Finish
Sand Smoothly in Stages
Start with 120-grit sandpaper:
- Sand joints flush with the surrounding surface.
- Remove tool marks and minor imperfections.
- Progress to 180-grit, then 220-grit for a fine finish.
Always sand with the grain to avoid visible scratches.
Apply Finish for Protection
Choose based on your desired look:
- Paint: Ideal for poplar. Use primer first, then two topcoats.
- Stain and Polyurethane: Enhances grain in cherry or maple. Apply wipe-on poly for smoothness.
- Oil Finish: Danish or tung oil for a natural look and moisture resistance.
Let the finish dry fully before hanging the doors.
Hang the Doors
Install Hinges Properly
Use concealed European hinges or traditional butt hinges:
- Pre-drill hinge pockets if using cup hinges.
- Attach to the stile, positioned 2 to 3 inches from top and bottom.
- Use a jig for consistent placement across all doors.
Proper hinge placement ensures smooth operation and even gaps.
Adjust for Alignment
Once hung, fine-tune the fit:
- Check that the door is level and plumb.
- Adjust hinges side-to-side, up and down, and in and out.
- Ensure consistent gaps around the frame.
Tighten screws only after alignment is perfect to avoid stripping.
Customize Design Variations
Change Rail Width or Placement
Standard Shaker doors have top, bottom, and center rails. Try these variations:
- Mini Shaker: Use narrower rails at 1 inch for a lighter look.
- Vertical Panel: Rotate the door or add a vertical center stile.
- Glass Insert: Replace the solid panel with framed glass for openness.
Update the groove and tenon layout accordingly for each variation.
Add Beading or Inlay
For a traditional touch:
- Cut a 1/8 inch bevel or ogee profile along the frame’s inner edge.
- Inlay thin wood strips between the panel and frame.
Use a router with a small bit for precision work on these details.
Frequently Asked Questions About Shaker Cabinet Doors
What is the best wood for Shaker cabinet doors?
Poplar is best for painted doors because it is affordable and machines well. Maple and cherry are excellent for stained finishes due to their smooth grain and durability. White oak offers strength and water resistance for high-moisture areas.
How much gap should be around a Shaker cabinet door?
Leave a 1/8 inch gap on all sides of the door for proper clearance. This means subtracting 1/4 inch from both the width and height of the cabinet opening when sizing your door.
Do I need to glue the center panel in a Shaker door?
No. The center panel must float freely within the frame groove. Glue only the mortise and tenon joints. This allows the panel to expand and contract with humidity changes without cracking.
What is the standard thickness for Shaker cabinet doors?
The standard thickness is 3/4 inch for both the frame and the center panel. This provides adequate strength for hinges and daily use while maintaining a balanced profile.
Can I make Shaker doors with just a table saw?
Yes. A table saw with a dado blade can cut grooves, tenons, and rabbets. You will also need a chisel to clean up mortises. A router makes the process easier but is not strictly required.
How long does it take to build one Shaker cabinet door?
A single door takes about 2 to 3 hours of active work, not including glue drying time. Batch production is faster. Building multiple doors at once reduces setup time significantly.
Key Takeaways for Building Shaker Cabinet Doors
Making Shaker cabinet doors is a rewarding project that blends craftsmanship with functionality. With accurate measurements, solid joinery, and careful finishing, you can create doors that look professionally built. The key is patience. Take time to cut precisely, dry-fit thoroughly, and finish beautifully.
Remember these core principles:
- Choose stable hardwoods matched to your finish type.
- Measure openings carefully and subtract 1/4 inch for clearance.
- Use mortise and tenon joints for strength and durability.
- Never glue the center panel. Let it float.
- Sand in stages and apply appropriate finish for your wood.
Once you master the basic method, you can scale it to any size or style. Whether you are renovating a single cabinet or building a full kitchen, knowing how to make Shaker cabinet doors empowers you to craft lasting, custom results. Start with one door, perfect your technique, and enjoy the satisfaction of handmade cabinetry.


