
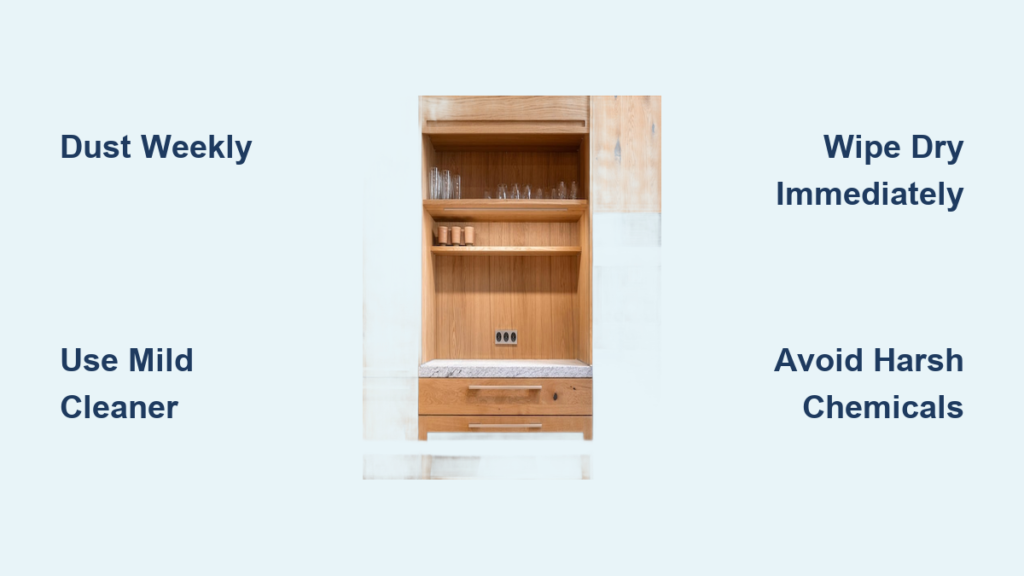
Oak cabinets add warmth and character to any kitchen or bathroom, but over time they collect grease, grime, and fingerprints that dull their natural beauty. Knowing how to clean oak cabinets properly is essential to preserving their finish and avoiding damage. Unlike other woods, oak has prominent grain patterns that can trap dirt, making regular cleaning necessary, but only with the right methods. Using harsh chemicals or too much water can strip the finish, warp the wood, or lead to permanent discoloration.
In this guide, you will learn step-by-step techniques to safely clean oak cabinets, whether they are sealed with varnish, stained, or treated with oil. You will also discover what products to avoid, how often to clean, and simple maintenance habits that extend the life of your cabinetry. Whether your oak cabinets are 5 years or 50 years old, this routine will restore their luster without risking harm.
Essential Cleaning Supplies

Before touching your cabinets, gather the right tools. Using improper cloths or cleaners is one of the most common causes of damage.
Soft Microfiber Cloths
Use lint-free, soft microfiber cloths for all cleaning steps. They lift dust and grime without scratching the surface. Never use paper towels, abrasive scrubbers, or old t-shirts that may contain hidden grit.
Mild Wood Cleaner
Choose a pH-neutral cleaner designed for finished wood. Look for products labeled safe for hardwoods or specifically for use on oak. Avoid all-purpose cleaners containing ammonia, bleach, or degreasers because these break down protective finishes over time.
White Vinegar (Optional)
For a natural alternative, mix 1 part white vinegar with 4 parts warm water. This solution cuts light grease but must be used sparingly and wiped dry immediately to prevent moisture damage.
Bucket or Spray Bottle
Use a small spray bottle to lightly mist your cleaning solution onto the cloth, not directly onto the cabinet. Direct spraying allows liquid to seep into joints and edges, which can cause swelling or delamination.
Pre-Cleaning Inspection
Always assess the condition of your cabinets before cleaning. This prevents accidental damage and helps you choose the safest method.
Check the Finish Type
Identify whether your oak cabinets have a sealed finish (like polyurethane or lacquer) or an oil-rubbed finish. Sealed cabinets handle mild moisture better, while oil-finished wood is more vulnerable to water damage. If unsure, test a small hidden area first.
Look for Damage or Wear
Inspect for cracks, peeling finish, or loose hinges. Avoid wet cleaning on areas with compromised finishes, as moisture can penetrate the wood. Address major damage before cleaning.
Test in Hidden Area
Dampen a corner of your cloth with the cleaning solution and apply to an inconspicuous spot, such as the inside of an upper cabinet door. Wait 5 minutes, then wipe dry. If the wood darkens, warps, or feels sticky, switch to a gentler formula.
Daily Dusting Routine
Frequent dusting prevents buildup and reduces the need for deep cleaning.
Wipe With Dry Cloth Weekly
Use a dry microfiber cloth to gently remove surface dust every 7 to 10 days. Focus on top edges, molding, and cabinet fronts where dust accumulates fastest.
Use a Duster for Carvings
For cabinets with raised panels or ornate details, use a soft-bristle brush or electrostatic duster to reach crevices. A makeup brush works well for tight corners.
Avoid Feather Dusters
Feather dusters merely move dust around and can leave residue. Opt for tools that trap particles instead.
Deep Cleaning Procedure
Perform a thorough clean every 3 to 6 months, depending on kitchen usage.
Remove Cabinet Hardware
Take off knobs and pulls to clean underneath. Soak them in warm, soapy water, then dry completely before reattaching. Label each piece with tape if needed to remember placement.
Work Top to Bottom
Start at the top and move downward. This prevents drips from dirtying already-cleaned areas. Clean one section at a time, about 2 to 3 cabinets per pass.
Apply Cleaner Correctly
Spray the solution lightly onto the cloth, never the cabinet. Gently wipe along the grain to lift grime without scratching. Use extra care on stained areas near stoves or sinks.
Tackle Grease Buildup
For greasy spots, especially around the stove, use a slightly damp cloth with a drop of dish soap (phosphate-free). Rinse by wiping with a second cloth dampened with clean water, then dry immediately.
Dry Immediately
After cleaning, go over each cabinet with a dry microfiber cloth. Lingering moisture is the biggest threat to oak wood. Evaporation can take hours, and even small amounts can damage the finish.
Cleaning Interior Surfaces
Do not forget the inside of doors and cabinet boxes.
Wipe Door Interiors
Use the same method as exterior cleaning. Pay attention to hinges and edges where splatters collect.
Clean Cabinet Shelves
Remove items and wipe shelves with a slightly damp cloth. For sticky spills, use a cloth with a tiny amount of baking soda paste (mix with water), then wipe clean and dry.
Deodorize Naturally
If cabinets smell musty, place an open box of baking soda inside overnight. Replace monthly for ongoing freshness.
Avoid These Common Mistakes
Even well-intentioned cleaning can go wrong with oak cabinets.
Never Use All-Purpose Cleaners
Products like Windex, Formula 409, or Lysol contain solvents that degrade wood finishes. Over time, they leave cabinets dull and vulnerable to moisture.
Do Not Soak the Wood
Oak is porous. Excess water causes swelling, warping, and finish failure. Never use steam cleaners or soak rags.
Skip the Polish Unless Needed
Polish can temporarily enhance shine but builds up over time, attracting more dust. Use only occasionally and choose a wax-free formula designed for oak.
Restoring Dull or Hazy Cabinets
If your cabinets look cloudy after cleaning, the issue is likely residue or finish damage.
Remove Cleaning Residue
Mix 1 cup water with 1 tablespoon white vinegar and 1 teaspoon olive oil. Dampen a cloth and wipe gently along the grain. Buff with a dry cloth. This removes film and adds mild conditioning.
Address Water Rings
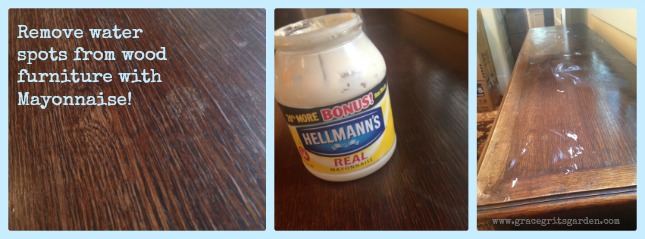
For light white rings caused by moisture, rub the spot gently with a cloth-wrapped eraser or dab with mayonnaise, as the oil penetrates the finish. Wipe clean after 5 minutes.
Consult a Pro for Severe Damage
If cabinets are deeply scratched, peeling, or discolored, professional refinishing may be needed. Avoid DIY sanding unless experienced, since oak’s open grain can absorb stain unevenly.
Preventative Maintenance Tips
Keep oak cabinets looking their best between cleanings.
Use Cabinet Liners
Line shelves with breathable, non-adhesive liners to protect against spills and scratches. Replace when soiled.
Control Humidity Levels
Maintain indoor humidity between 40 and 50 percent. Too dry causes cracking, while too moist leads to swelling. Use a dehumidifier or humidifier as needed.
Install Range Hood
Reduce grease buildup by using a vented range hood while cooking. This keeps airborne oils from settling on nearby cabinets.
Frequently Asked Questions About Cleaning Oak Cabinets
Can I use vinegar to clean oak cabinets?
Yes, but only in a diluted form. Mix 1 part white vinegar with 4 parts warm water. Apply sparingly with a cloth and wipe dry immediately. Vinegar is acidic, so never use it undiluted or on oil-finished oak.
How often should I deep clean oak cabinets?
Deep clean every 3 to 6 months depending on usage. Kitchens with heavy cooking or frying may need cleaning every 2 to 3 months. Dust weekly to reduce buildup between deep cleans.
What is the best cleaner for oak cabinets?
A pH-neutral wood cleaner labeled safe for hardwoods is best. These products clean without stripping protective finishes. Avoid all-purpose cleaners with ammonia, bleach, or harsh degreasers.
Can I use water on oak cabinets?
Yes, but only sparingly. Use a slightly damp cloth, never a wet one. Wipe dry immediately after cleaning. Excess moisture causes swelling, warping, and finish damage.
How do I remove grease from oak cabinets?
Use a cloth with a drop of phosphate-free dish soap. Wipe the greasy area gently, then rinse with a second cloth dampened with clean water. Dry immediately to prevent moisture damage.
Should I polish oak cabinets after cleaning?
Polish occasionally, not after every cleaning. Choose a wax-free formula designed for oak. Overuse causes buildup that attracts dust and dulls the finish over time.
Key Takeaways for Cleaning Oak Cabinets
Regular, gentle cleaning is the key to long-lasting oak cabinets. Use soft microfiber cloths, pH-neutral cleaners, and always dry surfaces immediately. Avoid harsh chemicals, excess water, and abrasive tools that damage finishes.
Prevention matters as much as cleaning. Dust weekly, control humidity, and use a range hood to reduce grease buildup. Address spills quickly and inspect finishes regularly for early signs of wear.
Start with a simple dusting routine this week. Then schedule a deep clean for your cabinets within the next month. Your oak cabinets will reward you with lasting beauty and durability.


