

Drilling holes into cabinet doors sounds straightforward, but achieving a clean, professional result requires precision and the right approach. Whether you’re installing new knobs, adding hinges, or running cables, knowing how to drill holes into cabinet doors correctly protects your investment and prevents frustrating mistakes. A wandering bit or splintered edge can ruin an otherwise perfect door.
This guide covers everything you need for success: selecting the right drill bit, marking your hole locations accurately, preventing wood tear-out, and drilling with confidence. You’ll also discover common pitfalls to avoid and expert techniques that make the job faster and safer, whether your doors are solid wood, MDF, or laminate.
By the end, you’ll have the knowledge to drill holes into cabinet doors without damage, ensuring your cabinetry looks polished and functions flawlessly.
Select the Correct Drill Bit for Cabinet Doors

Choose Forstner Bits for Clean, Flat-Bottomed Holes
Standard twist bits often tear out the backside of thin cabinet door materials. For clean, precise holes, especially for hinges, knobs, or wire grommets, Forstner bits are the superior choice. They cut smoothly through wood, MDF, and laminate with minimal splintering, leaving a flat-bottomed hole ideal for hardware installation.
Forstner bits excel at creating large-diameter holes without breakout. Their design allows for clean entry and exit, making them perfect for visible cabinet fronts.
Consider Spade Bits for Quick, Rough Holes
Spade bits offer a budget-friendly alternative for fast, rough holes in softwood or MDF. They work quickly but produce less precise results than Forstner bits. Use them when the hole will be hidden by hardware or when speed matters more than perfection.
Avoid twist bits for anything beyond small pilot holes. Their aggressive cutting action can cause significant tear-out on thin cabinet materials.
Match Bit Diameter to Your Hardware Specifications
Always match your bit diameter to the hardware requirements. Cabinet knobs and handles typically need 1-inch to 1-1/8-inch holes. Hinge cutouts often require 35mm Forstner bits. Check the manufacturer’s specifications before drilling to avoid costly mistakes.
Pro Tip: Test your bit and technique on a scrap piece of the same material before drilling into your actual cabinet door.
Mark Your Hole Location with Precision
Measure Carefully Before Making Any Marks
Inaccurate hole placement ruins cabinetry aesthetics. Start by measuring from the top, bottom, or edge of the door based on your hardware’s specifications. Most cabinet pulls are mounted with centers spaced 3 or 4 inches apart.
Use a combination square or tape measure to mark center points with a sharp pencil. For multiple doors, create a jig or template to ensure consistent positioning across all doors.
Use a Center Punch to Prevent Bit Wandering
A pencil mark alone won’t keep your drill bit in place. Drill bits tend to “walk” across smooth surfaces, especially on glossy cabinet finishes. Use a center punch or nail set to create a small dimple at the exact center point. This guides the bit and prevents slipping during the initial cut.
For delicate finishes, apply low-tack painter’s tape over the area before marking. This reduces surface damage and makes your marks more visible.
Prevent Wood Splintering and Tear-Out
Support the Backside with a Backer Board
Tear-out, or splintering on the backside of the hole, is a common problem with thin cabinet doors. Prevent it by placing a backer board made of scrap wood behind the door. This supports the wood fibers as the bit exits, giving you a clean cut on both sides.
Clamp the backer board securely in place. Make sure it sits flat against the door to avoid uneven pressure that could cause splitting.
Drill at Low Speed with Sharp Bits
Dull bits crush rather than cut, significantly increasing splinter risk. Always use sharp, high-quality bits for cabinet work. For Forstner bits, apply steady, even pressure and drill at low speed, around 800 to 1,200 RPM. High speeds can burn the wood or cause the bit to chatter.
Let the bit do the work rather than forcing it. Pause occasionally to let the bit cool and clear away wood chips.
Drill the Hole with Proper Technique
Secure the Cabinet Door Before Drilling
Never hand-hold a cabinet door while drilling. Clamp it firmly to a workbench or sawhorses with the finished side facing up. This ensures the cleanest entry hole. With a backer board behind the door, the exit side will also remain smooth.
Keep your drill perpendicular to the door surface. Tilting the drill causes oval or misaligned holes that won’t fit your hardware properly.
Drill in Stages for Deep or Large Holes
For deep or large-diameter holes, drill in stages rather than forcing the bit through in one pass. Start with a shallow guide hole, then gradually increase depth. This reduces strain on both the bit and drill motor while helping clear chips more effectively.
Stop just before the bit exits the backside. If possible, flip the door and finish from the opposite side to minimize blowout and achieve a clean hole on both faces.
Adapt Your Technique for Different Door Materials
Handle Laminate and Thermofoil Doors with Care
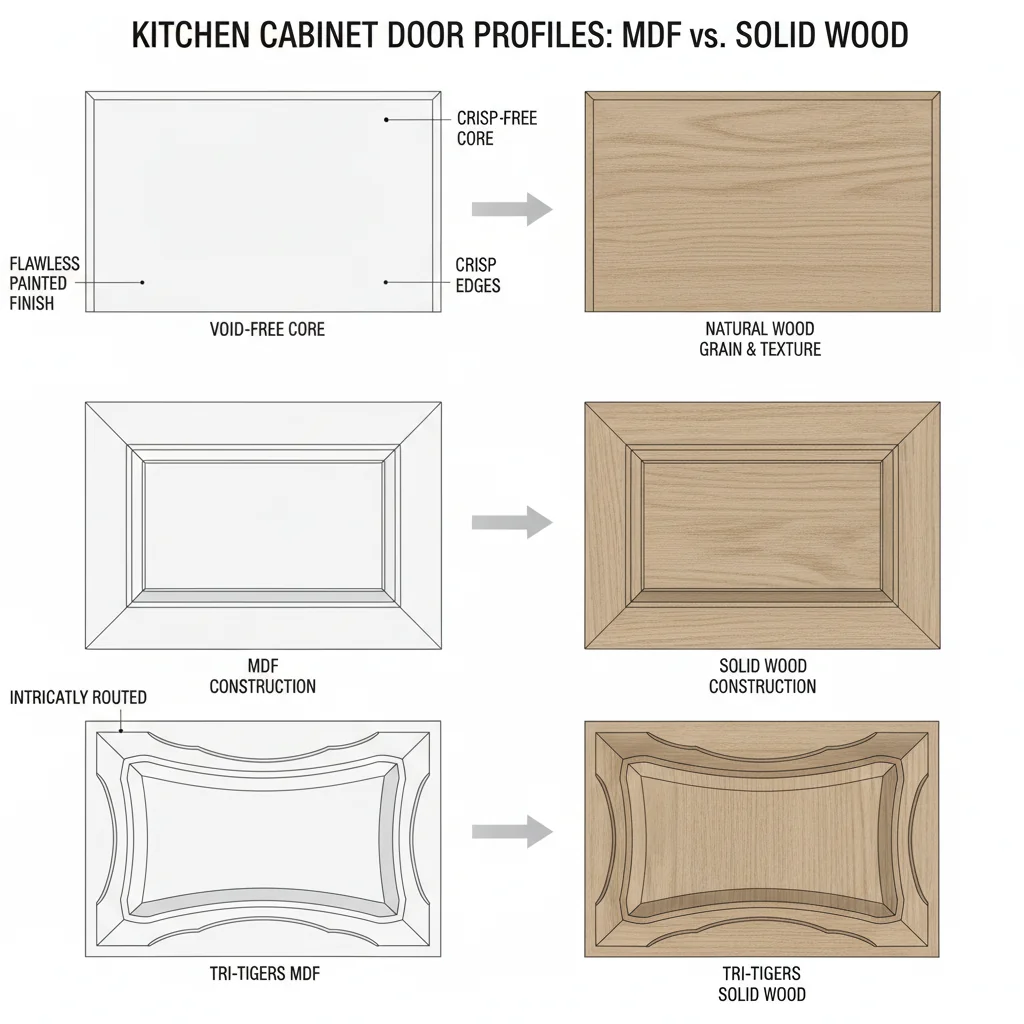
Laminate doors, including thermofoil and melamine, chip easily during drilling. Use a sharp Forstner bit, apply painter’s tape over the drill site, and use very slow feed pressure. A brad-point bit works well for smaller holes in these materials.
The key is patience. Rushing through laminate increases the chance of chipping and cracking the surface finish.
Work with MDF and Particle Board Doors
MDF doors are dense but prone to fuzzy edges when drilled. Drill at moderate speed and always use a backing board for support. After drilling, clean up any rough edges with fine sandpaper to achieve a professional finish.
Particle board requires similar care. Its loose structure can crumble easily, so sharp bits and steady pressure are essential.
Respect the Grain in Solid Wood Doors
On solid wood doors, drill perpendicular to the grain whenever possible. Drilling parallel to the grain significantly increases tear-out risk. If the hole must be near an edge, support that area with clamped scrap wood to prevent splitting.
The wood species matters too. Softer woods like pine require gentler pressure, while hardwoods like oak need sharper bits and more patience.
Install Hardware After Drilling
Deburr the Hole and Test Fit Your Hardware
After drilling, remove any burrs with a deburring tool or fine sandpaper. Test-fit your hardware, whether knobs, hinges, or grommets, before final installation. If the hole is too tight, gently enlarge it with the same bit.
If the hole is too loose, use wood filler or wrap the screw base with tape as a temporary fix. For permanent solutions, consider using a slightly larger hardware piece.
Maintain Consistent Alignment Across Multiple Doors
For uniformity across multiple doors, use a drilling jig or template. This ensures every knob or pull sits in the exact same position. Even a 1/8-inch difference becomes noticeable when doors are installed side by side.
Pro Tip: Label each door and its corresponding hardware to avoid mix-ups during reinstallation.
Troubleshoot Common Drilling Problems
Fix Off-Center or Wandering Holes
If the bit slips and starts drilling in the wrong spot, stop immediately. Small misalignments can sometimes be corrected by switching to an oval hole or using an oversized backplate. For major errors, consider replacing the door or relocating the hardware.
To prevent wandering in the future: use a center punch, start with a small pilot hole, or apply masking tape to the surface for better bit grip.
Repair Minor Damage to Door Edges
Minor chipping can be touched up with wood filler or a color-matched marker. For laminate doors, use a matching touch-up pen designed for the specific finish. For larger damage, consider edge banding or professional refinishing.
Never attempt to drill a new hole too close to a damaged one, as it may break through the weakened area.
Frequently Asked Questions About Drilling Cabinet Doors
What type of drill bit is best for cabinet doors?
Forstner bits are the best choice for clean, flat-bottomed holes in cabinet doors. They cut smoothly through wood, MDF, and laminate with minimal splintering. Spade bits work as a budget alternative for quick holes in softwood, but they produce less precise results.
How do I prevent splintering when drilling cabinet doors?
Place a scrap wood backer board behind the door and clamp everything securely. Use sharp bits at low speed, around 800 to 1,200 RPM. Applying painter’s tape over the drill site also helps reduce surface splintering.
What size hole should I drill for cabinet knobs?
Most cabinet knobs require a 1-inch to 1-1/8-inch diameter hole. Always check the manufacturer’s specifications for your specific hardware, as sizes can vary. Test on scrap material first to confirm the fit.
Can I drill through laminate cabinet doors?
Yes, but laminate requires extra care. Use a sharp Forstner bit, apply painter’s tape over the area, and drill at very slow speed with gentle pressure. This prevents chipping and cracking of the laminate surface.
How do I keep holes aligned across multiple cabinet doors?
Create a drilling jig or template from scrap wood or purchase a commercial template. Use the same jig for every door to ensure consistent hole placement. Mark each door and its hardware to avoid mix-ups during installation.
Why does my drill bit keep wandering off the mark?
Drill bits wander when they encounter smooth surfaces or when you skip center punching. Always create a small dimple with a center punch before drilling. Starting with a small pilot hole also helps guide the larger bit accurately.
Key Takeaways for Drilling Cabinet Doors Successfully
Mastering how to drill holes into cabinet doors comes down to three essentials: the right bit, accurate marking, and proper technique. Forstner bits deliver the cleanest results, center punching prevents wandering, and a backer board eliminates tear-out. Always secure your door firmly and drill at low speed with steady pressure.
Match your technique to your door material, whether solid wood, MDF, or laminate. Test on scrap material first, especially when working with expensive or delicate doors. With these practices, you’ll achieve professional results every time.
Ready to upgrade your cabinets? Gather your tools, choose the right bit, and follow these steps for clean, accurate holes that make your hardware installation look flawless.


