

Installing cabinets yourself can save you hundreds, or even thousands, of dollars in labor costs while giving you full control over the look and layout of your kitchen or bathroom. Whether you’re remodeling or building from scratch, DIY cabinet installation is a manageable project with the right tools, planning, and step-by-step guidance. You don’t need to be a professional carpenter, but you do need precision, patience, and a solid plan.
In this guide, you’ll learn how to measure, level, secure, and align base and wall cabinets like a pro. We’ll cover the essential steps to avoid common mistakes that lead to wobbly doors, uneven gaps, or misaligned countertops. From choosing the correct fasteners to understanding why shimming is non-negotiable, every detail matters.
Prepare Your Workspace for Cabinet Installation
Before lifting a single cabinet, clear the room of furniture, appliances, and debris. This gives you full access to walls and floor and reduces the risk of damage during installation. A clean workspace also helps you spot potential issues early.
Remove Existing Cabinets If Needed
If you’re replacing old cabinets, disconnect plumbing and electrical connections first. Use a pry bar and hammer to carefully remove trim and cabinets, being cautious not to damage drywall or studs. Label and dispose of materials responsibly to keep your workspace organized.
Check Floor and Wall Conditions
For base cabinets, ensure the floor is level. An uneven floor causes doors to hang crooked and creates visible gaps between cabinets. Place a 4-foot level across the room; if gaps exceed 1/8 inch, use floor leveling compound or shims under cabinets.
Walls should be plumb and clean. Patch large holes and sand rough spots. Most importantly, locate and mark all wall studs, since cabinets must anchor into wood, not just drywall.
Gather Essential Tools and Materials
Having everything on hand prevents delays and keeps momentum during installation. You don’t need professional-grade equipment, but quality tools make the job easier and more accurate.
Required Tools for DIY Cabinet Installation
- Tape measure and pencil
- 4-foot level and laser level (optional but helpful)
- Stud finder
- Drill/driver and drill bits
- Clamps or cabinet jigs
- Circular saw or jigsaw (for trimming toe kicks)
- Safety glasses and gloves
Essential Supplies You’ll Need
- Cabinets (pre-assembled or custom)
-
8 or #10 cabinet screws (2 to 3 inches long)
- Wall screws (3-inch)
- Wood shims
- Toggle bolts (for wall cabinets on hollow walls)
- Finish nails and wood filler (for trim)
Mark Critical Reference Lines

Accurate layout lines are the foundation of straight, level cabinets. Skipping this step leads to misaligned units and frustrating rework, so take your time here.
Draw a Level Horizontal Line
Use a laser level or a water level to mark a continuous reference line around the room at 34-1/2 inches above the finished floor. This accounts for standard countertop thickness (1-1/2 inches) and base cabinet height (33 inches).
For wall cabinets, mark a second line at 54 inches above the floor. This is the standard height from floor to bottom of uppers, though you can adjust based on ceiling height or personal preference.
Locate and Mark Wall Studs
Use a stud finder to locate studs behind drywall. Mark their center with a pencil every 16 or 24 inches. All cabinet mounting points must align with studs for secure attachment, so double-check your markings before drilling.
Install Base Cabinets First
Always start with base cabinets. They support countertops and set alignment for wall units. This sequence ensures a stable foundation for everything that follows.
Begin at a Corner or Appliance Junction
Start in a corner or next to a major appliance like a range or dishwasher. Position the first cabinet so its side is flush with the wall or adjacent fixture. Check for level side-to-side and front-to-back, then insert wood shims under the cabinet as needed. Don’t rely on adjustable feet alone.
Clamp and Align Adjacent Cabinets
Place the next cabinet tightly against the first. Clamp them together using cabinet clamps or bar clamps. Drill through the face frame and connect with 2-1/2 inch screws to form a single rigid unit. Repeat until all base cabinets are joined, checking level and alignment after each addition.
Secure Cabinets to Wall Studs
With all base cabinets clamped and leveled, drive 3-inch screws through the back rail or hanging rail into wall studs. Don’t fully tighten yet, as you may need minor adjustments. After all screws are in place, recheck level and tap cabinets into position. Then fully tighten screws and trim excess shims flush with a utility knife.
Install Wall Cabinets
Wall cabinets are lighter but require more precision due to visibility and height. They also carry the risk of falling if not properly anchored, so follow these steps carefully.
Use a Support Rail or Temporary Ledger Board
Build a temporary support board (1×3 or 1×4) and screw it into studs along the 54-inch reference line. Rest wall cabinets on this board to hold them in place while securing. Alternatively, use adjustable cabinet jacks designed for upper units.
Lift and Position the First Wall Cabinet
With help, lift the first wall cabinet onto the support rail. Align it with the layout line and adjacent wall. Ensure it’s level and plumb, then drill through the cabinet’s hanging rail into wall studs. Use two screws per stud for stability.
Connect Additional Wall Cabinets
Clamp each new cabinet to the installed one. Drill and screw through face frames to join them. Check alignment and gap consistency, which should be 1/16 to 1/8 inch between doors. For corner cabinets, use specialized mounting hardware or internal brackets to ensure stability.
Handle Problem Areas During Installation
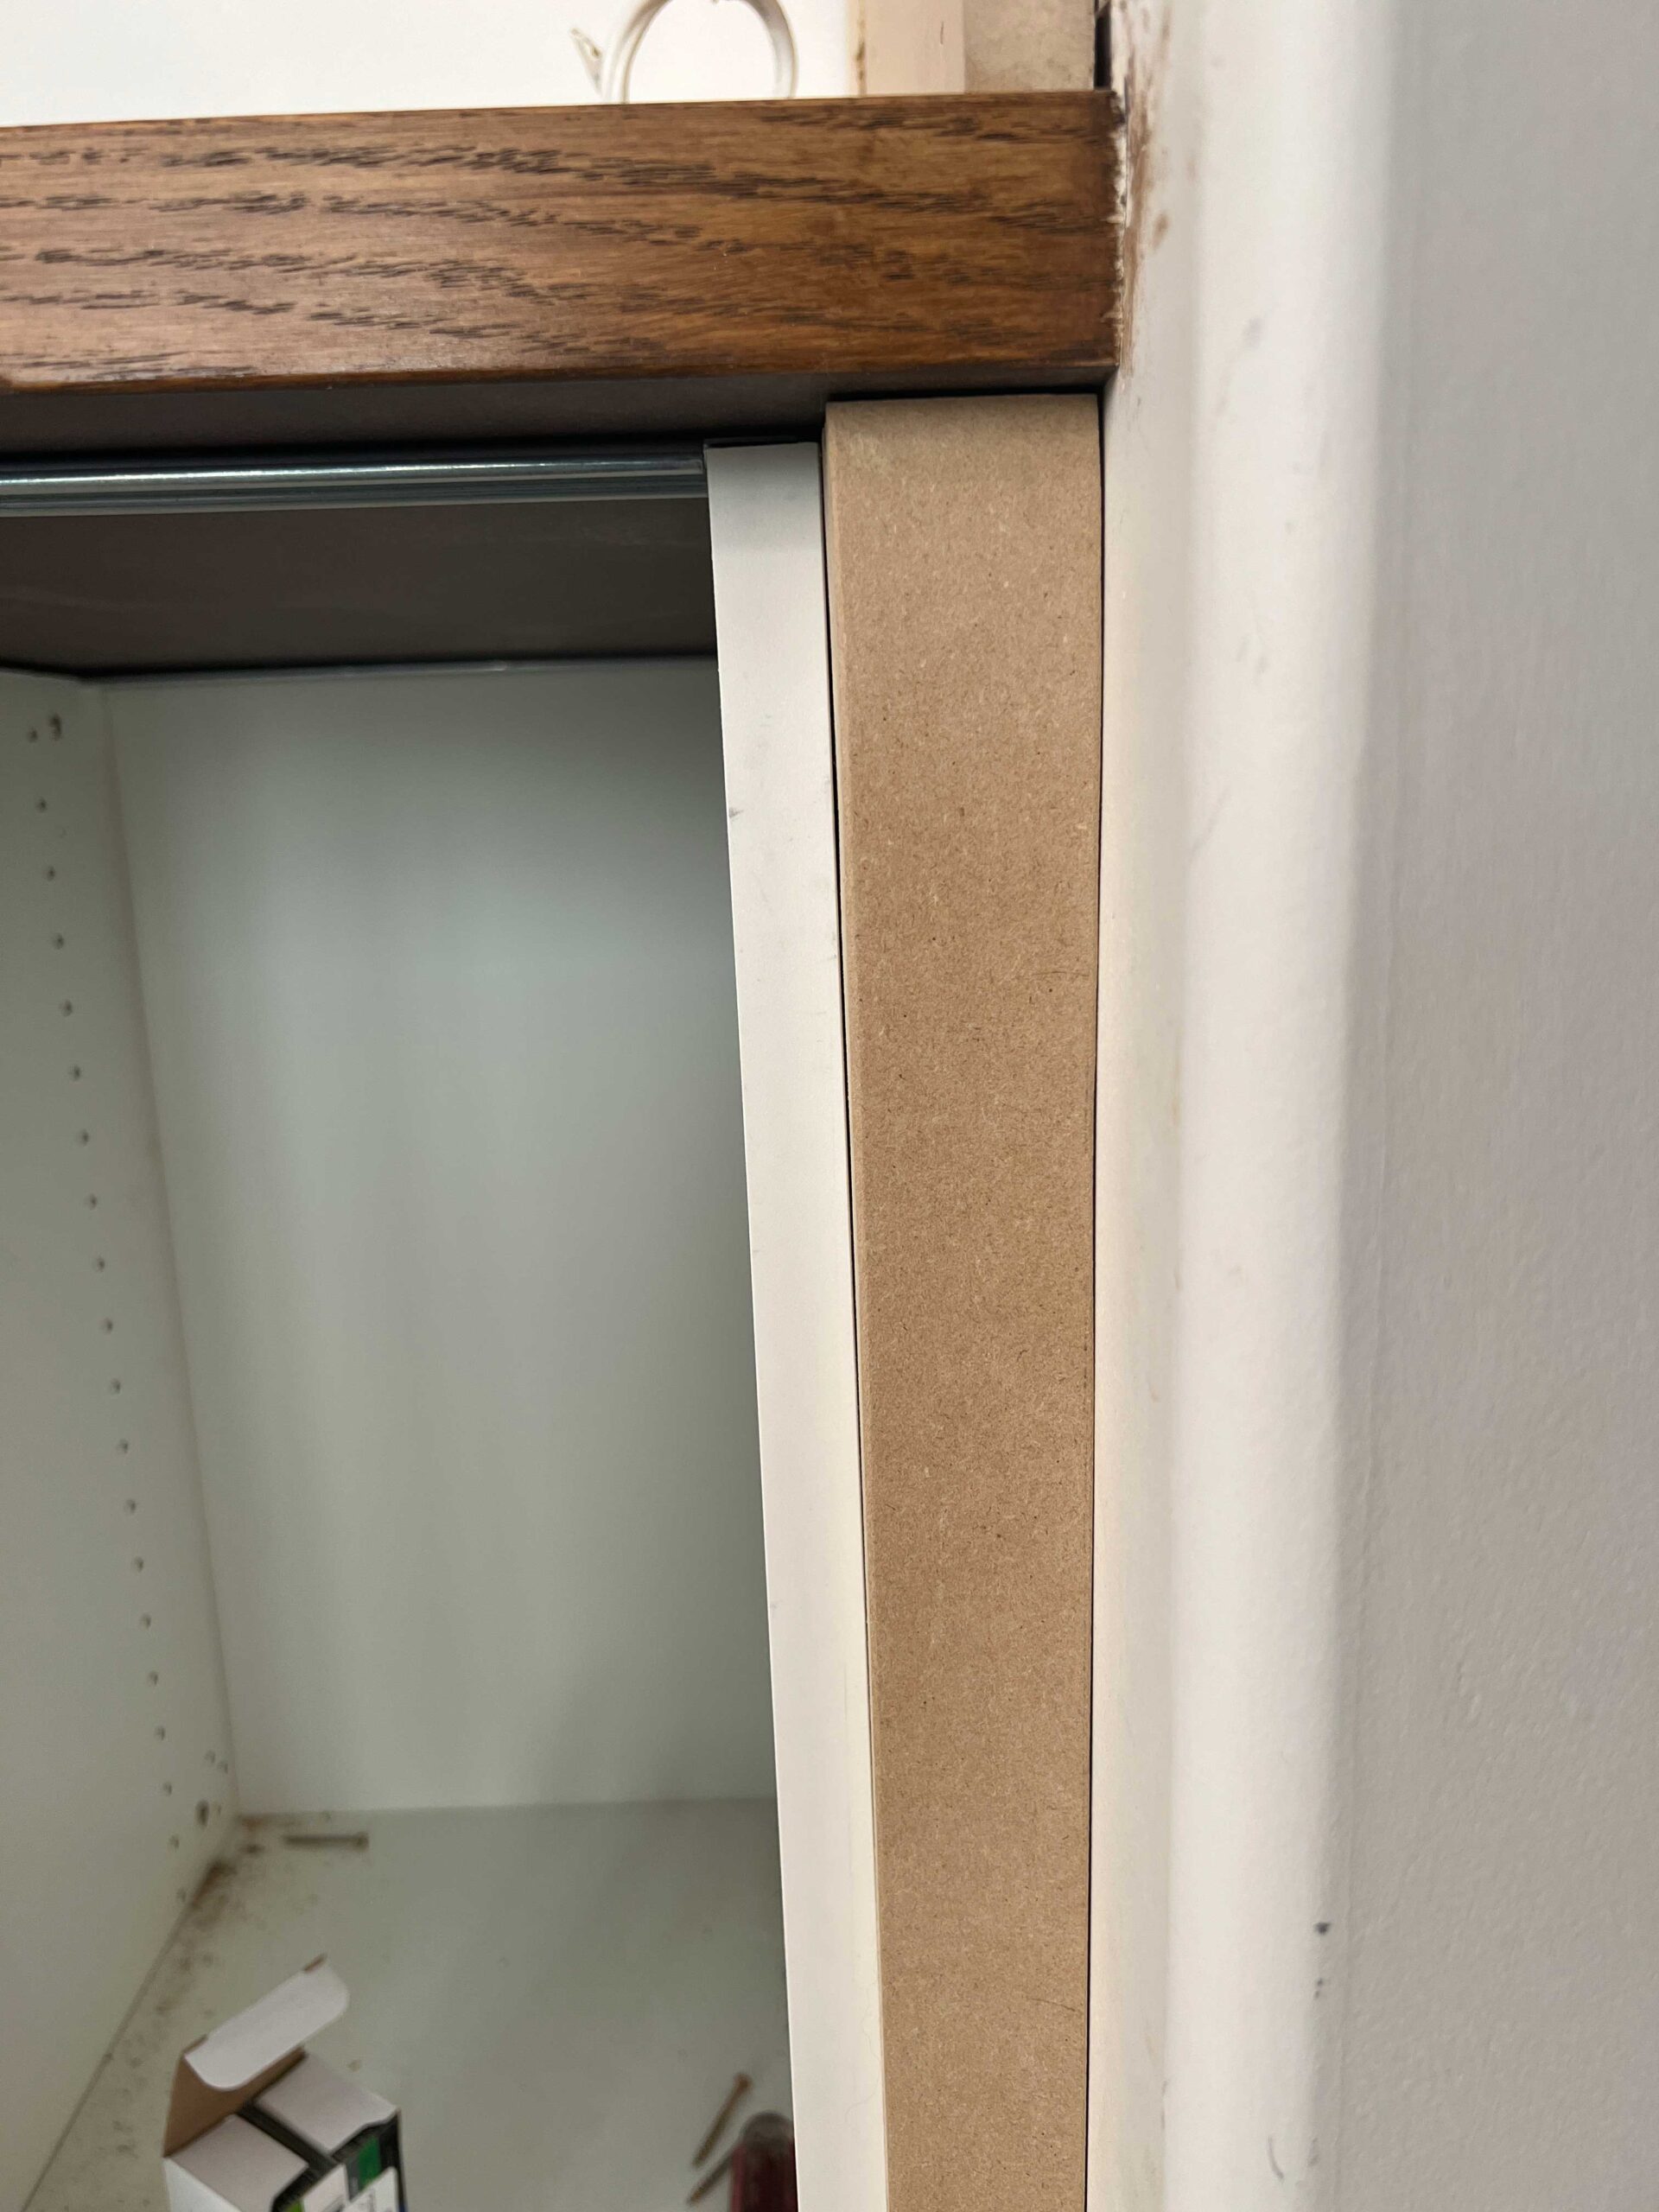
Certain spaces present unique challenges that require special techniques. Knowing how to address these issues saves time and prevents damage.
Work Around Outlets and Pipes
Cut openings in cabinet backs using a jigsaw for electrical outlets, plumbing, or vents. Always turn off power before modifying near wiring. Use outlet extenders if needed so receptacles sit flush after cabinet installation.
Manage Gaps Between Cabinets and Walls
End cabinets often don’t fit perfectly due to wall irregularities. Use filler strips (1×2 or 1×3 boards) to bridge the gap. Paint or stain them to match cabinets. Secure filler strips to the wall first, then attach the cabinet to both the filler and wall studs.
Check for Square and Adjust

Even small misalignments become obvious once doors are hung. Taking time to verify squareness prevents frustrating adjustments later.
Measure Diagonals Across Cabinet Runs
Use a tape measure to check diagonal distances from corner to corner across connected cabinets. Both measurements should be equal; if not, the run is out of square. Gently twist the cabinet bank by adjusting screws or shims until diagonals match.
Verify Door Alignment
Once all cabinets are secured, open and close doors to test swing and gap uniformity. Adjust hinges as needed using a hex key. Proper door alignment is the final touch that makes your installation look professional.
Install Countertop and Trim
With cabinets secure, finish the look with countertop and molding. This step transforms your project from functional to polished.
Prepare for Countertop Installation
If using laminate or solid surface countertops, ensure all base cabinets are level within 1/16 inch across spans. Shim any dips. For stone or quartz, consult fabricator specs, since some require additional underlayment or plywood support.
Add Toe Kicks and Crown Molding
Cut toe kicks to fit beneath base cabinets. Attach with finish nails and wood glue, then sand and paint to match. For crown molding on wall cabinets, miter corners at 45 degrees and nail into cabinet tops and wall studs. Fill nail holes with wood filler for a seamless finish.
Frequently Asked Questions About Installing Cabinets Yourself
How long does it take to install cabinets yourself?
A typical kitchen cabinet installation takes 2 to 4 days for a DIYer working alone. This includes preparation, base cabinet installation, wall cabinet installation, and finishing touches. Professional crews complete the job in 1 to 2 days, but taking extra time ensures accuracy.
Do I need to find wall studs before installing cabinets?
Yes, finding wall studs is essential. Cabinets must anchor into wood studs to support their weight and contents. Using drywall anchors alone risks failure, especially for wall cabinets holding dishes or heavy items.
Can I install cabinets on uneven floors?
You can, but you must level them using wood shims. Place shims under the cabinet base and check with a level. After securing cabinets, trim excess shim material flush. For severe unevenness, consider floor leveling compound first.
What is the standard height for wall cabinets?
The standard height from the finished floor to the bottom of wall cabinets is 54 inches. This accommodates most countertop heights and leaves room for backsplash. Adjust this measurement based on your ceiling height or personal preference.
Do I need special screws for cabinet installation?
Use #8 or #10 cabinet screws that are 2 to 3 inches long for base cabinets. Wall cabinets require 3-inch screws to reach through drywall and into studs. Never use drywall screws, as they lack the strength needed for cabinet mounting.
What should I do if my cabinets don’t fit flush against the wall?
Use filler strips to bridge gaps between cabinets and walls. These 1×2 or 1×3 boards attach to the wall first, then cabinets secure to both the filler and studs. Paint or stain them to match your cabinets for a finished appearance.
Key Takeaways for Installing Cabinets Yourself
Installing cabinets yourself is a rewarding project that transforms your space with professional results when done methodically. Focus on accuracy during layout and leveling, always anchor into studs, and take time to align doors perfectly.
Start with base cabinets, then move to wall units, and never skip the reference lines. Use shims generously and check for square before final tightening. With careful preparation and attention to detail, your DIY cabinet installation will look and function like it was done by a pro.
Now that you know the process, measure your space and gather your tools. The satisfaction of a beautifully installed cabinet run is worth every careful step you take.


