
If you’ve ever looked at your kitchen or bathroom cabinets and wished for a more elegant, open, or timeless look, adding glass to your cabinet doors might be the perfect upgrade. Making cabinet doors with glass allows you to showcase fine dishware, add depth to small spaces, and bring natural light into your cabinetry. Whether you’re a DIY enthusiast or a seasoned woodworker, building glass cabinet doors is a rewarding project that enhances both function and style.
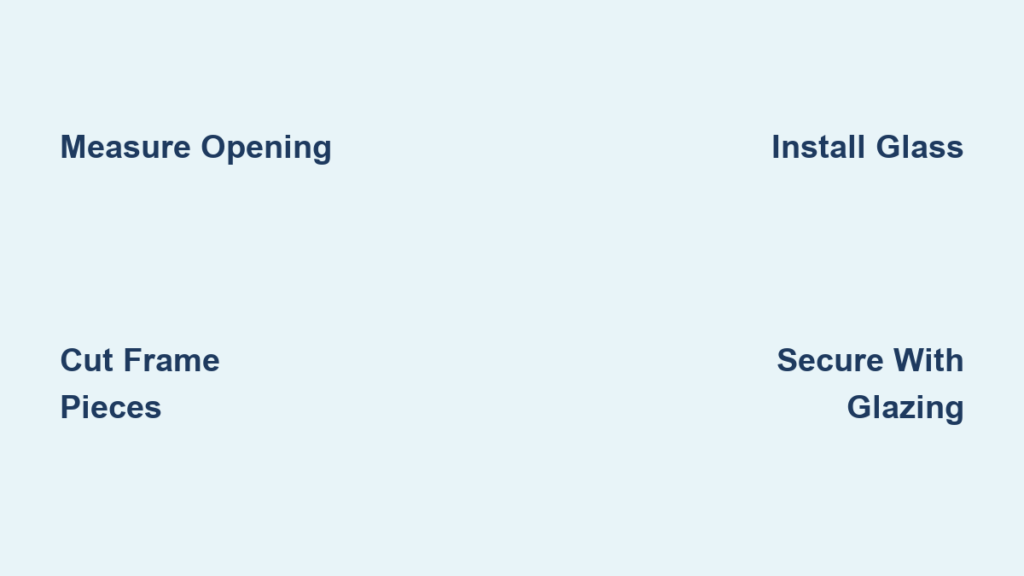
The process involves measuring, cutting, assembling a frame, and installing glass securely and safely. With the right tools and materials, you can create custom doors that match your home’s aesthetic—be it modern, traditional, or farmhouse. This guide walks you through every step, from selecting wood and glass types to final installation, ensuring professional results without the high cost.
Select the Right Wood and Door Design
Choose a Stable, Workable Wood
The frame of your glass cabinet door should be strong, stable, and visually appealing. Common choices include:
– Hardwood maple: Durable and smooth, ideal for painted finishes
– Cherry: Rich grain, ages beautifully, great for stained doors
– Poplar: Budget-friendly and easy to shape, best painted
– Oak: Classic look with prominent grain, suits traditional styles
Avoid softwoods like pine if durability is a priority, as they dent easily and may not hold joints well over time.
Pick a Frame Style That Fits Your Space
Your design affects both appearance and construction method. Popular styles include:
– Mullion (grid) style: Features horizontal and vertical bars creating multiple glass panes
– Beaded inset panel: Classic look with a recessed center for glass
– Full-overlay glass: Minimal frame with large glass area
– Divided lites: Simulated or true muntins for a historic appearance
Use a door style that matches your existing cabinetry or home architecture for a cohesive look.
Measure and Cut Door Components
Accurately Measure the Cabinet Opening
Before cutting any wood, measure the cabinet opening precisely:
– Measure height and width at multiple points (top, middle, bottom)
– Use the smallest measurement to ensure the door fits without binding
– Deduct 1/8″ to 1/4″ total for clearance (hinges and operation)
Standard overlay depends on hinge type, typically 1/2″ to 3/4″ overlay for frameless or face-frame cabinets.
Cut Stiles and Rails to Size
A basic cabinet door frame consists of:
– Two stiles (vertical pieces)
– Two rails (horizontal pieces: top and bottom)
Use a table saw or miter saw for straight, square cuts. Cut all pieces slightly longer than final size, then fine-tune during dry assembly.
Pro tip: Label each piece (left stile, top rail, etc.) to avoid confusion during assembly.
Create Strong Frame Joints
Use Mortise and Tenon or Rail-and-Stile Bits
For durability and a professional look, join stiles and rails with one of these methods:
– Stub tenon with biscuits or dowels: Easier for DIYers, strong with glue
– Full mortise and tenon: Traditional, very strong, requires precise cutting
– Using a router with rail-and-stile bit set: Most efficient for clean, raised-panel look
A rail-and-stile bit shapes the edge of rails and stiles to interlock, creating a seamless frame perfect for glass insertion.
Dry Fit Before Gluing
Assemble the frame without glue to check:
– Squareness (measure diagonals; equal means square)
– Gaps at joints
– Glass fit in the center panel area
Adjust as needed. A poorly fitting frame will make glass installation difficult or unsafe.
Prepare the Frame for Glass Installation
Cut the Rabbet for Glass Seat
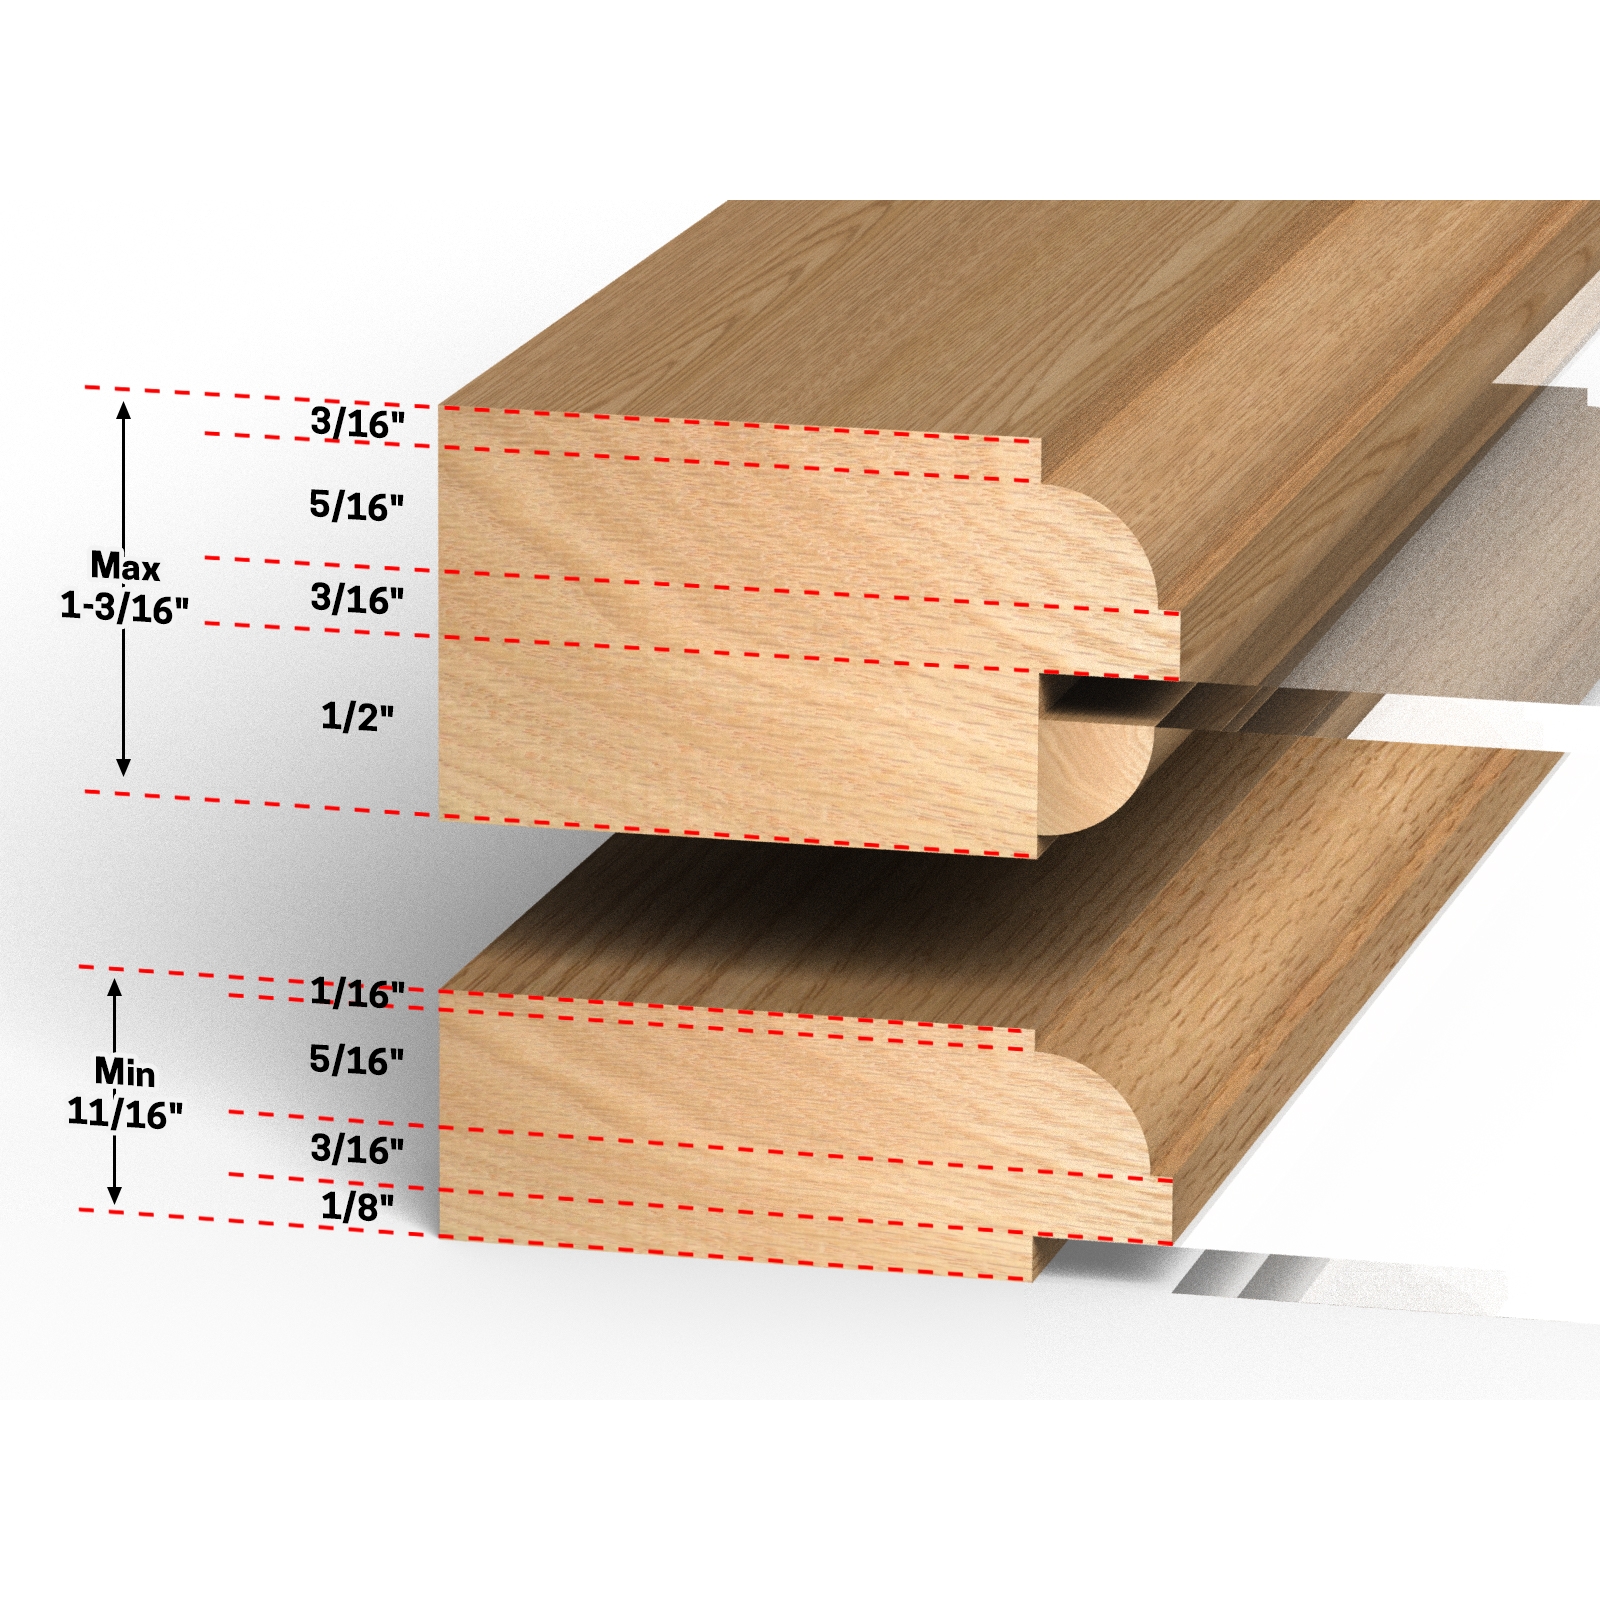
The inner edge of the frame needs a rabbet (step-like groove) to support the glass:
– Use a table saw or router with a rabbeting bit
– Cut a 1/4″ deep and 1/4″ wide rabbet on the inside face of the frame
– Ensure the rabbet runs continuously around all four pieces
This groove holds the glass and allows space for glazing points or clips.
Add a Backstop or Bead (Optional)
For extra security and a finished look:
– Install a wood glazing bead around the inside of the frame
– Alternatively, use a thin hardboard or plywood back panel nailed or glued in place
The bead is mitered at corners and nailed with 18-gauge pins, trapping the glass safely.
Choose and Install the Glass
Pick the Right Glass Type
Common options for cabinet doors:
– Clear float glass (1/8″ or 3mm): Affordable and bright
– Tempered glass: Safer, required for homes with kids or near heat sources
– Frosted or obscure glass: Adds privacy and softens light
– Leaded or decorative glass: For vintage or artisan appeal
Have glass cut at a hardware store or glass shop; never attempt to cut it yourself without proper tools.
Insert and Secure the Glass
Steps:
1. Place the frame face down on a soft surface
2. Lay the glass into the rabbet, ensuring even margins
3. Insert glazing points every 6 to 8 inches using a putty knife
4. Optional: Apply a thin bead of silicone caulk before inserting glass for vibration resistance
Wear gloves and eye protection during this step to prevent injury.
Finish the Door Properly
Sand and Prep the Surface
Sand the entire door with 120, then 180-grit sandpaper:
– Smooth all joints and edges
– Remove tool marks and splinters
– Wipe clean with a tack cloth
Skip this step, and your finish may look uneven or peel over time.
Apply Stain or Paint
Choose a finish that matches your cabinetry:
– For stain: Use pre-stain conditioner on softwoods, apply with a brush or cloth
– For paint: Prime first, then use 2 to 3 thin coats of semi-gloss or satin enamel
Allow full drying time between coats. Sand lightly with 220-grit between coats for a smooth finish.
Seal with Topcoat
Protect the door with:
– Polyurethane (oil or water-based): Durable, slight amber tint (oil)
– Polycrylic: Water-based, clear, good for painted doors
– Wipe-on finish: Easy application, great for hand-rubbed look
Apply 2 to 3 coats, letting each dry fully and sanding lightly in between.
Hang the Glass Cabinet Doors
Install Hinges Correctly
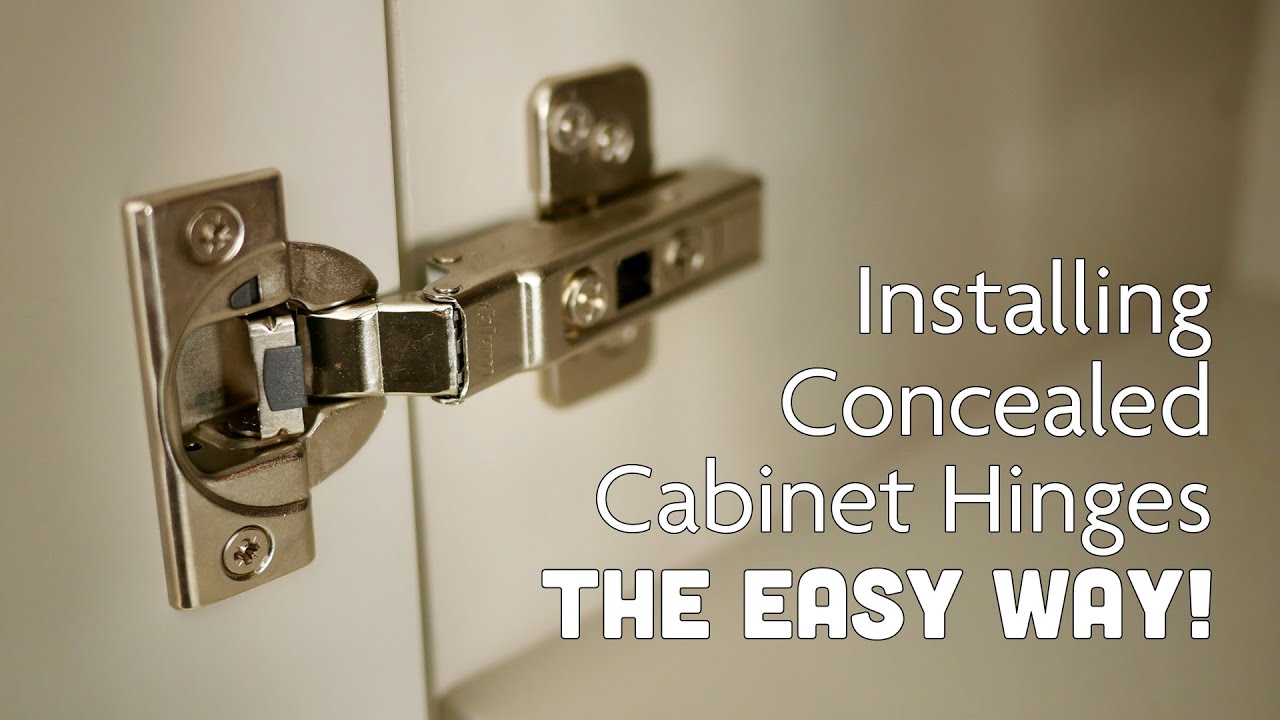
Use concealed (European) hinges or surface-mounted hinges:
– Drill mounting plates into the door using a 35mm hinge bit
– Attach to cabinet jamb or face frame with pilot holes
– Adjust with screws for perfect alignment (up/down, in/out, depth)
Ensure doors open and close smoothly without hitting adjacent cabinets.
Check for Level and Gaps
Once hung:
– Use a level to confirm vertical alignment
– Check for even gaps (1/8″ is standard)
– Adjust hinges as needed
Misaligned doors look unprofessional and may cause long-term wear.
Maintain and Protect Glass Doors
Clean Glass Safely
Use a soft microfiber cloth and:
– Vinegar-water mix (1:1): Streak-free shine
– Ammonia-free glass cleaner: Prevents seal damage
– Avoid abrasive pads or harsh chemicals
Wipe wood edges dry immediately to prevent moisture damage.
Inspect for Loose Joints or Glass
Check annually:
– Tighten hinge screws
– Replace missing glazing points
– Look for fogging (if using insulated glass units)
Early maintenance prevents bigger issues down the line.
Frequently Asked Questions About Making Cabinet Doors with Glass
What is the best wood for glass cabinet doors?
Hardwoods like maple, cherry, and oak are ideal because they’re stable and hold joints well. Poplar works if you plan to paint. Avoid softwoods like pine for long-term durability.
Can I use tempered glass in cabinet doors?
Yes, tempered glass is recommended, especially in homes with children or near heat sources. It’s safer than regular glass and is often required by building codes in certain applications.
How do I cut a rabbet for the glass?
Use a table saw or router with a rabbeting bit to cut a 1/4″ deep by 1/4″ wide groove along the inside edge of the frame. Make sure the cut runs continuously around all four pieces.
What are glazing points and how do I use them?
Glazing points are small triangular metal clips that hold glass in place. Insert them every 6 to 8 inches along the rabbet using a putty knife, pressing the pointed end into the wood.
Do I need a back panel on a glass cabinet door?
Not necessarily. A glazing bead around the inside edge is sufficient to hold the glass. A back panel adds extra security but is optional for most applications.
How much clearance should I leave when building the door?
Deduct 1/8″ to 1/4″ total from your measurements for clearance. This allows the door to open and close smoothly without binding against the cabinet frame.
Key Takeaways for Building Glass Cabinet Doors
Making cabinet doors with glass is a blend of craftsmanship and attention to detail. By choosing quality materials, cutting precisely, joining tightly, and finishing beautifully, you can transform ordinary cabinets into standout features. Whether you’re updating a kitchen, bathroom vanity, or display cabinet, custom glass doors add value and elegance.
Start by measuring carefully and selecting the right wood and glass for your space. Take your time with the frame joints and rabbet cuts, as these determine the door’s strength and appearance. Finish with a durable topcoat and hang the door with quality hinges for smooth operation.
With this guide, you’re fully equipped to build, install, and enjoy your handmade glass cabinet doors for years to come. Gather your tools, pick your materials, and get started on this satisfying weekend project today.


