
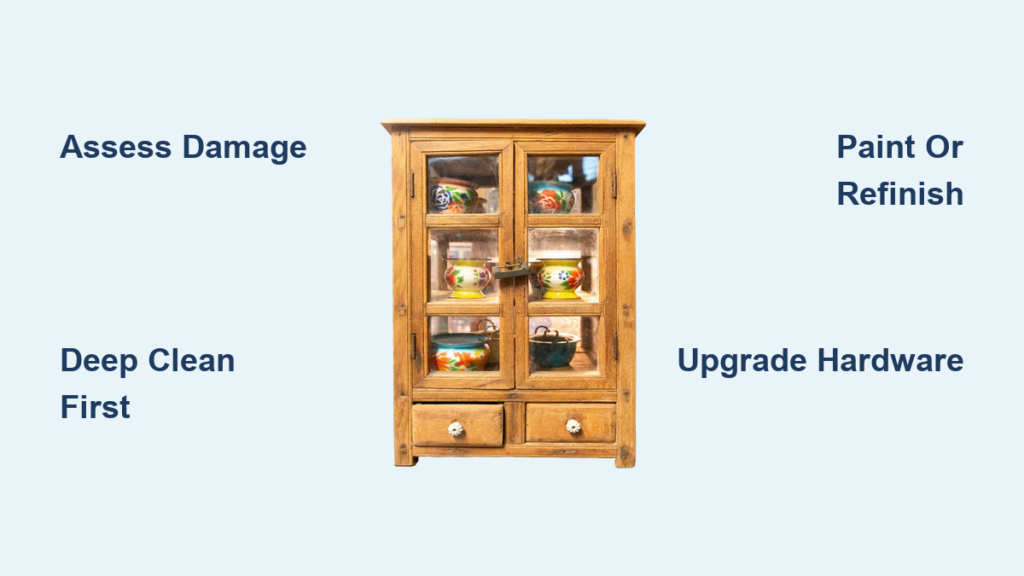
Tired of staring at worn, outdated kitchen cabinets? You’re not alone. Millions of homeowners avoid costly renovations because they assume replacing old cabinets is the only path to a fresh look. But here’s the good news: you can make old cabinets look new without tearing them out or spending thousands. With the right techniques, tools, and a weekend of effort, you can transform dull cabinetry into a bright, modern focal point.
This guide walks you through every proven method to make old cabinets look new, from simple cleaning hacks to full refacing options. Whether your cabinets are faded, scratched, stained, or just stuck in a previous decade, there’s a solution that fits your budget and skill level. You’ll learn how to assess cabinet condition, choose between painting and refinishing, upgrade hardware, and add finishing touches that elevate your entire kitchen.
Assess Cabinet Condition First
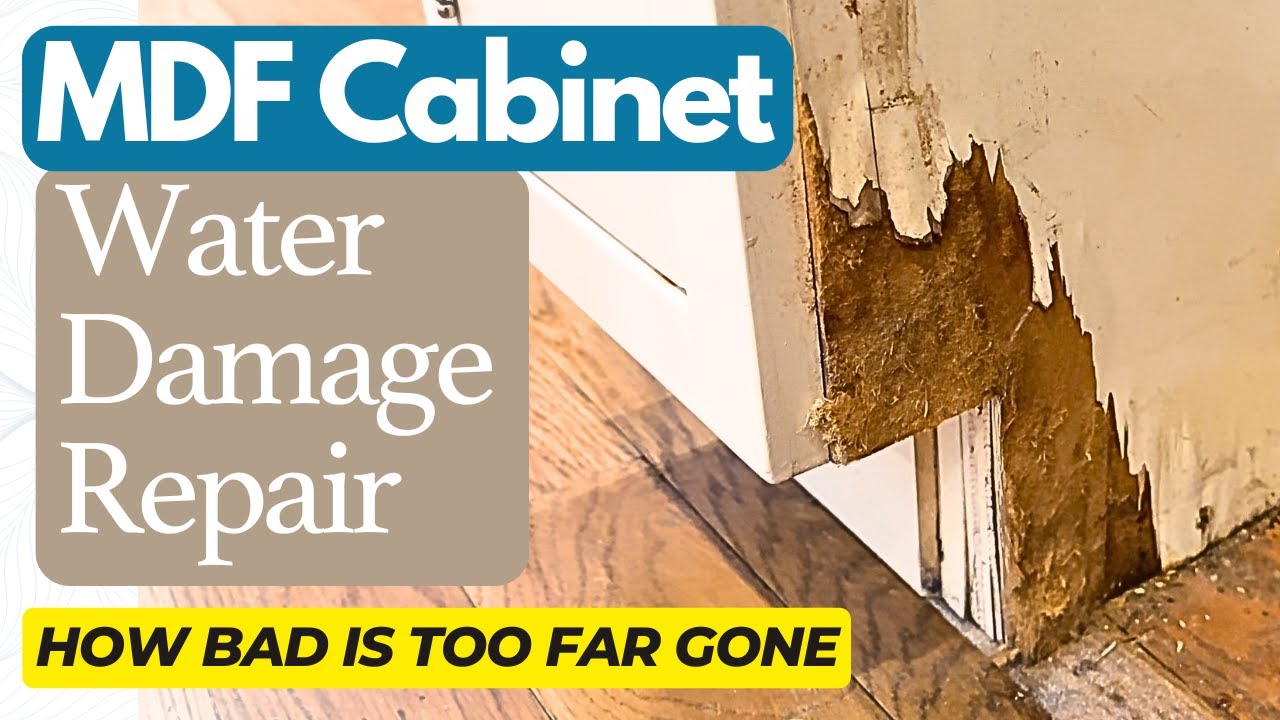
Before picking up a paintbrush or screwdriver, determine if your cabinets can truly be revived. Some damage may require replacement, while most wear and tear can be fixed.
Check for Structural Damage
Inspect each cabinet door, drawer, and frame for warping, swelling, or soft spots, especially under sinks where moisture accumulates. If wood feels spongy or crumbles when pressed, it’s likely water-damaged and beyond repair. Also check hinge screws; if they spin freely or won’t tighten, the mounting area may be stripped or broken.
Cabinets with major rot, large cracks, or broken joints won’t hold paint or new hardware well. In these cases, consider replacing only the damaged sections instead of the whole set.
Test Door and Drawer Function
Open and close every door and drawer slowly. Do they stick? Slam shut? Hang crooked? Misaligned doors often just need hinge adjustments, as most modern hinges have micro-adjustment screws for positioning. Tighten loose screws or fill stripped holes with toothpicks and wood glue.
Drawers that drag can be fixed by sanding edges slightly or adjusting glide tracks. If hardware is old and squeaky, replacement is an easy upgrade that boosts both look and function.
Decide: Repair, Refinish, or Replace?
If cabinets are structurally sound but visually tired, you’re in luck. You can make them look new with surface updates. Minor dents and scratches can be filled and painted over. But if more than 30% of your cabinets are damaged, replacing them might be more cost-effective long-term.
For most homes, restoration beats replacement in time, cost, and sustainability. Let’s move on to the most popular method: cleaning.
Deep Clean Before Any Upgrade
A thorough cleaning instantly brightens cabinets and ensures paint or stain adheres properly. Grease buildup, grime, and old polish residue prevent finishes from sticking, leading to peeling later.
Remove Hardware and Degrease Surfaces
Take off all knobs, pulls, and hinges. Label them by location so reassembly is easy. Soak hardware in warm, soapy water to restore shine.
Mix a degreaser using 1 part dish soap, 2 parts warm water, and a splash of white vinegar. Dip a microfiber cloth into the solution and wipe down every surface, including fronts, sides, tops, and inside edges. Focus on areas near the stove and handles, where grease accumulates fastest.
For stubborn grime, use a paste of baking soda and water. Gently scrub with a non-abrasive sponge. Avoid steel wool or harsh cleaners that scratch wood or laminate.
Rinse and Dry Completely
Wipe cleaned surfaces with a damp cloth to remove soapy residue, then dry immediately with a clean towel. Let cabinets air-dry for at least 2 hours before proceeding. Moisture left behind can interfere with primers and paints.
Pro tip: Place a fan nearby to speed drying, especially in humid climates.
Choose Between Paint and Refinish
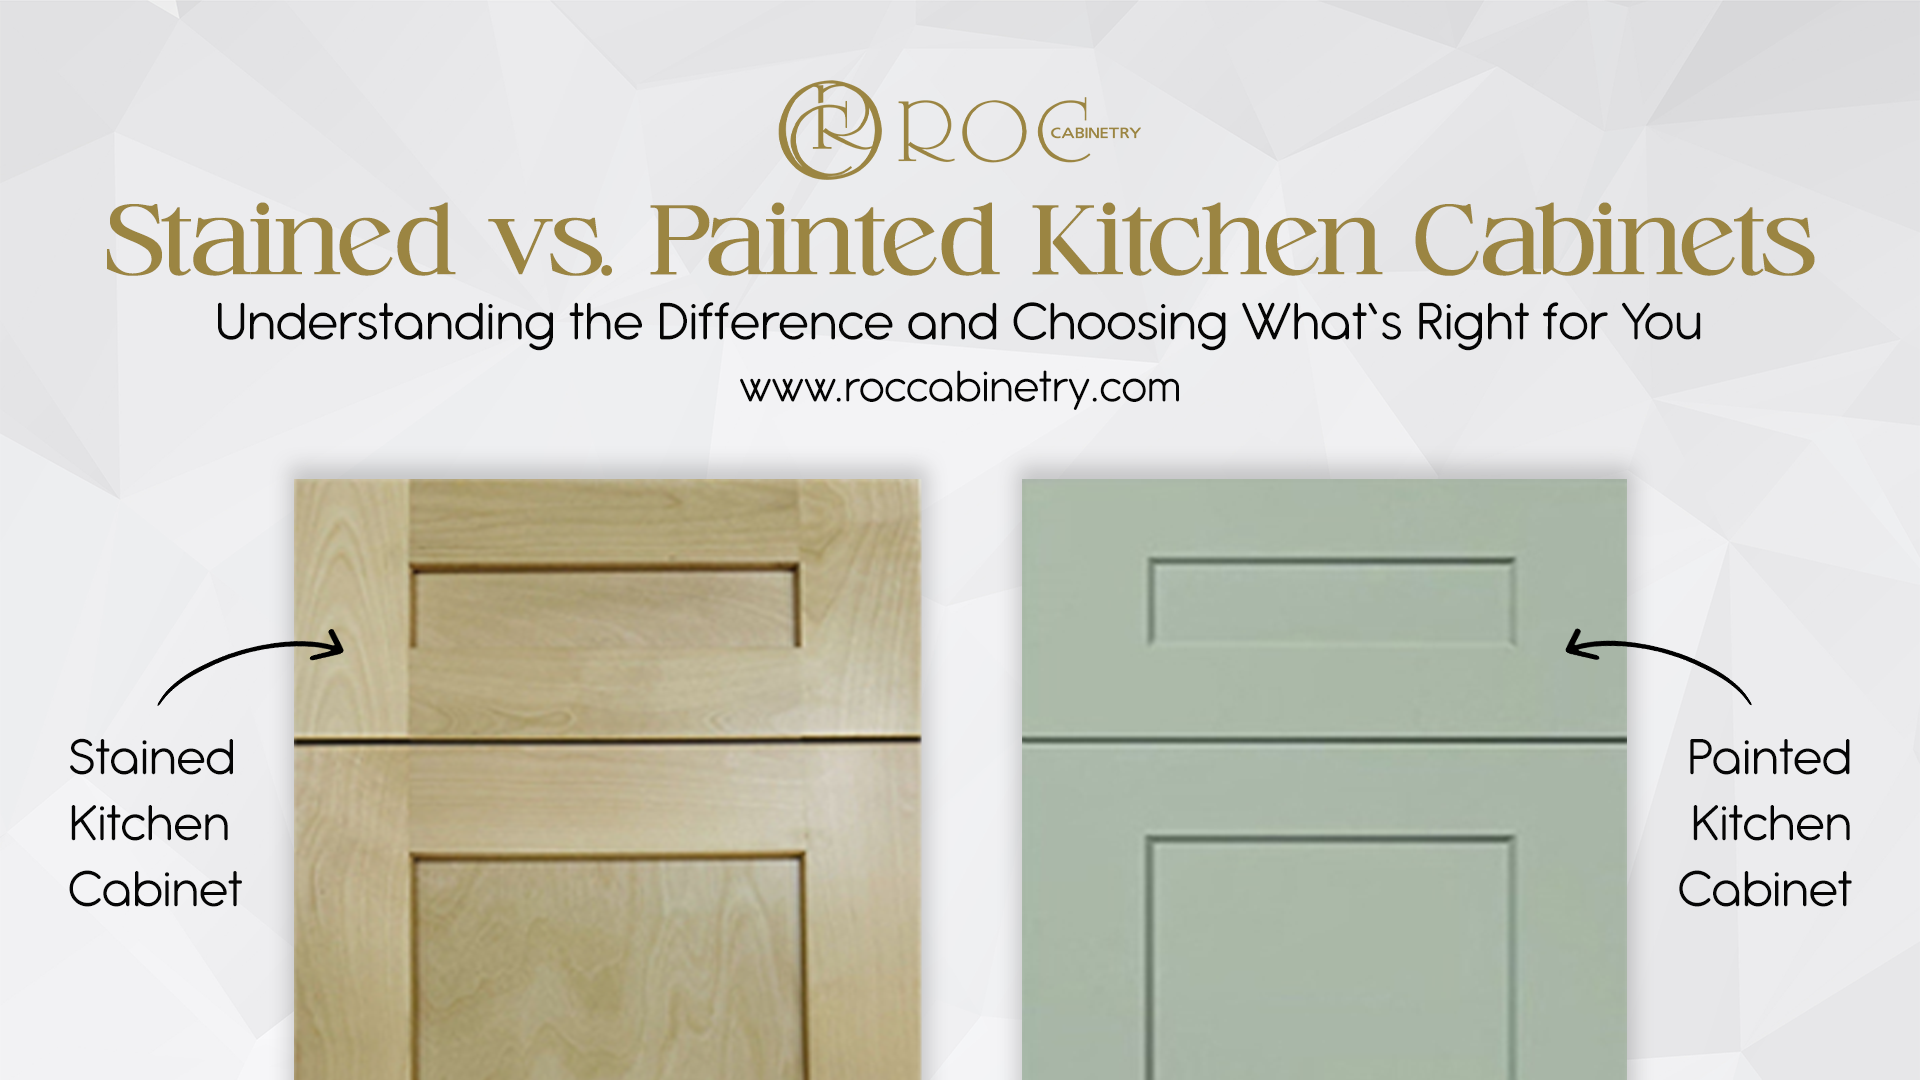
Your next big decision: paint or refinish? Each has pros and cons depending on your cabinet material, current finish, and desired look.
When to Paint Your Cabinets
Painting works best for:
– Laminate or thermofoil cabinets
– Wood with deep stains or imperfections you want to hide
– Achieving a dramatic color change, such as dark to white
Paint offers total transformation. A crisp white, navy, or two-tone design can modernize any kitchen. However, it requires more prep and precision than staining.
Best paint types:
– Acrylic latex: Easy cleanup, low odor, dries fast
– Oil-based: Durable, smooth finish, but longer dry time
– Chalk paint: No sanding needed, matte look
Use a bonding primer for laminate or glossy surfaces to ensure adhesion.
When to Refinish Instead
Refinishing preserves the wood grain and feels more natural. It’s ideal if:
– Cabinets are solid wood in decent condition
– You like the current tone but want to refresh or darken it
– You prefer a warm, traditional look
Avoid refinishing if the existing stain is uneven, blotchy, or peeling. Stripping old finish takes significant effort and chemicals.
Time estimate: Refinishing takes 3 to 5 days due to drying times between sanding, stripping, staining, and sealing.
Prep Surfaces Like a Pro
Skipping prep is the number one reason cabinet makeovers fail. Even the best paint will chip or bubble without proper surface preparation.
Remove Doors and Sand Thoroughly
Take off all cabinet doors and drawers. Lay them flat on sawhorses or a drop cloth to work on both sides. Remove any remaining hardware.
Use 120-grit sandpaper to scuff the entire surface. This removes gloss and creates texture for primer to grip. Wipe away dust with a tack cloth after sanding. Never skip this step.
For textured or raised-panel doors, use a detail sander or sand by hand to reach crevices. Don’t over-sand; you only need to dull the shine, not remove layers of wood.
Prime for Long-Lasting Results
Priming seals the surface and prevents bleed-through, especially on wood like pine that releases tannins.
Use:
– Oil-based primer for wood: Superior adhesion and stain-blocking
– Bonding primer for laminate or melamine: Grips slick surfaces
– Shellac-based primer: Stops odors and resins
Apply with a high-quality brush or mini roller for smooth coverage. Let dry completely, usually 24 hours, before painting.
Paint with Cabinet-Grade Finish
Now comes the transformation. Use techniques that deliver a smooth, durable result with no brush marks or drips.
Use the Right Tools and Paint
Choose cabinet-specific paint such as:
– Benjamin Moore Advance
– Sherwin-Williams Emerald Urethane
– Behr Alkyd Semi-Gloss
These self-leveling paints flow smoothly and harden to a washable finish.
Tools:
– 2-inch angled brush for edges
– 4-inch foam roller for flat surfaces
– Paint sprayer, optional, for ultra-smooth finish
Apply thin, even coats. Two light coats beat one thick one. Let each coat dry fully following manufacturer’s instructions.
Paint Doors Flat and Flip Sides
Lay doors flat when painting. Start with recessed panels, then stiles and rails. This prevents paint pooling at the bottom edge.
After the first side dries, flip and paint the back. Never hang doors to paint, as they’ll drip and stick to hangers.
Allow final coat to cure for 5 to 7 days before reattaching hardware. Rushing this step risks scratching.
Upgrade Hardware for Instant Impact

New knobs and pulls can make old cabinets look custom. It’s one of the fastest, cheapest upgrades with maximum visual payoff.
Choose Modern Styles That Fit
Popular trends include:
– Matte black or brushed brass
– Cup pulls for shaker cabinets
– Minimalist bar pulls
– Mixed metals
Measure existing hole spacing, usually 3 or 4 inches, to avoid drilling new holes. If you do want new placement, use a template for accuracy.
Install with Care
Drill pilot holes slightly smaller than screw size to prevent wood splitting. Hand-tighten screws, as over-tightening strips threads.
Consider soft-close hinges if yours don’t already have them. They add luxury and prevent slamming.
Add Interior and Lighting Upgrades
Don’t stop at the surface. Enhance function and ambiance with smart interior touches.
Brighten Inside with Paint or Liners
Paint cabinet interiors white or light gray to reflect light and make contents easier to see. Use the same durable paint as fronts.
Alternatively, apply peel-and-stick vinyl liners in patterns like subway tile, marble, or geometric designs. They protect shelves and add style.
Install Under-Cabinet Lighting
LED strip lights or puck lights illuminate countertops and create a high-end look. Choose warm white for cozy ambiance.
Battery-powered options are renter-friendly and tool-free. Hardwired kits offer permanent, seamless lighting.
Consider Refacing for Major Transformation
If painting isn’t enough, refacing gives cabinets a near-new appearance without full replacement.
Apply New Veneer or Panels
Refacing involves covering cabinet boxes with new wood or laminate veneer and installing new doors and drawer fronts. It retains the structure but updates the look.
Cost ranges from $1,500 to $5,000 for an average kitchen, about half the price of full replacement.
DIY option: Use iron-on wood veneer sheets for a natural wood look. Apply with a household iron and smoothing tool.
Replace Doors Only
For a simpler version, buy new stock or semi-custom doors that match your existing frames. Cutouts can be made for standard hinge types.
This door-only swap takes a weekend and instantly modernizes the kitchen.
Maintain Your Fresh-Look Cabinets
Once transformed, protect your investment with simple care habits.
Clean Gently and Regularly
Wipe surfaces weekly with a damp microfiber cloth. Avoid harsh cleaners, ammonia, or abrasive pads.
For sticky spots, use mild soap and water. Dry immediately.
Prevent Wear and Tear
Use cabinet liners to protect shelves from spills. Avoid storing heavy pots directly on wood, and use felt pads.
Check hinges and drawer glides every 6 months and tighten screws as needed.
Final Touches That Elevate the Kitchen
Complete the transformation with coordinated accessories.
Style Open Shelves or Glass Doors
Replace a few solid doors with glass fronts or remove them entirely for open shelving. Display matching dishes, glassware, or decorative baskets.
Add trim molding or lighting inside for extra polish.
Refresh Backsplash and Countertops
Even a partial update helps. Install peel-and-stick backsplash tiles or paint over old grout.
Use countertop refresh kits for laminate, available in granite, quartz, and marble finishes.
Frequently Asked Questions About Making Old Cabinets Look New
Can I paint laminate cabinets without sanding?
Yes, but you must use a high-quality bonding primer designed for slick surfaces. Clean thoroughly, apply bonding primer, then paint with cabinet-grade paint. Skipping primer risks peeling.
How much does it cost to reface cabinets instead of replacing them?
Refacing typically costs $1,500 to $5,000 for an average kitchen. Full replacement runs $8,000 to $15,000 or more. Refacing saves about half the cost while delivering a similar visual update.
What’s the best paint finish for kitchen cabinets?
Semi-gloss or satin finishes work best. They resist moisture, wipe clean easily, and hide minor imperfections. Avoid flat finishes, which show marks and are hard to clean.
How long does a cabinet paint job last?
A properly prepped and painted cabinet surface lasts 5 to 10 years with normal use. Using cabinet-grade paint and allowing full cure time extends longevity significantly.
Can I just replace cabinet doors and keep the old boxes?
Yes. This is called a door-only swap. Measure your existing frames and order stock or semi-custom doors that match. It’s a weekend project that transforms the kitchen’s appearance.
Do I need to remove cabinet doors to paint them?
Yes. Removing doors allows you to paint all edges evenly and prevents drips. Lay them flat on sawhorses and paint both sides separately for best results.
Key Takeaways for Making Old Cabinets Look New
You don’t need a full kitchen remodel to make old cabinets look new. Start by assessing structural soundness, then deep clean every surface. Choose between painting for dramatic color changes or refinishing to preserve natural wood grain. Proper prep, including sanding and priming, determines whether your finish lasts for years.
Upgrade hardware, add interior lighting, and consider refacing if you want a bigger transformation. Maintain your refreshed cabinets with gentle cleaning and periodic hardware checks. These steps deliver a brighter, more inviting kitchen for a fraction of replacement cost.
Start this weekend by cleaning your cabinets and removing hardware. Your dream kitchen is closer than you think.


