

You’ve just bought a new graphics card, extra RAM, or maybe you’re simply ready to clean out years of dust from your PC. Whatever the reason, the first step is the same: you need to open your CPU cabinet. While it might seem intimidating, especially if you’ve never done it before, opening a CPU cabinet is a straightforward process that anyone can do with the right guidance.
The term “CPU cabinet” typically refers to the computer case that houses the actual CPU, motherboard, power supply, storage drives, and other essential components. Despite the common confusion, “CPU” refers to the processor, but people often use it to describe the entire tower. Knowing how to open your computer case properly ensures you don’t damage any parts, void your warranty, or risk electric shock. In this guide, you’ll learn step-by-step how to open any desktop computer cabinet safely, identify case types, use the right tools, and avoid common mistakes.
Prepare Your Workspace
Before touching any screws or panels, setting up a safe, clean, and static-free environment is crucial.
Clear and Flat Surface
Choose a large, flat surface such as a desk or table. Avoid carpeted floors, which generate static electricity. Work in a dry, well-lit area to see small components and labels clearly.
Power Down Completely
Shut down your computer from the operating system. Don’t just put it to sleep. Fully power it off. Then unplug the power cable from the back of the case. This eliminates the risk of electric shock and prevents accidental startup during handling.
Remove Peripheral Cables
Disconnect all external devices. This includes the monitor, keyboard, mouse, speakers, USB drives, and Ethernet cables. This gives you better access to the case and prevents strain on ports when moving the tower.
Ground Yourself
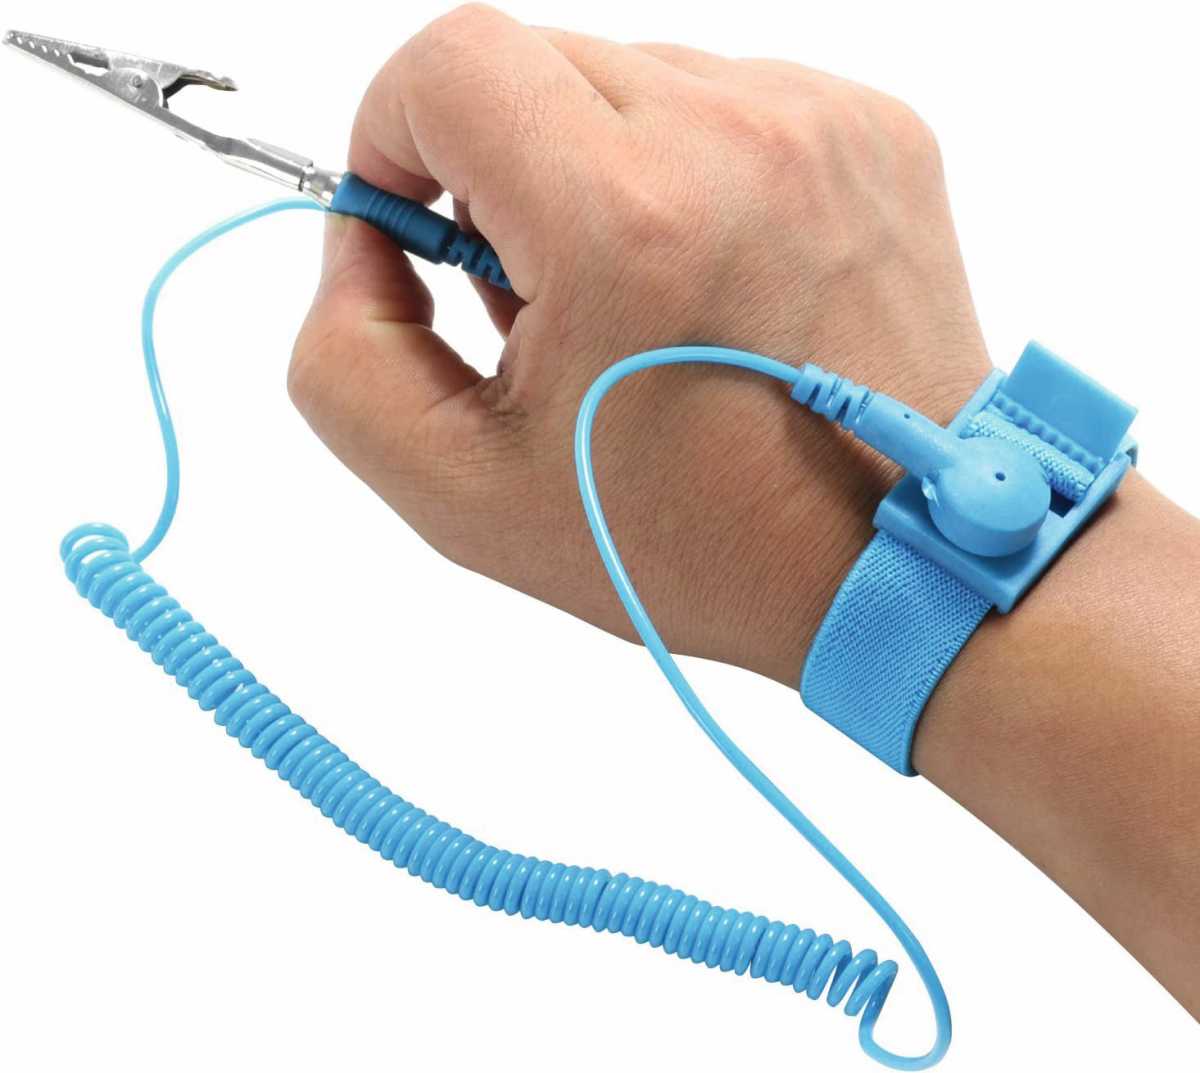
Static electricity can fry sensitive internal components. To prevent electrostatic discharge (ESD), touch a metal part of the case before opening it. For added safety, use an anti-static wrist strap connected to a grounded surface or wear rubber-soled shoes.
Identify Your Case Type

Not all computer cases open the same way. Knowing your case type helps determine how to remove the side panel.
Tower Case Variants
Most desktops use mid-tower or full-tower cases. These usually have removable side panels made of steel or tempered glass. High-end cases may have tool-less designs, while budget models require screws.
Common Side Panel Styles
There are three main styles: screw-fastened, thumbscrew-secured, and tool-less sliding panels. Look at the back of the case where the ports and power supply are located to identify which type you have.
OEM vs Custom-Built Cases
Pre-built computers from brands like Dell, HP, or Lenovo often use proprietary cases with unique latches or release buttons. Custom-built PCs from brands like NZXT, Corsair, or Fractal Design usually follow standard ATX case designs with easier access.
Remove the Side Panel
This is the core step in learning how to open a CPU cabinet. The method depends on your case’s design.
Locate Mounting Screws
Check the rear of the case for one or two screws on the left side panel when viewing from the back. These are typically thumbscrews designed to be removed by hand or standard screws requiring a Phillips-head screwdriver.
Use the Right Tool
If screws are tight, use a #2 Phillips screwdriver. Never force it. Stripped screws make reassembly difficult. For thumbscrews, twist counterclockwise until fully removed. Keep screws in a small container so they don’t get lost.
Slide or Lift the Panel
Once screws are out, gently slide the panel backward about an inch and then lift it off. Some panels lift straight out, while others require a slight backward pull before removal. If it doesn’t budge, double-check for hidden latches or additional screws.
Handle Tempered Glass Panels Carefully
Many modern cases use glass side panels. These are fragile. Hold them with both hands and place them face-up on a soft cloth to avoid scratches or cracks.
Troubleshoot Stuck Panels
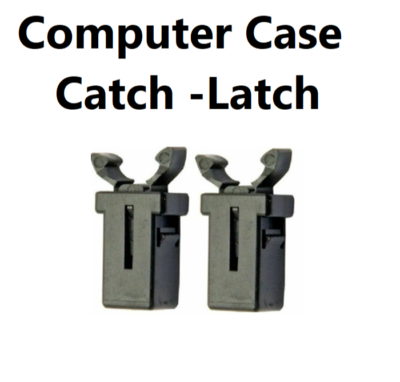
Sometimes, the panel won’t come off easily. Don’t force it. There’s likely a reason.
Check for Hidden Latches
Some OEM cases, especially from Dell or HP, have plastic latches or locking mechanisms near the top or bottom. Look for small levers or buttons and press or flip them to release the panel.
Inspect for Extra Screws
A second screw may be hidden under rubber feet, labels, or near drive bays. Flip the case gently and inspect all sides. Some cases even have screws on the top edge that secure the panel.
Avoid Using Excessive Force
If the panel resists, stop. Forcing it can bend metal, crack glass, or damage internal connectors. Re-examine the entire perimeter for missed fasteners or release mechanisms.
Organize and Protect Components
With the case open, take steps to keep everything safe and organized.
Place Case on Its Side
Lay the computer on its right side with the motherboard facing down so it’s stable and you have clear access to the interior. Use a soft mat or cardboard to protect the surface.
Cover Open Areas
If you’re not working immediately, cover the open case with a clean cloth to prevent dust or accidental spills from getting inside.
Keep Screws Together
Use a magnetic tray or small container to store screws and small parts. Label them if removing multiple components later.
Reassembly Tips
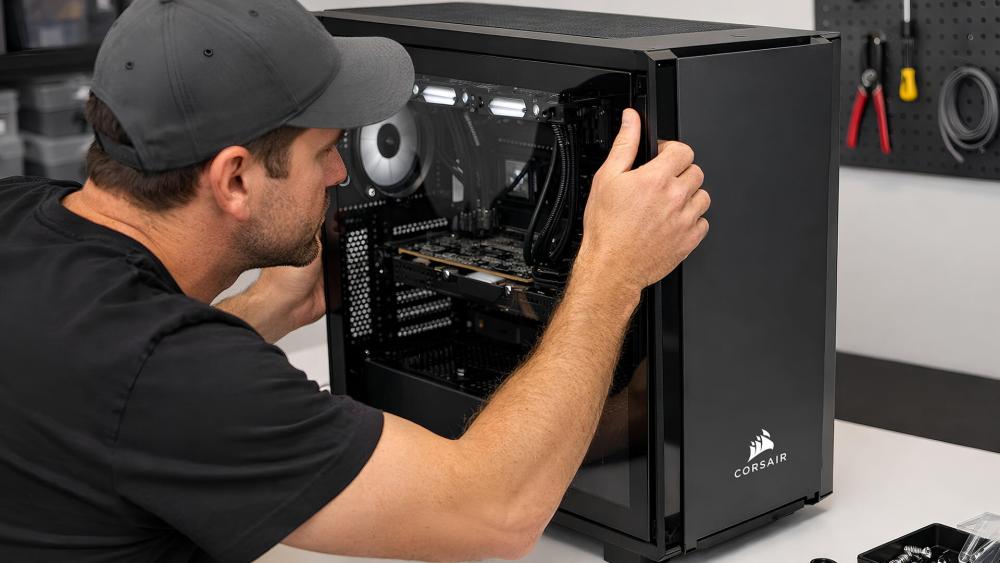
After cleaning, upgrading, or troubleshooting, you’ll need to close the cabinet properly.
Align Panel Correctly
Before securing screws, ensure the panel is properly aligned with the frame. Misalignment can pinch cables or prevent the case from closing flush.
Hand-Tighten Screws
Use your fingers to start threading screws to avoid cross-threading. Then tighten just enough to secure the panel. Over-tightening can strip the threads.
Test Before Final Setup
Once closed, reconnect all cables and power on the system. Verify that everything works before placing the PC back in its usual spot.
Prevent Future Issues
Maintaining easy access helps you avoid problems down the line.
Clean Regularly
Dust buildup reduces airflow and causes overheating. Open the cabinet every 3 to 6 months to clean fans, heatsinks, and vents using compressed air.
Label Cables and Ports
If you frequently upgrade components, label cables or take photos before disconnecting them to simplify reassembly.
Upgrade to Tool-Less Case
Consider switching to a modern case with tool-less drive bays and quick-release panels if you often work inside your PC. These save time and reduce screw-related hassles.
Frequently Asked Questions About Opening a CPU Cabinet
Do I need to unplug the power cord before opening my CPU cabinet?
Yes, always unplug the power cord before opening your CPU cabinet. This eliminates the risk of electric shock and prevents the system from accidentally powering on while you’re working inside.
What screwdriver do I need to open a computer case?
Most cases require a #2 Phillips-head screwdriver. Some newer cases use thumbscrews that can be removed by hand without any tools.
Why won’t my CPU cabinet side panel come off?
The panel may be stuck due to hidden latches, additional screws, or a sliding mechanism you haven’t engaged yet. Check the entire perimeter for release buttons or fasteners before applying force.
Is it safe to touch the motherboard when the case is open?
You can touch the motherboard, but you should first ground yourself to prevent static discharge. Touch a metal part of the case frame before handling any internal components.
Can I open my CPU cabinet while it’s still running?
No, you should never open your CPU cabinet while the system is running. Always shut down the computer completely and unplug the power cable first.
How often should I open my CPU cabinet for cleaning?
Open your CPU cabinet every 3 to 6 months for routine dust cleaning. If you have pets or live in a dusty environment, clean more frequently.
Key Takeaways for Opening Your CPU Cabinet
Opening a CPU cabinet is a simple task when you follow the right steps. Start by preparing your workspace, powering down completely, and grounding yourself. Identify your case type to know which panel removal method applies, then carefully remove screws and slide the panel off.
Remember to handle tempered glass panels with extra care and never force a stuck panel. Keep screws organized and reassemble carefully, testing your system after closing the case. With these steps, you can confidently access your computer’s internals for upgrades, cleaning, or repairs.
Your next step is simple: gather your tools, unplug your PC, and try opening your CPU cabinet today. Once you’ve done it the first time, every future upgrade or cleaning session becomes much easier.


