

Dull, lackluster kitchen cabinets can make even the cleanest kitchen feel outdated. If your wood cabinets have lost their shine or appear faded, polishing them is a simple and cost-effective way to restore their beauty. Knowing how to polish kitchen cabinets properly can breathe new life into your space without the need for replacement or refinishing. Whether your cabinets are coated in natural wood, stained finishes, or painted surfaces, the right polishing technique enhances grain, protects against wear, and adds a professional glow.
This guide walks you through every step of the cabinet polishing process: cleaning, prep, product selection, application, and protection. You’ll learn how to identify your cabinet finish, choose the best polish, avoid common mistakes, and maintain results long-term. With just a few household or specialty tools and about an hour of effort, you can achieve a like-new finish that elevates your entire kitchen’s look.
Identify Cabinet Surface Type
Before applying any polish, determine what kind of surface you’re working with. Using the wrong product can damage finishes or leave streaks.
Check for Wood, Laminate, or Paint
Examine cabinet doors up close. Natural wood shows visible grain patterns and may have minor imperfections. Laminate surfaces feel smooth and often mimic wood grain but lack depth. Painted cabinets have a uniform, solid color with no grain texture.
If unsure, test in an inconspicuous area. Gently scratch a hidden spot with your fingernail. Wood will resist light scratching; laminate may chip slightly; painted surfaces might show a white line if the paint is brittle.
Test Existing Finish Condition
Run your hand over the surface. Is it rough, sticky, or flaking? A sticky feel often means grease buildup. Flaking suggests finish failure, which requires more than polishing. If the surface feels sound but dull, polishing will likely revive it.
Avoid oil-based polishes on damaged or peeling finishes. They can seep underneath and worsen delamination.
Clean Cabinets Thoroughly First
Polishing over dirt or grease seals grime into the surface and reduces shine. Cleaning is the most critical step for lasting results.
Remove Grease and Grime Buildup
Mix a solution of warm water and mild dish soap. Dip a soft microfiber cloth into the solution, wring it out well, and wipe cabinet doors and frames. Focus on stovetop areas where grease accumulates.
For stubborn residue, add 1 part white vinegar to 3 parts water. Vinegar cuts through grease naturally without damaging most finishes. Never use abrasive cleaners like bleach or ammonia. They strip protective coatings.
Dry and Inspect After Cleaning
Immediately dry cabinets with a second clean, dry microfiber towel. Letting moisture sit can warp wood or cloud finishes.
Once dry, inspect under bright light. Look for water spots, streaks, or remaining film. Repeat cleaning if needed. A perfectly clean surface ensures polish adheres evenly and delivers maximum luster.
Choose the Right Polish Product
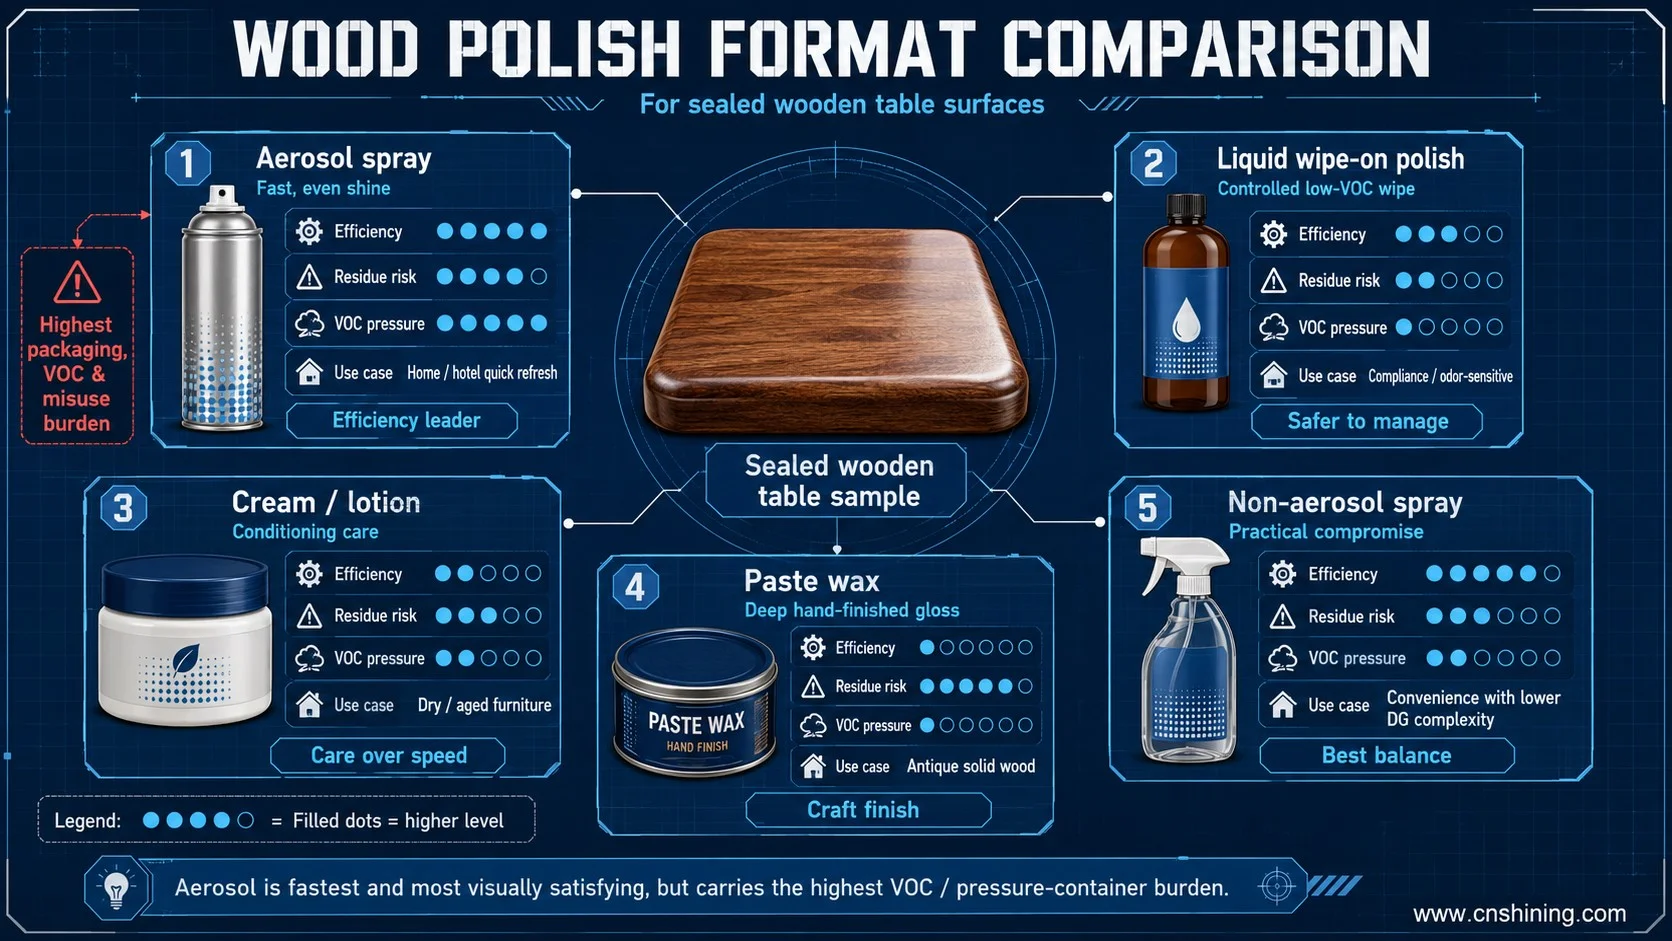
Not all polishes work for all cabinets. Selecting the correct type prevents damage and ensures a professional result.
Use Wax for Natural Wood
For bare or oiled wood cabinets, use a paste wax or liquid wax formulated for furniture. Beeswax or carnauba-based products enhance grain and offer water resistance.
Apply sparingly with a lint-free cloth, following the wood grain. Let it haze over for 5 to 10 minutes, then buff with a clean cloth. Wax builds up over time, so reapply every 3 to 6 months.
Opt for Spray Polish on Sealed Wood
If your wood cabinets have a polyurethane, varnish, or lacquer finish, use a spray polish designed for sealed wood. These products clean lightly while adding shine.
Hold the can 8 to 10 inches from the surface and spray evenly. Wipe immediately with a microfiber cloth to prevent pooling. Avoid silicone-heavy formulas. They create short-term shine but lead to buildup and cloudiness.
Avoid Polish on Laminate or Thermofoil
Laminate and thermofoil (PVC-coated MDF) cabinets don’t need traditional polish. Instead, use a dedicated laminate cleaner or a 50/50 water-isopropyl alcohol mix to disinfect and shine.
Never use wax or oil-based sprays on these surfaces. They attract dust and leave streaks.
Apply Polish in the Right Way
Even the best product fails with poor application. Technique matters as much as product choice.
Work in Small Sections
Polish one cabinet door at a time. Start at the top and move downward to avoid dripping onto finished areas.
For large cabinets, divide into quadrants. This ensures even coverage and prevents missed spots.
Follow the Grain on Wood
Always apply and buff polish in the direction of the wood grain. Going against the grain can create swirl marks and dull the finish.
Use light pressure. Let the product do the work. Over-rubbing can generate heat and soften the finish.
Buff to a Shine
After applying, wait the recommended time (usually 5 to 10 minutes), then buff vigorously with a clean, dry microfiber cloth. The friction brings out the deepest shine.
For wax finishes, multiple light coats beat one heavy coat. Build shine gradually for longer-lasting results.
Address Common Cabinet Issues
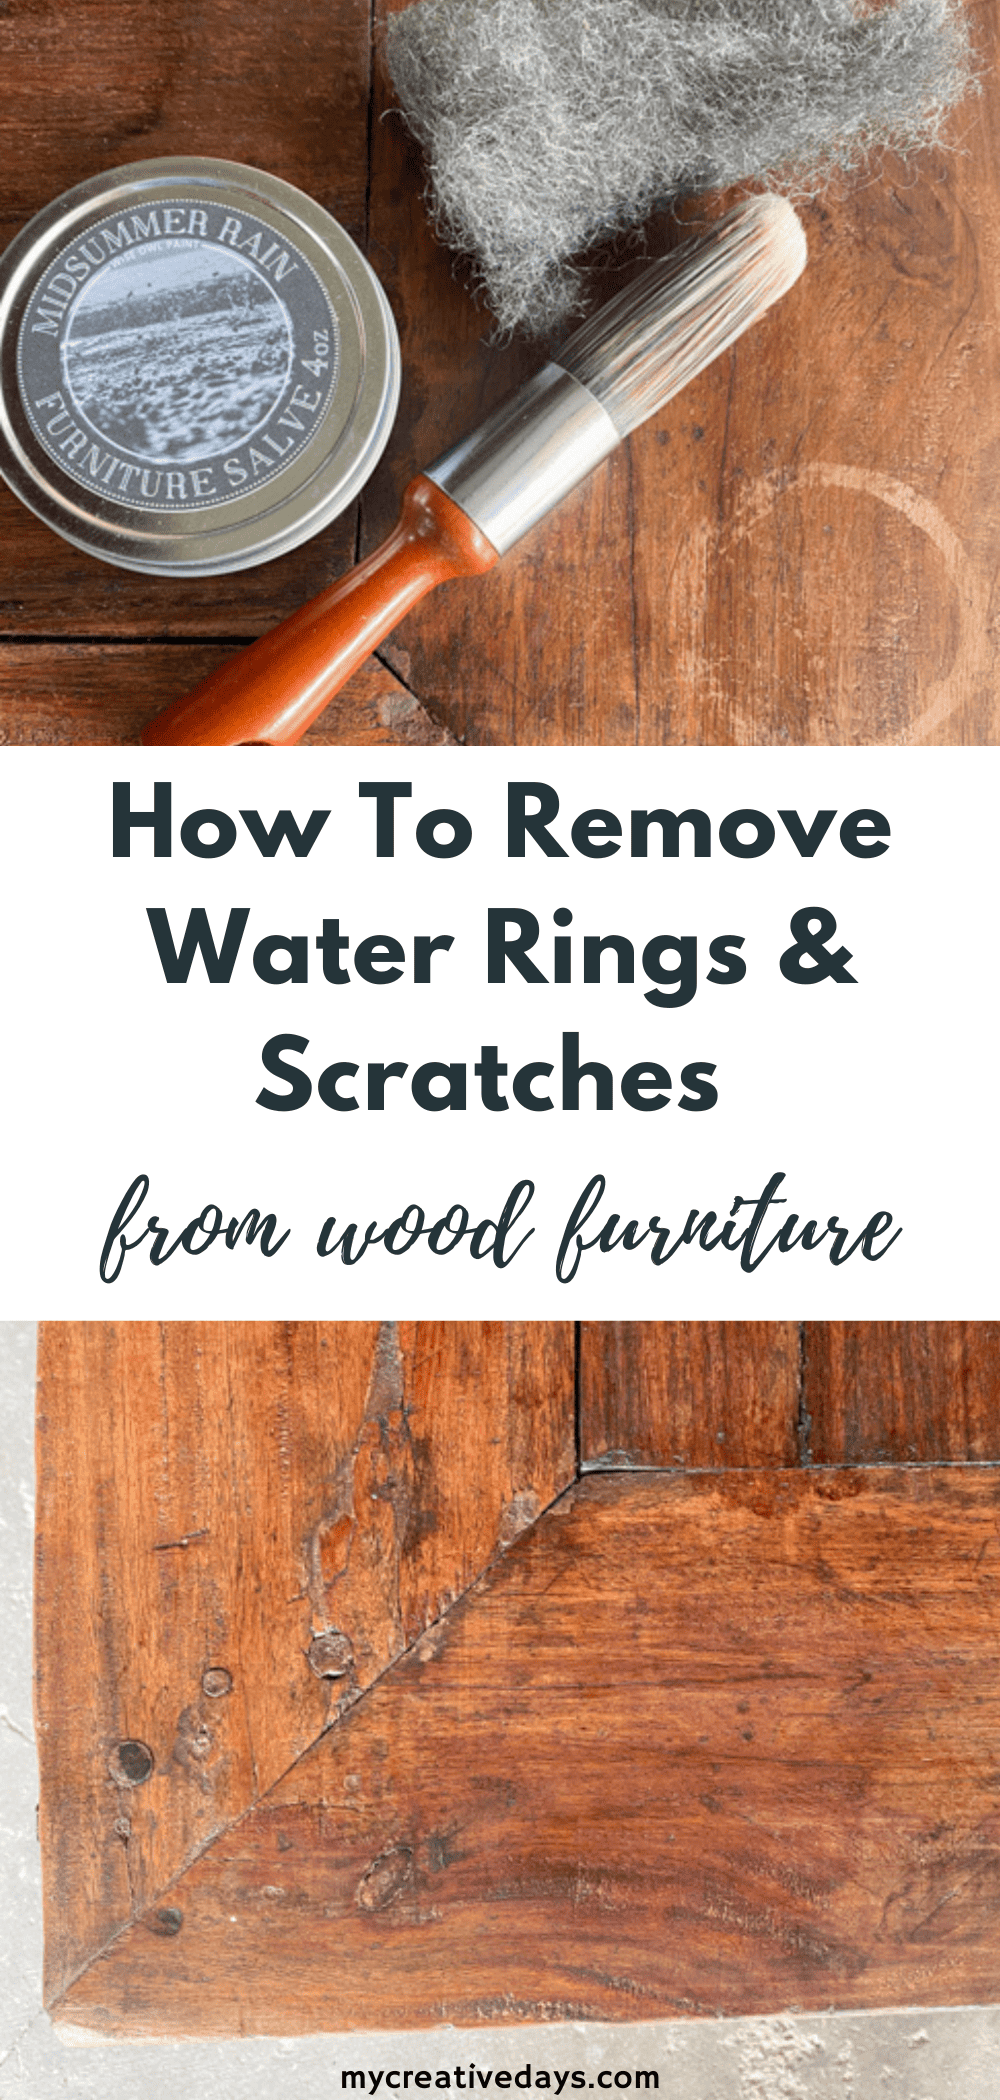
Some cabinets need extra attention before polishing delivers great results.
Fix Sticky Residue First
If cabinets feel tacky after cleaning, it’s likely old polish buildup or cooking oils. Mix 1 part denatured alcohol with 1 part water and wipe gently. Rinse with a damp cloth, then dry thoroughly before polishing.
Avoid using degreasers stronger than vinegar unless absolutely necessary. They can damage finishes.
Remove Light Scratches
Fine surface scratches can be minimized with a polish containing micro-abrasives or a walnut trick: rub a fresh walnut meat over the scratch, then buff. The oils fill minor grooves.
For deeper scratches, touch-up markers or professional repair is better than aggressive polishing.
Handle Water Stains Carefully
White water rings are moisture trapped under the finish. Gently rub with a cloth dampened with petroleum jelly or a paste of baking soda and water. Wipe clean, dry, and polish lightly.
If stains persist, the finish may be compromised. Polishing won’t fix it.
Protect Results Long-Term
A polished look doesn’t last forever, but smart habits extend its life.
Dust Regularly
Use a dry microfiber duster weekly. Dust particles act like sandpaper over time, dulling finishes.
Avoid feather dusters. They just move dust around.
Clean Spills Immediately
Wipe up moisture or food spills right away. Lingering liquids cause warping or clouding, especially on wood edges.
Use a slightly damp cloth, never a soaking wet one.
Reapply Polish as Needed
Most wood cabinets benefit from polishing every 3 to 6 months. High-use kitchens may need it more often.
Set a reminder or mark your calendar to maintain consistency.
When Not to Polish
Polishing isn’t always the answer. Some situations require different solutions.
Skip Polish on Peeling Finish
If the surface is flaking, bubbling, or rough to the touch, the protective layer is failing. Polishing will not fix this. Consider professional refinishing or replacement.
Don’t Polish Untreated Raw Wood
Raw wood absorbs polish unevenly and may darken. Seal it first with a proper wood finish, then polish as needed.
Avoid on New Painted Cabinets
Freshly painted cabinets (within 30 days) are still curing. Wait at least a month before applying any polish or cleaner.
Frequently Asked Questions About Polishing Kitchen Cabinets
How often should I polish my kitchen cabinets?
Most wood cabinets need polishing every 3 to 6 months. High-use kitchens may require more frequent attention. Laminate and thermofoil cabinets rarely need polishing at all.
Can I use olive oil or vinegar to polish cabinets?
Olive oil can go rancid and attract dust. Vinegar is useful for cleaning but not for polishing. Stick to products designed for cabinet finishes.
Will polishing remove scratches from my cabinets?
Light surface scratches can be minimized with micro-abrasive polishes or a walnut rub. Deep scratches require touch-up markers or professional repair.
Is furniture polish safe for all cabinet types?
No. Furniture polish suits natural or sealed wood. It damages laminate, thermofoil, and painted surfaces. Always match the product to your cabinet material.
How do I know if my cabinets are sealed or unsealed?
Place a drop of water on an inconspicuous spot. If it beads up, the surface is sealed. If it soaks in, the wood is raw and needs sealing before polishing.
Can I polish cabinets without cleaning them first?
No. Polishing over dirt or grease seals grime into the finish and reduces shine. Cleaning is essential for lasting results.
Key Takeaways for Polishing Kitchen Cabinets
Polishing kitchen cabinets is a quick, affordable way to refresh your kitchen’s appearance. The process starts with identifying your cabinet surface type, then cleaning thoroughly to remove grease and grime. Choosing the right product for your specific finish matters more than the polish brand itself.
Apply polish in small sections, follow the wood grain, and buff to a shine for professional results. Address common issues like sticky residue, light scratches, and water stains before polishing. Protect your work by dusting regularly, cleaning spills immediately, and reapplying polish every few months.
Remember that polishing isn’t always the answer. Peeling finishes, raw wood, and freshly painted cabinets need different care. When in doubt, test in a hidden area first. With the right technique and products, you can keep your kitchen cabinets looking rich and polished for years. Start with one cabinet door today and see the difference for yourself.


