

Are you tired of bending over every time you use your kitchen counters? If your base cabinets sit at the standard 35-inch height, you’re likely straining your back during meal prep, especially if you’ve added a thick butcher block countertop. The good news: raising kitchen cabinet height doesn’t require custom cabinetry or a full renovation. With simple DIY methods, you can achieve an ergonomic 37.5-inch working height or reclaim wasted vertical space by lifting upper cabinets to the ceiling. These small changes deliver big comfort and storage gains, often in under 10 minutes per cabinet. In this guide, you’ll learn two proven techniques to raise your kitchen cabinets, complete with step-by-step instructions, tool lists, and pro tips for a seamless upgrade.
Raise Base Cabinets for Better Ergonomics
Achieve Ideal Countertop Height
The standard base cabinet height of 35 inches forces most people to hunch over, leading to long-term back strain. For optimal comfort, aim for a 37.5-inch working height, just 2.5 inches higher. This adjustment aligns the countertop with your natural standing posture, reducing fatigue during cooking and prep. If you’re installing a butcher block countertop, which adds at least 1 inch in height, raising the cabinet base becomes even more critical to avoid an awkwardly high surface.
Install a 2×4 Base Extender
Cut and Attach the 2×4
Use a 2×4 board as a base extender to lift your cabinets permanently. Cut the board to match the width of each cabinet’s bottom. Position it so it runs the full length front to back. This turns the cabinet “upside down,” with the 2×4 becoming the new base. Pre-drill holes through the original cabinet bottom to prevent wood splitting, then screw the 2×4 securely in place at both the front and back edges.
Secure All Cabinets Uniformly
Repeat this process for every base cabinet to ensure a level countertop surface. Inconsistent heights will cause alignment issues when installing the countertop. Use a level during installation to confirm all units sit evenly. Once modified, mount the cabinets to the wall studs as usual, ensuring stability and alignment.
Tools and Time Required
You’ll need only basic tools: a drill, screws, 2×4 lumber, measuring tape, and a level. The entire process takes less than 10 minutes per cabinet, making it ideal for quick renovations or tight budgets. No drywall work or structural changes are required. This method avoids the high cost and long lead times of custom cabinetry.
Avoid Common Mistakes
- Don’t skip pilot holes: They prevent the wood from splitting when you drive in screws.
- Don’t reinforce only the front edge: Secure both front and back of the 2×4 for full support.
- Don’t forget to level: Uneven cabinets will cause countertop gaps or wobbling.
Lift Upper Cabinets to the Ceiling
Reclaim Wasted Vertical Space
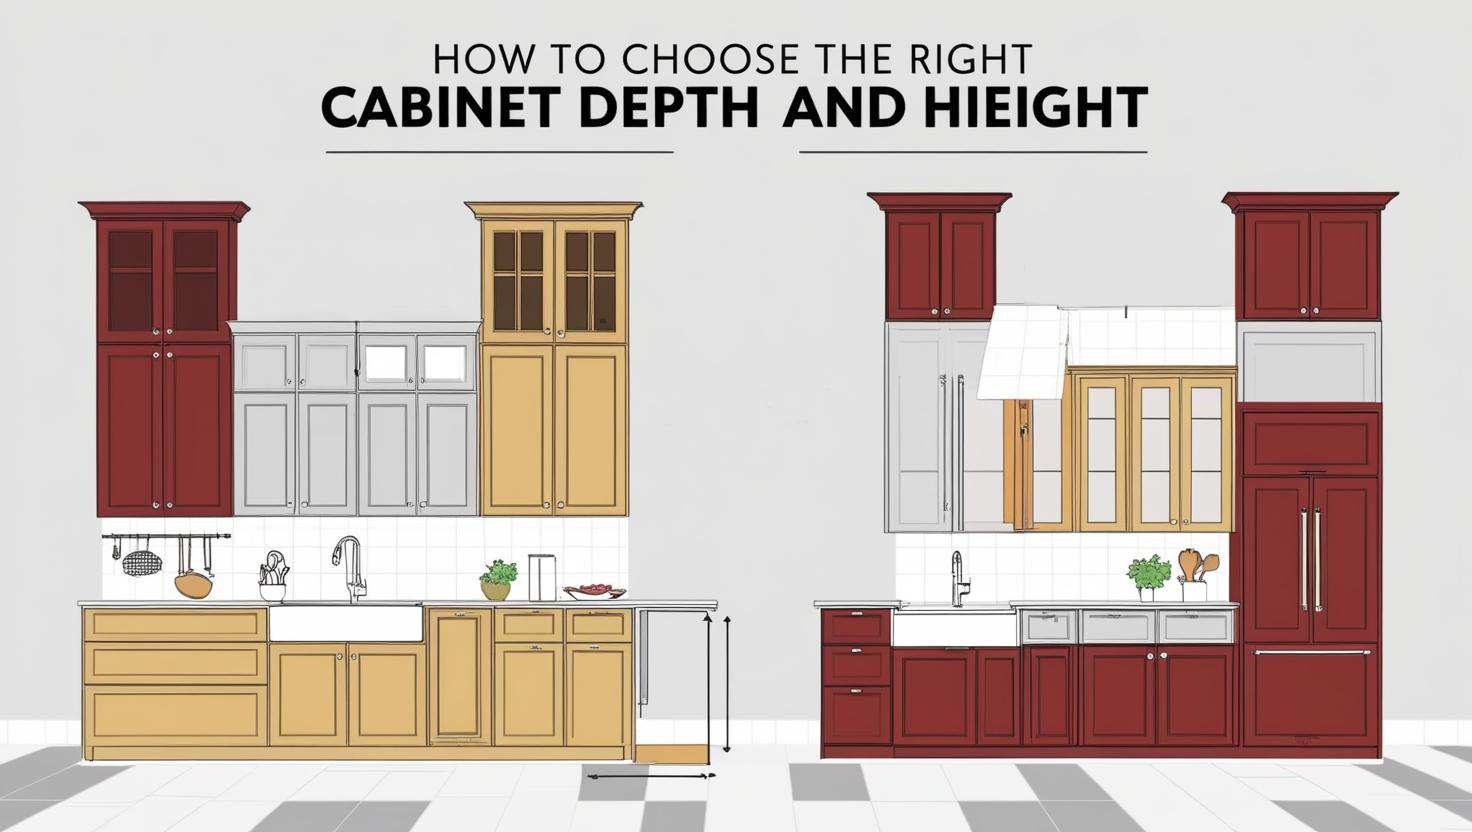
In older kitchens, especially 1940s homes, upper cabinets often stop a foot short of the ceiling, leaving valuable storage unused. By raising them, you can increase clearance from 16 inches to 27.5 inches, creating room for a floating shelf and more overhead storage. This transformation makes small kitchens feel brighter and more spacious, with no structural changes needed.
Remove and Relocate Cabinets Safely
Empty and Take Down Cabinets
Start by removing all contents, shelves, and cabinet doors. This drastically reduces weight and makes handling easier. Have a helper support the cabinet while you remove the 2 or 4 screws anchoring it to wall studs. Most cabinets are held by just a few screws, with no heavy brackets, so they come down easily. Be ready for a loud pop when the last screw releases, but the cabinet won’t fall if held securely.
Identify Screw Types
Some cabinets use specialty screws, like square drive bits. Check before you start and use the correct drill bit to avoid stripping screws. Always use pilot holes when reinstalling to prevent wood damage.
Mark and Install a Ledger Board
Set the New Height
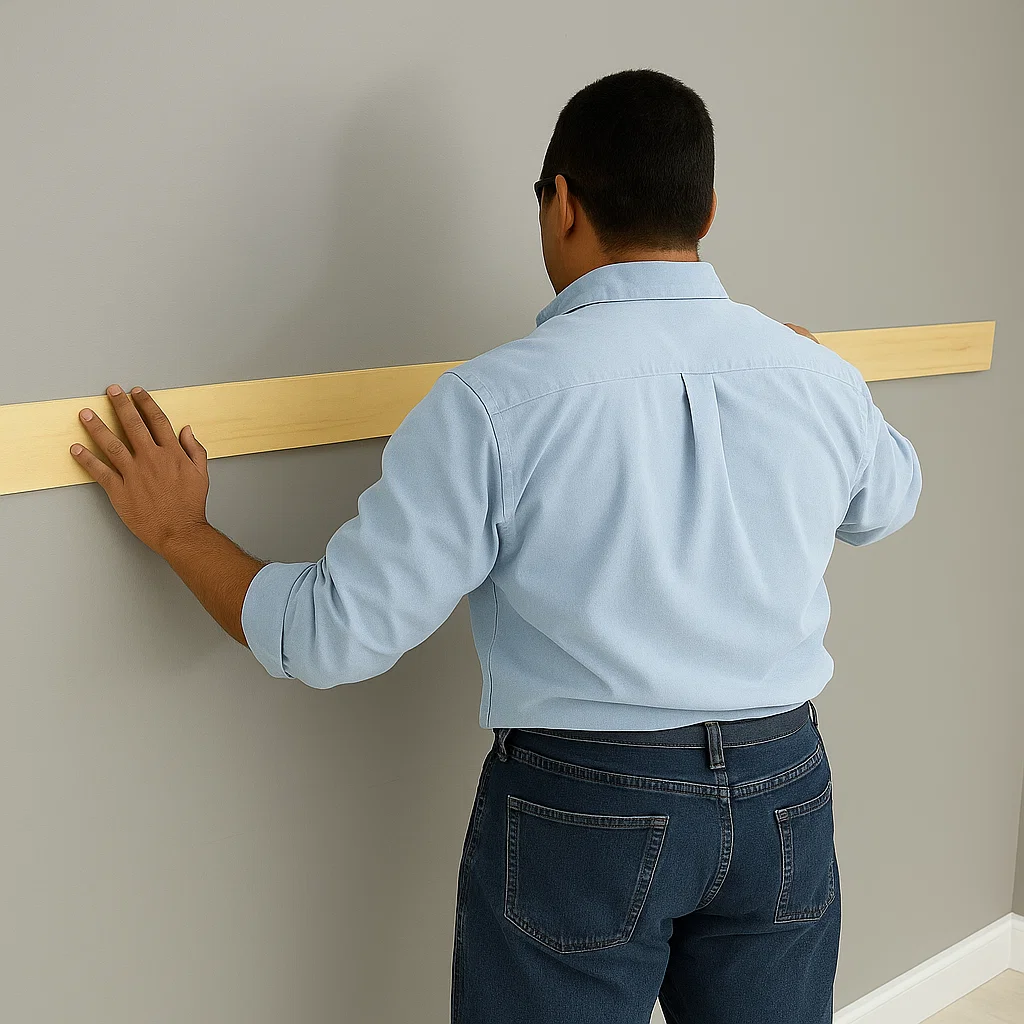
Decide how high to raise the cabinets, then use a level to draw a straight line on the wall. Leave a 1.5-inch gap between the top of the cabinet and the ceiling. This accommodates uneven ceilings and allows space for trim later. Measure at multiple points to ensure accuracy, especially in older homes with sagging walls or ceilings.
Mount the Support Ledger
Cut a 1×4 board to act as a ledger and screw it into the wall studs along your marked line. This board will bear the cabinet’s weight when reinstalled. Ensure it’s perfectly level, as any tilt will cause misalignment. The ledger replaces the original wall screws as the primary support.
Reinstall and Stabilize Cabinets
With your helper, lift the cabinet and rest it on the ledger. Align the back of the cabinet with the wall, then drill through the existing screw holes into the studs. Use long screws to ensure a strong hold. Double-check that the cabinet is level and secure before releasing support.
Add Functional Floating Shelves
Position Below Raised Cabinets
Install a floating shelf 8 to 9 inches below the bottom of the raised upper cabinets. This creates accessible open storage for cookbooks, spices, or frequently used pans. It also serves as a prep zone, keeping countertops clear during cooking.
Maximize Storage and Accessibility
At 5’7″, most users can reach the bottom shelf comfortably. Upper shelves may require a step stool, but that’s standard in most kitchens. Store lighter, less-used items up top and daily essentials within easy reach.
Finish With Trim and Crown Molding
Cover the Ceiling Gap
The space between the top of the cabinets and ceiling should be covered with crown molding or baseboard for a clean, built-in look. This hides imperfections and gives the kitchen a polished finish. Use caulk to seal gaps and create smooth transitions.
Handle Uneven Ceilings
If your ceiling isn’t level, adjust your measurements at multiple points to keep the ledger straight. The 1.5-inch gap provides room to accommodate slight variations. Trim can be cut at angles to fit sloped areas.
Compare Both Raising Methods
| Feature | Base Cabinet Raise | Upper Cabinet Raise |
|---|---|---|
| Target Height Increase | +2.5 inches | +11.5 inches clearance |
| Primary Goal | Reduce back strain | Maximize storage |
| Tools Needed | Drill, 2×4, screws, level | Drill, 1×4 ledger, level, helper |
| Time per Cabinet | Under 10 minutes | 20 to 30 minutes |
| Helper Required? | No | Yes |
| Finishing Work | None | Trim or crown molding |
| Best For | Ergonomics, butcher block tops | Small kitchens, cluttered counters |
Prevent Safety and Stability Issues
Anchor Into Wall Studs
Both methods rely on secure attachment to wall studs. Use a stud finder to locate them before drilling. Never rely on drywall anchors for cabinet support, as they can’t bear the load, especially when cabinets are full.
Check Weight Capacity
Empty cabinets are lightweight, but filled ones add significant weight. Ensure your 2×4 base extenders and ledger boards are made from solid lumber and fully screwed into studs. Reinforce long runs with additional screws every 16 inches.
Verify Level and Alignment
Misaligned cabinets can cause countertop gaps, door misalignment, or wobbling. Always use a long level during installation. For base cabinets, check both front and back edges. For upper cabinets, verify alignment with adjacent units.
Save Money With DIY Cabinet Raising
Avoid Custom Cabinet Costs
You don’t need custom cabinetry to get the perfect height. Both methods use inexpensive lumber and basic hardware. A 2×4 or 1×4 board costs just a few dollars. Screws and drill bits are common in most toolkits.
No Professional Labor Needed
These are beginner-friendly DIY projects. No plumbing, electrical, or carpentry expertise is required. With clear instructions and a helper for upper cabinets, most homeowners can complete the job in a weekend.
Optimize for Long-Term Use
Maintain Easy Access
After raising upper cabinets, consider what you store on each shelf. Keep everyday items on the bottom shelf for easy access. Reserve upper shelves for decorative or infrequently used items. A small step stool solves reach issues.
Plan for Future Renovations
Raising cabinets is a permanent modification. If you plan to sell, note that non-standard heights may surprise future buyers. However, the improved ergonomics and storage often outweigh concerns, especially in compact kitchens.
Pro Tips for Success
Use the Right Drill Bits
Some cabinets use square drive or Torx screws. Bring the correct bit to avoid stripping heads. Test on a spare screw first if unsure.
Work in Stages
Tackle one cabinet at a time. For base cabinets, finish all modifications before installation. For upper cabinets, remove, raise, and reinstall one unit before moving to the next to maintain workspace.
Add Lighting to Floating Shelves
Install under-shelf LED strips to illuminate the countertop. This boosts functionality and enhances the modern look of your upgraded kitchen.
Frequently Asked Questions About Raising Kitchen Cabinet Height
How much does it cost to raise kitchen cabinets?
The cost is minimal, typically under $20 per cabinet. You’ll need basic lumber like 2x4s or 1x4s, screws, and a drill. Both methods avoid the expense of custom cabinetry or professional labor.
Can I raise base cabinets without removing the countertop?
No, you’ll need to remove the countertop first to access the cabinet bases. Once the countertop is off, you can attach the 2×4 base extenders and reinstall everything at the new height.
Do I need a helper to raise upper cabinets?
Yes, a helper is strongly recommended. Empty cabinets are lightweight, but they’re still awkward to handle. Having someone hold the cabinet steady while you remove and reinstall screws makes the job safer and easier.
How high should I raise my upper cabinets?
Raise them so there’s a 1.5-inch gap between the top of the cabinet and the ceiling. This leaves room for trim and accommodates uneven ceilings. Measure at multiple points to ensure accuracy.
Will raised cabinets look odd in my kitchen?
No, they’ll look more built-in and polished. Adding crown molding or baseboard trim over the ceiling gap creates a seamless, professional appearance that many homeowners prefer.
What if my ceiling isn’t level?
Measure and mark at multiple points to keep the ledger board straight. The 1.5-inch gap provides room for slight variations. Trim can be cut at angles to fit sloped areas.
Key Takeaways for Raising Kitchen Cabinet Height
Raising kitchen cabinet height is a smart, low-cost way to improve comfort and storage. Whether you’re lifting base cabinets for ergonomics or moving upper units to the ceiling, these DIY methods deliver professional results with minimal tools.
Start by evaluating your kitchen’s current setup. Measure your base cabinet height and check the gap between your upper cabinets and ceiling. Then choose the method that addresses your biggest pain point, whether that’s back strain during meal prep or wasted vertical storage space.
By following these steps, you’ll create a kitchen that’s easier to use, more efficient, and tailored to your needs, all without the price tag of a full remodel. Begin with a single cabinet to build confidence, then work through the rest of your kitchen at your own pace.


