

Refinishing kitchen cabinets is one of the most cost-effective ways to transform your kitchen. Whether you’re preparing to paint, stain, or just refresh worn surfaces, sanding kitchen cabinets is a crucial first step. Skipping or rushing this process can lead to poor adhesion, uneven finishes, and peeling paint down the line. Most DIYers underestimate how much prep work impacts the final result, but with the right technique, tools, and patience, you can achieve a smooth, professional-looking finish without replacing your cabinets.
In this guide, you’ll learn how to sand kitchen cabinets properly, step by step. We’ll cover everything from choosing the right sandpaper grit to avoiding common sanding mistakes. You’ll also discover pro tips for efficient workflow, dust control, and achieving a flawless surface ready for paint or stain. Whether you’re working with wood, laminate, or thermofoil cabinets, proper sanding sets the foundation for long-lasting results.
Essential Tools and Supplies

Before you start sanding, gather all necessary tools. Having everything on hand prevents interruptions and ensures consistent progress.
Required Sanding Tools
- Orbital sander (random orbit preferred): Ideal for flat cabinet doors and panels. Reduces swirl marks.
- Sandpaper (multiple grits): 120-grit for initial sanding, 180–220-grit for final smoothing.
- Sandpaper for detail areas: 120-grit sanding blocks or sponge pads.
- Tack cloths: For removing fine dust after sanding.
- Paint scraper or putty knife: For removing loose material or old finish.
- Shop vacuum with brush attachment: For dust removal between steps.
Optional but Helpful
- Dust extractor or mask with filter: Protects lungs from fine particles.
- Painter’s tape: To mask off hardware or non-sanding areas.
- Drop cloths or plastic sheeting: Keeps dust contained in the workspace.
Using the wrong tools, like overly aggressive sanders or incorrect grits, can damage cabinet surfaces. Stick to medium-pressure tools and progressive grits for best results.
Remove Cabinet Doors and Hardware
Taking doors and drawers off speeds up sanding and ensures even coverage on all sides.
Why Remove Doors?
Sanding in place leads to inconsistent pressure, missed spots, and increased dust in your kitchen. Removing components lets you work flat on a table, improving control and finish quality.
Steps to Remove and Label
- Unscrew hinges and drawer pulls using a screwdriver or drill.
- Lay doors on a clean, flat surface to avoid warping.
- Label each door and its corresponding cabinet location (e.g., “Left Upper Corner”) with tape.
- Store screws in labeled bags to simplify reassembly.
This step takes 20–45 minutes depending on cabinet count but saves hours during sanding and painting.
Clean Cabinet Surfaces First
Sanding over grease, grime, or sticky residue clogs sandpaper and reduces effectiveness.
How to Degrease Cabinets
- Mix warm water with TSP (trisodium phosphate) or a degreasing cleaner.
- Wipe all surfaces with a sponge or cloth, focusing on stovetop-facing areas.
- Rinse with clean water and let dry completely (30–60 minutes).
Avoid ammonia-based cleaners. They can leave a film that repels paint.
Check for Silicone or Wax
Some cabinets are treated with polish or wax. These prevent paint adhesion. Test by sprinkling water: if it beads up, wipe with mineral spirits to remove contaminants.
Clean surfaces ensure sandpaper cuts efficiently and the new finish bonds properly.
Start with Coarse Grit Sanding
Begin sanding with 120-grit paper to remove gloss and old finish layers.
Sand Flat Panels First
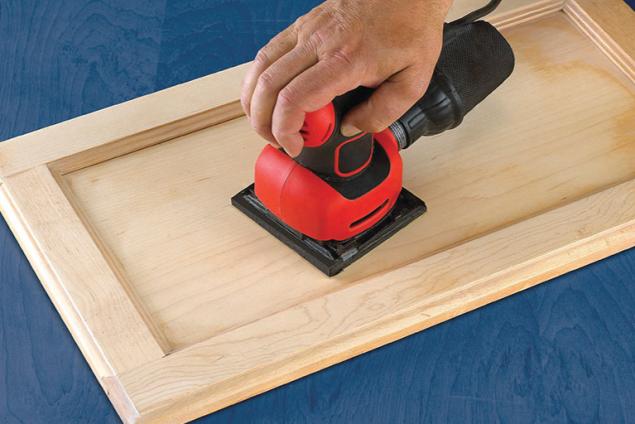
- Use a random orbital sander with light, overlapping passes.
- Move in the direction of the wood grain (if visible).
- Apply even pressure. Don’t press hard; let the sander do the work.
- Sand until the surface feels uniformly dull to the touch.
Expect to spend 1–2 minutes per door for this stage.
Avoid These Mistakes
- Orbital swirl marks: Caused by holding sander in one spot too long.
- Over-sanding edges: Can wear through veneer or damage profiles.
- Skipping spots: Especially near hinges or corners.
Change sandpaper when it loses aggressiveness, typically every 3–4 doors.
Hand-Sand Detailed Areas
Molding, grooves, and raised panels require hand sanding for precision.
Use Sanding Blocks or Sponges
- Wrap 120-grit sandpaper around a foam block or use a sanding sponge.
- Work into corners and carvings with small, back-and-forth motions.
- Flip paper frequently to use fresh edges.
For tight crevices, roll a narrow strip of sandpaper into a cone shape.
Focus on High-Touch Zones
Areas around handles and edges often have built-up oils. Sand these more thoroughly to ensure paint adhesion.
Hand-sanding takes longer but ensures no spot is missed. This is critical for a seamless finish.
Switch to Fine Grit for Final Smoothing
After coarse sanding, refine the surface with 180–220-grit paper.
Final Sanding Steps
- Replace orbital sander pad with 180-grit paper.
- Lightly sand all flat surfaces to remove scratches from coarse grit.
- Wipe with a tack cloth to check for smoothness.
If rough spots remain, repeat with 220-grit.
Why This Step Matters
Fine sanding creates a silky surface that paint adheres to smoothly. Skipping it results in a rough, textured finish, even with high-quality paint.
This pass should take less time than the first, about 30 seconds per door.
Remove All Dust Before Painting
Leftover dust causes bumps and poor paint bonding.
Dust Removal Process
- Vacuum sanded surfaces with a brush attachment.
- Wipe every panel with a tack cloth, lightly, in one direction.
- Avoid regular rags. They can leave lint.
For extra cleanliness, blow out grooves with compressed air.
Do not touch sanded surfaces with bare hands. Oils from skin can interfere with paint.
Repair Damage Before Finishing
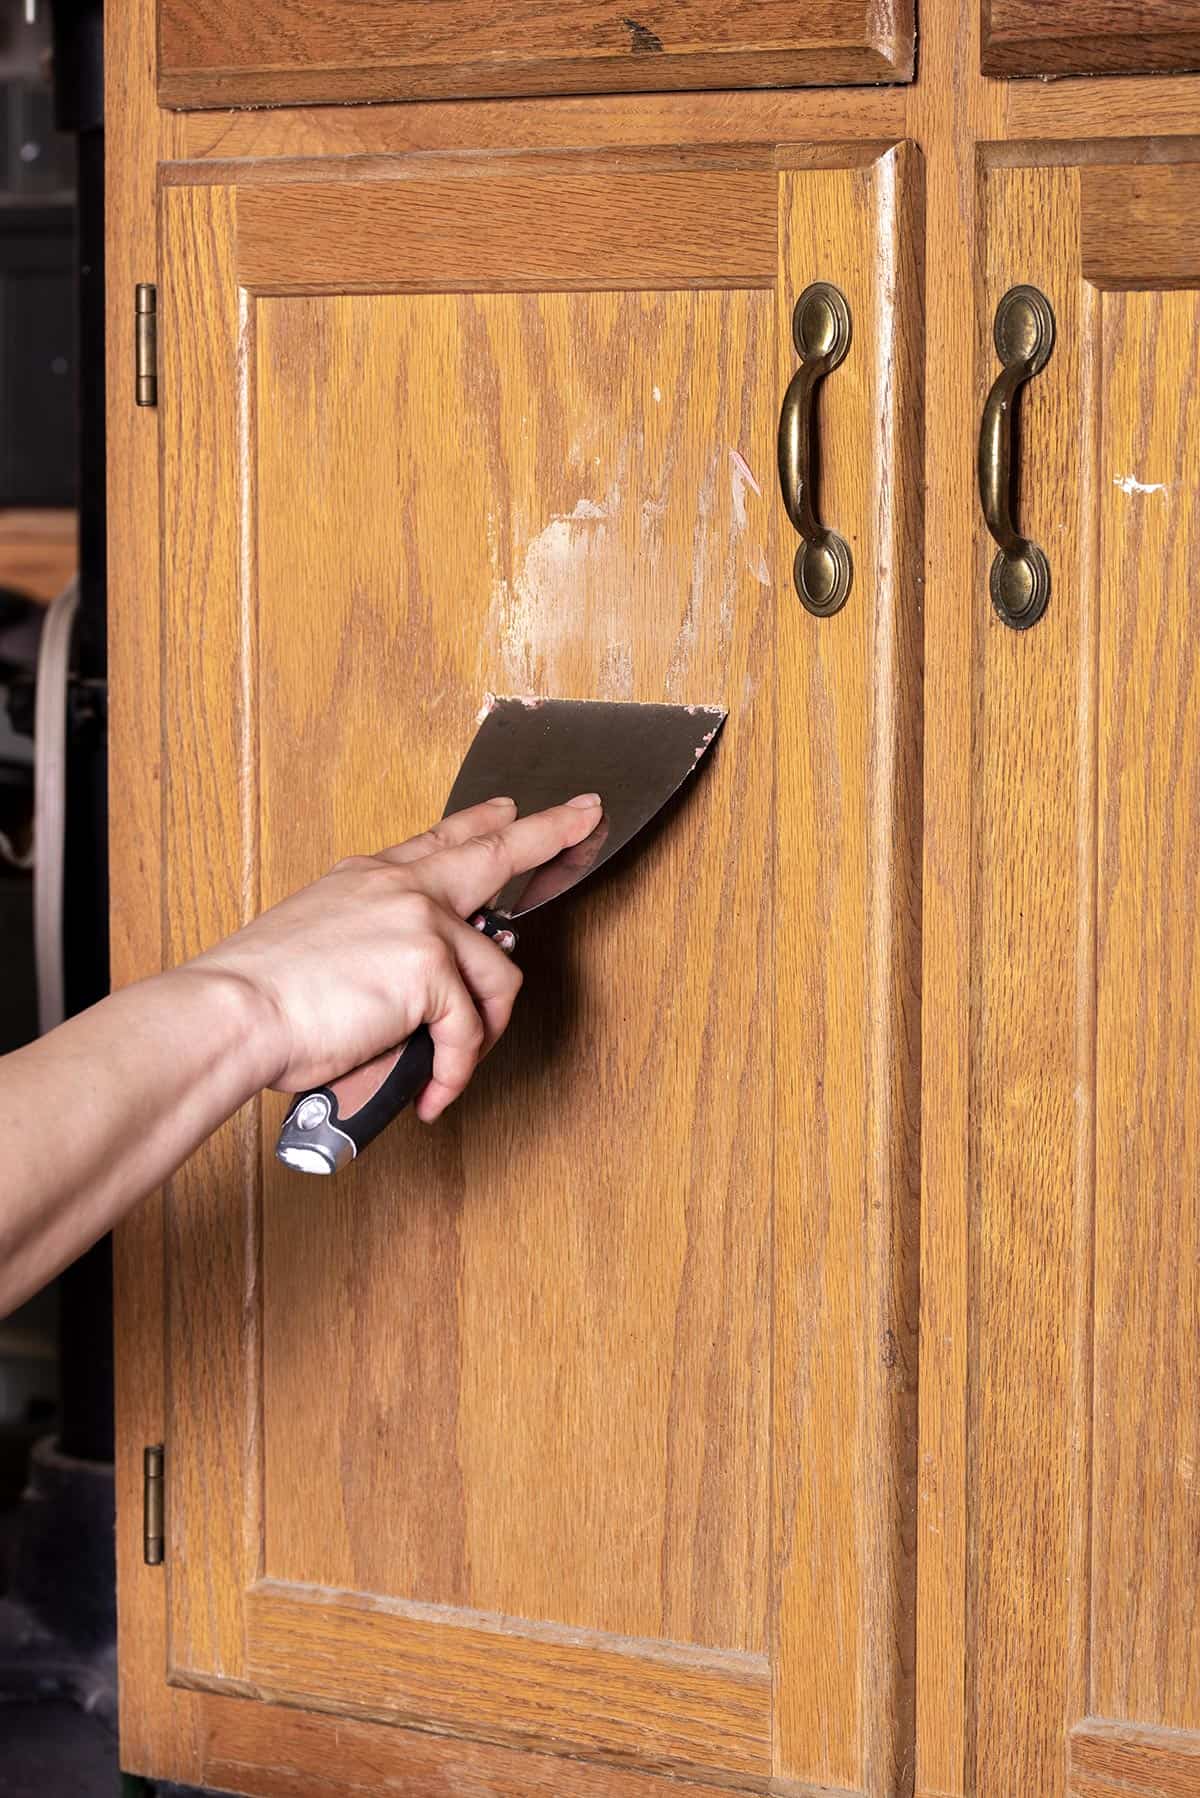
Sanding often reveals dents, chips, or water damage that need fixing.
Fill Dings and Gouges
- Use wood filler for deep scratches or holes.
- Apply with a putty knife, slightly overfill, then let dry.
- Sand flush with 220-grit once dry.
For laminate or thermofoil, use a filler designed for non-porous surfaces.
Seal Repaired Areas
Prime filled spots with shellac-based primer (like BIN) to prevent bleed-through.
Addressing damage now prevents rework later and ensures a uniform look.
Prime After Sanding
Sanding prepares the surface, but priming seals it for paint.
Why Primer Is Essential
- Blocks stains and tannins.
- Evens out porosity.
- Improves paint adhesion and coverage.
Use a bonding primer for glossy or laminate cabinets.
Application Tips
- Sand lightly with 220-grit before priming if needed.
- Wipe with tack cloth again.
- Apply thin, even coats with a high-quality brush or roller.
- Let dry, then lightly sand between coats.
Primer is not optional, even if cabinets seem smooth and clean.
Reinstall Cabinets with Care
Once sanded and painted, reassembly should be clean and damage-free.
Steps to Rehang
- Let final coat cure for at least 24–48 hours.
- Reattach doors using labeled screws and hinges.
- Reinstall drawer boxes and handles.
Avoid over-tightening screws, which can strip holes.
Final Inspection
Check alignment, opening and closing function, and finish quality. Touch up only if necessary.
Frequently Asked Questions About Sanding Kitchen Cabinets
How long does it take to sand kitchen cabinets?
The time varies based on cabinet count and condition. Expect 4–8 hours for a standard kitchen. Removing doors, cleaning, and drying add another 1–2 hours before sanding begins.
Can I sand cabinets without removing the doors?
Yes, but it’s not recommended. Sanding in place leads to uneven pressure and missed spots. It also creates dust throughout your kitchen. Removing doors takes 20–45 minutes and produces better results.
What grit sandpaper should I use for kitchen cabinets?
Start with 120-grit to remove old finish and gloss. Finish with 180–220-grit for a smooth surface ready for primer. Use the same grits for hand sanding detailed areas.
Do I need to sand laminate kitchen cabinets?
Yes, but lightly. Laminate is non-porous, so use 120–180-grit and avoid aggressive sanding that can wear through the surface. A bonding primer is essential for laminate cabinets.
Should I use a power sander or hand sand?
Use a random orbital sander for flat panels and doors. Hand sand detailed areas like molding, grooves, and raised panels. This combination ensures even coverage and prevents swirl marks.
Can I skip sanding if my cabinets are already smooth?
No. Sanding creates the tooth that paint needs to adhere. Even smooth-looking surfaces can have old finish or contaminants. A light pass with 180-grit is still necessary.
Key Takeaways for Sanding Kitchen Cabinets
Sanding kitchen cabinets properly is the foundation of a lasting update. The process involves removing doors, cleaning surfaces, using progressive grits, and dusting thoroughly before priming. Each step builds on the last to ensure a smooth, durable finish.
The most common mistakes are skipping cleaning, using the wrong grit, and rushing the final sanding pass. Avoid these by working methodically and checking your progress with a tack cloth between stages. Invest in quality tools and replace sandpaper regularly for consistent results.
Your next step is to gather your supplies and start with the first door. Work through the process one cabinet at a time, and you’ll see why proper prep makes all the difference. Whether you’re painting white over oak or staining maple, the prep work determines success. Your kitchen will thank you for years to come.


