
Spraying cabinet doors delivers a flawless, factory-like finish that brushes and rollers simply cannot replicate. Whether you’re updating a tired kitchen or refreshing bathroom vanities, learning how to spray cabinet doors correctly saves time and produces professional results. Many DIYers choose this method because it reaches intricate profiles and applies an even coat without visible brush marks or roller stipple. This guide walks you through the entire process, from choosing equipment to applying the final coat, so you can achieve stunning results on your first attempt.
You will discover how to avoid common pitfalls like runs, orange peel texture, and poor paint adhesion by following techniques used by professional finishers. With the right tools, proper preparation, and a patient approach, you can transform outdated cabinets into beautiful centerpieces without the expense of full replacement.
Selecting the Right Sprayer for Cabinet Doors
Choosing the correct paint sprayer makes the difference between a smooth finish and a frustrating mess. Each sprayer type has strengths and limitations for cabinet work.
Why HVLP Sprayers Excel for Cabinet Finishing
HVLP (High Volume, Low Pressure) sprayers are the top choice for cabinet door projects. They produce a fine, controlled mist with minimal overspray, making them perfect for detailed woodwork and recessed panels. These units handle both water-based and oil-based paints effectively, and most cabinet-grade paints require little or no thinning.
HVLP systems operate more quietly than other sprayer types and give you superior control around edges and corners. Although they work slower than industrial units, their precision makes them the preferred option for indoor cabinetry.
The Drawbacks of Conventional Air Sprayers
Conventional air sprayers operate at high pressure and generate excessive overspray, creating a messy situation for home use. Without a dedicated spray booth, paint particles drift onto walls, floors, and nearby furniture, dramatically increasing cleanup time.
These sprayers also consume more material and demand greater ventilation than most garages or kitchens can provide. Save them for large commercial projects with proper containment and exhaust systems.
When to Consider an Airless Sprayer
Airless sprayers deliver speed and power, making them suitable for whole-kitchen renovations involving many doors and frames. However, they produce a heavier mist that proves harder to control on flat or paneled surfaces.
If you choose an airless unit, install a smaller tip (around 210 or 310) and reduce pressure to minimize splatter. Always practice on scrap material first to refine your technique before touching your actual doors.
Preparing Cabinet Doors for a Flawless Finish
Thorough preparation determines whether your paint adheres properly and lasts for years. Skipping these steps leads to peeling, bubbling, and uneven coverage that ruins the final appearance.
Remove Doors and Hardware First
Take down all cabinet doors and remove hinges before spraying. This gives you complete access to both sides and prevents paint from sealing moving parts. Label each door with painter’s tape to remember its exact frame location.
Remove every knob, pull, and hinge from the doors. Soak metal hardware in warm, soapy water to eliminate grease, then dry thoroughly before reinstalling later.
Deep Clean Every Surface
Grease, cooking oils, and dust prevent paint from bonding correctly. Wipe down each door with a degreaser such as TSP (trisodium phosphate) or a dedicated cabinet cleaner. Use a lint-free cloth and rinse with clean water when the product instructions require it.
Allow surfaces to dry completely before proceeding. Any trapped moisture beneath the paint causes adhesion failure and premature peeling.
Sand to Create Paint Grip
Lightly sand each door with 120 to 150 grit sandpaper to scuff the surface. This opens the wood pores or etches laminate textures, giving primer and paint something to grip.
Pay extra attention to glossy areas, especially on factory-finished doors. After sanding, remove all dust with a tack cloth rather than your hands or a regular rag.
Repair Imperfections Before Painting
Fill dings, cracks, and screw holes with wood filler applied using a putty knife. Let the filler dry completely, then sand smooth. For MDF or particleboard doors, use a sandable acrylic caulk to repair seams and joints.
Prime all repaired spots before painting to ensure uniform paint absorption across the entire surface.
Priming Steps for a Professional Base
Primer seals the surface, blocks stains from bleeding through, and creates a uniform base that helps topcoats perform at their best.
Choose a High-Bonding Primer Formula
Select a high-adhesion primer specifically designed for cabinets or melamine surfaces. Shellac-based options like BIN or bonding primers such as Zinsser Bulls Eye 1-2-3 work exceptionally well on glossy or laminated doors.
Apply primer using your sprayer with the same technique you will use for paint. Alternatively, use a brush and mini roller for edges and recessed areas if you prefer.
Spray Primer with Even Coverage
Attach the primer to your HVLP sprayer and adjust the nozzle for a horizontal fan pattern. Hold the sprayer 6 to 8 inches from the surface and move steadily side to side.
Overlap each pass by 50 percent to guarantee full coverage without heavy buildup. Avoid stopping mid-panel, which creates visible streaks.
Let the first coat dry completely, typically 2 to 4 hours. Lightly sand with 220 grit paper, wipe clean, and apply a second coat if needed for full opacity.
Choosing Paint That Stands Up to Daily Use
Cabinet paint must resist chipping, moisture, and frequent cleaning while maintaining its appearance over time.
Opt for Water-Based Acrylic Urethane
Products like Benjamin Moore Advance, Sherwin-Williams ProClassic, or Behr Alkyd offer self-leveling properties and hard, durable finishes that rival professional spray results. These paints clean up with water but cure to a tough, enamel-like surface.
They also produce low odor and low VOCs, making them safe for indoor application with basic ventilation.
Why Standard Wall Paint Fails on Cabinets
Regular wall paint lacks the durability required for cabinetry. It chips easily, yellows over time, and fails to resist moisture or withstand regular cleaning.
Do not let lower prices tempt you into using interior wall paint. Invest in quality cabinet-specific paint for results that last.
Test Your Paint Before Committing
Spray your chosen paint on a scrap board or an old door to evaluate sheen and color accuracy. Lighting dramatically affects appearance, so view samples in both natural and artificial light.
Popular finish choices include satin for the most common look, semi-gloss for added durability, and eggshell for a softer appearance.
Mastering Spray Application Techniques
Proper technique ensures smooth, streak-free results that look professionally applied.
Set Up a Clean Spray Environment
Work in a dust-free space such as a garage or spare room. Lay down drop cloths and remove loose items that could collect overspray. Use sawhorses with plastic sheeting to create a drying rack.
Aim for ideal conditions: temperatures between 65 and 75 degrees Fahrenheit, low humidity, and no drafts that could disturb the spray pattern.
Adjust Sprayer Settings for Optimal Flow
Thin paint only when the manufacturer recommends it. Most modern cabinet paints spray beautifully without additives. If thinning becomes necessary, use the correct reducer (water for latex, mineral spirits for oil-based) in increments no greater than 10 percent.
Test your spray pattern on cardboard to check flow and mist consistency. Adjust fluid control and air pressure until you achieve a uniform, even fan.
Spray Thin Coats with Consistent Motion
Hold the sprayer perpendicular to the door surface. Begin spraying before you reach the edge and continue past it to prevent paint buildup at the ends.
Move at a steady pace of roughly 2 feet per second. Apply light, even coats, building thickness gradually over 2 to 3 layers rather than one heavy pass.
Work one panel at a time. For raised-panel doors, spray the center panel first, then the stiles and rails, and finish with the edges.
Sand Between Coats for Smoothness
Wait 4 to 6 hours between coats or follow the manufacturer’s recommended drying time. Lightly sand with 320 grit paper or a fine Scotch-Brite pad to remove nibs and dust specks.
Wipe with a tack cloth after sanding. Apply a second and sometimes third coat to achieve full coverage and depth of color.
Adapting Technique for Different Door Styles
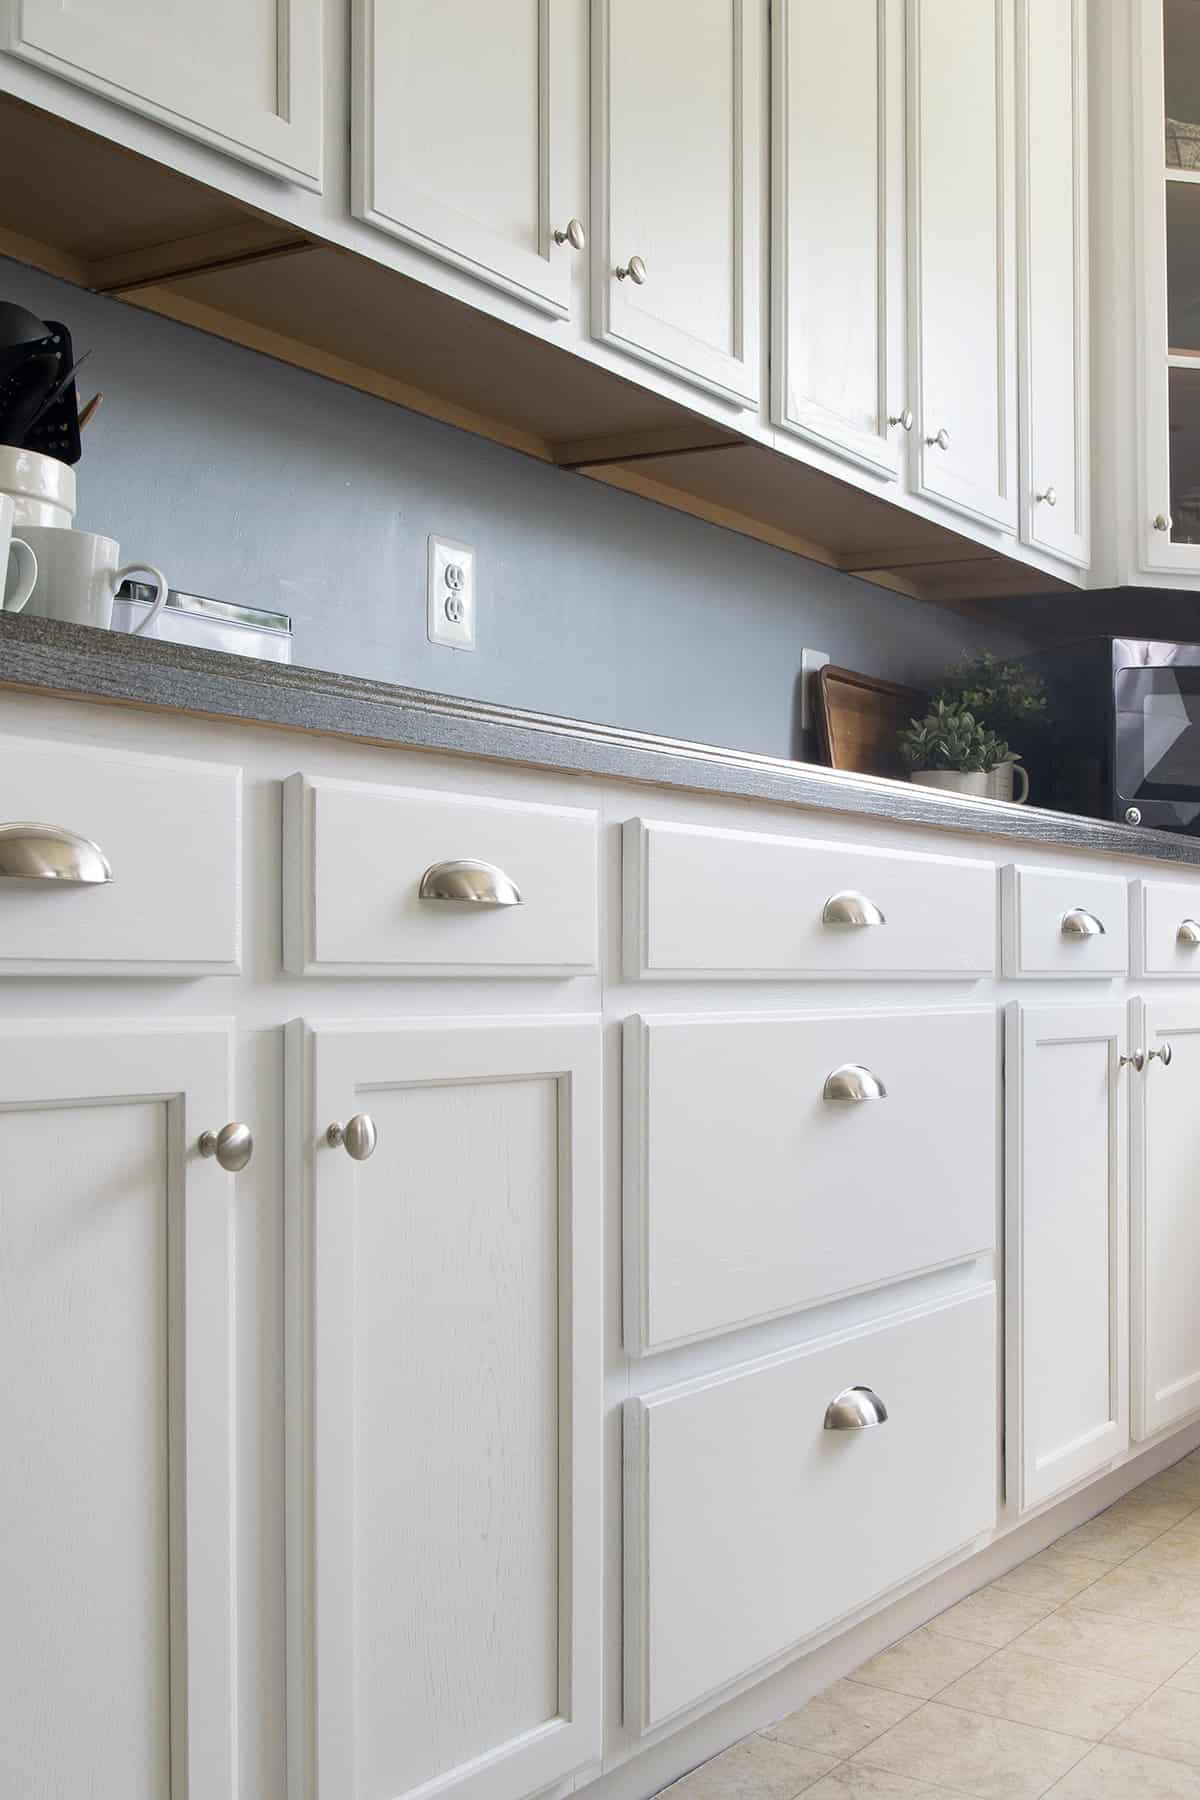
Different cabinet door designs require slight adjustments to your spraying approach.
Spray Flat Panel Doors with Consistent Distance
Flat or slab doors, common in modern kitchens, are the easiest to spray. Maintain a consistent distance and speed across the entire surface.
Watch carefully for runs near the bottom edge, where gravity causes paint to pool.
Work Panel Doors in Sections
For raised-panel or Shaker-style doors, divide the surface into zones: center panel, vertical stiles, horizontal rails, and edges.
Spray recessed areas first, then move to raised sections. Tilt the sprayer slightly to reach inside corners without flooding them with excess paint.
Avoid over-spraying profile edges, which leads to drips and runs.
Spray Both Sides for Balance
Once the front side dries completely, flip the door and repeat the process on the back. This prevents warping and ensures a balanced coating on both visible surfaces.
Hang doors on drying racks or place them on clean, elevated supports so they do not stick to surfaces.
Curing and Reinstalling Your Finished Doors
Proper curing and careful reassembly protect your hard work and extend the life of your new finish.
Allow Adequate Cure Time
Paint may feel dry to the touch within 24 hours, but it takes 7 to 14 days to fully cure. Avoid heavy use and cleaning during this period.
Keep cabinet interiors empty and leave doors slightly open to promote airflow and even curing.
Reinstall Doors with Precision
Match each labeled door to its original frame location. Reattach hinges and check alignment carefully. Doors should hang evenly with consistent gaps around all edges.
Tighten screws gently. Over-tightening strips holes, especially in particleboard frames.
Reattach or Upgrade Hardware
Reinstall your cleaned original hardware or upgrade to new knobs and pulls for an instant refresh. Use a template to ensure consistent placement across all doors.
If using soft-close mechanisms, test them after installation to confirm proper function.
Maintaining Your Sprayed Cabinet Finish
Proper cleanup and ongoing care preserve both your tools and the beautiful finish you created.
Flush Your Sprayer Immediately After Use
Disassemble the spray gun and flush it with the appropriate cleaner: water for latex paint, mineral spirits for oil-based products. Use cleaning brushes to remove clogs from the nozzle and fluid passages.
Reassemble and store all parts in a dry location.
Store Leftover Paint Correctly
Pour remaining paint into a smaller airtight container to reduce air exposure. Label with the date and color name.
Stored properly, quality cabinet paint remains usable for 1 to 2 years.
Clean and Protect Finished Surfaces
Wipe sprayed doors with a damp microfiber cloth. Avoid abrasive cleaners or soaking the surface with excess water.
Apply a spray wax or furniture polish formulated for painted surfaces every few months to enhance luster and protect against everyday wear.
Frequently Asked Questions About Spraying Cabinet Doors
Do I need to sand cabinet doors before spraying?
Yes, sanding is essential for proper paint adhesion. Lightly sand with 120 to 150 grit paper to scuff glossy surfaces and open wood pores. Always wipe away dust with a tack cloth after sanding.
Can I spray cabinet doors without removing them?
You can, but removal is strongly recommended. Spraying doors in place risks paint getting on hinges, frames, and surrounding areas. Removing doors allows complete access to all surfaces and produces a more professional result.
How long should I wait between coats of spray paint?
Wait at least 4 to 6 hours between coats, or follow the manufacturer’s instructions. Lightly sand with 320 grit paper between coats to remove imperfections and ensure proper bonding.
What is the best paint finish for kitchen cabinets?
Satin is the most popular choice for kitchen cabinets, offering a balance of durability and aesthetics. Semi-gloss provides extra protection and is easier to clean, while eggshell offers a softer appearance.
Why does my sprayed cabinet finish look like orange peel?
Orange peel texture occurs when paint is applied too thick, the sprayer is held too far away, or the paint needs more thinning. Adjust your sprayer settings, maintain proper distance, and apply thinner coats to eliminate this issue.
How long does cabinet paint take to fully cure?
Most quality cabinet paints feel dry within 24 hours but require 7 to 14 days to fully cure. Avoid heavy use and cleaning during this curing period to protect the finish.
Key Takeaways for Spraying Cabinet Doors Successfully
Spraying cabinet doors transforms your kitchen or bathroom with a smooth, professional finish that rivals factory work. Success depends on three critical factors: thorough preparation, the right equipment, and patient application technique. Clean and sand every surface properly, choose an HVLP sprayer for precision, and apply multiple thin coats with consistent motion.
Allow adequate drying and curing time between coats and before reinstalling doors. Rushing any step compromises the final result, so embrace the process and give each stage the time it deserves.
Now that you understand the complete process, gather your materials and start your project. Your refreshed cabinets will reward your effort with years of beautiful, durable service.


