
Removing wall cabinets doesn’t have to mean damaged walls or broken wood. Whether you’re renovating a kitchen, updating outdated cabinetry, or preparing for a new layout, knowing how to take down wall cabinets properly saves time, money, and frustration. Many DIYers assume removing wall-mounted cabinets is risky, inviting drywall tears, stud damage, or injury, but with the right tools and technique, it’s a manageable weekend project.
This guide walks you through each step to safely remove wall cabinets without harming your walls or the cabinets themselves. You’ll learn how to assess mounting methods, support cabinets during removal, and avoid common mistakes that lead to costly repairs. The process is straightforward enough for two people to handle on their own, as proven by homeowners who successfully tackled the job in their old house.
Assess Cabinet Mounting Style
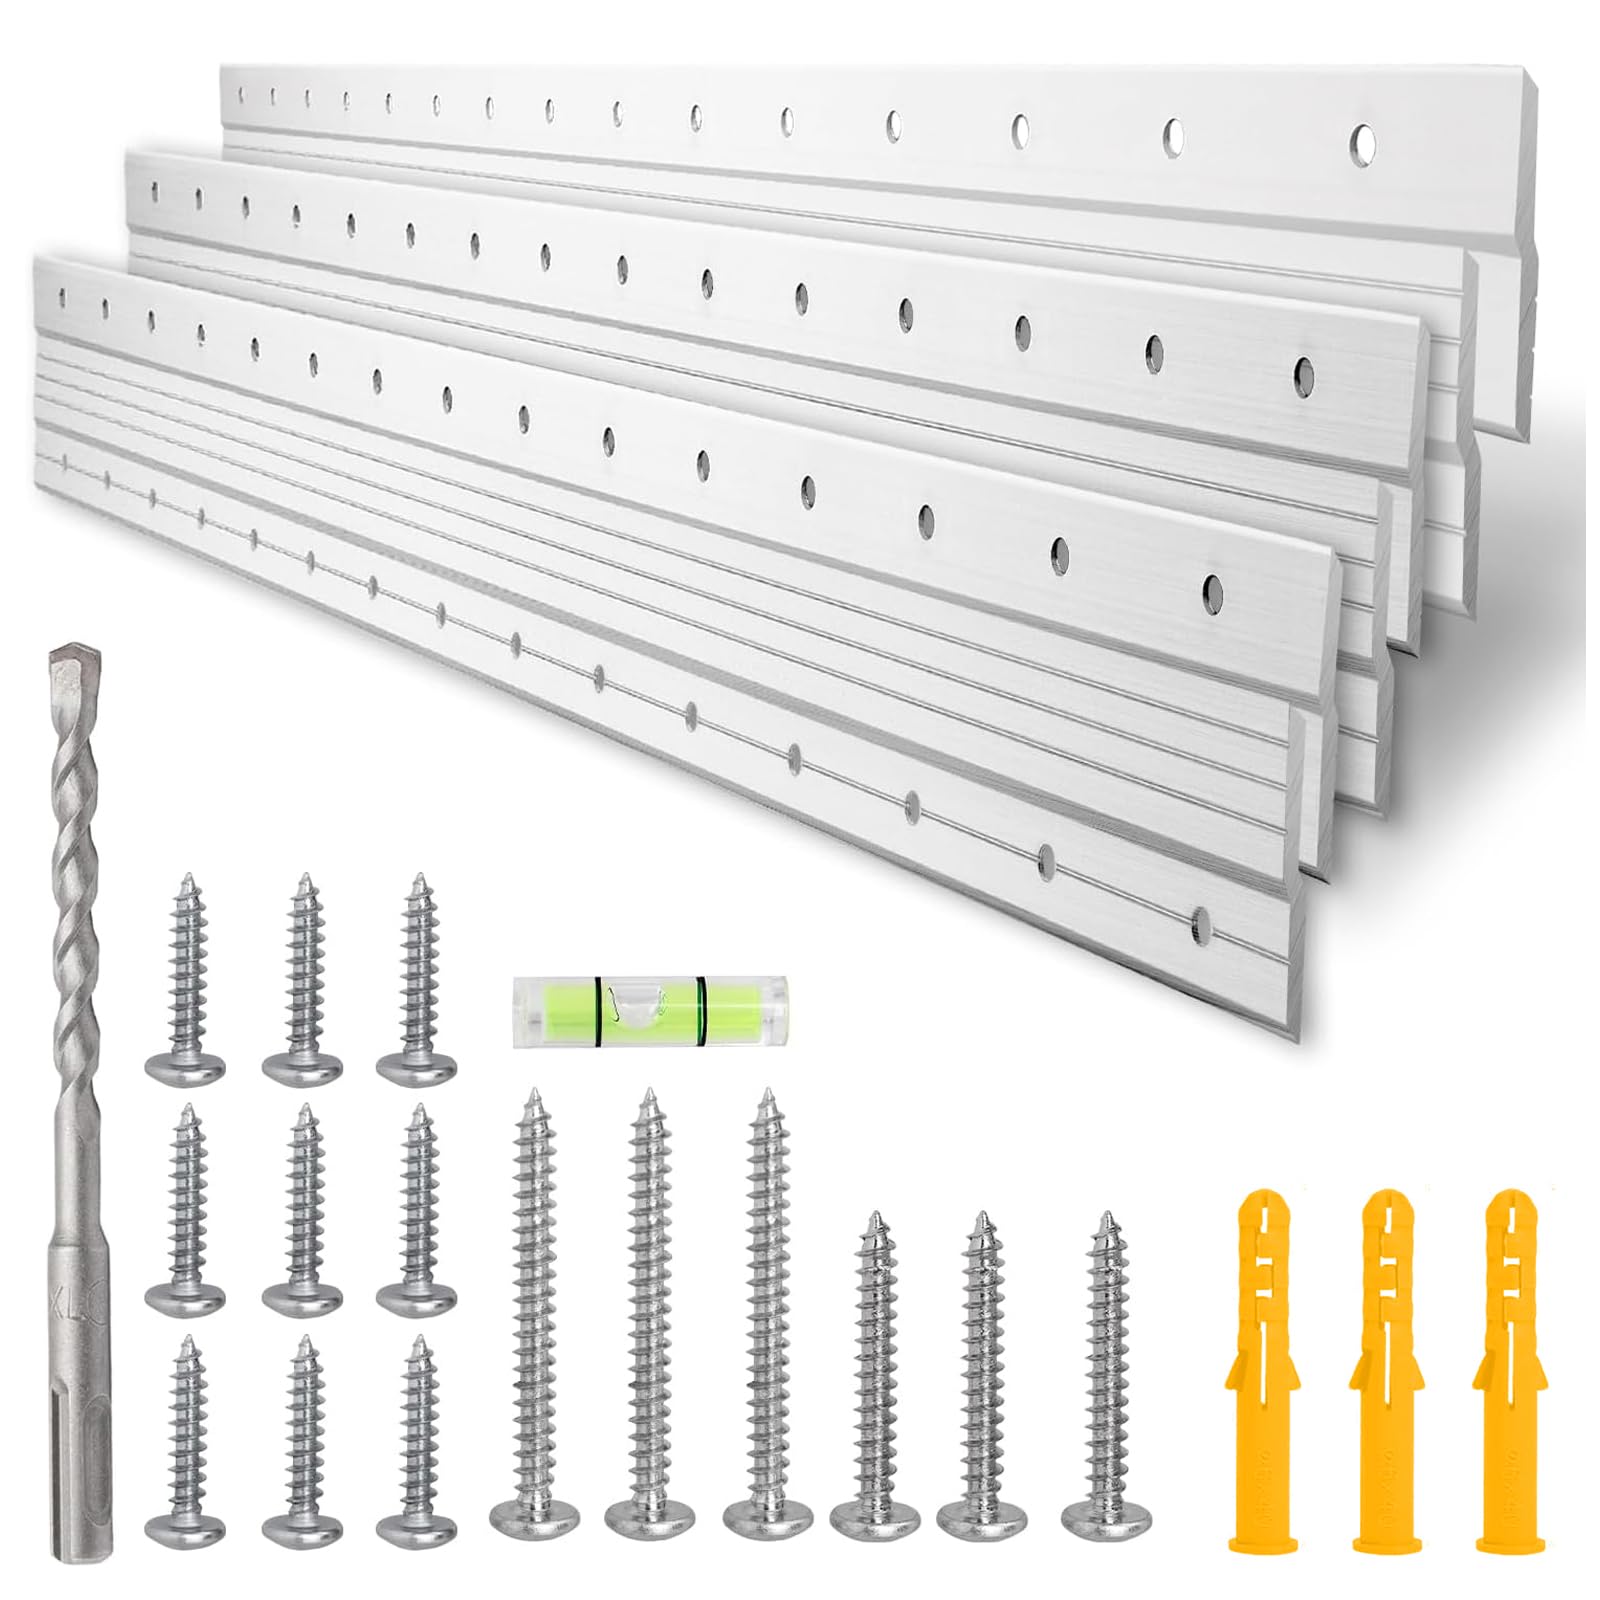
Before lifting a tool, identify how your cabinets are secured. Older homes often use different mounting systems than modern installations, and understanding the type helps prevent wall damage.
Check for Cleats or Rails
Many wall cabinets, especially in older homes, are mounted on wooden cleats. Look underneath the cabinet for a thin strip of wood running along the wall. If visible, this is likely a cleat, typically nailed into wall studs at both ends. Cabinets rest on this support and may be further secured with screws through the back or top. Confirm its presence by gently probing behind the upper edge with a flashlight.
Look for Hidden Brackets
Some cabinets use metal L-brackets or Z-clips hidden at the top or bottom. These are less visible and often require removing trim or inspecting the top edge closely. If you see small screw heads along the ceiling line or cabinet crown, they may connect to mounting brackets. Do not pry the cabinet down without locating these first, as doing so can rip out drywall anchors or strip screws.
Identify Back-Screw Fasteners
In some installations, cabinets are fastened through the rear panel directly into wall studs. These screws are usually spaced 16 to 24 inches apart. Use a stud finder to detect stud locations behind the cabinet, then gently probe with a thin awl near the top back edge to feel for screw heads. Mark their positions to avoid cutting or drilling into them later.
Prepare the Work Area
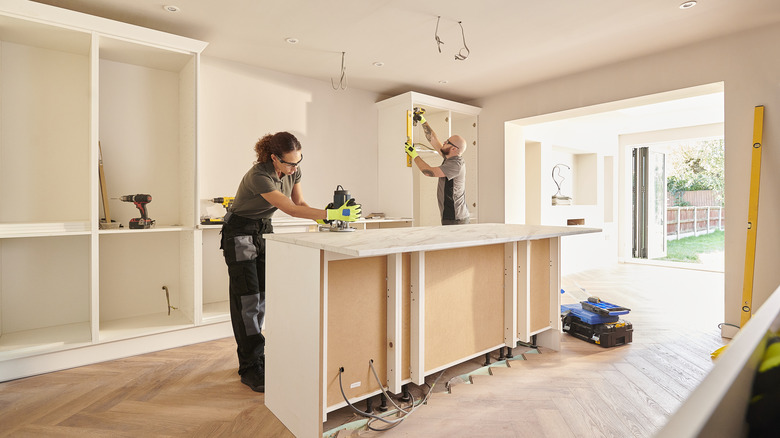
Clearing and protecting your space prevents accidents and keeps debris under control during removal.
Remove Cabinet Contents
Empty all shelves and doors. Wall cabinets become top-heavy when full, increasing the risk of tipping during removal. Remove doors if possible to reduce weight and protect hinges. Set hardware aside in labeled bags for reinstallation or recycling.
Protect Floors and Countertops
Lay down cardboard, drop cloths, or plywood sheets to shield flooring from falling tools, screws, or wood fragments. If cabinets sit above countertops, cover them with moving blankets secured by tape, avoiding direct adhesive contact. This also protects countertop edges from accidental kicks or tool slips.
Turn Off Utilities if Needed
If cabinets enclose plumbing, electrical outlets, or lighting fixtures, shut off water and power at the main panel. Cap exposed pipes and insulate wire ends with electrical tape. Label shut-off valves and circuits clearly so utilities can be restored safely after removal.
Support the Cabinet Before Removal
Never assume a cabinet is loose, even one with missing screws can still bear weight. Always provide external support before loosening any fasteners.
Use Adjustable Jacks or Sawhorses
Position an adjustable floor jack or sawhorse under the cabinet’s center. Raise it slowly until it makes firm contact with the bottom panel. This takes the load off wall fasteners and prevents sudden drops. For longer cabinets, use two supports spaced evenly to avoid sagging.
Brace with Temporary Wooden Blocks
If jacks aren’t available, cut 2×4 blocks to fit vertically between the floor and cabinet. Wedge them tightly in place using a rubber mallet. Ensure blocks rest on solid flooring, not baseboards or molding, to prevent tipping. Double-check stability by gently shaking the cabinet before proceeding.
Remove Fasteners Systematically
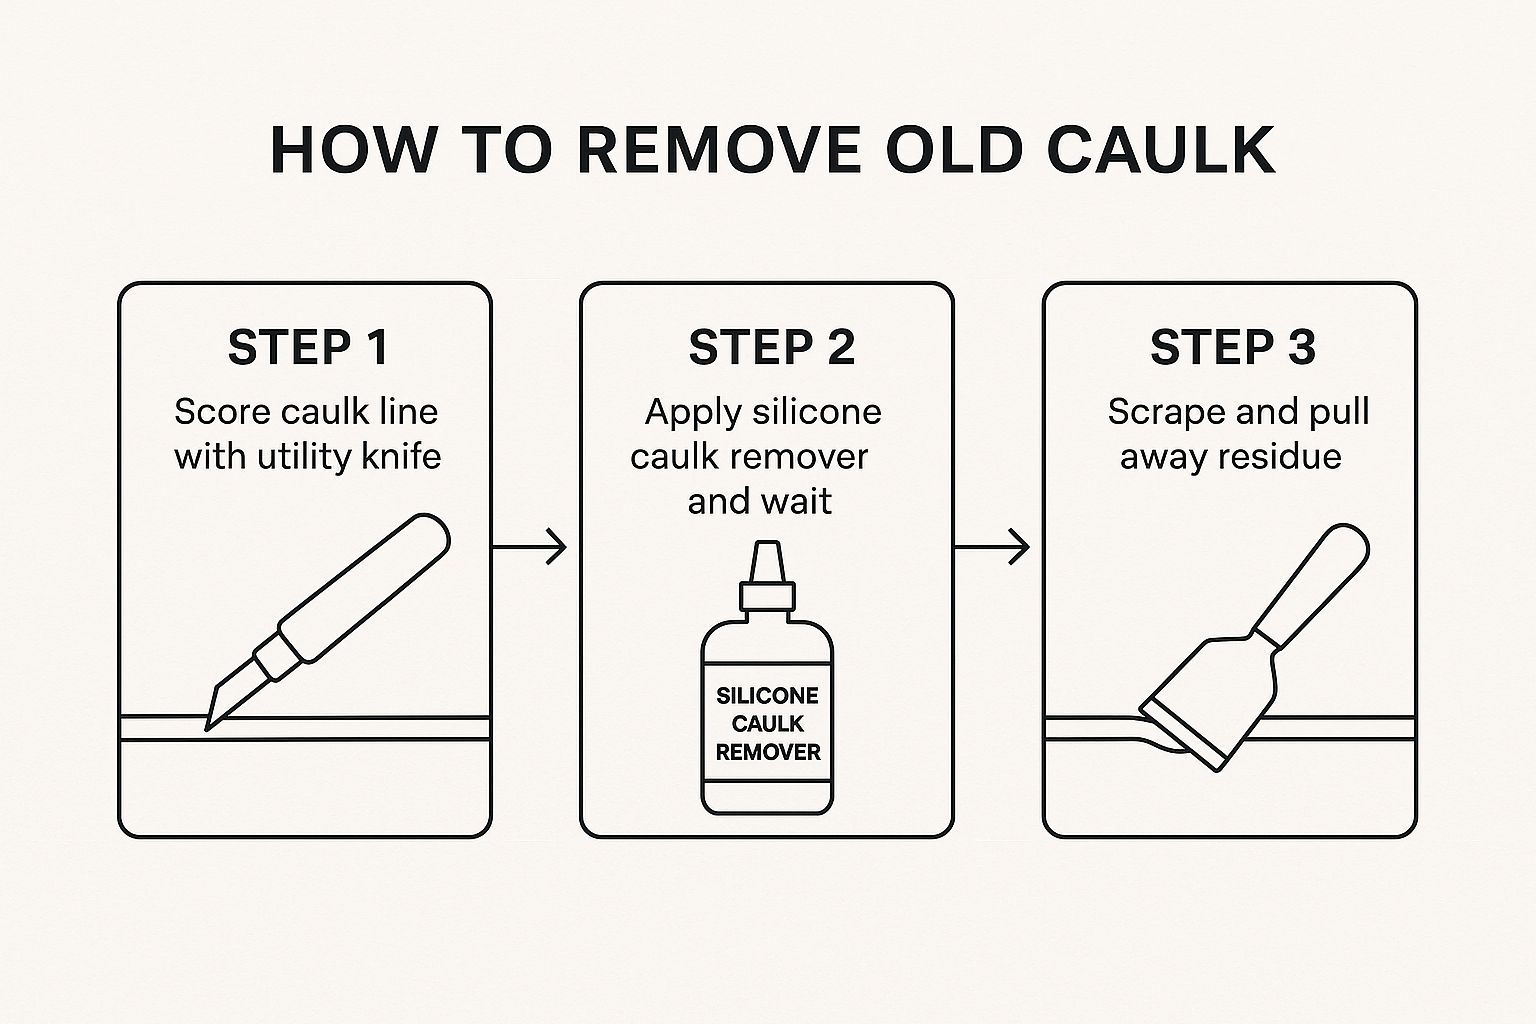
With the cabinet supported, begin detaching it from the wall using a methodical approach to avoid stress on joints or walls.
Unscrew Top and Side Anchors First
Using a drill with a Phillips bit, remove any visible screws at the top edge or sides. These often connect to ceiling joists or adjacent walls. Keep screws organized by location. If screws resist turning, apply penetrating oil and wait 5 to 10 minutes before retrying, as rusted or painted-over heads may break otherwise.
Pull Cleat Nails or Screws Carefully
If a cleat is present, remove the nails or screws securing it to the wall studs. Use a pry bar with a scrap wood buffer to avoid gouging drywall. Work from one end to the other, keeping even pressure. If the cleat is painted over or stuck, score along the wall edge with a utility knife to prevent peeling paint.
Cut Through Caulk or Paint Seams
Over time, paint or caulk bonds the cabinet to the wall. Run a utility knife around all edges, top, sides, and back, to break this seal. This reduces resistance when lowering the cabinet and helps prevent drywall paper from tearing. Focus on corners where adhesion is strongest.
Lower and Remove the Cabinet
Once fully detached, carefully lower the cabinet with control and support.
Have a Helper Guide the Descent
Always use at least one assistant. One person operates the jack or removes blocks while the other steadies the cabinet. Lower slowly, as sudden drops can crack cabinet joints or damage floors. Angle the cabinet slightly forward as it clears the wall to disengage from any rear brackets.
Watch for Hidden Wiring or Plumbing
Even if utilities were turned off, confirm no wires or pipes run behind the cabinet before pulling it free. Some older kitchens route wiring through wall cavities behind upper cabinets. If you feel resistance or see cables, stop immediately and investigate.
Set Down Flat on Protected Surface
Place the cabinet face-up on a padded surface to prevent scratches or warping. If reusing, label front and top edges. Wrap in moving blankets for storage or transport.
Repair and Patch the Wall

After removal, address wall damage to prepare for new installations or finishing.
Locate and Mark Stud Positions
Use a stud finder to trace where studs were behind the cabinet. Mark their centers with pencil, which helps plan new cabinet placement or patching. Avoid drywall anchors in future mounting unless paired with stud support.
Fill Screw Holes and Nail Dents
For minor damage, apply spackling compound with a putty knife. Press firmly to fill holes flush with the wall. Sand smooth once dry. For larger gaps or torn drywall paper, cut out damaged sections and patch with a new drywall piece secured to backing.
Prime and Paint Matching Sections
Patch areas absorb paint differently. Prime repaired spots before applying a finish coat. Use leftover wall paint or a sample match to blend repairs. Roll paint in a wide “W” pattern to feather edges and avoid visible borders.
Reuse or Recycle Old Cabinets
Don’t toss cabinets that are still in good condition.
Donate to Habitat for Humanity
Many ReStore locations accept gently used cabinets. Call ahead to confirm condition requirements. Donating can also qualify for a tax deduction, so ask for a receipt.
Repurpose for Workshop or Garage Storage
Old wall cabinets make excellent storage for tools, gardening supplies, or cleaning products. Sand and repaint them to match a new space. Add LED strips inside for better visibility.
Break Down for Scrap Wood
If unusable, dismantle cabinets with a reciprocating saw and pry bar. Separate wood, metal hardware, and glass for recycling. Plywood and solid wood pieces can be reused in DIY projects like shelves or planters.
Frequently Asked Questions About Taking Down Wall Cabinets
Can two people remove wall cabinets without professional help?
Yes, two people can safely remove wall cabinets on their own. The key is proper support and a systematic approach. Use jacks or sawhorses to bear the weight, and have one person steady the cabinet while the other removes fasteners.
How do I avoid damaging drywall when removing cabinets?
Score around all edges with a utility knife to break paint and caulk seals before prying. Use a pry bar with a scrap wood buffer to protect the wall surface. Remove screws rather than pulling the cabinet away from the wall forcefully.
What tools are essential for removing wall cabinets?
You’ll need a drill with Phillips bits, a stud finder, a utility knife, a pry bar, and a rubber mallet. For support, have adjustable jacks or sawhorses ready. Penetrating oil helps with stubborn screws.
Should I remove cabinet doors before taking the cabinet down?
Removing doors reduces weight and makes the cabinet easier to handle. It also protects hinges from damage during removal. Store doors and hardware in labeled bags for reinstallation.
What should I do with old wall cabinets after removal?
Consider donating to Habitat for Humanity ReStore, repurposing them for garage or workshop storage, or breaking them down for scrap wood. Many cabinets in good condition can serve new purposes.
How do I patch holes left by cabinet screws?
Fill small holes with spackling compound using a putty knife. Sand smooth once dry, then prime and paint to match the wall. For larger damage, cut out the affected section and patch with new drywall.
Key Takeaways for Removing Wall Cabinets
Removing wall cabinets is a safe and achievable DIY project when approached with care. Start by identifying how your cabinets are mounted, whether on cleats, brackets, or back screws. Always support the cabinet before loosening fasteners, and work methodically from top anchors to wall connections.
Protect your space with drop cloths and coverings, and don’t skip scoring paint seams to prevent drywall damage. With a helper guiding the descent, you can remove cabinets cleanly and even reuse them elsewhere. The homeowners who tackled this job in their old house proved that careful preparation leads to damage-free results.
Now that your cabinets are down, you can focus on your next step, whether that’s installing new cabinetry, refinishing the wall, or repurposing the old units. Take measurements of your wall space and plan your new layout with confidence.


