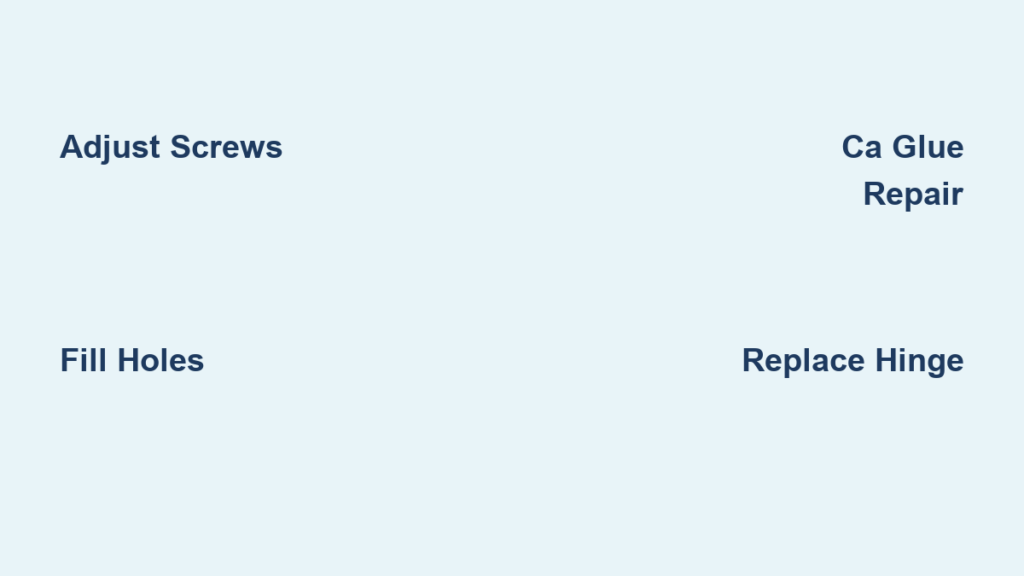
Loose kitchen cabinet hinges are a common household issue that can lead to misaligned doors, squeaking, or even complete detachment if left unaddressed. Whether you’re dealing with aging cabinets or simply noticing your doors sagging, this guide will help you quickly diagnose and fix loose kitchen cabinet hinges with confidence. You don’t need to be a professional carpenter, just a few basic tools and a few minutes of time.
By the end of this guide, you’ll know how to tighten, realign, and reinforce loose hinges so your cabinets look and function like new. Whether you’re tackling this repair yourself or helping someone in your community, these steps ensure long-lasting results.
Identify the Problem First
Before grabbing a screwdriver, assess what’s really causing the hinge issue. Not all loose hinges are the same. Some need simple tightening, while others require reinforcement or replacement.
Check for Screw Looseness
Open and close the cabinet door slowly. If it wobbles or droops, start by inspecting the hinge screws on both the door and the cabinet frame. Use a flashlight to see if any screws are visibly loose, protruding, or stripped.
Visual cue: Look for gaps between the hinge plate and the wood. This is a clear sign of pull-out or wear.
Determine Hinge Type
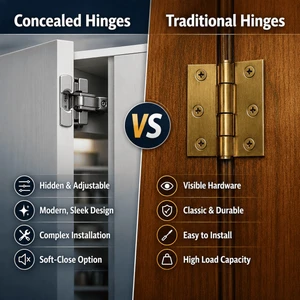
Most modern kitchens use one of two types:
– Face-frame hinges mounted to the front of the cabinet
– European-style concealed hinges hidden when the door is closed
Knowing your hinge type affects your repair method. European hinges usually have adjustable screws for alignment, while face-frame models may need wood filler or reinforcement.
Look for Wood Damage
If screws won’t tighten, the wood around the holes may be stripped or cracked. Test stability by gently pulling on the hinge. If the screw holes feel mushy, they likely need repair before re-tightening.
Pro tip: Older cabinets often use particleboard, which strips easily. Handle these with extra care.
Tighten Hinge Screws Properly
Most loose hinges can be fixed in under 10 minutes with the right technique.
Use the Correct Screwdriver
Match your screwdriver tip exactly to the screw head. Phillips #1 or #2 is common. A mismatched tool can damage the screw, making removal or tightening harder later.
Action step: Turn each hinge screw clockwise until snug. Stop once resistance increases. Over-tightening can strip the hole or crack the door edge.
Focus on Load-Bearing Screws
On European hinges, the mounting plate screws attach the hinge to the cabinet and bear the most weight. These are more likely to loosen than the door-side screws.
- Tighten the two screws on the fixed arm first
- Then secure the door-side bracket
- Test the door movement after each step
Reinforce Stripped Screw Holes
When screws spin freely, it’s time to repair the hole. This step is essential for lasting results.
Use Toothpicks and Wood Glue
Materials needed: Wood glue, flat toothpicks, screwdriver.
- Remove the hinge screw completely
- Dab wood glue into the stripped hole
- Pack the hole tightly with 6 to 10 toothpicks, breaking them flush
- Let dry for at least 4 hours. Overnight is best
- Reinstall the screw. Turn slowly to avoid splitting
Why it works: The glue-hardened toothpicks fill voids and create new gripping material for the screw.
Alternative: Wood Dowels for Heavy Doors
For large or heavy cabinet doors:
– Drill out the hole to 3/16 inch diameter
– Cut a wooden dowel to fit, apply glue, and insert
– Let cure, then trim flush and redrill a pilot hole
– Reinstall the hinge
This method provides maximum strength and is ideal for high-use kitchens.
Adjust Door Alignment After Repair

Even after tightening, doors may hang crooked. Most modern hinges allow micro-adjustments.
Use the Three-Way Adjustment Screws
European hinges typically have:
– Side-to-side movement for left or right positioning
– Up-and-down movement for vertical alignment
– Depth adjustment for how far the door sits from the frame
Step-by-step:
1. Loosen the adjustment screw slightly
2. Move the door into position
3. Retighten the screw
4. Test the fit. Gaps should be even on all sides
Quick test: Close the door. Does it sit flush? Does it open smoothly? Adjust as needed.
Fix Gaps at the Top or Bottom
- Top gap? The door is too low. Adjust upward using the vertical screw
- Bottom gap? The door is too high. Lower it
- Left or right gaps? Use the side-to-side adjustment
Replace Worn or Damaged Hinges
Sometimes tightening and repair aren’t enough, especially with rusted, bent, or outdated hinges.
Signs You Need Replacement
- Screws won’t hold even after repair
- Hinge arms are bent or cracked
- Door sags immediately after adjustment
- Visible corrosion or rust
Pro tip: Replace hinges in pairs if one side shows wear. This ensures balanced support.
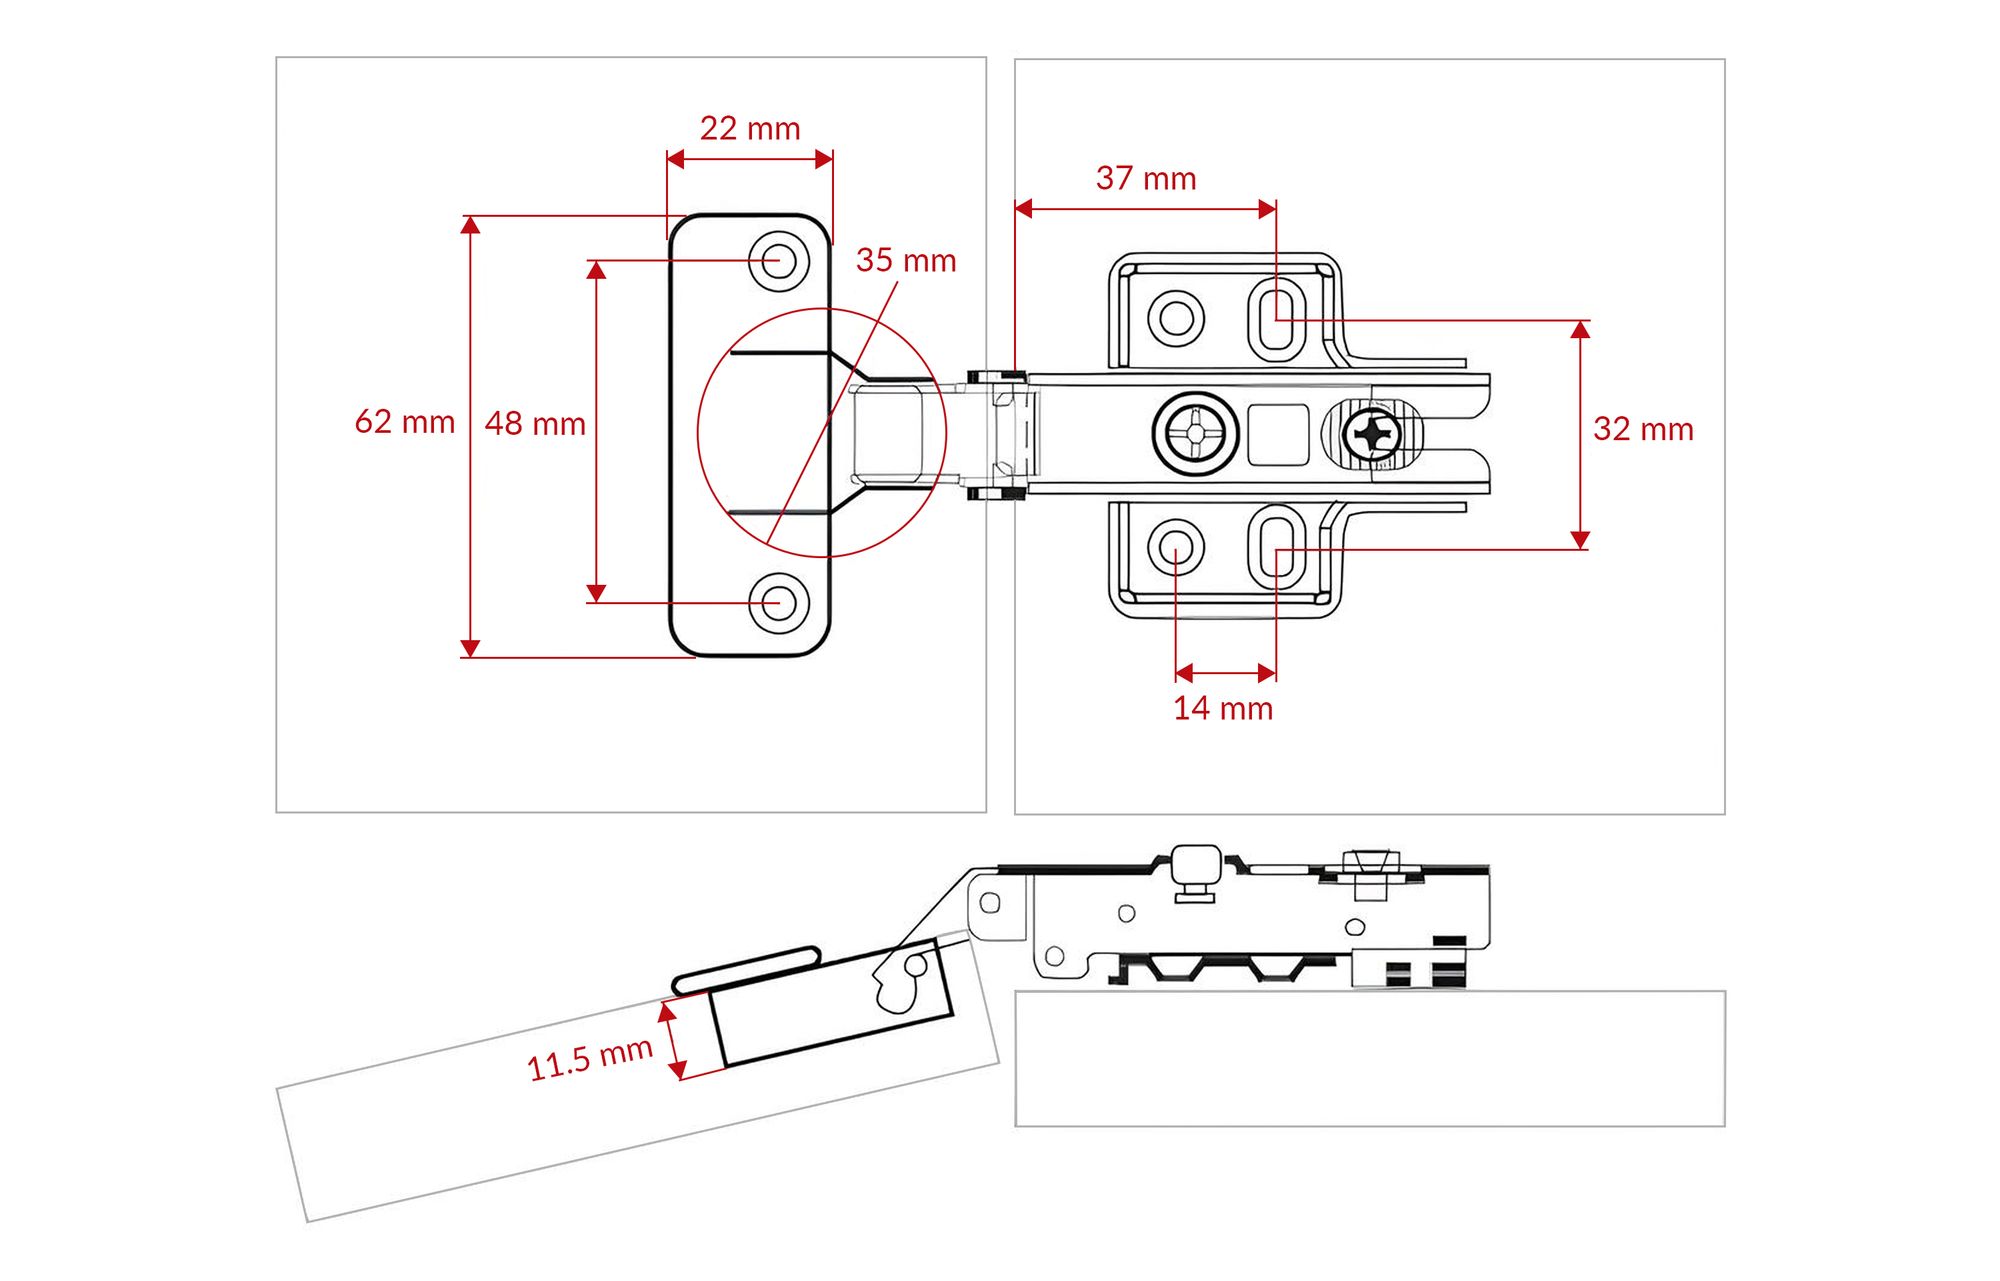
Match the Hinge Model
Remove one hinge and take it to a hardware store or measure:
– Mounting hole spacing
– Arm length
– Door overlay type (full, half, inset)
Install New Hinges
- Remove old hinge from door and cabinet
- Position new hinge and align holes carefully
- Insert screws and tighten gradually
- Test door movement and adjust alignment
Time estimate: 15 minutes per door.
Prevent Future Loosening
Avoid repeating the same repair every few months with these simple prevention steps.
Use Longer Screws for Better Grip
Replace short factory screws with 1-inch cabinet screws. They reach deeper into the cabinet frame for a stronger hold. This is especially effective in particleboard.
Warning: Don’t exceed 1.25 inches. You risk hitting plumbing or electrical behind walls.
Apply Thread-Locking Adhesive
A drop of low-strength thread locker on screw threads prevents vibration loosening without making removal impossible later. Avoid high-strength versions. They’re too permanent for cabinetry.
Schedule Quarterly Checks
Set a reminder every 3 months to:
– Inspect all cabinet hinges
– Tighten any loose screws
– Clean dust and grease from hinge mechanisms
This takes less than 10 minutes and extends hinge life significantly.
When to Call a Local Pro
While most hinge issues are DIY-friendly, some situations call for expert help, especially if you lack tools or experience.
Signs You Need Professional Help
- Multiple cabinets have structural damage
- Doors don’t align despite adjustments
- You’re planning a kitchen refresh with refinishing or staining
- The cabinet frame itself is loose or pulling from the wall
If you’re in Solano County and prefer to hire a skilled woodworker or carpenter, consider reaching out through the SCCA community forum. Many local professionals offer cabinet repair services, including:
– Door alignment and hinge repair
– Drawer restoration
– Surface refinishing
– Reinforcement of aging frames
Supporting local craftsmanship keeps your kitchen functional and helps strengthen community ties.
Frequently Asked Questions About Loose Kitchen Cabinet Hinges
Why do my cabinet hinges keep coming loose?
Hinges loosen from daily use, vibration, and wood that compresses over time. Particleboard frames are especially prone to stripping because the material is less dense than solid wood. Regular quarterly checks can catch loose screws before they cause damage.
Can I fix stripped screw holes without replacing the hinge?
Yes. Toothpicks and wood glue work well for small stripped holes. For larger damage, use a wooden dowel. Both methods give screws fresh material to grip without needing new hinges.
How do I know if I need new hinges instead of tightening?
Replace hinges if arms are bent or cracked, screws won’t hold after repair, or visible rust is present. If the door sags immediately after adjustment, the hinge structure is likely compromised.
What tools do I need to tighten cabinet hinges?
A Phillips screwdriver that matches your screw heads is usually enough. A flashlight helps you see screws clearly. For stripped holes, add wood glue and toothpicks to your toolkit.
How long does it take to fix a loose cabinet hinge?
Simple tightening takes about 5 minutes per door. Reinforcing a stripped hole with glue and toothpicks adds drying time of 4 hours or more. Replacing a hinge takes around 15 minutes per door.
Are European hinges better than face-frame hinges?
European hinges offer built-in three-way adjustment for easy alignment. Face-frame hinges are simpler and often easier to repair. Both work well. Your choice depends on your cabinet style and personal preference.
Key Takeaways for Fixing Your Kitchen Cabinet Hinges
Fixing loose kitchen cabinet hinges doesn’t have to be complicated. With the right approach, you can restore full function in minutes.
Key takeaways:
– Always check hinge screws first. Tighten before repairing
– Reinforce stripped holes with toothpicks and glue for lasting hold
– Use adjustable hinges to fine-tune door alignment
– Upgrade to longer screws to prevent future loosening
– Inspect hinges quarterly to catch issues early
If you’re helping others in your community, share these tips to empower more homeowners to maintain their cabinets confidently.
A well-maintained kitchen not only works better, it feels better. Whether you tackle the repair yourself or connect with a local cabinet specialist through Solano County Community Awareness, fixing loose kitchen cabinet hinges is a small step that makes a big difference.