You’re washing dishes when you notice a drip… drip… drip under the sink. A puddle has formed beneath your kitchen faucet supply lines, and now you’re faced with a kitchen faucet leaking under cabinet. It’s a common household issue, but ignoring it can lead to water damage, mold growth, or even structural problems over time. The good news? Most under-sink faucet leaks are fixable without replacing the entire unit. Whether it’s a loose connection, worn washer, or corroded valve, this guide will walk you through diagnosing and stopping the leak for good.
In this detailed troubleshooting guide, you’ll learn how to safely access the plumbing under your sink, identify the exact source of the leak, and apply proven fixes, step by step. We’ll cover everything from tightening fittings to replacing supply lines and cartridge seals. With basic tools and a little know-how, you can stop that drip and prevent future leaks. Let’s get started.
Locate the Leak Source
Before making any repairs, confirm where the water is actually coming from. Many homeowners assume the faucet itself is faulty, but leaks under the cabinet often stem from connections rather than the fixture.
Check Supply Line Connections
The most common cause of a kitchen faucet leaking under cabinet is loose or damaged supply lines. These are the flexible hoses connecting the shutoff valves (on the wall or floor) to the faucet’s inlet valves beneath the sink.
Look closely:
– Are the compression nuts at either end wet or dripping?
– Is there mineral buildup or corrosion around the fittings?
– Do the lines show cracks, bulges, or kinks?
Tighten both the nut at the shutoff valve and the one at the faucet base using an adjustable wrench. Don’t over-tighten, as this can strip threads or damage seals.
Pro Tip: Place a dry towel under the connections, run the faucet for 30 seconds, then check which area gets wet first. This helps pinpoint the leak.
Inspect Shutoff Valve Joints
If the supply lines appear dry but water is pooling near the wall, the issue may be the shutoff valve itself.
Signs of valve failure:
– Dripping from the valve stem or connection point
– Stiff or leaking handle
– Visible rust or mineral deposits
If the valve leaks when open, it may need repacking or replacement. Shut off the main water supply before attempting repairs.
Examine the Sprayer Hose (If Applicable)
Many kitchen faucets include a pull-out sprayer. Its hose connects to a small T-fitting on the main supply line and can develop leaks at the connector or where it mounts under the sink.
Look for:
– Wetness around the sprayer quick-connect fitting
– Cracks in the hose near bends
– Loose mounting nut under the sink
Disconnect the sprayer and inspect the O-ring inside the connector. A dried-out or pinched O-ring often causes sprayer-related leaks.
Turn Off Water and Prepare Workspace

Working under the sink requires care to avoid making a bigger mess. Always shut off the water first.
Close Shutoff Valves Under Sink
Locate the two valves beneath your sink, one for hot and one for cold. Turn them clockwise until snug. Then open the faucet above to release remaining pressure and drain residual water.
Warning: If shutoff valves don’t fully stop the flow, turn off the main water supply to the house.
Clear and Protect Cabinet Area
Remove cleaning supplies, trash cans, or storage bins from under the sink. Lay down old towels or a plastic drop cloth to catch drips and protect flooring.
Keep a bucket nearby to collect water from disconnected lines.
Gather Essential Tools
You’ll likely need:
– Adjustable wrench
– Basin wrench (helpful in tight spaces)
– Pipe thread tape (Teflon tape)
– Replacement supply lines (stainless steel braided recommended)
– Flashlight or work light
– Rags or paper towels
Having the right tools on hand saves time and prevents cross-threading or damage during reassembly.
Tighten or Replace Supply Lines
Most under-cabinet faucet leaks stem from faulty supply lines. These wear out over time due to water pressure, temperature changes, and vibration.
Disconnect Old Supply Hoses
Place a towel under each connection to catch residual water. Use an adjustable wrench to loosen:
1. The nut connecting the line to the shutoff valve
2. The nut connecting the line to the faucet tailpiece
Remove both lines carefully. Inspect the threads on the shutoff valves and faucet inlets for damage or corrosion.
Install New Braided Stainless Steel Lines
Replace old rubber-core or frayed lines with braided stainless steel supply lines, as they’re more durable and less prone to bursting.
Steps:
1. Hand-tighten the new line onto the shutoff valve.
2. Use a wrench to give it 1/4 to 1/2 turn past hand-tight.
3. Connect the other end to the faucet inlet the same way.
4. Wrap Teflon tape around threaded fittings before connecting (2 to 3 wraps, clockwise).
Avoid Over-Tightening: This is a common mistake that leads to cracked fittings or stripped nuts.
Test for Leaks
Turn shutoff valves back on slowly. Watch connections as water pressure builds. Open the faucet above and let it run for one minute. Check all joints underneath for drips.
If you see a small leak, snug the fitting slightly, but stop if resistance increases.
Address Leaks at Faucet Base or Cartridge
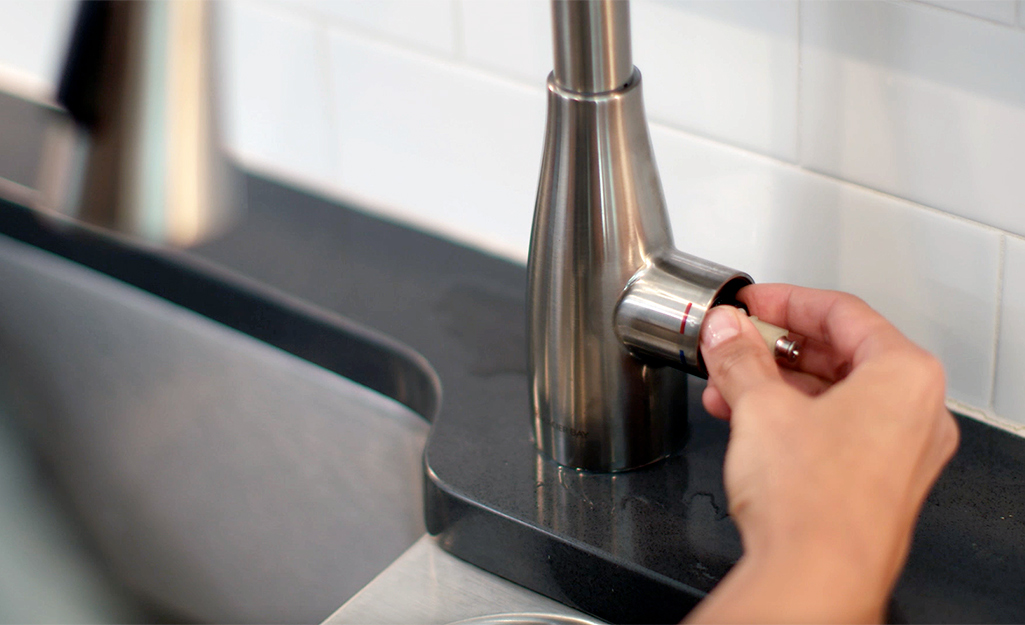
Sometimes, water seeps down from the faucet body and appears to leak under the cabinet. This usually means a problem at the faucet base seal or internal cartridge.
Look for Drips at Mounting Hardware
Water running down the supply lines might not be from the lines themselves. Check:
– The mounting nut securing the faucet to the sink
– The O-ring or gasket under the decorative escutcheon (cover plate)
If the top of the faucet is wet, water could be escaping through the base and traveling down pipes.
Remove Faucet for Seal Inspection
To access internal seals:
1. Shut off water and relieve pressure.
2. Disconnect supply lines and sprayer (if present).
3. Use a basin wrench to loosen the mounting nut from below.
4. Lift the faucet out from above.
Inspect the rubber gasket or O-ring around the base. Replace if cracked, flattened, or brittle.
Replace Worn Cartridge or Valve Stem
Single-handle faucets use a cartridge that controls water flow and temperature. When worn, it can cause internal leaks that drip into the cabinet.
Signs of cartridge failure:
– Dripping from spout when faucet is off
– Leaking around base when in use
– Difficulty adjusting temperature
Purchase a replacement cartridge matching your faucet brand (e.g., Moen, Delta, Kohler). Follow manufacturer instructions for removal and installation.
Pro Tip: Take the old cartridge to a hardware store to ensure an exact match.
Fix Leaky Sprayer Connections
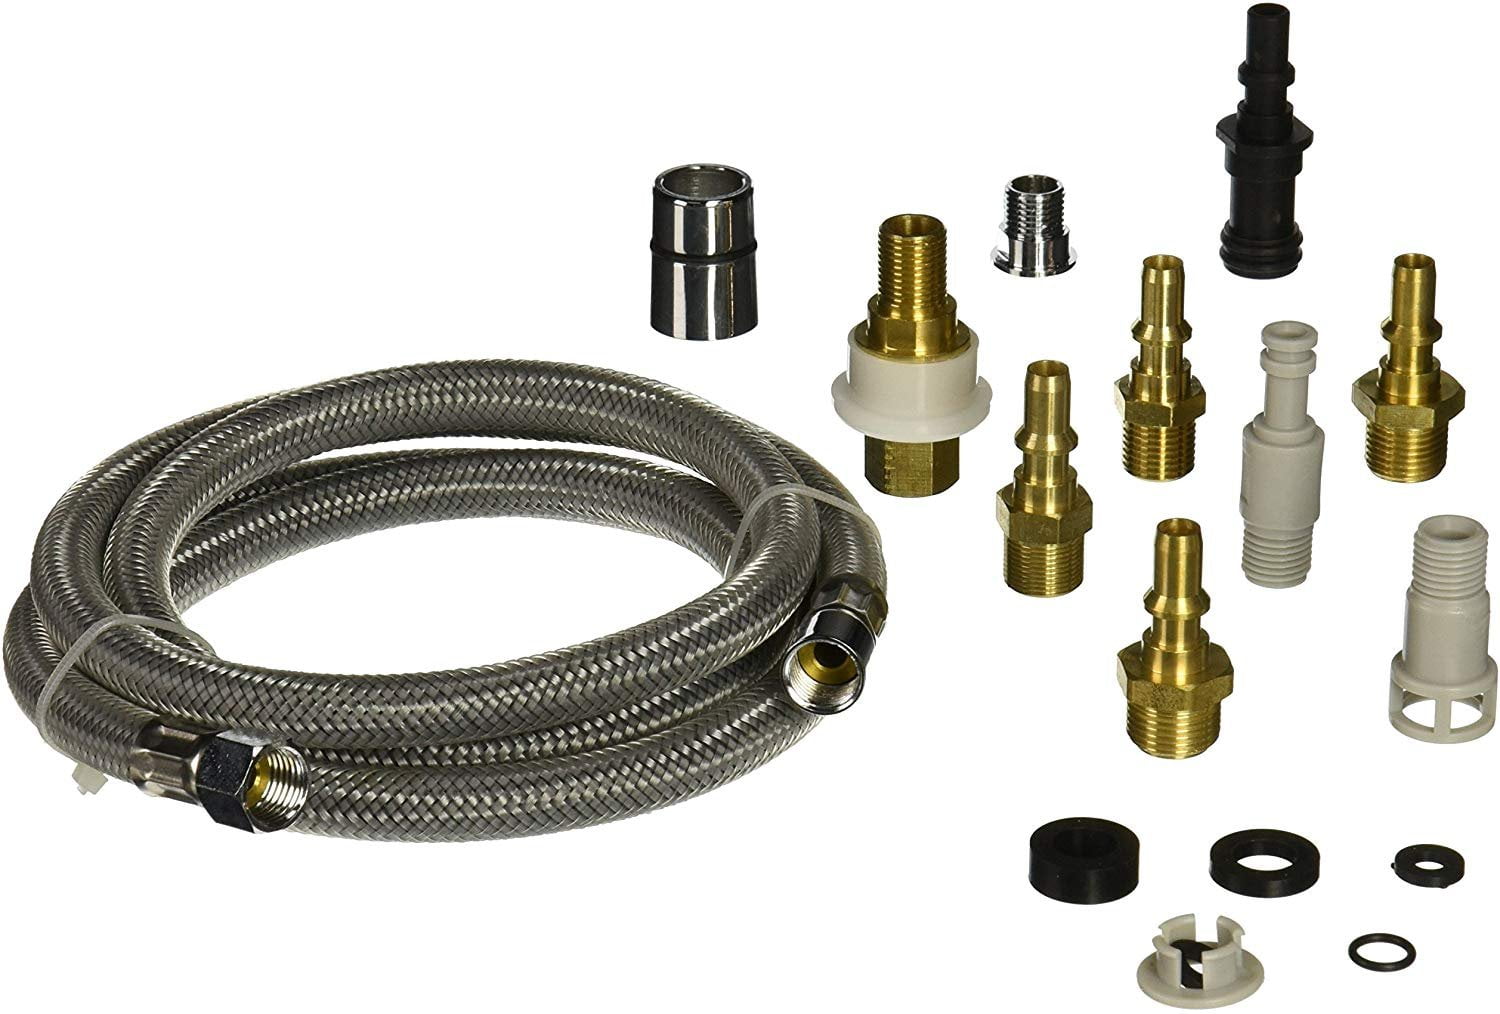
Pull-out sprayers are convenient but often the hidden source of under-cabinet leaks.
Disconnect and Inspect Sprayer Fitting
Find the small T-connector on the hot or cold supply line. It feeds water to the sprayer hose.
Steps:
1. Turn off water.
2. Press the release clip on the quick-connect fitting.
3. Pull the sprayer hose free.
Check the O-ring inside the connector. If it’s missing, cracked, or misshapen, replace it.
Replace Sprayer Hose Assembly
If the hose shows kinks, cracks, or persistent leaks, install a new sprayer kit. Most include:
– New hose
– Connector with O-ring
– Weight or retention clip
– Mounting nut
Reconnect to the T-fitting and secure under the sink. Test by pulling out the sprayer and running water.
Prevent Future Under-Sink Leaks
Once the leak is fixed, take steps to avoid recurrence.
Upgrade to Quality Components
Avoid cheap plastic or rubber supply lines. Invest in:
– Stainless steel braided hoses with reinforced fittings
– Brass connectors instead of plastic
– OEM or certified replacement parts
These last longer and resist bursting under high pressure.
Schedule Annual Inspections
Once a year, do a quick visual check:
– Look for moisture, rust, or mineral stains
– Wipe down connections to spot early drips
– Test shutoff valves by turning them off and on
Catching small issues early prevents big repairs later.
Install a Leak Detection System
For added protection, consider a water leak alarm or smart shutoff valve. These devices:
– Sound an alert when moisture is detected
– Automatically shut off water if a major leak occurs
– Can integrate with home security or Wi-Fi systems
Ideal for homes with elderly residents or frequent travel.
Frequently Asked Questions About Kitchen Faucet Leaking Under Cabinet
Why is my kitchen faucet leaking under the cabinet?
The most common causes are loose supply line connections, worn O-rings, corroded shutoff valves, or a failing cartridge. Check each connection point systematically to find the source.
Can I fix an under-sink faucet leak myself?
Yes, most leaks are fixable with basic tools like an adjustable wrench and Teflon tape. If the leak comes from internal cartridge damage, replacement parts are widely available at hardware stores.
How do I know if my supply lines need replacing?
Look for cracks, bulges, kinks, or rust on braided lines. If lines feel brittle or show mineral buildup at fittings, replace them with stainless steel braided hoses for durability.
What tools do I need to fix a leaking kitchen faucet?
You’ll need an adjustable wrench, basin wrench (for tight spaces), Teflon tape, replacement supply lines or O-rings, a flashlight, and rags. Having a bucket nearby helps catch residual water.
How often should I inspect my under-sink plumbing?
Perform a visual check annually. Look for moisture, rust, or mineral stains around connections. Test shutoff valves by turning them off and on to ensure they operate smoothly.
Is a leaking faucet under the sink an emergency?
Not always, but prolonged leaks can cause water damage, mold growth, or structural issues. Address the leak promptly, and consider a leak detection alarm for early warning.
Key Takeaways for Fixing Your Kitchen Faucet Leak
A kitchen faucet leaking under cabinet is usually a manageable fix. By systematically checking supply lines, valves, and internal seals, you can identify and resolve the source quickly. Prioritize safety by turning off water first, use quality replacement parts, and don’t skip the final leak test.
Start with the simplest fix: tighten loose connections. If that doesn’t work, move to replacing supply lines or cartridge seals. For persistent issues, consult a licensed plumber to avoid costly water damage.
With proper maintenance and annual inspections, your faucet system should remain drip-free for years. Take action today to protect your home from hidden water damage.