
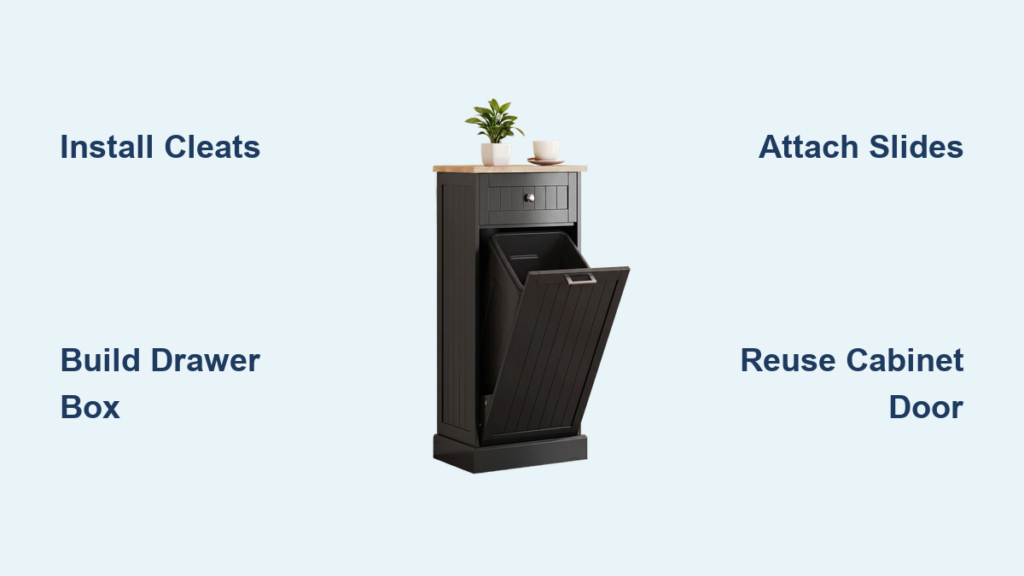
Tired of awkwardly reaching into a dark cabinet to pull out smelly trash bins? Building a garbage can cabinet with a smooth pull-out system transforms your kitchen’s functionality instantly.
This DIY project turns a standard base cabinet into a sleek, accessible trash station using common tools. You will learn to install cleats, build a plywood drawer, and reuse your existing door for a custom fit.
Install L-Shaped Cleat Mounts for Stability
Mounting drawer slides directly to cabinet sides often interferes with face frames. Building L-shaped cleats solves this issue by creating a dedicated mounting surface inside the cabinet base.
Mount Cleats to Cabinet Base
Cut two uprights from 1×6 lumber and a plywood base matching your cabinet’s interior width. Assemble these pieces with pocket screws and wood glue to form perfect 90-degree corners. Drill 1/4-inch mounting holes in each cleat to allow for adjustable positioning later.
Align Cleats with Face Frame
Position each cleat against the cabinet base, ensuring it sits flush with the front and inside edge of the face frame. Use a framing square for precision and secure the cleats with pocket screws through oversized holes. Test the spacing by sliding an 18-inch scrap of plywood between them to verify even clearance.
Build the Drawer Box Frame
Constructing a sturdy drawer box requires precise cuts and strong joints to handle the weight of full trash bins. Using 3/4-inch plywood ensures the structure remains rigid under daily use.
Cut Plywood Pieces to Size
Rip four pieces of 3/4-inch plywood for the front, back, and two sides of the drawer. Set a stop block on your miter saw to the distance between the cleats minus 1 inch for slide clearance. Cut the front and back pieces against this stop block for consistent sizing without manual measuring.
Cut Grooves for Bottom Panel
Set your table saw blade height to 3/8 inch and cut an 1/8-inch-wide groove along the inner edge of all four sides. This groove holds the 1/4-inch plywood bottom securely in place. For the back panel, keep the fence position but raise the blade to make a through-cut so the back rail sits flush.
Assemble Drawer with Pocket Screws
Drill pocket holes on the outside edges of the front and back pieces before assembly. Assemble the drawer upside down by attaching the front to the two sides first, then adding the back piece. The back stops at the start of the groove, leaving space for the bottom panel insertion after assembly.
Insert and Secure Bottom Panel
Cut a 1/4-inch plywood bottom to fit snugly within the grooves you created. Apply water-based polyurethane to both sides of the bottom panel and the drawer interior to protect against moisture. Slide the panel into place and secure it from the back using panhead screws driven through the back rail.
Construct the Face Frame
A custom face frame adds durability and provides a premium finish to your garbage can cabinet project. Maple hardwood is the ideal choice for this component due to its strength.
Cut and Assemble Maple Frame
Cut long horizontal rails and vertical dividers from maple hardwood to fit the drawer front. Drill pocket holes on the ends of the dividers, then assemble the frame by clamping and screwing each joint tightly. Apply glue to all connections, clamp securely, and let dry overnight for maximum strength.
Finish Frame Edges Smooth
Flush all joints with a block plane after the glue dries to eliminate gaps or overhangs. Sand lightly with 120-grit paper, progressing to 220-grit for a glass-smooth surface that feels good to touch. Apply two coats of water-based polyurethane to protect against spills and wear.
Add Drawer Support Rails
Vertical supports on the drawer front provide the necessary structure to mount the cabinet door effectively. These rails ensure the door moves in sync with the drawer.
Attach Vertical Maple Supports
Cut two wide maple boards to serve as vertical supports on the drawer’s front section. Pre-drill and countersink screw holes to prevent the wood from splitting during installation. Attach the supports to the drawer box using wood screws, ensuring they remain perfectly vertical.
Install Center Filler Strip
Cut a narrow filler strip to fit precisely between the two vertical supports you just installed. Pre-drill and secure it using the same method as the supports to complete the mounting surface. Sand all components to 220 grit and apply polyurethane to match the rest of the face frame.
Repair and Reuse Cabinet Door
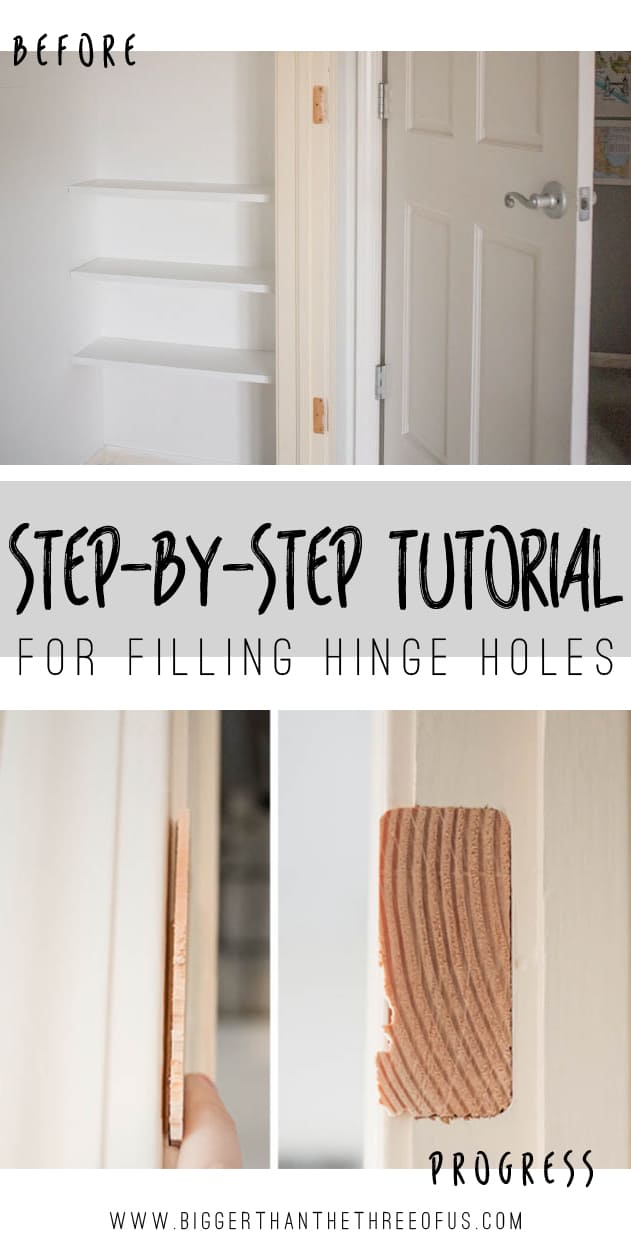
Reusing your existing cabinet door saves money and maintains a consistent look in your kitchen. Filling old hinge holes ensures a secure mount for the new configuration.
Fill Old Hinge Holes
Use a Forstner bit with a 1/4-inch plywood guide to drill out old hinge holes slightly deeper without wandering. Glue in cherry dowel plugs cut with a 3/8-inch plug cutter, then tap them in with a hammer. Trim plugs flush with a chisel and sand lightly for a seamless repair.
Flip Door to Hide Repairs
Flip the door vertically when reinstalling to conceal the filled holes at the bottom. This simple trick places the repaired side hidden when the door is closed, keeping the appearance clean. You avoid buying a new door while achieving a professional result.
Mount Drawer Slides and Assemble
Proper installation of drawer slides is critical for the smooth operation of your garbage can cabinet. Spacers ensure the drawer rides smoothly without binding on the cleats.
Position Slides with Spacers
Place 3/4-inch wood spacers under each drawer slide to elevate them above the cleats. Align the slide with the cleat’s mounting holes and secure them with the manufacturer’s provided screws. This elevation prevents friction and ensures long-term glide performance.
Attach Drawer to Slides
Place 1/4-inch spacers on the drawer’s bottom to prevent it from dragging on the cabinet base. Slide the drawer into the cabinet until the slide arms engage, then align them with the vertical maple supports. Pre-drill pilot holes and screw the slide directly into the supports on both sides.
Lock in Back Mounting Screws
Use the slide’s release lever to fully extend the drawer for access to the rear mounting points. Drive in the rear mounting screws from the back of the cabinet to lock the slides in place. This step prevents lateral movement and ensures stability during heavy use.
Reattach and Align Cabinet Door
Aligning the door correctly ensures it clears the drawer and adjacent cabinets while closing flush. Clamping helps verify position before permanent attachment.
Clamp and Mark Mounting Points
Clamp the cabinet door in place over the drawer front while the drawer is closed. Check alignment with the drawer above and adjacent cabinet doors, then mark screw locations on the vertical maple supports. Ensure the door is level before marking any holes.
Drill and Secure Door
Drill 1/4-inch holes at the marked points to allow for slight adjustments during final fitting. Attach the door using panhead screws, which sit flush and will not interfere with closing. Test the door’s swing to ensure it clears the drawer and opens smoothly.
Install Handle and Finalize
The final steps involve adding hardware and testing the system to ensure it meets your daily needs. A properly installed handle completes the look and function.
Mark and Drill for Pull
Find the centerline of the face frame and mark the top edge for handle placement. Use a Rockler drawer pull drilling guide to create precise, angled holes 3 inches apart. Drill the holes and install the handle with the provided screws for a professional finish.
Load Bins and Test Operation
Place your trash and recycling bins inside the drawer to test the system under load. Confirm that the drawer glides smoothly with no binding and retracts completely. The system should operate quietly and reliably, providing easy access every time.
Benefits of a Custom Garbage Can Cabinet

Building your own unit offers advantages that pre-made solutions often lack, particularly regarding fit and durability.
Full Extension for Easy Access
Full-extension drawer slides give you complete access to the back of the cabinet without reaching blindly. You can see everything at once, making it ideal for families or anyone who dislikes digging through hidden bins.
Hidden Hardware, Clean Look
All screws and slides are concealed because the cabinet door mounts directly to the drawer. This creates a seamless, built-in appearance that matches high-end kitchens without visible rails or brackets.
Durable, Long-Lasting Build
Using 3/4-inch plywood and maple hardwood ensures the cabinet withstands daily use and heavy loads. The polyurethane finish resists moisture and stains, making cleanup easy while preventing warping.
Frequently Asked Questions About Building a Garbage Can Cabinet
What materials are best for a pull-out trash cabinet?
Use 3/4-inch plywood for the drawer box and maple hardwood for the face frame. These materials offer the durability needed to hold heavy bins and resist moisture damage over time.
How do I ensure the drawer slides smoothly?
Install L-shaped cleats and use 3/4-inch spacers under the slides to keep them elevated. This prevents binding and ensures the drawer glides effortlessly even when fully loaded.
Can I reuse my existing cabinet door?
Yes, you can reuse your door by filling old hinge holes with dowel plugs and flipping it vertically. This hides repairs and maintains a consistent look with the rest of your kitchen.
What tools do I need to build this cabinet?
You will need a miter saw, table saw, drill, pocket hole jig, and clamps. Basic hand tools like a framing square and block plane are also essential for precise assembly.
How do I prevent the drawer bottom from warping?
Apply water-based polyurethane to both sides of the 1/4-inch plywood bottom panel before installation. This seals the wood against moisture and prevents warping or swelling.
Key Takeaways for Your Garbage Can Cabinet Project
Building a garbage can cabinet transforms a messy kitchen corner into a functional, accessible station. By using L-shaped cleats, quality plywood, and maple supports, you create a durable system that outlasts store-bought alternatives.
Start by measuring your cabinet space and gathering your materials today. With careful assembly and proper finishing, you will enjoy a cleaner, more organized kitchen for years to come.


