

That dated mirrored cabinet door has worn out its welcome. Whether you’re refreshing your kitchen, updating a bathroom vanity, or prepping for a new finish, removing the mirror from a cabinet door is the first step toward a fresh look. The process is straightforward when you know the right technique, but using the wrong tools can leave permanent scratches or even crack the glass. This guide walks you through the complete removal process, from identifying your mirror type to achieving a spotless, ready-to-refinish surface.
Identify the Mirror Finish Type
Before you grab any tools, take a close look at what you’re actually dealing with. Cabinet door mirrors come in different forms, and each requires a slightly different approach.
Applied Film vs. Etched Glass
Many modern cabinet doors use a mirror-like adhesive film rather than a traditional silvered glass mirror. To tell the difference:
- Hold an object near the surface and look at the reflection edge
- Film-based mirrors show a slight offset between the object and its reflection
- Real mirrors reflect from the back layer of the glass
- Films reflect from the front surface
Confirm the Finish Is Removable
If your mirror design is etched or sandblasted into the glass itself, removal is not possible. These permanent designs can only be covered or painted over. However, if the mirror effect comes from a coated or laminated finish, you can safely strip it away. Most cabinet door mirrors fall into this removable category.
Pro Tip: Test a small corner first. If the surface lifts or clouds when you apply remover, it’s a film and can be stripped successfully.
Gather the Right Tools and Supplies

Using improper tools is the fastest way to ruin your glass. Prepare everything before you start working.
Essential Items for the Job
- Plastic scraper or putty knife – Prevents scratches on the glass surface
- Glass-safe adhesive remover – Options include Goo Gone or rubbing alcohol
- Microfiber cloths – For wiping without leaving lint or streaks
- Soft sponge and mild dish soap – For the final residue cleanup
- Protective gloves – Recommended when handling chemical removers
- Old towel or cloth – Protects your workspace beneath the door
Warning: Never use acetone, ammonia-heavy cleaners, or razor blades. These can etch or crack glass, especially on thinner cabinet panels.
Remove the Cabinet Door for Safe Handling
Working on a flat, padded surface dramatically reduces the risk of breakage.
Unmount the Door Properly
- Open the cabinet and locate the hinge hardware
- Use a screwdriver or Allen wrench to detach the door from the frame
- Place the door gently on a soft surface with the glass side facing up
Label and Store Hardware
- Keep all screws in a labeled bag for easy reassembly
- Note the hinge positions if you plan to reinstall the door later
Time Estimate: 5 to 10 minutes
Difficulty: Easy
Apply Adhesive Remover Correctly
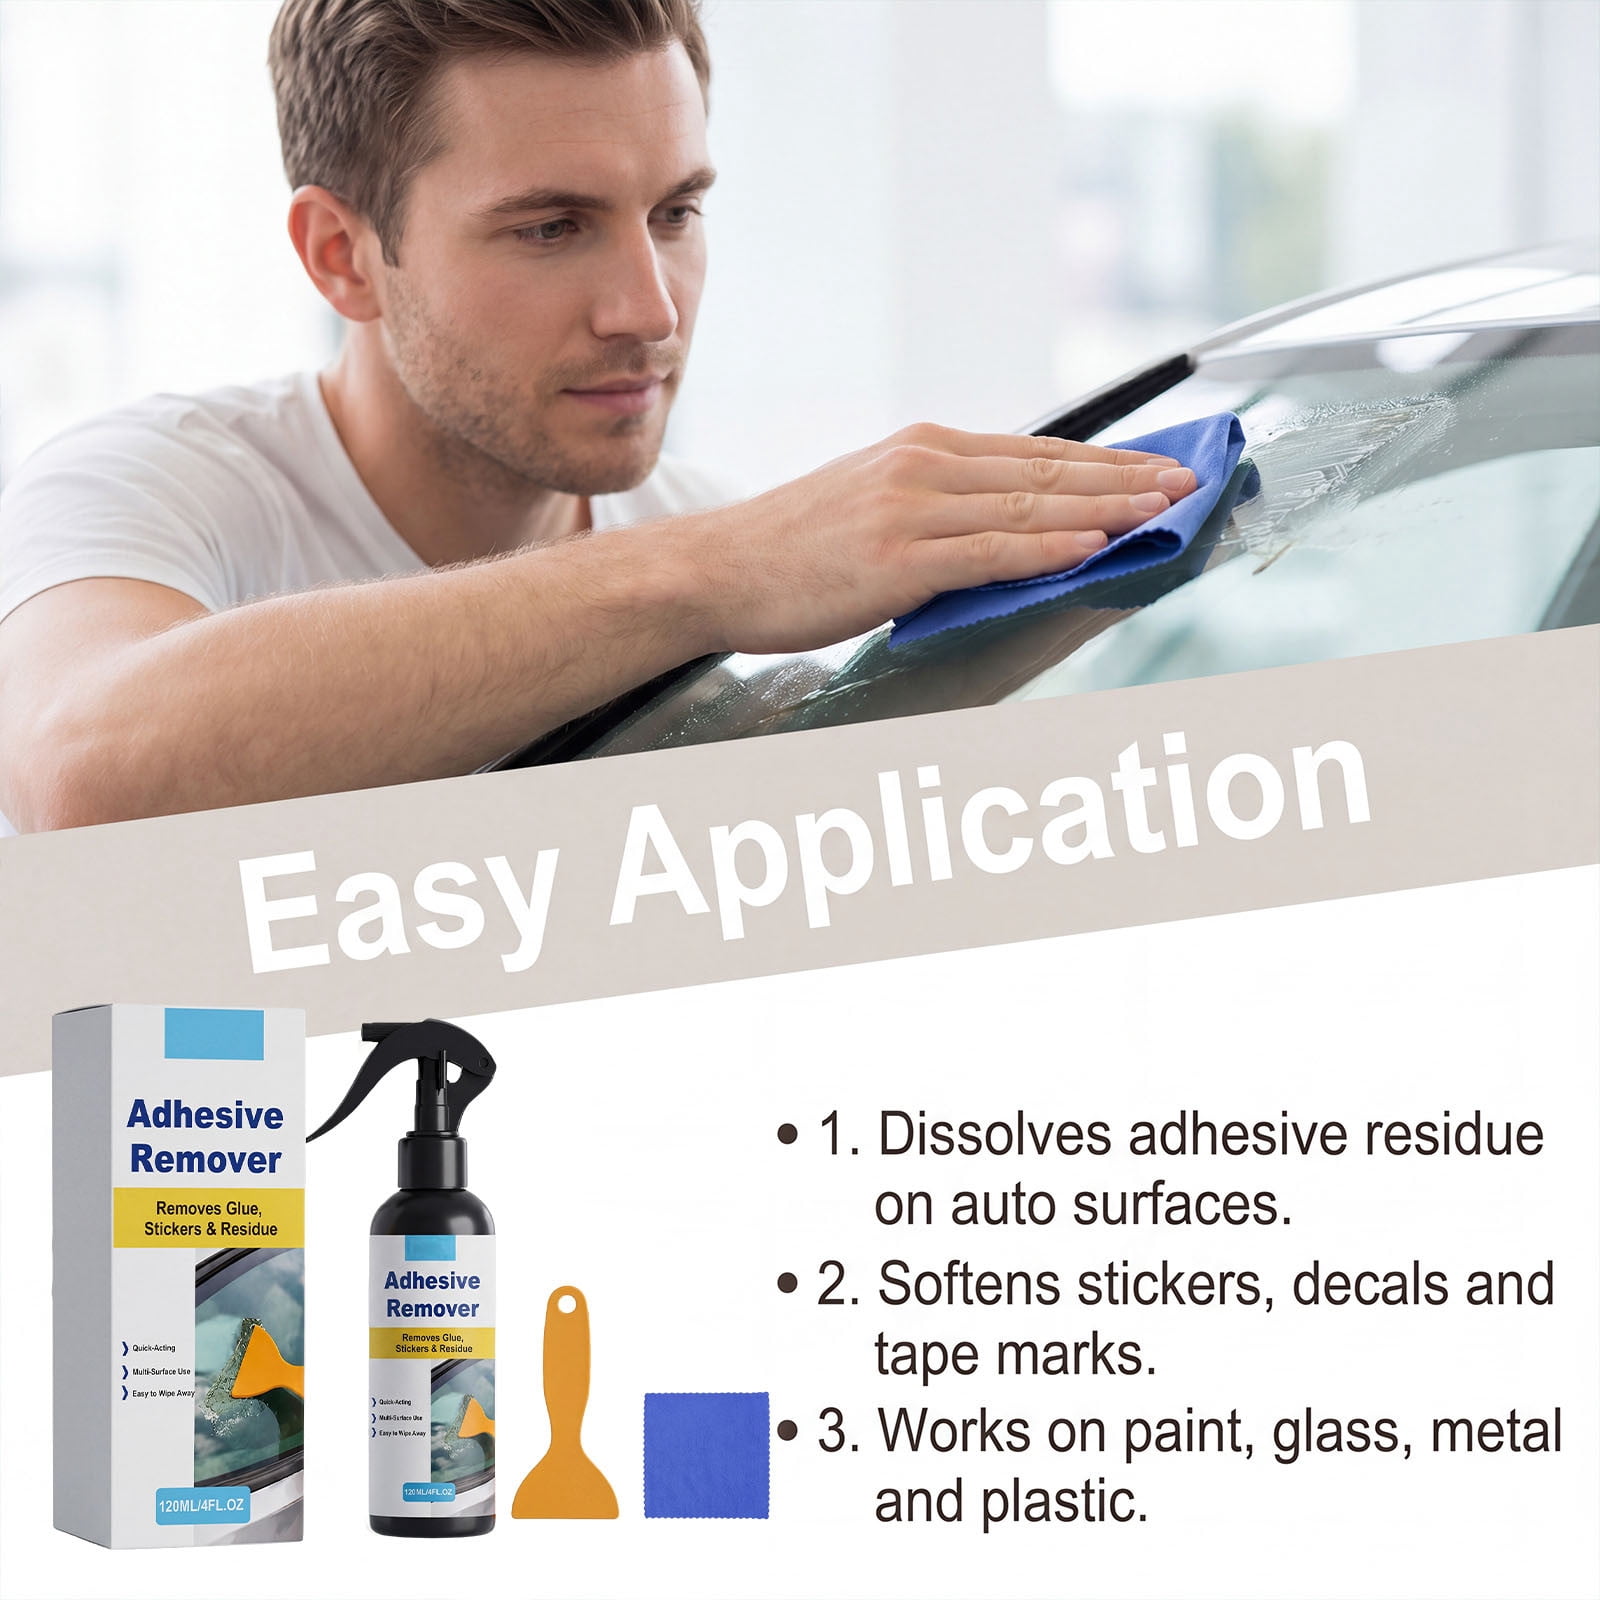
This step softens the bond between the mirror coating and the glass, making removal much easier.
Test in a Hidden Spot First
- Apply a small amount of remover to an inconspicuous corner
- Wait 1 to 2 minutes, then wipe the area with a cloth
- Check for any clouding, fogging, or damage to the glass
If the glass reacts poorly to the remover, stop immediately. Your mirror finish may be integral to the glass rather than applied on top.
Apply Remover Evenly Across the Surface
- Use a fine mist spray or dampen a cloth with the solution
- Cover the entire mirrored area thoroughly
- Let the remover sit for 2 to 3 minutes without allowing it to dry
Pro Tip: For stubborn films, cover the wet surface with plastic wrap. This prevents evaporation and helps the remover penetrate deeper.
Lift the Mirror Coating Gradually
Patience is your best ally here. Rushing this step leads to scratches and incomplete removal.
Use a Plastic Scraper at a Low Angle
- Hold the scraper at about a 30-degree angle to the glass
- Start at a lifted edge or corner of the film
- Gently push or pull to peel the coating back in sheets
Work in Manageable Sections
- Reapply remover to any dry spots as you go
- Move slowly across the surface, overlapping each pass slightly
- Stop if you feel resistance and re-soak the area rather than forcing it
Visual Cue: The surface will shift from shiny silver to clear or slightly hazy as the coating lifts away.
Clean Residue Thoroughly

Leftover adhesive attracts dust and can interfere with refinishing or painting.
Wipe with a Damp Microfiber Cloth
- Remove loosened particles and film fragments
- Change cloths frequently to avoid redepositing residue
Tackle Sticky Spots with Soapy Water
- Mix warm water with a drop of mild dish soap
- Use the soft side of a sponge to scrub remaining adhesive
- Rinse with a clean, damp cloth afterward
Dry with a Lint-Free Cloth
- Buff the glass dry to prevent water spots
- Inspect under bright light for streaks or missed patches
Inspect and Repeat if Necessary
One pass is not always enough for a perfectly clear surface.
Check for Leftover Film Traces
- Run your finger lightly across the glass
- Look for texture differences or cloudy areas
Spot-Treat Stubborn Patches
- Reapply remover to problem zones only
- Wait up to 5 minutes for tougher adhesives
- Scrape gently again with a fresh plastic edge
Note: Some coatings leave a slight haze even after complete removal. This is normal and can be prepped for painting or covering.
Prevent Common Mistakes That Damage Glass
Avoid these frequent errors to keep your cabinet door in perfect condition.
Never Use Metal Scrapers
Even stainless steel can scratch glass at a microscopic level. These tiny scratches cause glare distortions and may weaken the panel over time.
Avoid Excessive Heat
Skip hairdryers and heat guns during this process. Thermal stress can warp thin glass or make adhesives harder to remove.
Don’t Rush the Process
Forcing the film leads to incomplete removal and micro-scratches. Let the chemical remover do the heavy lifting while you guide it along.
Final Result: Clean Glass Ready for Your Next Project
Once fully cleaned, your cabinet door glass should be:
- Completely transparent with no mirror effect remaining
- Smooth to the touch across the entire surface
- Free of adhesive residue or sticky patches
- Ready for next steps like painting, frosting, or re-laminating
Ideas for Your Refreshed Glass
- Paint with glass paint for a colored, opaque finish
- Apply frosted window film for privacy and style
- Re-laminate with wood veneer or decorative paper
When Removal Isn’t Possible
Some mirrored finishes simply cannot be stripped away.
Permanent Mirror Finishes
If your mirror effect comes from any of these sources, removal is not an option:
- Sandblasted or etched texture
- Permanent backing layer fused to the glass
- Factory-applied silvering process
Alternative Solutions for Permanent Mirrors
- Cover the surface with peel-and-stick films
- Replace the glass panel entirely
- Install a new insert made of wood, mesh, or other materials
Cost-Saving Tip: Many hardware stores offer custom-cut glass panels for under $20. This is often cheaper than replacing the entire cabinet door.
Frequently Asked Questions About Removing Mirror from Cabinet Door
Can I use a razor blade to scrape off the mirror coating?
No. Razor blades and other metal tools scratch glass easily, even when used carefully. Always use a plastic scraper or putty knife to protect the surface.
How long does the adhesive remover need to sit?
Most removers need 2 to 3 minutes to soften the adhesive. Stubborn films may require up to 5 minutes. Never let the solution dry completely on the glass.
Will the glass be damaged after removing the mirror film?
When done correctly with plastic tools and glass-safe removers, the glass should remain clear and smooth. Minor haze may appear but can be cleaned or prepped for refinishing.
Can I remove an etched mirror design from my cabinet door?
No. Etched or sandblasted designs are permanent because they physically alter the glass surface. Your only options are covering the design or replacing the glass panel.
Is it safe to use a heat gun to speed up the process?
Avoid heat guns and hairdryers. Excessive heat can warp thin glass or make adhesives harder to remove. Chemical removers work safely without added heat.
What should I do if the remover clouds the glass?
Stop using the product immediately. Clouding indicates the remover is reacting with the glass itself. Clean the surface thoroughly and consider covering or replacing the panel instead.
Key Takeaways for Removing Mirror from Cabinet Door
Removing a mirror from a cabinet door is a manageable DIY task when you follow the right approach. Start by identifying whether your finish is a removable film or a permanent etch. Gather plastic tools and glass-safe removers before you begin, and always test in a hidden spot first.
Work slowly and let the adhesive remover do the heavy lifting. Scrape gently at a low angle, clean thoroughly, and inspect your results under bright light. With patience and the right technique, you can transform an outdated mirrored door into a blank canvas in under 30 minutes.
Your refreshed glass is now ready for painting, frosting, or any other finish you envision. Take your time, protect the surface, and enjoy your updated cabinet door.


