
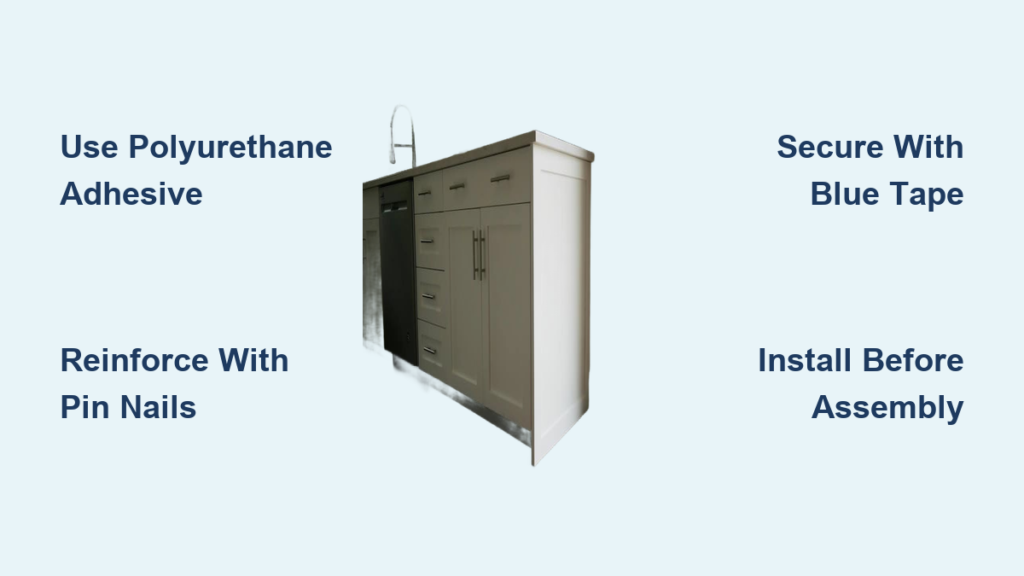
Installing cabinet end panels doesn’t have to be complicated, especially when working on budget-conscious projects like rental units. If you’re using 1/4″ MDF-core veneered skins to finish exposed cabinet ends, the challenge is achieving a clean, durable attachment without costly tools or time-consuming methods. This guide covers proven techniques for how to attach cabinet end panels quickly and securely, based on real-world insights from experienced cabinetmakers. You’ll learn the best adhesives, fastening methods, clamping alternatives, and assembly timing to get professional-looking results without the overhead.
Whether you’re matching alder exteriors with maple interiors or dealing with prefinished materials, these strategies keep costs low and workflow smooth. Let’s break down the most effective ways to install 1/4″ end panels on face-frame cabinets.
Choose the Right Adhesive
Use Foaming Polyurethane Adhesive
For fast, strong bonds on prefinished or MDF-core panels, foaming polyurethane construction adhesive like Great Stuff Pro delivers excellent results. Unlike water-based glues such as Titebond Melamine, which may fail on slick prefinished surfaces, polyurethane adheres tenaciously even without surface scuffing. It expands slightly as it cures, filling minor gaps and creating a durable bond that resists warping and moisture.
Apply a zigzag bead across the back of the end panel or directly onto the cabinet’s 3/4″ carcass or face frame. Press the panel into place and secure it with light clamping or weight. The foam sets in minutes and fully cures within 24 hours, making it ideal for quick-turnaround jobs.
Consider Contact Cement
In high-end veneer shops, contact cement is a go-to for bonding thin veneered skins. It creates an instant bond when both surfaces are coated and aligned. While effective, it requires precise alignment because once contact is made, there’s no repositioning. Use this method if you’re experienced with contact cement and working in a controlled shop environment.
Avoid water-based adhesives on prefinished maple or MDF. They often fail due to poor adhesion on non-porous surfaces.
Secure With Pin Nails or Tape

Reinforce With Micro Pin Nails
Even with strong adhesive, use 18-gauge micro pin nails to prevent shifting during setup. Drive one or two pins at the top and bottom edges of the panel, focusing on areas that won’t be visible or can be easily filled. These pins act as temporary alignment aids while the adhesive sets.
Don’t rely on nails alone. They’re supplemental. The primary bond should come from adhesive.
Clamp Edges With Blue Tape
Instead of bulky clamps, use blue painter’s tape to pull edges tight and hold seams flush. Apply tape across the seam from the front face frame to the end panel, stretching it slightly as you go. This creates light, even pressure that keeps the panel aligned while the glue sets.
This method saves time, avoids surface damage, and works especially well on vertical joints where traditional clamps are awkward.
Install Before Final Assembly
Bond Panels During Box Construction
The easiest time to attach end panels is before the cabinet is fully assembled. Attach the 1/4″ skin to the 3/4″ C-2 maple carcass side while the box is still open and accessible. This gives you better control over alignment and allows you to use the cabinet’s own weight as a clamp once it’s upright.
For face-frame cabinets, you can glue the panel flush to the frame or leave a small reveal of about 1/16″ to avoid sanding through the veneer later. Installing early also reduces the risk of damaging finished surfaces during handling.
Avoid Dadoing for Thin Skins
Skip the Dado Joint
While dadoing the 1/4″ panel into the face frame might look clean, it’s not practical for thin MDF-core skins. A standard 1/4″ dado would require a wider reveal than desired, potentially more than 1/8″, which defeats the goal of a seamless appearance. Plus, it adds unnecessary machining steps and weakens the face frame.
Stick with surface mounting. It’s faster, cheaper, and visually acceptable when done right.
Flush Trim for a Clean Finish
Trim With a Spiral Flush Bit
After the adhesive has cured, clean up any overhang with a spiral flush-trim bit in a router. This bit follows the edge of the face frame or carcass, trimming the end panel perfectly flush. Use a top-bearing bit if routing from the face side, or a bottom-bearing bit if accessing from the inside.
Work slowly to avoid chipping the veneer, especially on MDF cores. A sharp bit and steady feed rate ensure a clean cut.
Sand and Finish
Lightly hand-sand the trimmed edge with 220-grit paper to remove any fuzz or tear-out. If the panel has a prefinished surface, avoid aggressive sanding that could wear through the veneer. No additional finish is needed when using prefinished skins.
Prevent Common Mistakes
Don’t Use Water-Based Glue on Prefinished Plywood
Titebond Melamine and other PVA glues often fail on prefinished maple or sealed MDF because they can’t penetrate the surface. One builder tested this by gluing scrap pieces and found zero bond strength after curing. Stick with polyurethane or contact cement for reliable adhesion.
Avoid Post-Assembly Clamping Challenges
Attaching end panels after the cabinet is fully built makes clamping difficult and increases the risk of misalignment. Work smart by installing the panel early, while the cabinet is still open and manageable.
Don’t Rely on Nails Alone
Pin nails add stability during setup but won’t hold long-term under stress or seasonal movement. Always pair them with a strong adhesive. The nail is just a placeholder. The glue is what secures the panel.
Optimize for Budget and Speed
Prioritize Simplicity Over Perfection
Since this is a rental project, cheap and fast wins as long as it’s durable. The combination of polyurethane adhesive, pin nails, and blue tape delivers a strong, clean installation in minutes. No need for complex joinery or specialty tools.
This method has been tested by multiple builders on similar jobs and consistently delivers acceptable results for mid-tier installations.
Match Materials Smartly
Using 3/4″ alder-faced plywood would create an interior species mismatch with C-2 maple. That’s why bonding a 1/4″ alder skin to the maple side is a smarter solution, both aesthetically and functionally.
Just ensure the bonding surface is clean and dust-free for maximum adhesion.
Frequently Asked Questions About Attaching Cabinet End Panels
What is the best adhesive for prefinished cabinet end panels?
Foaming polyurethane construction adhesive works best on prefinished surfaces. Water-based glues like Titebond Melamine fail to bond to non-porous prefinished plywood. Polyurethane creates a tenacious bond even without scuffing the surface first.
Can I attach cabinet end panels with just pin nails?
Pin nails alone won’t hold long-term. They’re useful for preventing panel shift during adhesive setup, but the primary bond must come from adhesive. Use micro pin nails as supplemental fasteners only.
Should I dado the end panel into the face frame?
Dadoing is not practical for thin 1/4″ MDF-core skins. The required dado would create a reveal wider than 1/16″, which looks less seamless. Surface mounting with adhesive is faster, cheaper, and visually acceptable.
When should I install cabinet end panels?
Install end panels during box construction, before the cabinet is fully assembled. This gives better access for alignment and allows the cabinet’s weight to act as a clamp while the adhesive cures.
How do I clamp cabinet end panels without damaging the surface?
Use blue painter’s tape stretched across the seam to pull edges tight. This creates light, even pressure without surface damage. Traditional clamps are often awkward on vertical joints and can mar prefinished surfaces.
Can I use contact cement for cabinet end panels?
Yes, contact cement is a proven method used in high-end veneer shops. It creates an instant bond, but requires precise alignment since repositioning is impossible after contact. It works well in controlled shop environments.
Key Takeaways for Attaching Cabinet End Panels
When learning how to attach cabinet end panels on a budget, the key is choosing the right adhesive and working efficiently. Foaming polyurethane adhesive paired with pin nails and blue tape offers a fast, strong, and clean method, especially when applied before final assembly.
Skip complicated joinery, avoid water-based glues on prefinished materials, and use the cabinet’s weight to your advantage. With these proven techniques, you can deliver durable, professional-looking results without slowing down your build.
Start with a small test piece to confirm your adhesive choice works on your specific materials. Then apply the method to your full cabinet run with confidence.


