
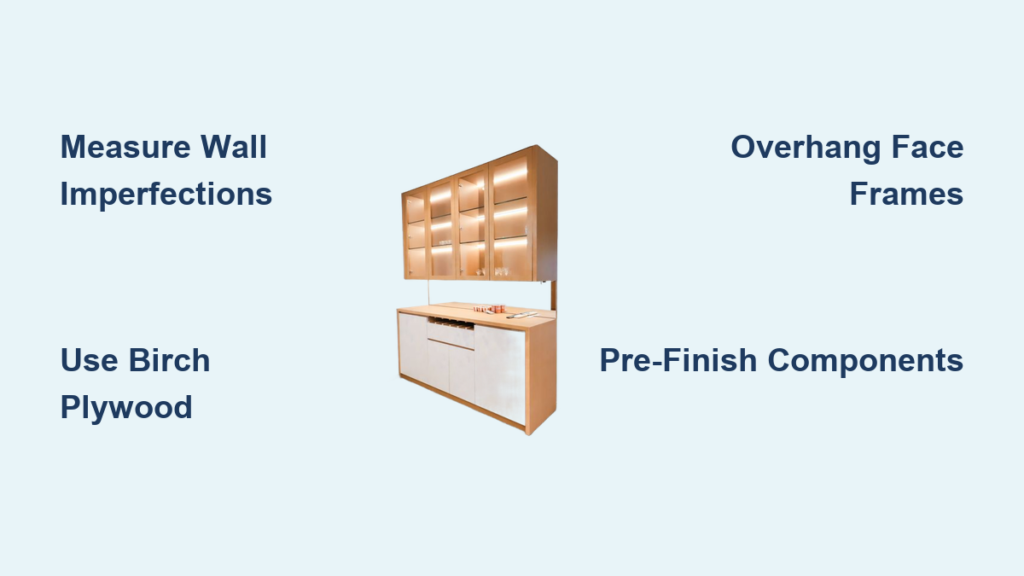
Transforming a cluttered room starts when you learn how to build built-in cabinets that fit your space perfectly. Unlike store-bought furniture, custom units hide uneven walls and maximize every inch of your home with a tailored architectural look.
This guide details the entire process from measuring imperfect rooms to installing smooth drawers and professional trim. You will discover specific techniques for modular construction, material selection, and finishing methods that ensure your project looks like it was always part of the house.
Design Your Layout Around Room Imperfections
Accurate planning prevents costly mistakes during construction. Walls are rarely straight and floors often slope, so your design must accommodate these real-world flaws rather than fighting them.
Measure Height and Width at Multiple Points
Use a laser level and tape measure to record dimensions at the top, middle, and bottom of your target wall. Note the smallest measurement to ensure your cabinets fit without binding. This data drives the entire build process.
Overhang Face Frames to Hide Gaps
Design your face frames to overhang the wall-side edge by 1/4 to 1/2 inch. This simple trick masks uneven walls without requiring complex scribing or filler strips. It creates a clean line regardless of wall condition.
Plan Ceiling Clearance for Installation
Leave a 2-inch gap between the top of your cabinet system and the ceiling. This space allows for easier alignment during installation and accounts for any minor settling in the house structure over time.
Select Durable Materials for Long-Lasting Cabinets
Choosing the right wood ensures your built-ins withstand daily use while maintaining a professional appearance. Avoid particleboard in areas prone to moisture or heavy loads.
Use 3/4-Inch Birch Plywood for Structure
Select 3/4-inch birch plywood for cabinet sides, tops, and drawer fronts. This material resists warping and provides the strength needed for heavy books or stored items. It also takes paint exceptionally well.
Choose 1/2-Inch Plywood for Backs and Drawers
Save weight and cost by using 1/2-inch plywood for back panels and drawer boxes. This thinner material maintains structural integrity where heavy load-bearing is not required. It keeps the overall unit lighter for easier handling.
Apply High-Quality Iron-On Edge Banding
Cover all exposed plywood edges with premium iron-on edge banding. Cheap versions peel within months, ruining the professional look. Apply with a clothes iron, trim flush with a utility knife, and sand smooth.
Gather Specialized Tools for Precision Joinery
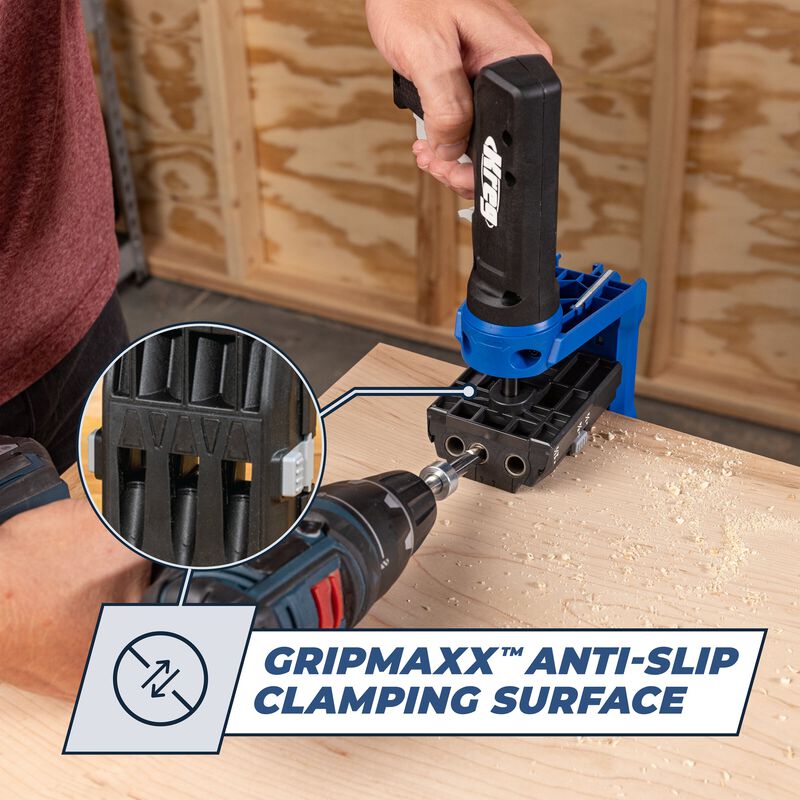
You do not need a full workshop, but specific tools make the difference between a rough build and a refined finish.
Essential Power Tools for Cutting and Drilling
- Pocket hole jig: Creates strong, hidden joints for assembly.
- Jigsaw: Cuts arched tops or curves for decorative elements.
- Oscillating saw: Trims baseboards flush during final installation.
- Drill and driver: Essential for driving screws and drilling pilot holes.
Critical Hardware for Assembly
- 18-gauge finish nails: Secure trim and drawer boxes without splitting wood.
- Wood glue: Adds permanent strength to all joints.
- Full-extension soft-close slides: Provide smooth drawer operation.
- Superglue: Secures molding details where nails might show.
Construct Base Cabinets as Modular Units
Building base cabinets as separate modules simplifies transport and allows for on-site adjustments. These units form the foundation of your entire built-in system.
Assemble Boxes with Pocket Holes
Cut 3/4-inch plywood for two sides, a top, and a back panel. Drill pocket holes into the back panel edges and screw into the sides and top. This method keeps joints strong while hiding screws from view.
Attach Face Frames with Wall-Side Overhang
Construct a face frame using 1×3 lumber and attach it to the box front. Ensure the frame overhangs the wall side by 1/2 inch to mask imperfections. Use pocket screws from the inside to keep the front face clean.
Omit Toe Kicks for Modern Profiles
Skip the traditional toe kick for a floating appearance. Install baseboard molding directly against the front of the cabinet after placement. This simplifies construction and aligns perfectly with room trim.
Build Upper Shelf Units for Vertical Storage
Upper cabinets extend your storage upward and complete the architectural look of the built-in. They typically sit directly on top of the base units.
Create Bottomless Cabinet Frames
Cut sides and tops from 3/4-inch plywood but omit the bottom panel. These units rest on the base cabinets below, creating a seamless vertical column. Secure the 1/2-inch back panel with pocket holes for stability.
Add Arched Tops for Visual Interest
Trace a curve from existing furniture onto the top plywood piece to create an arch. Cut the shape with a jigsaw and sand it smooth before attaching. This adds a custom design element that standard boxes lack.
Install Thicker 1×4 Face Frames
Use 1×4 lumber for upper cabinet face frames to add visual weight. The thicker profile balances the scale of the room. Overhang the wall side by 1/4 inch to hide minor gaps effectively.
Integrate a Storage Bench Under Windows
A storage bench turns dead space under a window into functional seating and hidden storage. This component requires precise fitting between base cabinets.
Frame the Bench with Vertical Panels
Construct the frame using three vertical 3/4-inch plywood panels: two sides and one center divider. Reinforce these with horizontal strips to ensure rigidity. Leave the bottom open to accommodate deep drawers.
Notch Dividers for Electrical Outlets
Cut a notch in the center divider if electrical outlets are present. This keeps power accessible without needing to cut into cabinet walls later. It is a crucial step for safety and functionality.
Apply Mixed Lumber for Face Framing
Use 1×3 for the top rail, 1×4 for side rails, and 1×6 for the bottom rail. Allow sides to overhang slightly so you can trim them flush after installation. This ensures a perfect fit against adjacent units.
Fabricate Drawers with Smooth Operation
Drawers demand the highest precision to function correctly. Poorly built drawers will bind or stick, ruining the user experience.
Cut Dado Grooves for Drawer Bottoms
Cut a dado groove just over 1/4 inch deep along the bottom inner edge of all four drawer sides. This groove holds the drawer bottom securely. Assemble with glue and nails, inserting the bottom before closing the last side.
Mount Slides on Raised Blocks
Rip 2x4s into 1.5-inch blocks and screw them inside the cabinet frame. This lifts the slide above the face frame to prevent interference. Use a drawer slide jig to ensure perfect parallel alignment.
Attach Fronts Using Spacer Sticks
Cut drawer fronts 1/4 inch smaller than the opening for clearance. Use paint stir sticks as spacers to ensure even gaps on all sides. Screw from the inside of the box through pre-drilled holes to hide hardware.
Pre-Finish Components Before Final Assembly
Finishing parts before final assembly ensures complete coverage and a cleaner result. It avoids the mess of painting around installed hardware.
Prime and Sand All Surfaces
Sand all components to 180 grit, paying close attention to edge banding seams. Apply a high-quality primer like KILZ to all visible surfaces. Hidden interiors can skip paint if odor sealing is not required.
Fill Seams and Nail Holes
Use paintable wood filler to cover all nail holes and joint gaps. Sand these areas flush once dry to create a seamless surface. This step is critical for a professional painted finish.
Apply Two-Tone Color Strategies
Paint exteriors and trim with durable enamel for a hard-wearing surface. Stain interior shelf tops with a warm wood tone to create contrast. Allow overnight drying between coats for best results.
Install Cabinets in Logical Sequence
Following a specific order prevents damage and ensures a tight fit. Prepare the site by removing old shelves and marking wall studs before beginning.
Secure Base Units to Wall Studs
Place the first base cabinet in the corner and cut away existing baseboards with an oscillating saw. Secure the unit to wall studs through the back panel or cleats. Repeat for all base sections.
Fit Bench and Upper Units
Measure the gap between base cabinets and trim the bench frame to fit exactly. Install upper cabinets by resting them on the bases and screwing into studs. Remove drawers to reduce weight during lifting.
Add Shelving and LED Lighting
Install adjustable shelves using a shelf pin jig for consistency. Run LED strip lights by tapping into attic wiring or existing circuits. Mount strips under uppers to illuminate dark storage areas effectively.
Apply Final Trim for a Custom Look

Trim work ties the entire system together and hides any remaining gaps. It transforms a collection of boxes into a unified architectural feature.
Install Crown Molding Near Top Edge
Attach crown molding 1 inch below the top edge of the cabinets. This covers plowed edges and adds an elegant profile to the unit. Use a miter saw for clean 45-degree corners.
Add Decorative Molding Details
Install rectangular decorative molding between the crown and base trim. Choose a style that matches your room architecture. Secure with finish nails and a dab of superglue.
Reinstall Baseboard Around Cabinets
Cut new baseboard to fit around the cabinet legs and fronts. Use a coping saw for tight inside corners. Notch the board as needed for a snug fit against the cabinet structure.
Frequently Asked Questions About Building Built-Ins
What type of plywood is best for built-in cabinets?
Use 3/4-inch birch plywood for structural parts like sides and tops because it is strong and paints well. Use 1/2-inch plywood for back panels and drawer boxes to save weight without losing durability.
How do you hide uneven walls when installing cabinets?
Design your face frames to overhang the wall-side edge by 1/4 to 1/2 inch. This acts as a built-in filler that masks gaps caused by out-of-plumb walls without complex scribing.
Can I build built-in cabinets if I am a beginner?
Yes, if you have basic tools and follow a modular approach. Breaking the project into separate boxes and assembling them on-site makes the process manageable for intermediate DIYers.
Why should I pre-finish cabinet components?
Pre-finishing ensures full coverage in corners and hard-to-reach areas before assembly. It prevents paint drips on installed hardware and results in a smoother, more professional finish.
How do you ensure drawers slide smoothly?
Use a drawer slide jig to align slides perfectly parallel to the cabinet floor. Also, ensure drawer boxes are perfectly square during assembly to prevent binding.
Key Takeaways for How to Build Built-In Cabinets
Building custom storage requires precise measuring, quality materials like birch plywood, and smart design tricks like overhanging face frames. By constructing modular units and pre-finishing components, you achieve a professional look that maximizes space and hides imperfections.
Start your project by measuring your space twice and gathering the right tools like a pocket hole jig and oscillating saw. Follow the step-by-step construction order to ensure stability and a seamless fit that elevates your home.


