
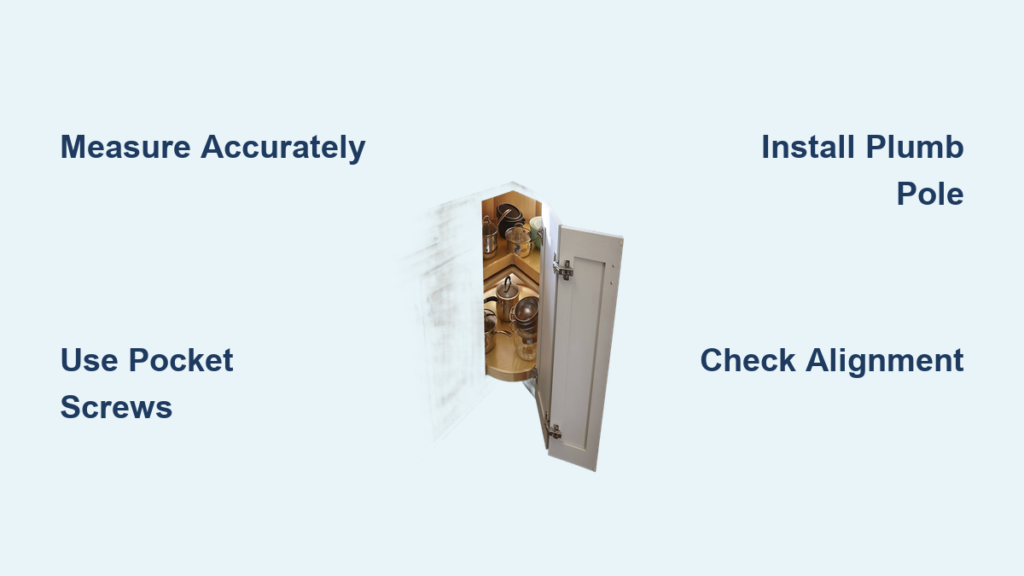
Reaching items in the back of a standard corner cabinet often feels impossible without crawling inside. You can solve this frustration permanently when you learn how to build a lazy susan cabinet that transforms dead space into functional storage.
This guide walks you through precise measurements, structural assembly, and hardware installation for a smooth rotating system. You will discover professional techniques to prevent sagging and ensure your new unit aligns perfectly with existing kitchen cabinetry.
Plan Your Corner Cabinet Layout for Perfect Integration

Successful installation begins with mapping how the unit fits into your specific kitchen workflow. You must place the cabinet where it offers the most utility, typically at the intersection of your sink and range runs.
Choose the Right Location for Accessibility
Install the cabinet where traditional shelves leave over half the space unreachable. This specific spot benefits most from 360-degree access for heavy pots and pans. Confirm there are no plumbing obstructions behind the wall and ensure your floor is level before starting. If you live in a multi-story home with narrow stairs, plan to assemble the cabinet on-site to avoid transport issues.
Calculate Exact Platform Dimensions
Use precise numbers to ensure your new unit aligns with neighboring cabinets. The total platform width should be 37.5 inches to account for face frames and adjacent projections.
* Total Platform Width: 37.5 inches
* Base Footprint: 36 inches by 36 inches
* Cabinet Height: 34.5 inches (standard base height)
* Top and Bottom Panels: 36.75 inches by 36.75 inches
The extra 1.25-inch overhang on all sides allows the face frame to align flush with adjacent units. Always double-check your specific wall openings before making final cuts to avoid fitting errors.
Match Adjacent Cabinet Projections
Maintain a continuous front line by matching the projection of surrounding units. The sink side opening is typically 12.5 inches while the drawer bank projects 13.5 inches. The range side usually projects 24 inches from the corner. Add these measurements with the face frame thickness of one inch to reach the total width. This math ensures your lazy susan cabinet does not protrude or recede from the rest of the run.
Select Materials and Prepare Your Cut List
Choosing the right materials ensures durability since these cabinets often hold heavy cookware. You need stable wood that sands smoothly for a professional painted finish.
Use Paint-Grade Alder for Best Results
Opt for 13/16 inch Alder because it is affordable, stable, and sands smoothly. This material requires about half the prep time of harder woods like maple. Select maple only if you require a stain-grade build with a tight grain pattern.
Build Your Detailed Cut List
Prepare these components before assembly to maintain workflow efficiency.
* Top and Bottom Panels: Two pieces at 36.75 inches by 36.75 inches
* Side Panels: Two pieces at 30.25 inches by 23.25 inches
* Back Panel: One piece at 4.25 inches by 45 inches
* Top Rail: 2 inches by 12.5 inches
* Bottom Rail: 1.5 inches by 31.25 inches
* Stile A: 1.5 inches by 13.25 inches
* Stile B: 1.5 inches by 12.5 inches
* Toe Kick Back: 29.75 inches by 4.25 inches with 45-degree mitered ends
* Corner Support Panel: Approximately 3/4 inch thick for hardware mounting
Edge-band any exposed plywood edges for a clean interior appearance. Having every piece ready prevents mistakes during the assembly phase.
Assemble the Cabinet Carcass with Precision
A strong and square carcass is essential for a rotating shelf that bears significant weight. Poor joinery here leads to wobbling shelves and eventual structural failure.
Join Sides with Pocket Screws
Apply a thin bead of wood glue along the back edge of each side panel. Position the bottom panel and use a spacer block to align it perfectly with the sides. Clamp the joint tightly then secure it with one staple and one coarse-thread pocket hole screw per corner. Coarse threads grip softwood plywood better and reduce the risk of splitting the material.
Install Anti-Sag Floor Supports
Add two internal supports under the bottom panel to reinforce the structure. Run one support from front to back to reinforce the long span. Place the second support to align with the toe kick structure and prevent sag near the front. These braces distribute load evenly and protect against warping over time.
Attach Back and Wall Panels
Glue and brad nail the 4.25 inch by 45 inch back panel to the side panels securely. Clamp the assembly for at least 30 minutes to allow the glue to cure fully. After drying, countersink and drive a screw into the back panel to lock it in place and prevent shifting during installation.
Dry Fit for Squareness
Perform a dry fit of all panels before applying final glue. Check grain direction for visual harmony and use the top panel as a reference edge to verify squareness. Adjust slightly during clamping if needed and flip the unit to recheck your work.
Install the Face Frame for Structural Rigidity
The face frame adds necessary rigidity and creates the finished front appearance of your lazy susan cabinet. Proper alignment here ensures the unit looks built-in rather than added on.
Cut and Align Stiles Correctly
Use the 13.25 inch stile on the sink side so it extends 0.75 inch past the 12.5 inch opening. This allows it to tuck behind the opposite stile effectively. The result is a symmetrical 12.5 inch reveal on both sides of the corner entry.
Secure with Pocket Holes
Drill pocket holes on the top, bottom, and side edges of the carcass for attachment. These holes allow you to pull the face frame tight during installation. Apply glue to frame joints and clamp before driving screws to help square the entire cabinet.
Check for Flush Alignment
Verify that all face frame edges are flush with adjacent cabinets when clamped in place. Sand or adjust as needed before applying any finish. A misaligned frame ruins the seamless look of the entire kitchen run.
Build and Attach the Toe Kick Properly
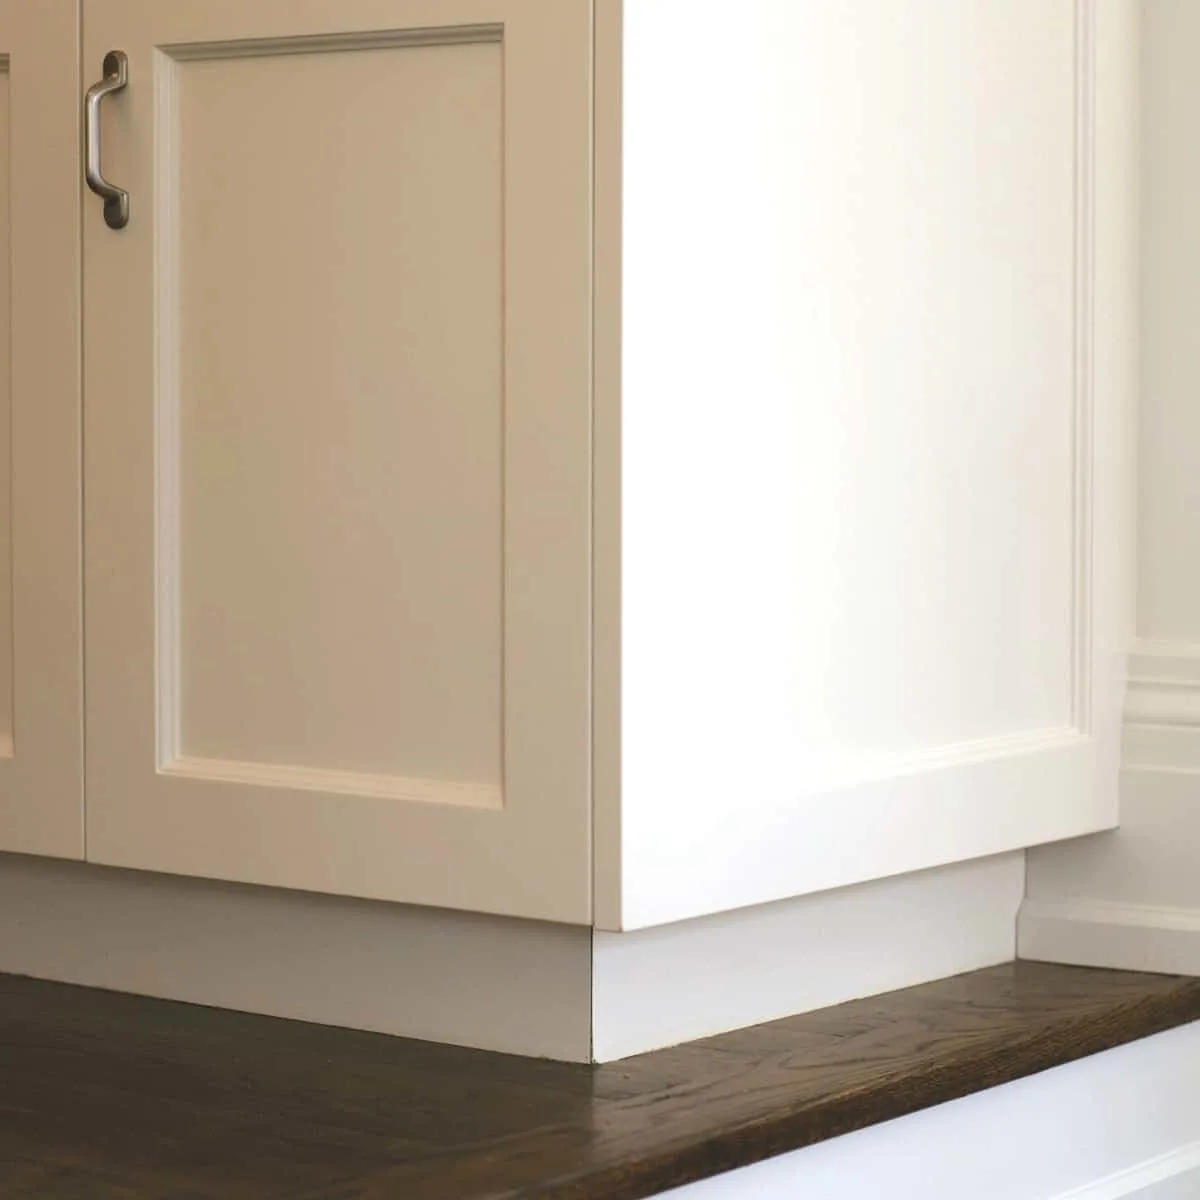
The toe kick must follow the 45-degree corner angle for a seamless and professional look. Incorrect angles create visible gaps that detract from the build quality.
Cut 45-Degree Miters Precisely
Cut the back corner piece to 29.75 inches tall by 4.25 inches wide. Ensure both ends are cut at 45 degrees to match the corner geometry perfectly. Cut the top platform piece to the same angle specification using a miter saw for precision.
Position with Spacer Block
Measure 7 inches from the front edge of the base to begin positioning. Subtract 3 inches for the saw undercut mark to locate the spacer block position accurately. Draw a reference line and install the block flush with this mark to ensure consistent depth.
Glue and Staple in Place
Apply glue to the back of the toe kick assembly before securing it. Staple from both sides to hold the pieces firmly together. Attach the finished toe kick to the face frame with nails or screws for a permanent bond.
Mount Lazy Susan Hardware Correctly
This step is the core of the build because your rotating system must be stable and plumb. Any error here causes binding and makes the cabinet unusable.
Choose a Pre-Fabricated System
Use a trusted brand like Rev-A-Shelf or Relf for your rotating mechanism. These kits include templates, brackets, and a telescoping pole designed for heavy loads. They are far more reliable than attempting to build custom turntables from scratch.
Use the Installation Template
Place the provided template on the cabinet floor to mark drilling locations. Drill pilot holes exactly as marked on the template guide. Bolt the metal floor collar securely to the bottom panel using these guides.
Install Ceiling Bracket
Attach the top bracket to the interior ceiling of the cabinet directly above the floor collar. Double-check centering using a plumb bob or laser level for accuracy. Perfect vertical alignment is non-negotiable for smooth operation.
Set the Central Pole
Insert the telescoping pole through the shelf holes and expand it until it seats in both brackets. Make the pole perfectly plumb using a level on all sides. Even a slight lean causes binding and wobble during rotation.
Add Shelves and Test Rotation
Place shelves onto the pole ensuring they are no taller than the cabinet opening. Lock them in place using the top bracket and reverse shelf method if required. Rotate manually to check for smooth and wobble-free movement before installing doors.
Final Assembly and Installation Steps
Integrate the cabinet into your kitchen run carefully to ensure a professional finish. Rushing this stage can ruin all your previous hard work.
Clamp to Adjacent Units
Clamp the lazy susan cabinet tightly against the sink and range cabinets before finishing. This ensures sanding and painting create a continuous and flush front across the run.
Install Doors Correctly
Use fold-down corner doors or partial hinged doors designed specifically for lazy susans. Align hinges so doors close evenly and do not interfere with rotation. Leave a consistent 1/8 inch gap around all edges for clearance.
Verify Functionality
Open and close doors multiple times to test their range of motion. Spin the shelves fully and watch for any obstructions or rubbing. Confirm all joints are tight and reveals match neighboring cabinets perfectly.
Finish and Inspect Your Work
A professional finish ties everything together and protects your investment. Attention to detail here defines the quality of the final product.
Sand and Paint Surfaces
Sand all surfaces while clamped to adjacent cabinets for seamless transitions. Wipe clean then apply primer and paint for Alder or stain for maple builds. Pay extra attention to face frame edges and corners for a smooth feel.
Perform Final Inspection
Check that rotation is smooth and quiet without any binding. Ensure face frame reveals are even with a target of 12.5 inches. Verify the toe kick aligns with others in the run and all screws are filled.
Prevent Common Building Mistakes
Avoiding frequent issues ensures a flawless build that lasts for years. Many builders skip critical steps that lead to premature failure.
Do Not Skip the Plumb Check
An off-plumb center pole is the number one cause of lazy susan failure. Always use a level and recheck after tightening bolts.
Avoid Softwood Without Reinforcement
Plywood alone can sag under heavy loads over time. Always install floor supports and use coarse-thread screws for better grip.
Never Use Oversized Shelves
Shelves must fit within the cabinet height limits strictly. If they are too tall, they will bind against the top or bottom panel.
Do Not Install Without a Template
Freehand drilling leads to misaligned brackets and poor performance. Use the manufacturer’s template to save time and ensure accuracy.
Maintain Smooth Operation Long Term
Even the best build needs occasional care to function perfectly. Regular maintenance prevents minor issues from becoming major problems.
Lubricate Annually
Apply a light silicone spray to the central pole and bearings once a year. Avoid oil-based lubricants as they attract dust and grit.
Check for Loose Hardware
Inspect screws, brackets, and the floor collar every six months. Tighten any that have loosened due to daily use or house settling.
Adjust the Telescoping Pole
Loosen the pole slightly if rotation becomes stiff over time. Re-plumb it and retighten to restore smooth operation using the telescoping design.
Consider Alternatives for Your Kitchen
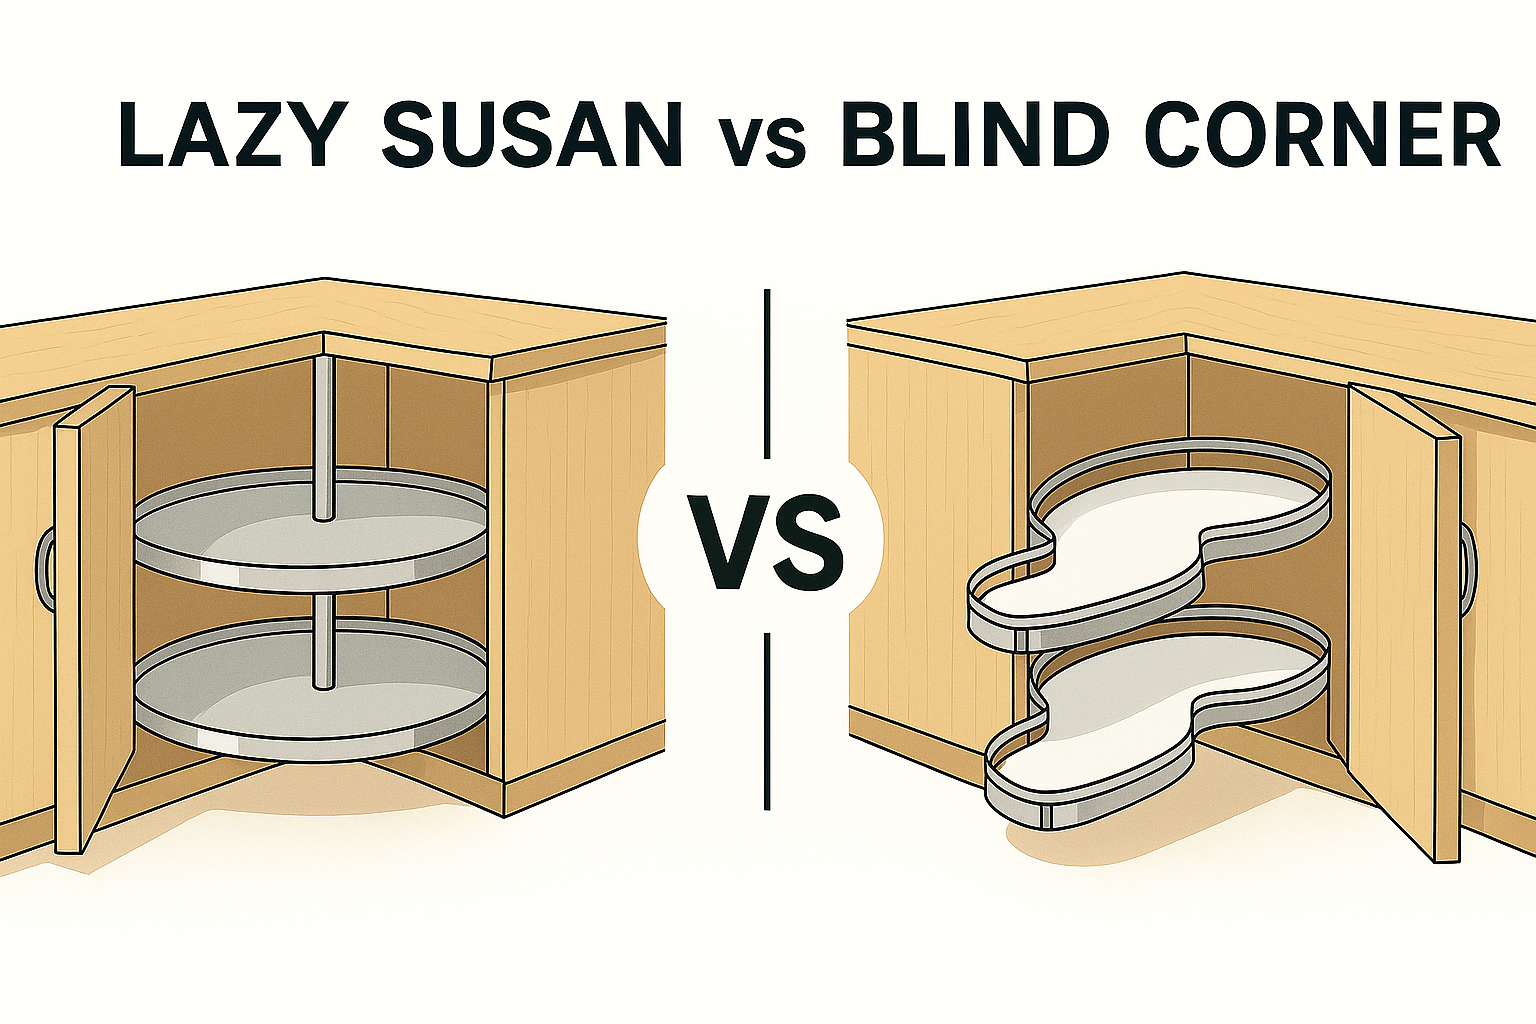
Lazy susans are not the only solution for corner storage spaces. Evaluate your specific needs before committing to a build.
Try Blind Cabinet Pull-Outs
Systems like the Rev-A-Shelf blind cabinet pull-out offer front access without rotation. However, they reduce total usable volume and may leave the back corner hard to reach.
Compare Accessibility Options
Lazy susans provide full rotation and are best for heavy items like pots. Pull-outs offer linear access and work better for shallow storage like spices. Choose based on your specific cooking habits and storage needs.
Frequently Asked Questions About Lazy Susan Cabinets
Can I build a lazy susan cabinet in an existing kitchen?
Yes, you can retrofit an existing corner by removing old shelves and installing a pre-fabricated rotating system. Ensure the interior cavity is square and the floor is level before mounting the hardware.
What is the standard size for a corner lazy susan cabinet?
The standard footprint is 36 inches by 36 inches with a height of 34.5 inches. This size fits most kitchen layouts and accommodates standard pre-fabricated hardware kits.
Why does my lazy susan wobble when spinning?
Wobbling usually occurs because the central pole is not perfectly plumb. Recheck the vertical alignment of the pole and adjust the telescoping mechanism until it is straight.
Which wood is best for a painted lazy susan cabinet?
Alder is the best choice for painted finishes because it is stable and sands smoothly. It requires significantly less prep time than harder woods like maple while providing a flawless surface.
Do I need special doors for a lazy susan cabinet?
Yes, you need fold-down corner doors or specific partial hinged doors designed for rotating units. Standard doors will interfere with the rotation of the shelves inside.
Key Takeaways for Building Your Lazy Susan Cabinet
Building a functional lazy susan cabinet requires precise measurements, robust joinery, and perfectly plumb hardware installation. By using coarse-thread screws, installing anti-sag supports, and following manufacturer templates, you ensure a durable unit that maximizes corner storage.
Start your project by gathering accurate dimensions and selecting high-quality Alder or Maple materials. Follow each step carefully to create a seamless addition that transforms your kitchen’s most awkward space into a highly accessible asset.


