
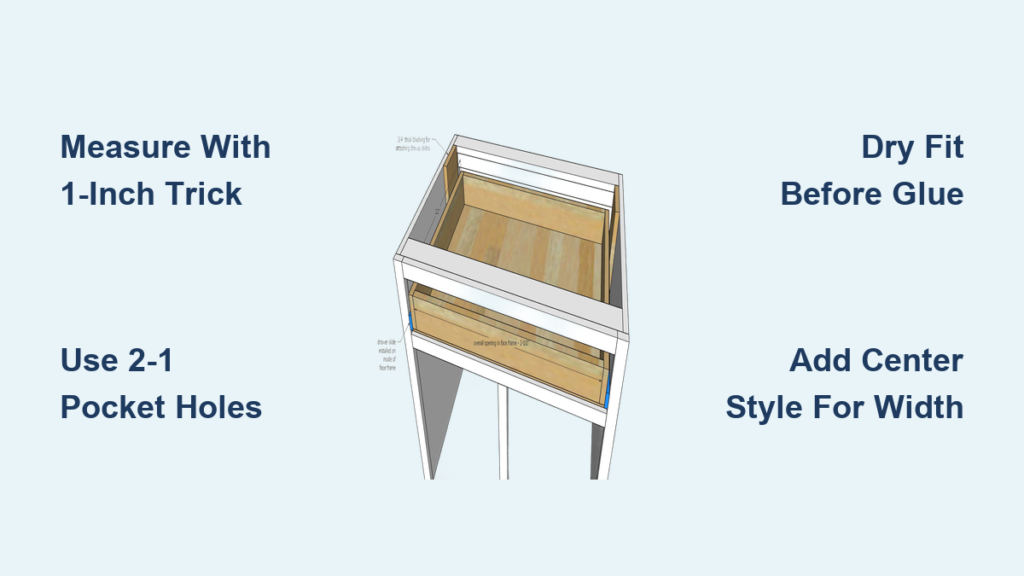
Your kitchen renovation stalls when you realize store-bought cabinets lack the structural depth and classic look of custom furniture. Learning how to build face frame cabinets solves this by adding a sturdy framework that prevents racking and provides a professional mounting surface for doors.
This guide details every step from selecting the right wood species to drilling precise pocket holes for a twist-free assembly. You will discover exact measurement tricks, joinery secrets, and attachment methods that ensure your custom cabinets stand the test of time.
Plan Face Frame Dimensions First
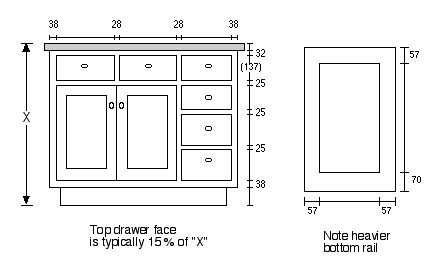
Accurate planning prevents costly errors when you start cutting expensive hardwoods. You must calculate exact overhangs and reveals before your saw blade touches the wood.
Measure Cabinet Box Accurately
Start by measuring the height and width of your cabinet box with a steel tape measure. For side stiles, add 5/8 inch to the interior height to create a flush top and a slight bottom overhang. This specific measurement ensures a clean 1/8-inch reveal at the bottom interior edge.
Calculate Rail Lengths Without Error
Never measure across open space to determine rail length because tape measure hooks introduce slop. Instead, place one stile in position and mark the rail location on both sides. Measure between these marks starting from the 1-inch mark on your tape, then subtract one inch from the final reading for a perfect fit.
Determine Center Style Placement
Wide cabinets spanning 48 inches or more require a center style to prevent rail sag. Measure the total opening, subtract the width of the center style, and divide the remainder by two. Mark these points on your top and bottom rails to ensure symmetrical spacing for door mounting.
Select the Right Wood and Stock
Choosing the correct lumber depends entirely on whether you plan to stain or paint your finished cabinets. Hardwoods offer durability while softwoods provide an affordable option for painted projects.
Choose Species by Finish Type
Select maple, oak, or alder if you want to showcase natural grain patterns with stain. Pine is an excellent choice for painted cabinets because it is affordable and easy to work with, though it dents more easily than hardwoods. Alder offers unique versatility as it accepts both paint and stain beautifully.
Cut Standard Frame Stock Sizes
Rip all your stock to standard widths before beginning assembly to ensure consistency. Cut outer and center stiles to 2 inches wide and the top rail to 2.5 inches for a bold appearance. Make bottom and interior rails 1.5 inches wide using 3/4 inch thick material to match standard cabinet side panels.
Sand Edges Before Assembly
Sand all pieces thoroughly before gluing because interior joints become inaccessible later. Use a sanding block with 120-grit paper first to remove saw marks, then progress to 220-grit for a smooth surface. This preparation ensures strong glue adhesion and a flawless final finish.
Drill Pocket Holes Correctly
Pocket hole joinery provides the fastest and strongest method for connecting face frame components. Proper setup of your jig and drill ensures tight joints without splitting the wood.
Set Up Kreg Jig for 3/4-Inch Wood
Configure your pocket hole jig specifically for 3/4-inch material to achieve correct screw depth. Adjust the depth collar on your drill bit to 3 9/16 inches and use a square drive bit for maximum torque. Clamp the jig securely to your workbench to maintain consistent hole angles during drilling.
Drill Two Holes on One End
Drill pocket holes into the ends of rails only, leaving stiles solid to receive the screws. Place two holes on one end of narrow rails and one hole on the opposite end to prevent twisting during clamping. Alternate this 2-1 pattern on stacked rails to maintain structural balance throughout the frame.
Use 1.25-Inch Kreg Screws
Drive 1.25-inch pocket screws into the drilled holes to pull joints tight without pre-drilling. Set your drill to drill mode rather than impact mode to avoid splitting the wood fibers. Use the clutch setting to apply just enough torque to tighten the joint without crushing the wood.
Assemble Frame from the Back

Assembling the frame face down on a flat surface protects the visible front from damage and ensures squareness. This orientation allows gravity to help hold pieces in place while you work.
Dry Fit All Pieces First
Perform a complete dry fit of all components before applying any glue to check for gaps. Use a framing square to verify that all corners are 90 degrees and that rails align perfectly. Adjust rail lengths or recut miters now because mistakes become permanent once glue is applied.
Glue and Clamp Outer Frame First
Begin assembly with the outer rectangle consisting of two stiles and the top and bottom rails. Apply a thin bead of wood glue to rail ends, align them with stiles, and clamp corners tightly. Drive screws to pull joints flush and wipe away excess glue immediately with a damp cloth.
Install Center Style with Offset Holes
Attach the center style by drilling two pocket holes on one end and one on the other to prevent warping. Apply glue to both ends, align the style with your previously marks, and clamp it securely. Drive screws to pull the joint flush and ensure the style stands straight within the frame.
Add Interior Rails Using Spacer Blocks
Use spacer blocks cut to exact rail lengths to guarantee consistent spacing for drawer openings. Place a block between stiles at the desired height, align the rail with the block, and clamp. Glue and screw the rail using the alternating 2-1 hole pattern to maintain frame stability.
Attach Frame to Cabinet Box
Securing the face frame to the cabinet box requires a method that balances strength with aesthetic requirements. Your choice of attachment depends on whether the final cabinet will be painted or stained.
Use Glue and Brad Nails for Paint
Apply wood glue to the cabinet box edges and position the face frame carefully. Drive 2–3 brad nails per corner through the frame into the box to hold it while the glue cures. This method is fast and effective for painted cabinets where nail holes can be filled and hidden.
Clamp with Cauls for Stained Finish
Avoid visible fasteners on stained cabinets by using glue and clamps with cauls. Place crowned scrap wood cauls across the frame and clamp over them to distribute pressure evenly. This technique prevents denting the wood surface while ensuring full glue contact along the entire joint.
Hide Fasteners with Internal Pocket Holes
Drill pocket holes into the inside face of the cabinet box aligned with stiles and rails for hidden attachment. Position the face frame and drive screws from inside the box into the back of the frame. Ensure these holes do not interfere with internal shelves or drawer runners.
Use the Brad Nail Trick for Alignment
Leave four brad nails slightly proud in each corner of the box to act as alignment guides. Apply glue to the box edges and lower the face frame onto the protruding nails to adjust position. Tap the frame down firmly to seat it in the glue once perfect alignment is achieved.
Finish for Durability and Beauty
Proper finishing protects your hard work and enhances the natural beauty of the wood or paint. Attention to detail during this phase distinguishes amateur work from professional results.
Inspect Joints Before Glue Sets
Check every joint carefully before the glue dries to ensure there are no gaps or misalignments. Verify that all screws are flush and that the frame lies completely flat on the work surface. Fix any issues immediately because corrections are impossible once the glue cures.
Sand and Fill Seamlessly
Sand the entire frame starting with 120-grit to remove dried glue squeeze-out and smooth joints. Finish with 220-grit paper for a silky surface ready for stain or paint. Fill any remaining gaps with wood filler that matches your wood species and sand smooth once dry.
Choose Finish Based on Use
Select a finish that suits the cabinet environment, such as stain and polyurethane for hardwoods. Use primer and paint for pine cabinets to hide imperfections and create a uniform look. Apply your chosen finish in a dust-free area and let it dry fully before installing doors.
Prevent Common Assembly Mistakes

Avoiding frequent errors saves time and materials while ensuring a professional outcome. Awareness of these pitfalls helps you build stronger and better-looking cabinets.
Avoid Twisting with Balanced Screws
Prevent twisted rails by always using two holes on one end of narrow pieces and alternating the pattern. This balanced screw placement pulls joints tight without causing the wood to warp during clamping. Consistent screw patterns are essential for maintaining a flat frame.
Don’t Skip the 1-Inch Tape Trick
Eliminate measurement errors caused by tape measure hooks by starting at the 1-inch mark. Measure to your second mark and subtract one inch from the reading for critical rail cuts. This simple trick ensures rails fit perfectly between stiles without gaps or force.
Never Glue Without Dry Fitting
Always perform a dry fit before applying glue because mistakes become permanent once bonded. Check square, alignment, and fit during this trial run to catch errors early. Taking ten minutes to verify everything saves hours of frustration later.
Use Center Style for Stability
Install a center style in any cabinet wider than 36 inches to provide necessary structural support. This vertical member prevents long rails from bowing and offers solid mounting points for doors. Ignoring this step can lead to sagging rails and malfunctioning doors over time.
Frequently Asked Questions About Building Face Frame Cabinets
What is the standard thickness for face frame stock?
The industry standard for face frame stock is 3/4 inch thick material. This thickness matches standard cabinet side panels and provides sufficient strength for door hinges and daily use.
Which wood species is best for painted face frame cabinets?
Pine is the best choice for painted cabinets due to its affordability and ease of working. However, alder is also an excellent option as it takes paint smoothly while offering better durability than pine.
How do I prevent rails from twisting during assembly?
Prevent twisting by drilling two pocket holes on one end of narrow rails and one on the other. Alternating this 2-1 pattern across multiple rails balances the pulling force and keeps the frame flat.
Can I attach the face frame without visible nails?
Yes, you can attach the frame using clamps and glue alone or by driving screws from inside the cabinet box. Using cauls with clamps distributes pressure evenly for a strong bond without visible fasteners on the front.
Why do I need a center style in wide cabinets?
A center style provides critical structural support in cabinets wider than 36 inches by preventing rail sag. It also creates a solid mounting point for doors and adds rigidity to the overall cabinet structure.
Key Takeaways for How to Build Face Frame Cabinets
Mastering how to build face frame cabinets requires precise measurement, balanced joinery, and careful assembly techniques. By using the 1-inch tape trick, alternating pocket hole patterns, and dry fitting before gluing, you ensure a square and durable result.
Start your next project by selecting the right wood for your finish and cutting stock to exact specifications. Follow these proven steps to create custom cabinets that offer both structural integrity and timeless aesthetic appeal.


