
Dull, greasy, or smudged cabinet handles can make even the cleanest kitchen look neglected. Over time, fingerprints, cooking splatters, and everyday use leave behind grime that builds up on both metal and non-metal hardware. Knowing how to clean cabinet handles properly is a simple yet essential step in maintaining a fresh, hygienic kitchen. Whether you have stainless steel, brass, bronze, or plastic pulls, regular cleaning restores shine and prevents long-term damage from oils and corrosion.
This guide walks you through effective, safe methods to clean cabinet handles based on material type, dirt level, and household products you already own. You’ll learn quick daily wipes, deep cleaning techniques, and how to avoid common mistakes like scratching surfaces or using harsh chemicals. With just a few minutes and the right approach, your cabinet hardware will look like new—no professional help needed.
Identify Handle Material First
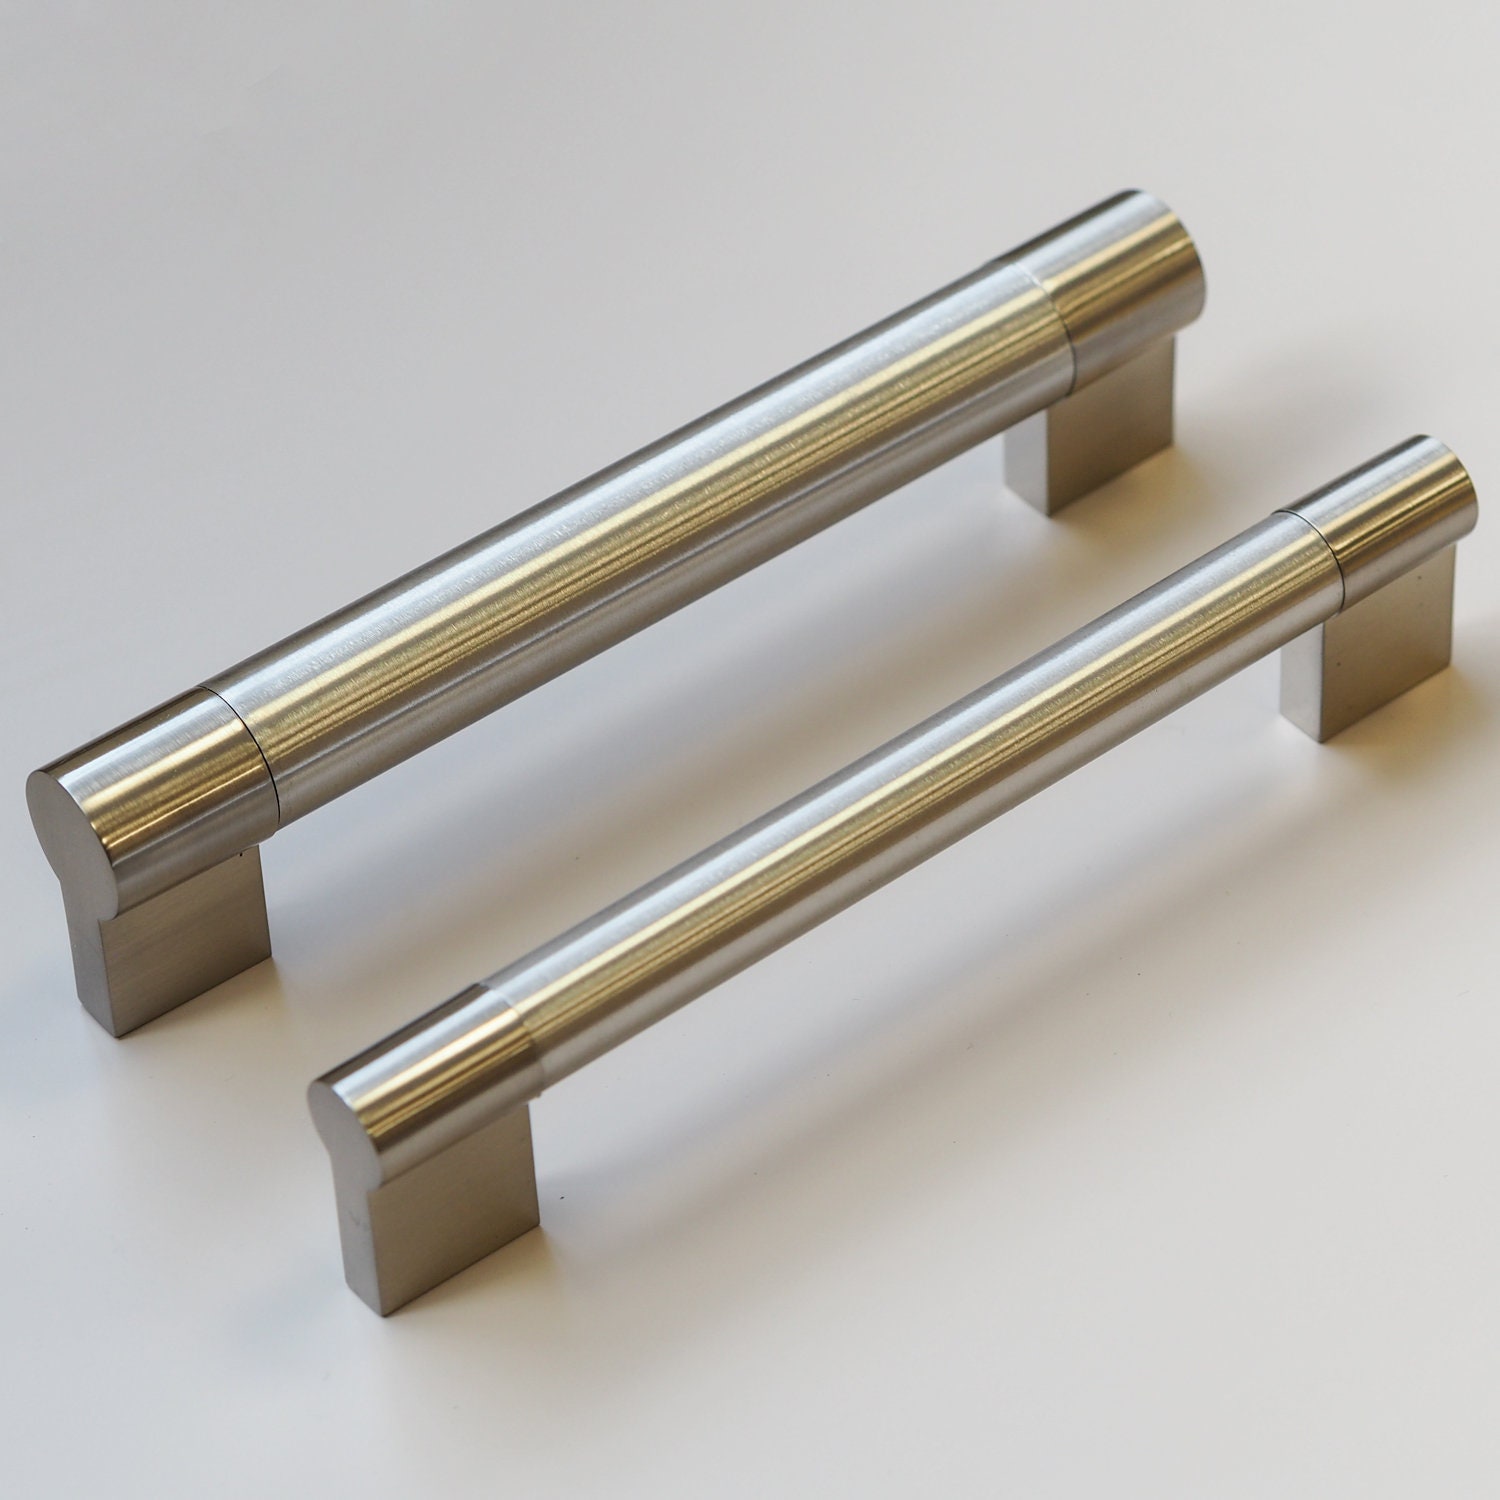
Before cleaning, determine your cabinet handle’s material. Using the wrong cleaner can cause scratches, discoloration, or finish damage. Most common types include:
- Stainless steel – Durable, modern look, resists rust
- Brass or bronze – Often coated; can tarnish if not maintained
- Nickel (brushed or polished) – Sleek finish, shows fewer fingerprints
- Plastic or polymer – Common in modern or rental kitchens
- Painted or lacquered metal – Decorative finish; sensitive to abrasives
Check manufacturer labels or use a magnet: if it sticks, it’s likely steel. If not, it may be brass, aluminum, or another non-ferrous metal.
Test Cleaner on Hidden Spot
Always test any cleaning solution on a small, inconspicuous area first. Apply a drop and wait 30 seconds. Wipe away and check for:
- Discoloration
- Dullness
- Sticky residue
If any changes occur, switch to a milder solution.
Gather Cleaning Supplies
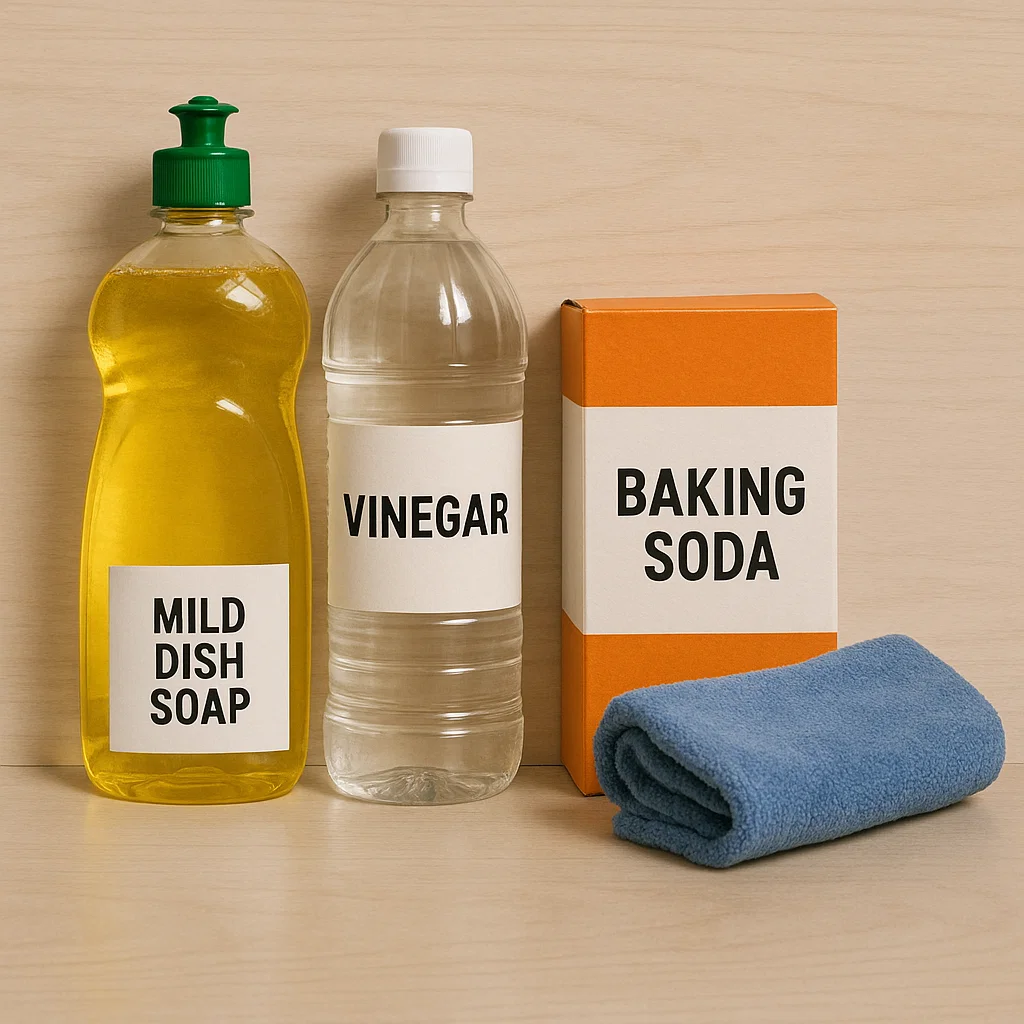
Use household items to clean cabinet handles safely and effectively. Most tools are already in your home.
Essential Cleaning Tools
- Microfiber cloth (lint-free, scratch-resistant)
- Soft-bristle toothbrush (for crevices)
- Cotton swabs (tight corners and screws)
- Mild dish soap (like Dawn or Seventh Generation)
- White vinegar or baking soda (natural cleaners)
- Isopropyl alcohol (70%, for disinfecting)
- Olive or mineral oil (for polishing metal)
Avoid steel wool, abrasive sponges, bleach, and ammonia-based cleaners—they damage finishes.
Daily Wipe-Down Routine
Keep handles looking fresh with a quick daily wipe. This prevents grime buildup and reduces need for deep cleaning.
Use Soapy Water Safely
Mix a few drops of dish soap in warm water. Dampen a microfiber cloth—never soaking wet—and wipe each handle from top to bottom.
- Focus on high-touch areas (thumb and finger zones)
- Dry immediately with a second clean cloth to prevent water spots
- Pay attention to base where handle meets cabinet—dirt collects here
This method works for all handle types and takes less than 2 minutes.
Deep Clean Metal Handles
For tarnished, sticky, or heavily soiled metal hardware, a deeper clean restores shine and function.
Remove Handles for Thorough Cleaning
Unscrew and take off handles when possible. This allows access to:
- Screw heads
- Undersides
- Mounting plates
Place screws in a labeled bag to avoid losing them. Clean one handle at a time to prevent mix-ups.
Clean Stainless Steel Handles
Stainless steel resists rust but shows fingerprints and water marks.
Remove Grease with Vinegar Solution
Mix equal parts white vinegar and water. Dip a cloth in the solution and wipe the handle.
- Buff in direction of the grain (if visible)
- For stubborn spots, use a baking soda paste (3 parts soda, 1 part water)
- Rinse with damp cloth, then dry thoroughly
Finish with a drop of olive oil on a cloth to enhance shine and repel future smudges.
Restore Brass or Bronze Finishes
These metals tarnish when exposed to air and oils.
Use Mild Soap and Water First
Wash with soapy water and soft brush. Dry completely.
Apply Manufacturer-Approved Polish
If tarnish remains, use a brass or bronze polish per product instructions. Never use vinegar or baking soda on unlacquered brass—this can accelerate oxidation.
- Apply polish with soft cloth
- Rub gently in circular motions
- Wipe off residue with a clean cloth
For lacquered brass, stick to soap and water only—polish can strip the protective coating.
Clean Non-Metal Handles
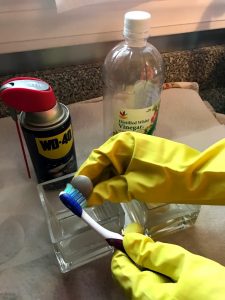
Plastic, ceramic, or painted pulls need gentler care to avoid chipping or fading.
Use Alcohol for Disinfecting
Dampen a cotton swab or cloth with 70% isopropyl alcohol. Wipe surface to kill germs and remove oils.
- Do not soak
- Avoid prolonged contact with painted surfaces
- Dry immediately
This method is ideal for homes with kids or frequent cooking.
Remove Stains from Plastic Pulls
Yellowing or staining on white or light-colored plastic?
Make Baking Soda Paste
Mix baking soda with a few drops of water. Gently scrub with a soft toothbrush.
- Focus on stained areas only
- Rinse with damp cloth
- Dry thoroughly
For severe discoloration, consider replacing the handle—plastic degrades over time.
Fix Common Cleaning Mistakes

Even careful cleaners make errors that damage hardware.
Avoid Excess Water
Never soak handles or use dripping-wet cloths. Water seeps into screw holes and behind mounting plates, causing:
- Warped cabinet fronts
- Rust on internal screws
- Mold in hidden spaces
Always wring out cloths well.
Skip the Paper Towels
Paper towels can scratch metal and leave lint on textured surfaces. Use microfiber cloths instead—they’re reusable, gentle, and trap more grime.
Don’t Mix Cleaning Chemicals
Never combine vinegar and bleach, or alcohol and ammonia. Toxic fumes result. Stick to one safe cleaner at a time.
Maintain Shine Between Cleanings
Prevent buildup with smart habits.
Apply Protective Coating
After cleaning, apply a thin layer of baby oil or furniture wax (for metal) using a microfiber cloth.
- Buff lightly
- Reapply monthly
- Reduces fingerprint visibility
Avoid wax on plastic or painted handles—can cause stickiness.
Rotate Cleaning Schedule
- Daily: Quick wipe with dry or slightly damp cloth
- Weekly: Soapy water clean
- Monthly: Deep clean and polish (metal only)
Set phone reminders or pair with trash day for consistency.
When to Replace vs. Clean
Sometimes cleaning isn’t enough.
Replace If You See:
- Peeling paint or finish
- Deep pitting or corrosion
- Loose mounting even after tightening
- Persistent stickiness after cleaning
New cabinet handles cost $5–$20 each and update your kitchen’s look instantly.
Upgrade for Easier Cleaning
Choose brushed finishes or matte black hardware—they hide smudges better than polished surfaces. Smooth, simple shapes also collect less grime than ornate designs.
Final Note: Cleaning cabinet handles is a fast, impactful task that boosts your kitchen’s cleanliness and appearance. By identifying the material, using the right tools, and avoiding common errors, you’ll keep hardware looking new for years. Incorporate these steps into your regular routine and enjoy a spotless, professional-looking kitchen every day.


