

Removing old kitchen cabinets is often the first big step in a renovation, and doing it right can save time, protect your walls, and preserve reusable materials. Whether you’re upgrading your kitchen or salvaging cabinets for reuse, knowing how to disassemble cabinets properly is essential. This guide walks you through every phase, from prep to cleanup, with practical steps to avoid common mistakes. You’ll learn how to remove doors, disconnect utilities, take apart wall and base units, and dispose of materials responsibly, all while keeping yourself and your home safe.
With the right tools and a methodical approach, even heavy or tightly secured cabinets can come down cleanly. Let’s break it down step by step.
Prepare Tools and Safety Gear
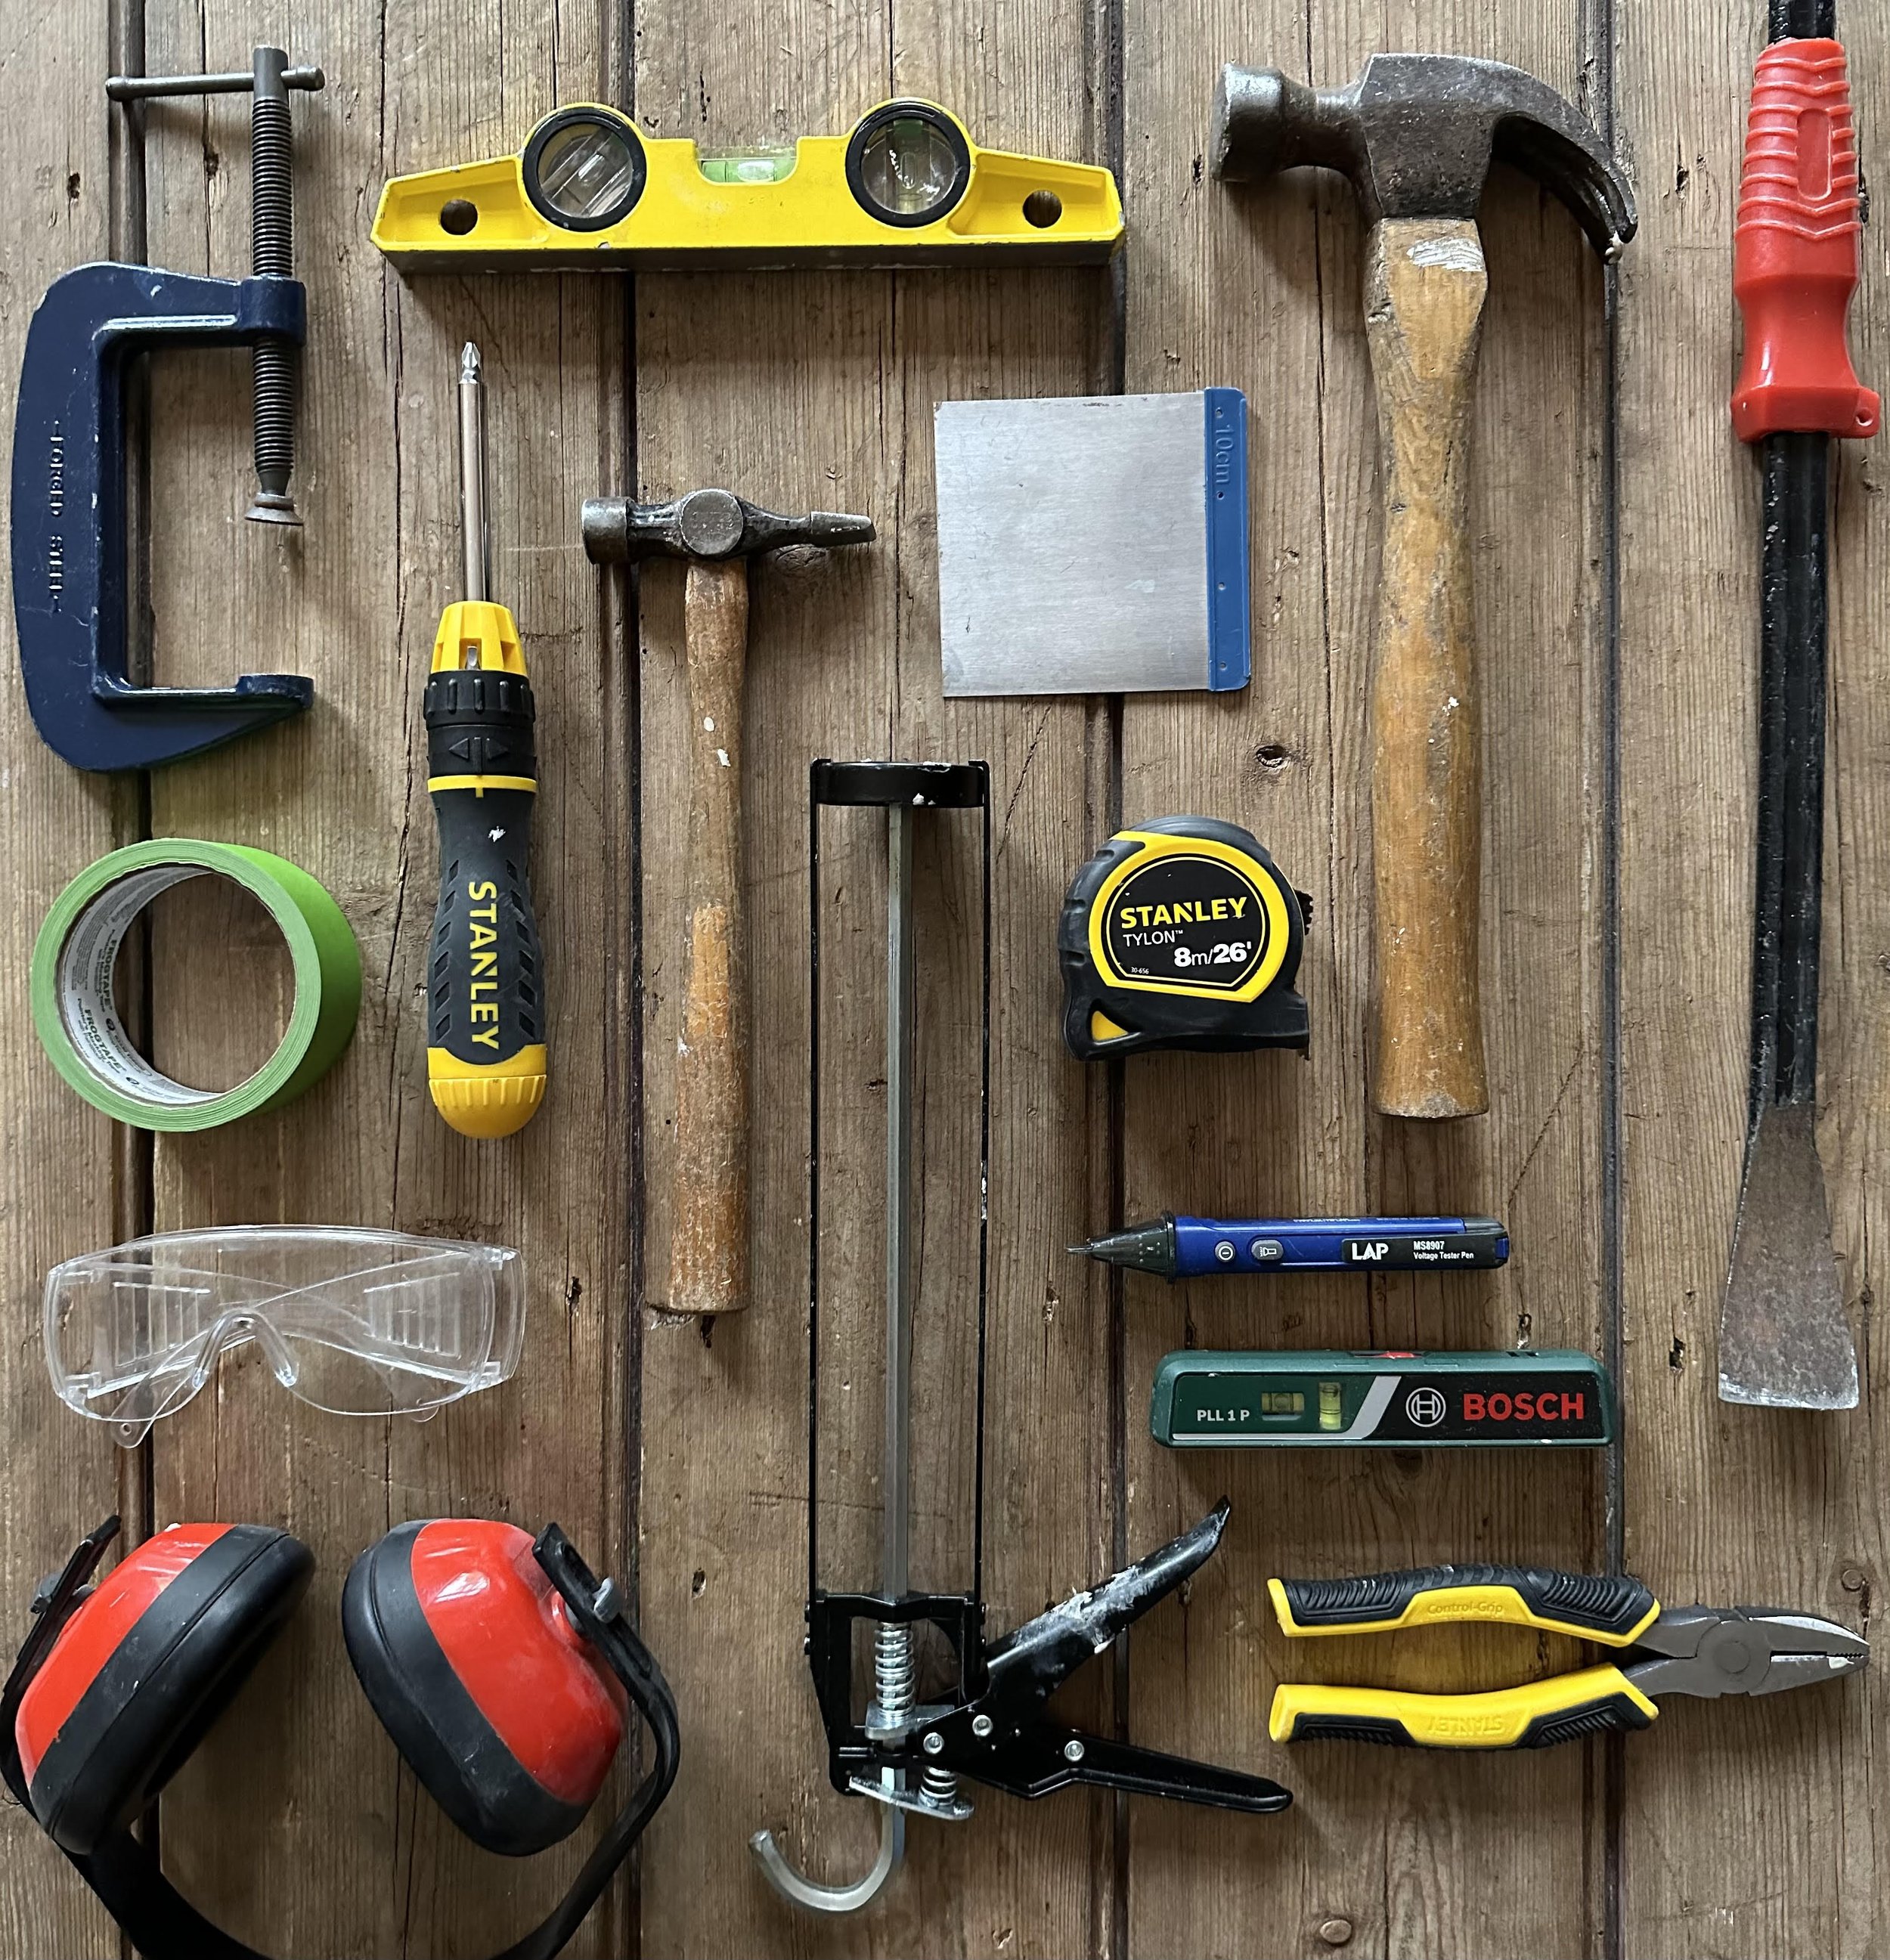
Before touching a screwdriver, gather everything you’ll need to safely disassemble cabinets.
Essential Tools for Cabinet Removal
- Screwdriver (Phillips and flathead): For removing hinges, knobs, and mounting screws
- Drill with screwdriver bit: Speeds up screw removal, especially in tight spaces
- Adjustable wrench: Disconnects water lines under sinks
- Pry bar: Gently separates cabinets from walls or each other
- Hammer: Helps loosen stuck joints or nails
- Utility knife: Cuts through caulk, paint, or adhesive between cabinet units
- Reciprocating saw (optional): Useful if nails or fasteners are inaccessible
Safety Equipment You Must Wear
- Safety goggles: Protects eyes from dust and flying debris
- Work gloves: Prevents cuts from sharp edges or metal fasteners
- Dust mask: Reduces inhalation of dust, especially in older homes
- Drop cloths or plastic sheeting: Shields floors from scratches and debris
Having these on hand before starting ensures a smooth, uninterrupted process.
Shut Off Water and Power
Cabinets often conceal plumbing and electrical systems. Ignore this step, and you risk leaks or shocks.
Turn Off Water Supply Lines
If removing base cabinets under the sink, follow these steps:
- Locate shut-off valves beneath the sink and turn them clockwise to close.
- Open the faucet to drain residual water.
- Place a bucket under connections to catch drips when disconnecting lines.
Cut Electricity to the Kitchen
- Switch off the kitchen circuit at the main breaker panel.
- Use a voltage tester to confirm outlets behind or near cabinets are dead.
- If wiring runs through cabinet walls, such as for under-cabinet lighting, label wires before disconnecting.
Never assume power is off. Always test.
Remove Doors and Hardware First
Taking off doors reduces weight and makes disassembly safer and easier.
Step-by-Step Door Removal
- Open the cabinet door fully.
- Use a Phillips screwdriver to unscrew hinge arms from the cabinet frame.
- Support the door as the last screw loosens to prevent dropping.
- Stack doors between moving blankets to avoid scratches.
Take Off Knobs, Pulls, and Hinges
- Unscrew all drawer pulls and door knobs.
- Remove hinges if reusing or replacing cabinetry.
- Store screws and small parts in labeled bags, such as “Left Cabinet Hinges.”
Pro tip: Take photos before removing hardware to simplify reinstallation later.
Disconnect Plumbing and Electrical Fixtures
Base cabinets often house sinks and dishwashers. Disconnect these carefully.
Handle Sink Plumbing Safely
- After shutting off water, disconnect supply lines using an adjustable wrench.
- Loosen slip nuts on the P-trap and remove it slowly. Expect some water spillage.
- Plug drain openings temporarily to prevent sewer gases.
Manage Electrical Behind Cabinets
- Only disconnect outlets or switches if you’re experienced with electrical work.
- Otherwise, turn off power and leave wiring for an electrician to handle later.
- Cap exposed wires with wire nuts and secure them in the box.
If unsure, hire a licensed professional. Safety comes first.
Loosen Wall-Mounted Cabinets

Upper cabinets are typically secured to wall studs. Remove them before tackling base units.
Locate and Remove Mounting Screws
- Shine a flashlight along the top edge of upper cabinets to find screws.
- Most are hidden under the cabinet’s top rail or inside the unit near the back.
- Use a drill with a screwdriver bit to remove screws anchoring cabinets to studs.
Gently Pry Cabinets from the Wall
- Insert a pry bar between the cabinet and wall, padded with a cloth to reduce drywall damage.
- Apply steady pressure to loosen the unit.
- Work from one side to the other until the cabinet separates.
Have a helper support the cabinet. Most are heavy and awkward.
Separate Joined Cabinet Units
Many kitchens use multiple cabinets connected side-by-side or stacked.
Cut Through Caulk and Adhesive
- Run a utility knife along seams where cabinets meet.
- This breaks the seal from paint, caulk, or glue that can cause tearing.
Disconnect Fasteners Between Units
- Look for face frames, nailing strips, or connecting screws along the sides.
- Use a screwdriver or drill to remove inter-unit screws.
- For nailed joints, gently tap a pry bar between units to separate them.
Work slowly. Forcing them apart can split wood or damage drywall.
Remove Base Cabinets and Toe Kicks
With upper cabinets down, now tackle the lower units.
Pry Off the Toe Kick First
- The toe kick, which is the bottom trim, is usually nailed or screwed to the floor and cabinet base.
- Use a pry bar to remove it carefully, starting at one end.
- Set aside if reusing. Otherwise discard.
Removing it gives better access to cabinet fasteners and helps lift the unit.
Lift and Extract Base Cabinets
- Check for screws securing the cabinet to the wall or floor.
- If against a back wall, remove any remaining top-mounting screws.
- Tilt the cabinet forward and lift it away from the wall.
- Slide it out from its position, watching for plumbing or wiring snags.
For long runs of cabinets, break them into smaller sections first.
Salvage and Dispose of Materials Responsibly
Old cabinets don’t have to go straight to the landfill.
Reuse or Donate Usable Cabinets
- If in good condition, donate to Habitat for Humanity ReStore or similar programs.
- Salvage doors, drawers, or hardware for future projects.
- Sand and repaint for use in garages, sheds, or DIY furniture.
Recycle or Trash Damaged Units
- Separate materials: wood, metal hinges, glass inserts.
- Check with local recycling centers for particleboard, MDF, or solid wood acceptance.
- Rent a dumpster for large-scale removals, or schedule bulk pickup with your waste provider.
Avoid burning old cabinetry. Many contain formaldehyde or treated materials.
Clean and Inspect the Space
Once cabinets are gone, assess what’s left behind.
Remove Leftover Fasteners
- Pull out any nails, screws, or anchors still in the wall or floor.
- Use pliers or a nail punch for stubborn ones.
Repair Drywall and Patch Holes
- Fill stud holes and anchor marks with spackle or joint compound.
- Sand smooth and prime before painting.
- Replace damaged drywall sections if needed.
Check for Hidden Issues
- Look for water stains, mold, or pest damage behind cabinets.
- Inspect plumbing and electrical for needed upgrades.
- Measure the space accurately for new cabinet installation.
This is the perfect time to update outlets, reroute pipes, or add insulation.
Frequently Asked Questions About Disassembling Cabinets
Do I need to remove countertops before taking out base cabinets?
Yes, in most cases. Countertops sit on top of base cabinets and must be removed first, unless they are separate and free-standing. Disconnect plumbing before lifting countertops to avoid damage.
Can I reuse my old cabinet doors and hardware?
Absolutely. If doors and hinges are in good shape, remove them carefully and store them properly. Label all parts so reinstallation is straightforward.
How do I remove cabinets that are glued to the wall?
Use a utility knife to cut through any visible adhesive or caulk along seams. Then insert a pry bar behind the cabinet and apply even pressure to break the glue bond without tearing drywall.
Should I hire a professional for cabinet removal?
If you’re uncomfortable with electrical or plumbing work, hire a professional for those specific steps. The physical removal itself can be done DIY with the right tools and a helper for heavy units.
What’s the best way to dispose of old cabinets?
Check local recycling centers for wood and metal acceptance. Donate usable cabinets to charities like Habitat for Humanity ReStore. For damaged units, schedule bulk pickup or rent a dumpster.
How long does it take to disassemble a kitchen full of cabinets?
A typical kitchen takes 4 to 8 hours for two people working carefully. Time varies based on cabinet size, how they’re fastened, and whether plumbing or electrical disconnects are needed.
Key Takeaways for Disassembling Cabinets
Knowing how to disassemble cabinets properly makes a major renovation safer, cleaner, and more efficient. Start by gathering tools and turning off water and power. Remove doors and hardware first to reduce weight, then work from upper cabinets down to base units. Cut through caulk and adhesive between joined cabinets, and always use a helper for heavy sections.
By following this guide, you minimize damage, protect your health, and maximize reuse opportunities. Always prep thoroughly, work with a partner on heavy units, and never rush electrical or plumbing steps. With patience and the right technique, you’ll clear the way for your dream kitchen confidently and completely.


