
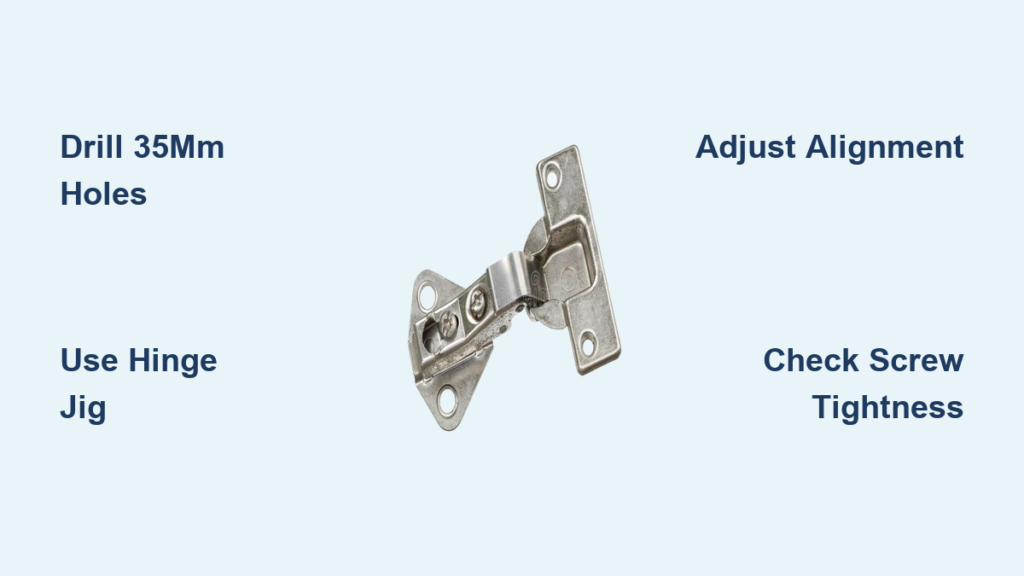
You’ve just bought new cabinets or are upgrading your kitchen, and you want a clean, modern look with seamless door movement. The key? Concealed hinges, also known as cup hinges or European hinges. These sleek hardware pieces tuck entirely out of sight when the cabinet door is closed, offering both elegance and functionality. But if you’re wondering how to install concealed hinges on cabinets, you’re not alone. Many DIYers find the process intimidating at first, especially with precise measurements and specialized tools involved.
The good news: once you understand the basics, installing concealed hinges becomes a repeatable, manageable task. Whether you’re replacing old hinges, installing new doors, or building custom cabinets, this guide walks you through every step. No prior experience required. You’ll learn how to choose the right hinge type, measure accurately, drill the critical 35mm hinge cup hole, align doors perfectly, and adjust them for a flush, gap-free finish. By the end of this guide, you’ll be able to install concealed hinges like a pro, with confidence, precision, and professional-looking results.
Choose the Right Concealed Hinge Type

Before picking up a drill, you need to select the correct hinge for your cabinet design and door style. The wrong choice leads to misalignment and frustration down the road.
Standard vs. Full-Overlay vs. Inset Hinges
Not all concealed hinges work for every cabinet setup. The type you need depends on how the door sits relative to the cabinet frame:
• Full-overlay hinges – Door covers the entire cabinet opening, overlapping the frame completely.
• Half-overlay hinges – Door partially overlaps the cabinet side, common in face-frame cabinets.
• Inset hinges – Door sits flush inside the cabinet opening, like furniture doors.
• Mini hinges – Smaller versions for narrow doors or shallow frames.
Always match the hinge type to your cabinet construction. Using the wrong one leads to misalignment and visible gaps.
Soft-Close vs. Standard Mechanisms
Modern concealed hinges often come with soft-close features that prevent slamming. These use hydraulic dampers for smooth, quiet operation. While slightly more expensive, soft-close hinges are worth it for high-use kitchens. Standard hinges are cheaper but lack this refinement.
Check hinge specifications for compatibility with your cabinet material, whether solid wood, MDF, or plywood. Also verify door thickness, typically 15 to 20mm, to ensure proper fit.
Gather Essential Tools and Supplies
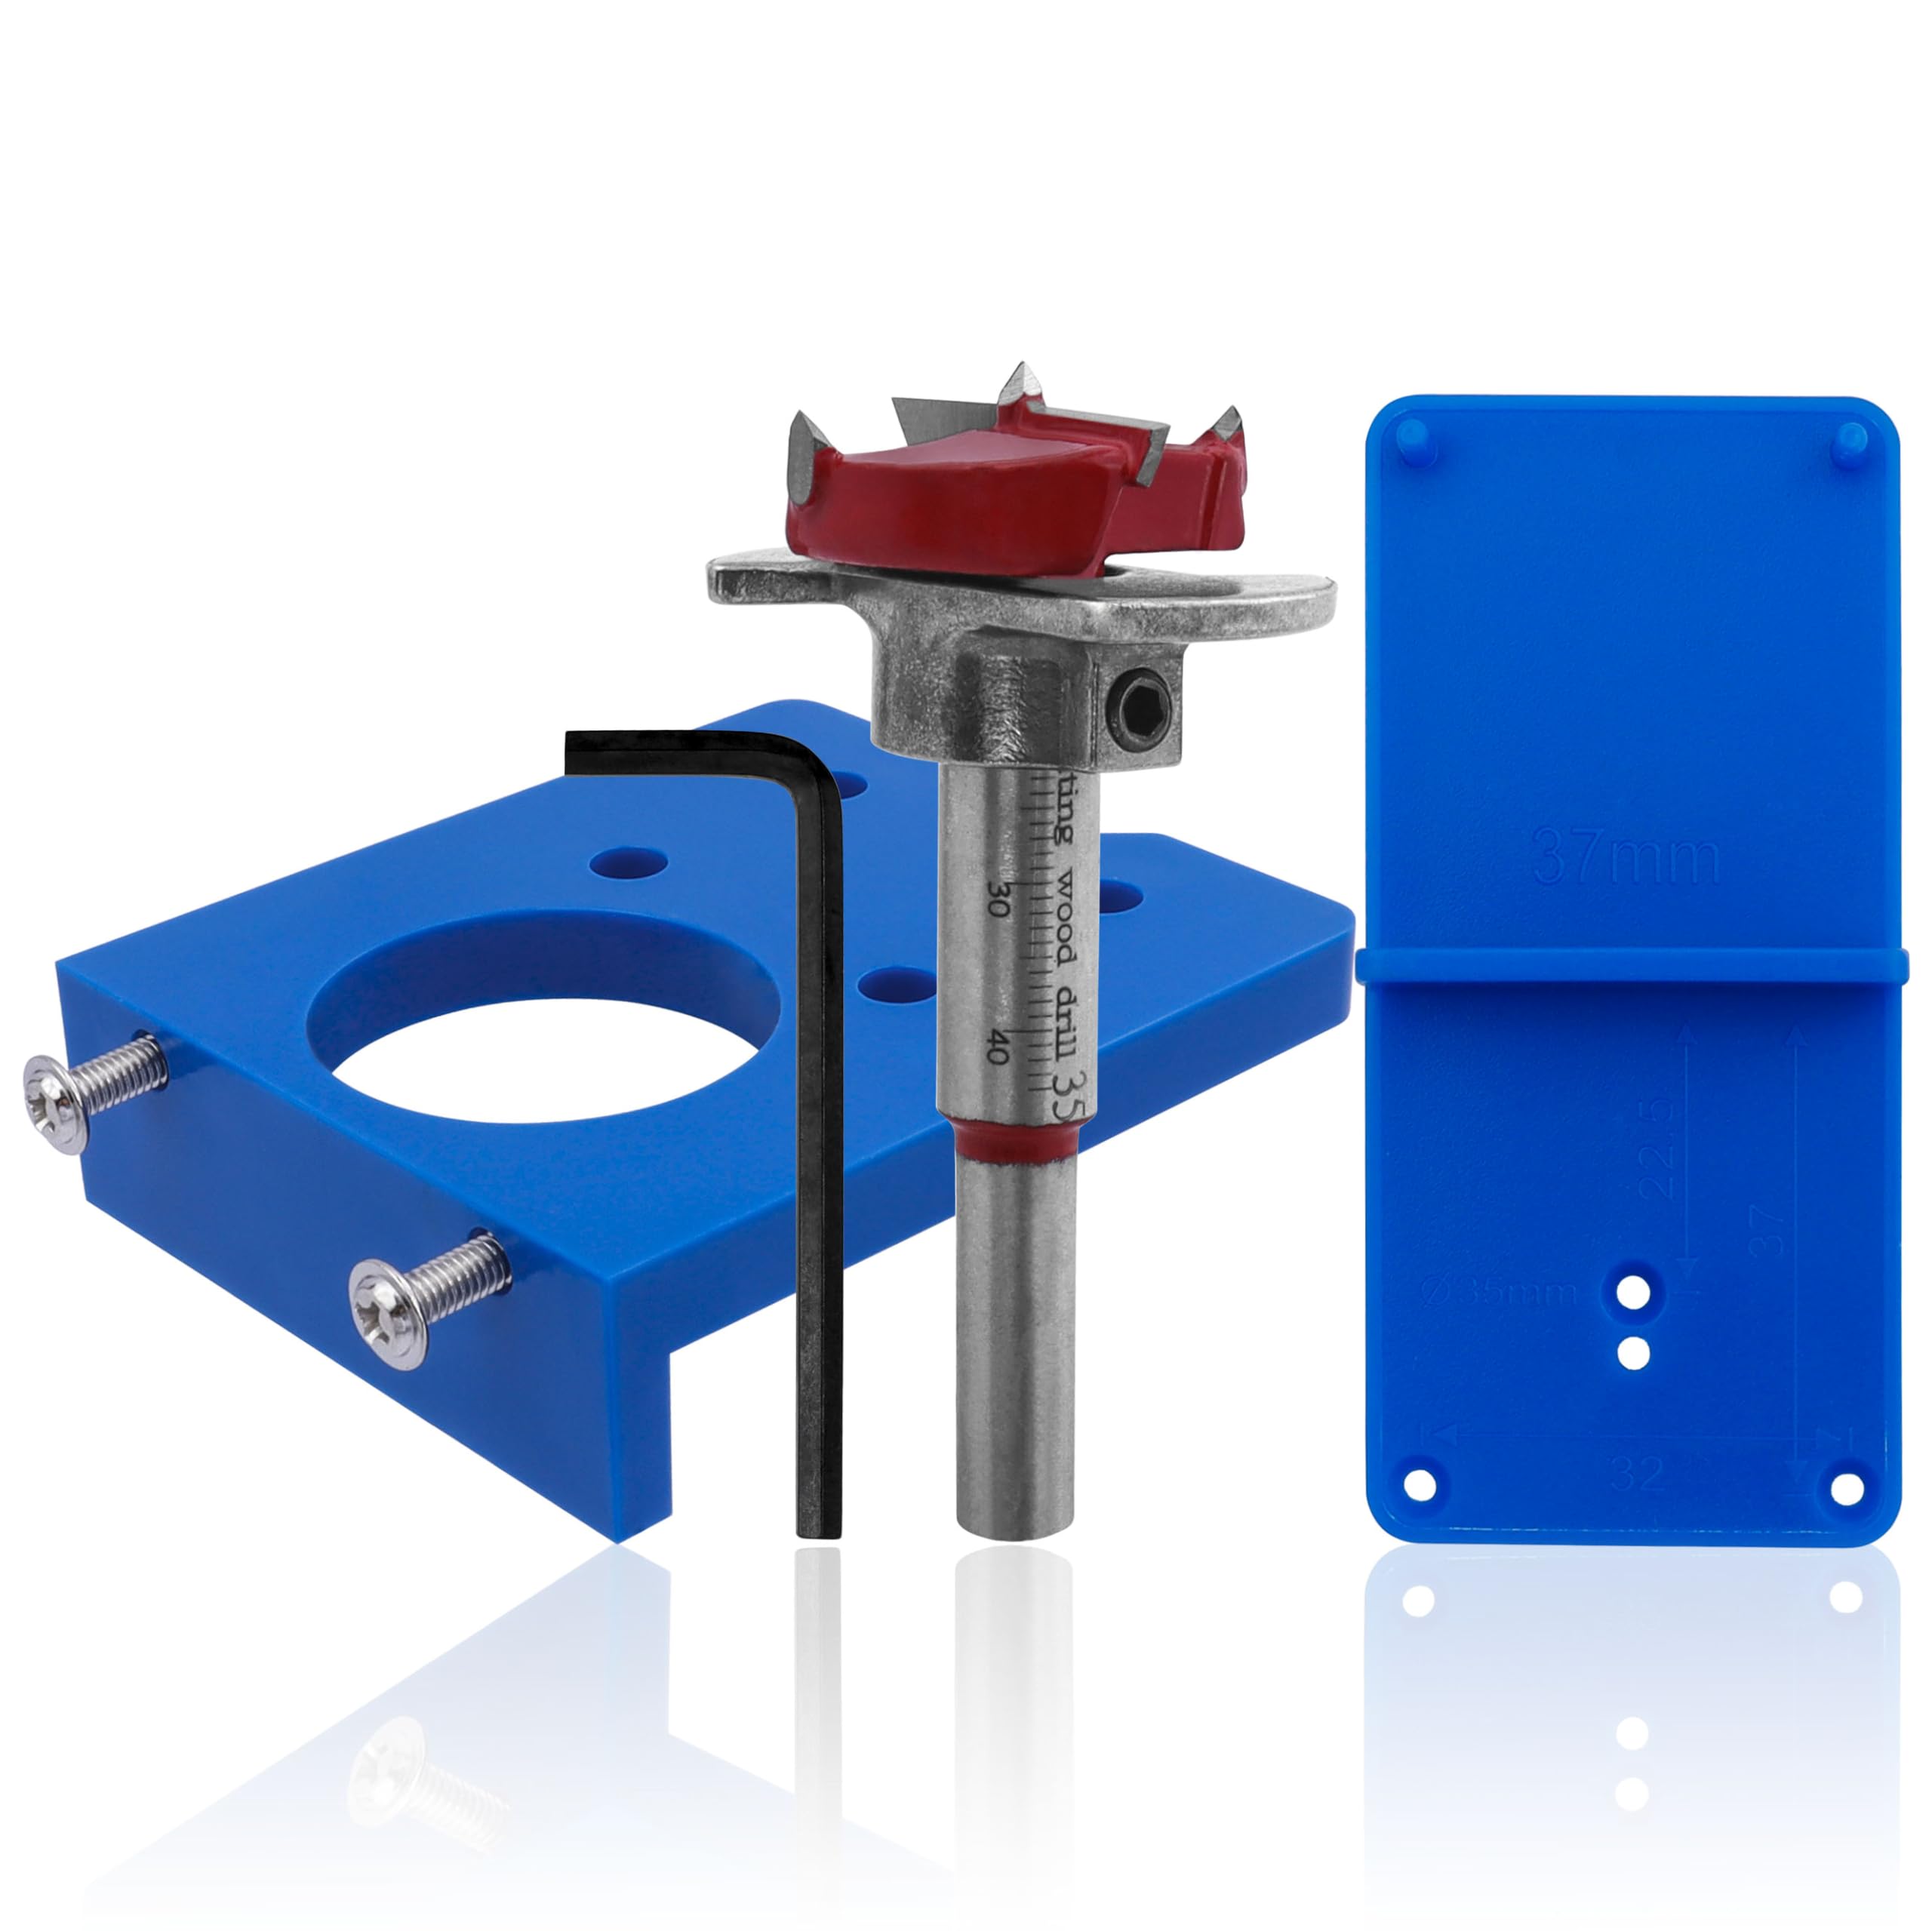
Having the right tools ensures accuracy and saves time during installation. You don’t need a professional workshop, but the correct bits and guides make a world of difference.
Required Tools for Installation
You’ll need the following items:
• 35mm Forstner bit – For drilling the hinge cup hole in the door.
• Hand drill or drill press – A drill press offers better control, but a hand drill works with a guide.
• Pilot hole jig or hinge drilling template – Ensures consistent depth and alignment.
• Screwdrivers (Phillips and flathead) – Or a magnetic bit driver for tight spaces.
• Tape measure and pencil – For marking hinge positions.
• Square or level – To keep doors aligned vertically.
• Clamps – Hold doors in place during alignment.
Optional but helpful: an edge clamp drilling jig for precise hole depth control.
Hinge Hardware and Screws
Most concealed hinges come with mounting screws, but stock screws may not suit all materials. For particleboard or MDF, consider using coarse-thread screws. For hardwood, fine-thread screws provide better grip. Keep spares on hand, as small screws are easy to lose during installation.
Mark and Position Hinge Locations
Accurate placement is critical for proper door alignment and smooth operation. Take your time with this step, as errors here compound later.
Determine Number of Hinges Needed
As a general rule:
• Use two hinges for doors under 24 inches tall.
• Use three hinges for doors 24 to 48 inches tall.
• Add a fourth hinge for doors over 60 inches.
Place the top hinge 5 to 7 inches from the door’s top edge and the bottom hinge 7 to 10 inches from the bottom. For three-hinge setups, space the middle hinge evenly between them.
Transfer Positions to Cabinet and Door
With the door removed, if replacing, lay it flat on a protected surface. Measure and mark the vertical centerline where each hinge will go.
On the cabinet carcass or face frame, mark the corresponding hinge locations using a square to ensure they’re level. Misaligned cabinet screws lead to crooked doors that never sit right.
Drill the Hinge Cup Holes in the Door
This step requires precision. Drill carefully to avoid chipping or misalignment, as these holes determine how well the hinge sits.
Use a 35mm Forstner Bit with Depth Stop
Set your 35mm Forstner bit to a depth of 11 to 12mm. Most hinge jigs have an adjustable depth stop collar. Drill slowly to prevent wood burn or tear-out. Apply light pressure and let the bit do the work.
Always drill on the inside face of the door, the side facing the cabinet when closed. The hinge cup should sit flush with the surface, not proud of it.
Align the Bit Perpendicular to the Door
Tilted holes cause the hinge to sit crooked, leading to poor door alignment. Use a drilling guide or jig to keep the bit at a perfect 90-degree angle. Clamp the jig in place for consistent results across multiple doors.
If using a hand drill, double-check alignment with a square before starting. A few extra seconds here saves significant frustration later.
Attach Hinges to the Cabinet Door
Once the holes are drilled, it’s time to secure the hinges to the door itself. This is straightforward but requires attention to screw tightness.
Insert and Screw in Each Hinge
Place the hinge cup into the hole. It should fit snugly without forcing. Align the mounting plate with the screw holes and drive in the provided screws using a screwdriver or drill with a magnetic bit.
Don’t overtighten. This can strip the holes, especially in MDF or particleboard. Tighten just until the hinge is secure and doesn’t wobble.
Check Hinge Arm Position
The hinge arm should swing freely and lie flat against the door edge when closed. If it binds or sticks out, double-check the hole depth and alignment. Some hinges allow minor rotational adjustment after installation, so don’t panic if it’s slightly off.
Mount the Door to the Cabinet Frame
Now comes the satisfying part: attaching the door and seeing it swing smoothly. This step requires patience and a second set of hands if possible.
Align Door with Cabinet Opening
Hold the door in place or use clamps to position it. The hinge mounting plate on the door should align with the mounting plate on the cabinet, also called the base plate or regulating plate.
For face-frame cabinets, the base plate attaches to the frame. For frameless, European-style cabinets, it mounts directly to the side panel.
Secure Hinges to the Cabinet
Once aligned, drive screws through the base plate into the cabinet. Start with the top hinge, then the bottom. Don’t fully tighten yet, as adjustments will follow.
If the door sags or shifts, recheck your markings and ensure the base plates are level before committing to screw placement.
Adjust Door Alignment for Perfect Fit
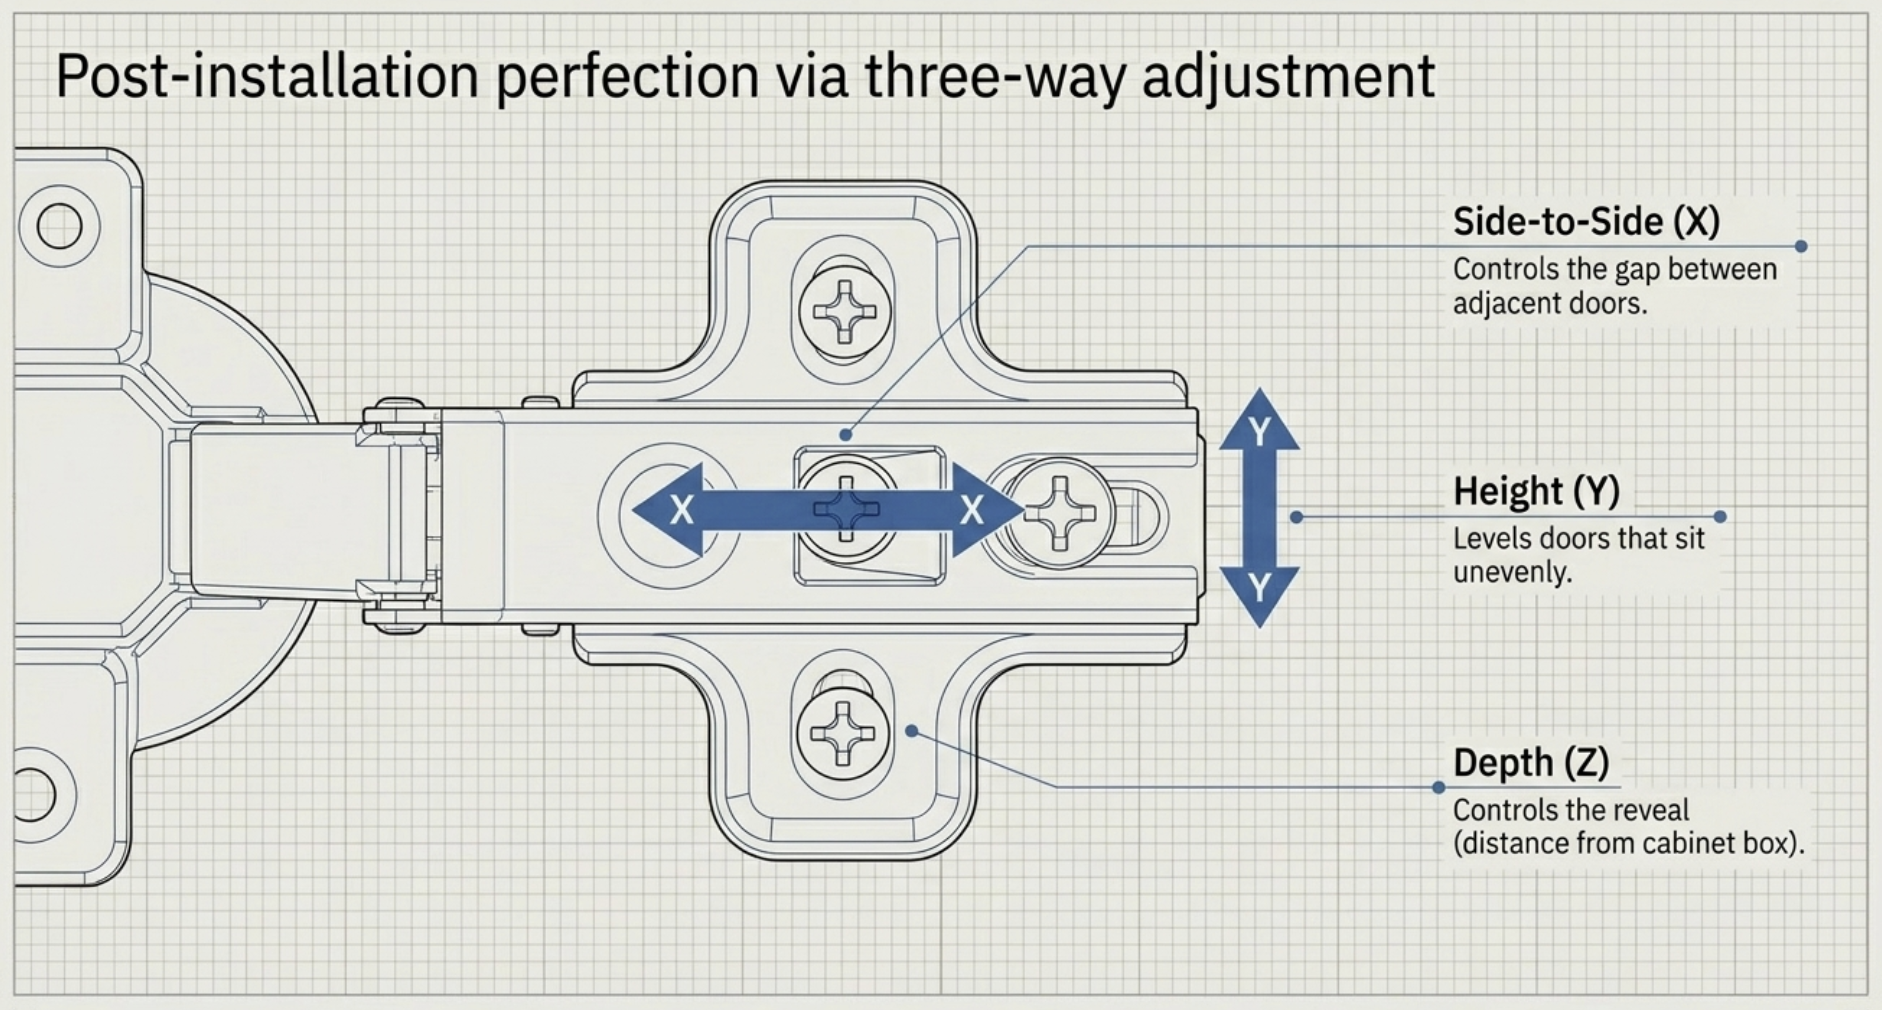
Even perfect drilling may need fine-tuning. Concealed hinges are designed for easy adjustment, so embrace the process.
Use the Three-Way Adjustment System
Most concealed hinges offer three-axis adjustment:
- Vertical (up/down) – Adjusts door height via a hex screw on the base plate.
- Horizontal (in/out) – Moves door closer to or away from the cabinet.
- Depth (forward/backward) – Controls how far the door sits into the cabinet opening.
Use a small Allen wrench, usually 4mm, to make micro-adjustments. Turn screws slowly and check alignment after each tweak.
Fix Common Alignment Issues
• Gaps at top or bottom? Adjust vertical screws.
• Uneven side gaps? Tweak horizontal screws.
• Door not flush? Adjust depth screws until the surface is even.
Work on one axis at a time. Close the door gently during adjustments to test fit without forcing anything.
Troubleshoot Installation Problems

Even with care, issues can arise. Here’s how to fix them fast without tearing your hair out.
Door Won’t Close Properly
Check for these common culprits:
• Misaligned base plates – Re-level and reattach them.
• Binding hinge arms – Ensure no part is obstructed.
• Over-tightened screws – Loosen slightly to restore movement.
If the door rubs against the frame, sand the edge lightly or adjust the hinge depth.
Hinge Squeaks or Stiff Movement
Apply a small amount of dry lubricant or silicone spray to the hinge pivot points. Avoid oil-based lubes, as they attract dust and grime. Wipe off any excess.
If movement remains stiff, disassemble and check for bent parts or debris in the mechanism.
Screw Holes Stripped in Particleboard
Use toothpicks and wood glue or plastic anchors to reinforce the hole:
- Insert glue-coated toothpicks into the hole.
- Break them off flush with the surface.
- Let dry completely, then redrill a pilot hole.
- Reinstall the screw.
For frequent repairs, consider threaded inserts for long-term durability.
Maintain and Care for Concealed Hinges
Proper maintenance keeps doors operating smoothly for years. A few minutes of care prevents costly replacements.
Clean Hinges Regularly
Dust and grease buildup can impair hinge function. Wipe hinges with a damp cloth every few months. For sticky residue, use mild soapy water. Avoid harsh chemicals that could damage finishes.
Keep the hinge cup and arm free of obstructions.
Tighten Screws Periodically
Doors shift over time due to use and humidity changes. Check hinge screws every 6 to 12 months and tighten as needed. This prevents sagging and misalignment.
Replace Worn Hinges Promptly
If a hinge loses adjustment range, makes noise, or no longer holds position, replace it. Most concealed hinges are affordable and easy to swap out. Just transfer the settings to the new hinge.
Frequently Asked Questions About Installing Concealed Hinges
What is the standard depth for a 35mm hinge cup hole?
The standard depth for a 35mm hinge cup hole is 11 to 12mm. This depth accommodates most concealed hinges while avoiding drilling through the door face. Always use a depth stop on your Forstner bit for consistency.
How many concealed hinges should I use per cabinet door?
Use two hinges for doors under 24 inches tall, three for doors 24 to 48 inches, and four for doors over 60 inches. The top hinge should sit 5 to 7 inches from the top edge, with the bottom hinge 7 to 10 inches from the bottom.
Can I install concealed hinges without a drilling jig?
Yes, but it’s risky. A jig ensures perpendicular drilling and consistent depth. Without one, you’re more likely to get tilted holes or inconsistent cup depths. If you’re drilling multiple doors, a jig is highly recommended.
What’s the difference between full-overlay and inset hinges?
Full-overlay hinges allow the door to completely cover the cabinet frame, creating a seamless look. Inset hinges sit flush within the cabinet opening, like furniture doors. Your cabinet design determines which type you need.
Why won’t my cabinet door close properly after installing new hinges?
Common causes include misaligned base plates, binding hinge arms, or over-tightened screws. Check each hinge and re-level the base plates. Loosen screws slightly if movement feels restricted.
How do I fix stripped screw holes in particleboard cabinets?
Insert glue-coated toothpicks into the hole, break them off flush, let dry, then redrill a pilot hole. For a more permanent fix, use threaded inserts designed for particleboard.
Key Takeaways for Installing Concealed Hinges
Installing concealed hinges on cabinets doesn’t have to be daunting. With the right tools, careful measurement, and attention to detail, you can achieve a professional finish that enhances both the look and function of your kitchen or bathroom cabinets. From drilling precise 35mm cup holes to mastering the three-way adjustment system, each step builds toward perfectly aligned, smooth-swinging doors.
Remember: measure twice, drill once, and take time with alignment. The small adjustments make the biggest difference in the final result. Whether you’re a weekend warrior or a seasoned DIYer, mastering concealed hinge installation empowers you to tackle cabinet upgrades with confidence.
Now that you know how to install concealed hinges on cabinets, you’re ready to transform your space, one door at a time. Start with a single door, practice the adjustments, and soon you’ll be installing hinges with your eyes closed.


