

Adding an electrical outlet inside a cabinet can streamline your space, especially in bathrooms or kitchens where appliances like hair dryers, electric toothbrushes, or small kitchen gadgets are used daily. If you’re remodeling and the walls are open, now is the ideal time to install these outlets. But how do you do it safely and code-compliantly?
Whether you’re retrofitting or building from scratch, the key is positioning the outlet correctly and ensuring long-term accessibility and safety. This guide walks you through the best methods, tools, and electrical code considerations for installing an outlet inside a cabinet, without cutting corners or risking hazards.
Mount Outlet to Wall, Not Cabinet
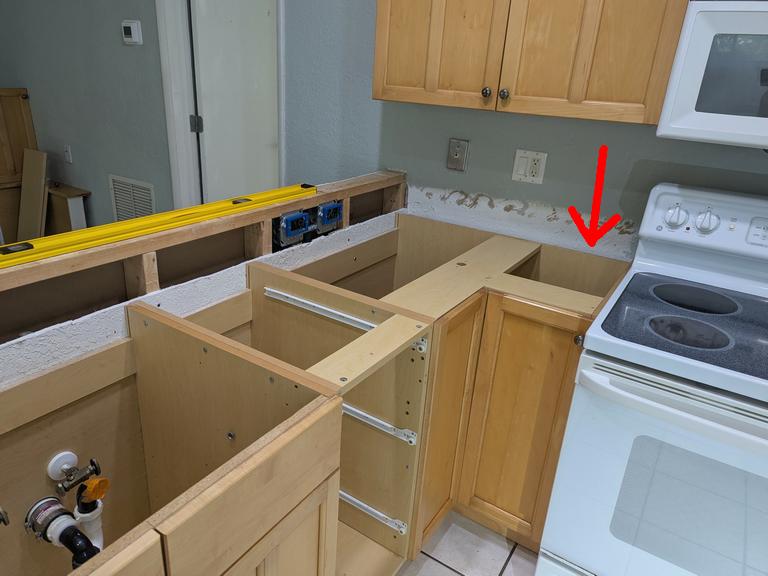
The safest and most code-friendly method is to install the electrical box directly into the wall, flush with the finished drywall surface. This approach keeps wiring protected and accessible, aligns with standard electrical practices, and simplifies future maintenance. Once the box is secured, you’ll cut a corresponding hole in the back panel of the cabinet so the outlet remains accessible from inside.
This method allows electricians to complete their work before cabinetry is installed, eliminating the need to fish wires through tight spaces after the cabinet is in place. It also ensures that the wiring remains behind the wall, where it belongs, rather than being exposed or routed through combustible wood.
Align Cabinet with Wall Box
Precision is critical when cutting the hole in the cabinet back. Misalignment can leave the outlet unreachable or create a fire hazard if wires are pinched. Before cutting:
- Measure the exact center of the electrical box from floor and side walls.
- Transfer those measurements to the cabinet’s back panel.
- Use a drywall or hole saw to cut a clean opening, typically 3″ x 2″ for a standard outlet.
Pro tip: Test-fit the cabinet before final installation. A small misalignment can often be corrected with a slightly enlarged hole, but never compromise wire clearance.
Use UL-Listed Box Extenders
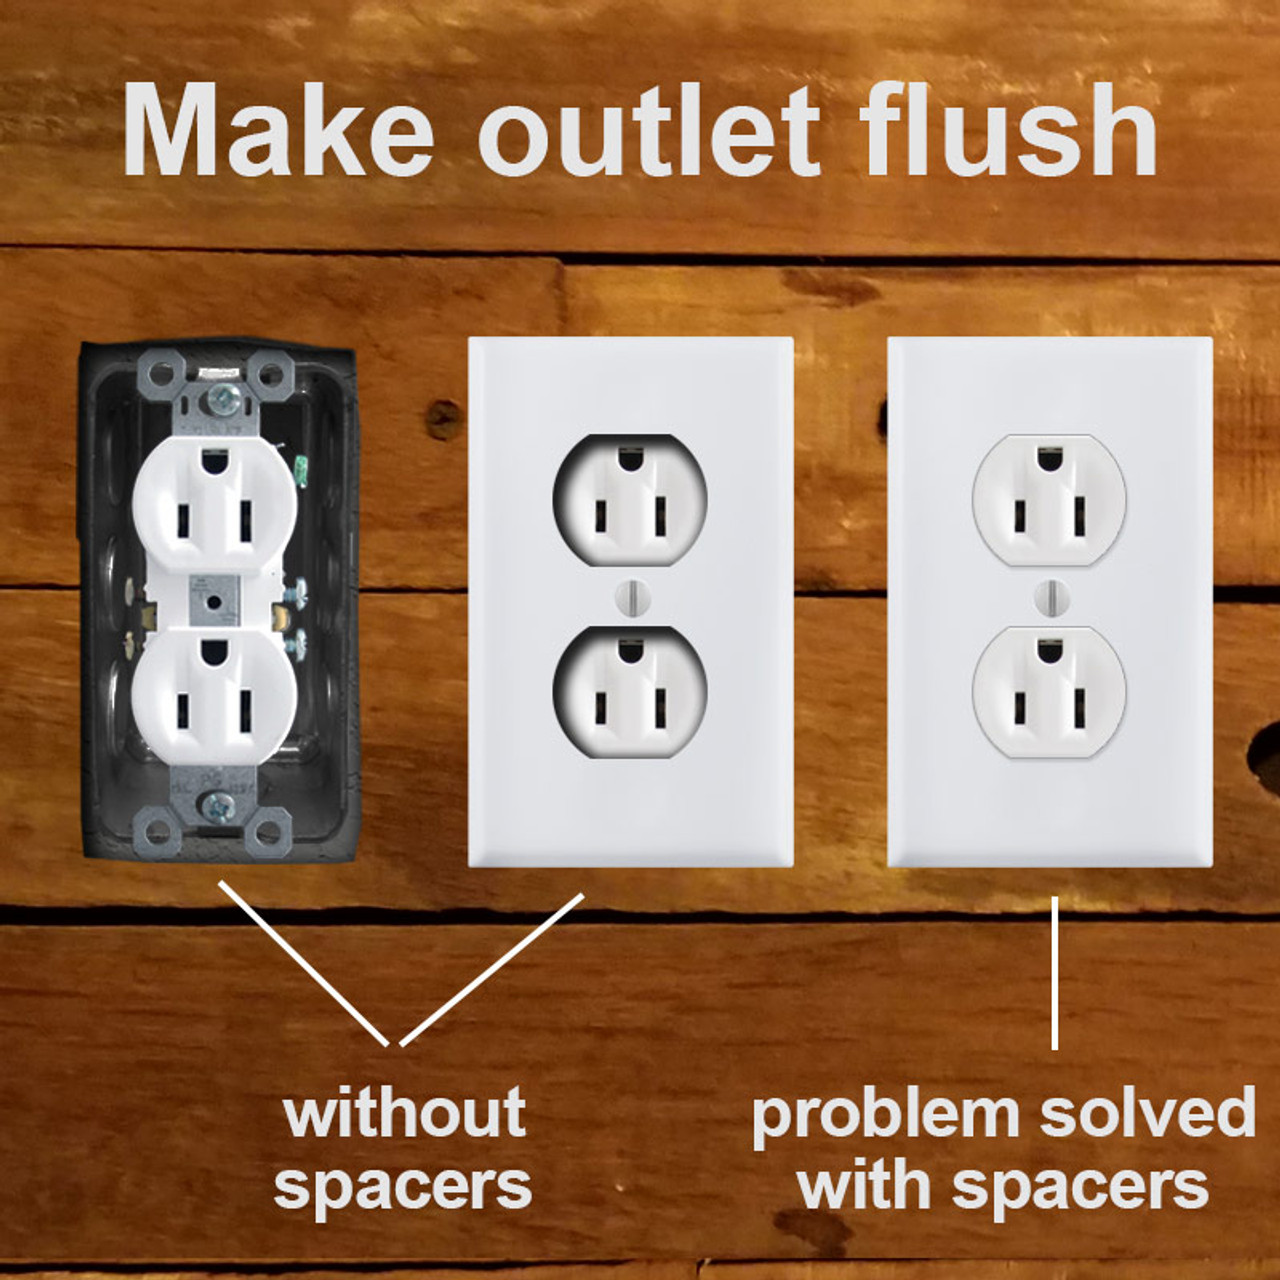
If the cabinet back sits proud of the drywall, which is common, the outlet face will be recessed once installed. To fix this, use a UL-listed plastic or metal box extender. These slip securely into the existing electrical box and extend the depth so the outlet sits flush with the cabinet interior.
Most extenders come with longer mounting screws, typically 1.5″ to 2″, needed to secure the outlet through the extender. Never force a receptacle into place without proper support, as this can damage terminals or loosen connections over time.
Alternative: Remodel Box Inside Cabinet
Some consider mounting a remodel or old-work box directly to the cabinet’s back panel. While this is mechanically possible, it violates best practices and may not meet local code enforcement standards in some areas.
Why Wall Mounting Is Preferred
- Wiring Protection: Running NM cable through cabinet wood requires protection from screws, nails, and shifting. Wall-mounted boxes keep wires safely within stud cavities.
- Accessibility: The National Electrical Code requires that all splices and devices remain accessible. A box buried behind cabinetry could be deemed inaccessible if the cabinet must be removed to reach it.
- Future Repairs: If the cabinet is ever replaced, a wall-mounted outlet stays in place. An in-cabinet box risks damage during removal or misalignment with new cabinetry.
While both methods are technically code-acceptable, wall mounting is universally preferred by professionals for safety and serviceability.
Electrical Code and Safety Requirements
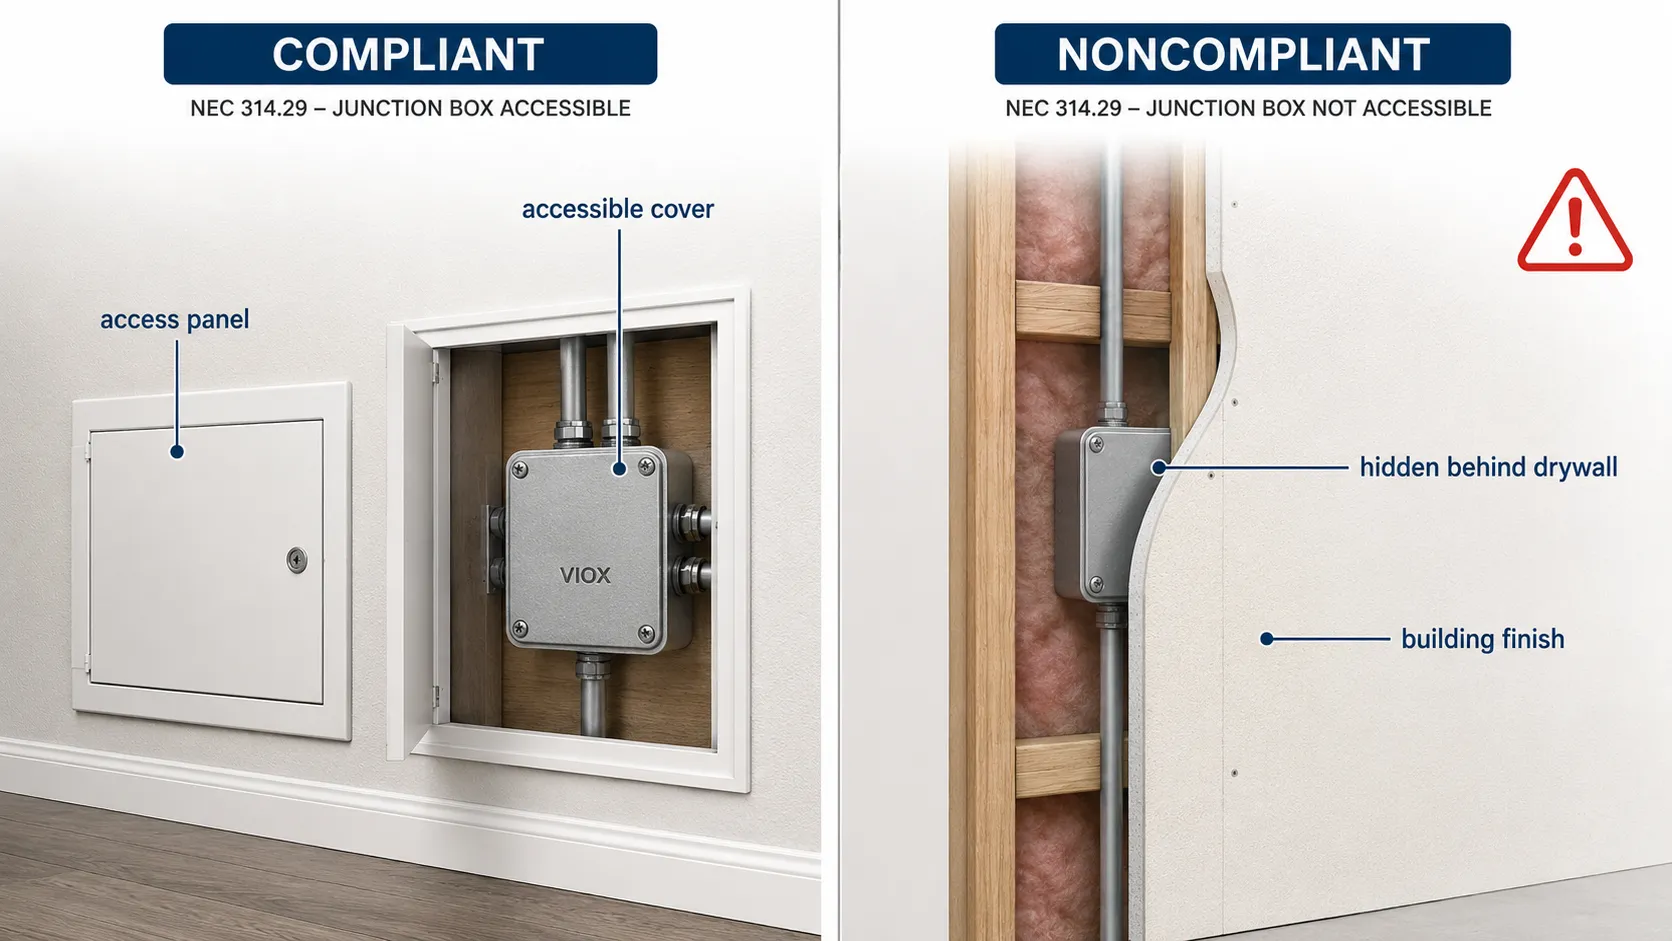
Even if your local inspector allows an in-cabinet box, you must follow NEC rules to pass inspection and ensure safety.
Follow NEC Accessibility Rules
NEC 314.29 requires that all electrical boxes be accessible without removing permanent building finishes. A cabinet is considered permanent if it’s secured with screws or fasteners. Therefore, the outlet must remain reachable when the cabinet is installed, meaning the door or panel must allow access without demolition.
A hinged or removable panel in the cabinet back can satisfy this if designed properly, but it adds complexity. Wall mounting avoids this issue entirely.
Avoid Overheating Risks
Outlets inside enclosed spaces can overheat if overloaded or poorly ventilated. Never install high-draw appliances like space heaters or microwaves on cabinet outlets. For hair dryers:
- Use a dedicated 15-amp or 20-amp circuit.
- Ensure the device has built-in thermal protection, as many modern dryers do.
- Do not daisy-chain multiple appliances on one outlet.
Tip: Install a tamper-resistant outlet, especially in bathrooms, to meet current code and enhance safety.
Canada: Appliance Garages Require Door Interlocks
In Canada, installing outlets in enclosed spaces like appliance garages, which are common in kitchens, requires an automatic power cutoff when the door closes. This is mandated under the Canadian Electrical Code to prevent fire hazards from hot appliances left on.
While not common in the U.S., this rule highlights a real concern: leaving heat-producing devices plugged in inside confined spaces. Even if not code-required in your area, consider:
- Using smart outlets that auto-shutoff after a timer.
- Labeling the outlet “Unplug After Use.”
- Installing a switch outside the cabinet to cut power when not in use.
Tools and Materials Needed
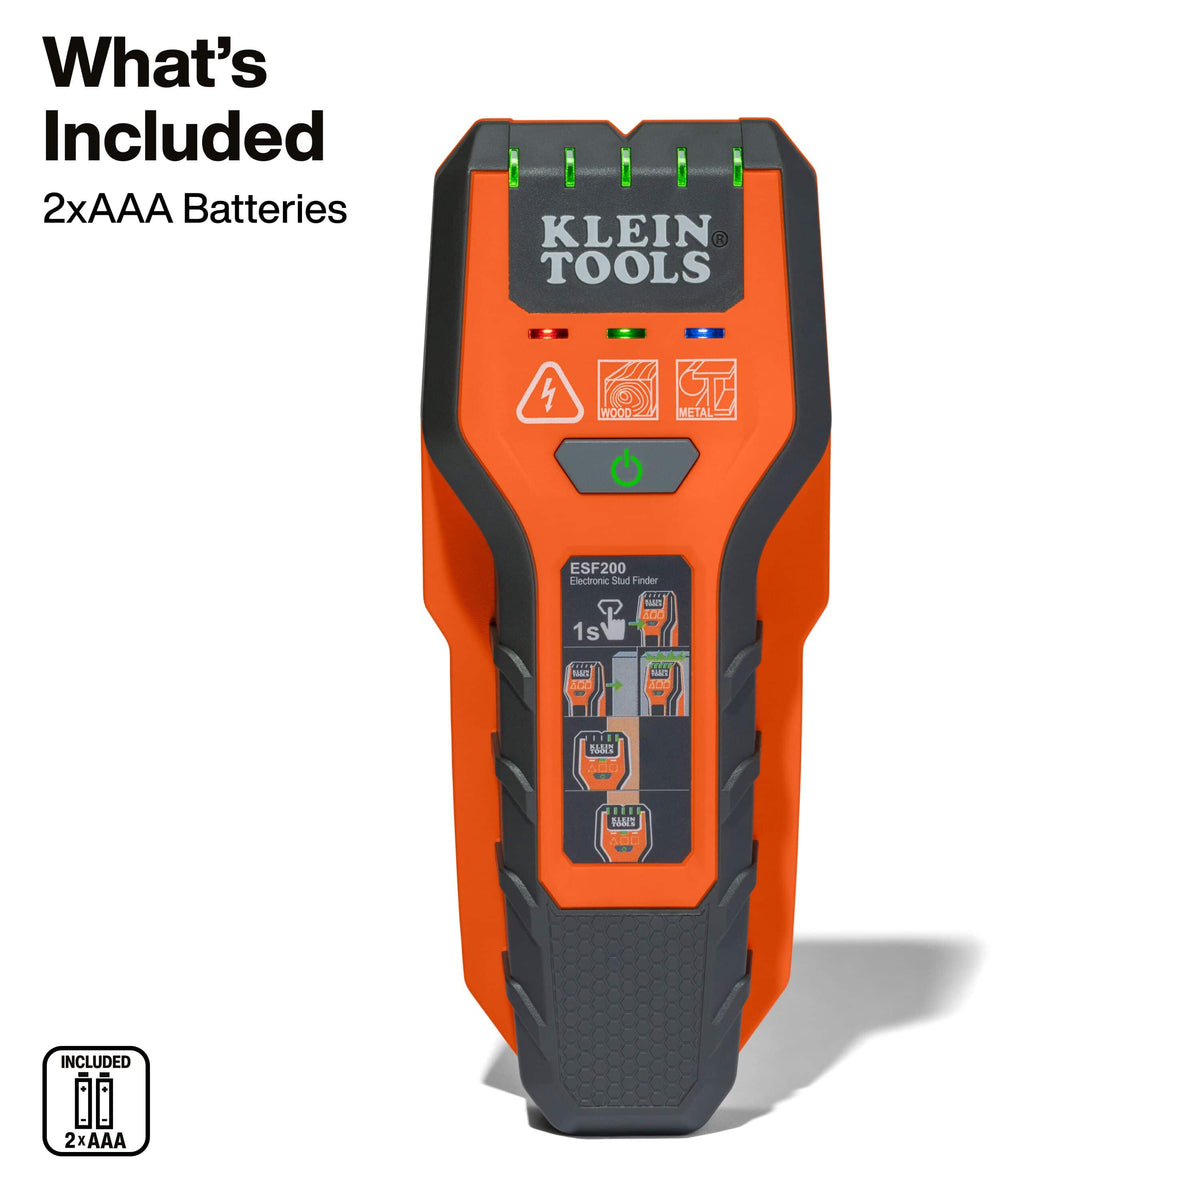
Before starting, gather the right tools for a clean, professional installation.
Essential Tools
- Voltage tester to confirm power is off
- Stud finder
- Drywall saw or hole saw
- Tape measure
- Fish tape if running new wire
- Screwdrivers and pliers
- Cable clamp or bushing for safe wire entry
Required Materials
- Single-gang plastic or metal electrical box, either new-work or old-work depending on access
- 12/2 or 14/2 NM cable, with 12-gauge for 20A and 14-gauge for 15A
- UL-listed box extender if needed
- Tamper-resistant receptacle, as required by NEC in bathrooms
- Cable staples to secure wire every 4.5 ft and within 12″ of the box
- Longer mounting screws, typically 1.5″ to 2″
Step-by-Step Installation Guide
Follow these steps when walls are open for easiest access.
Run Cable to Outlet Location
- Turn off power at the breaker and verify it’s dead.
- Run 12/2 or 14/2 NM cable from the power source, such as a junction box, switch, or panel, to the stud bay where the outlet will go.
- Drill 1/2″ holes in studs at least 1.25″ from the front edge to protect the cable.
- Use fish tape to guide the cable down and into position.
Install Electrical Box
- Cut an opening in the drywall at the desired height, typically 12 to 18 inches above the cabinet base.
- Secure a new-work electrical box between studs, flush with the drywall surface.
- Feed the cable into the box through the clamp, leaving 6 to 8 inches of slack inside.
- Clamp the cable securely and tighten the clamp screw.
Connect the Receptacle
- Strip 6 inches of sheathing from the cable and 3/4 inch from each wire.
- Connect the black or hot wire to the brass screw, the white or neutral wire to the silver screw, and the bare copper or ground wire to the green screw.
- Fold wires neatly into the box and secure the outlet with standard screws.
Cut Cabinet Back Panel
- With the cabinet in place or measured precisely, mark the location of the outlet.
- Use a hole saw or jigsaw to cut a 3″ x 2″ opening in the cabinet back.
- Sand edges smooth to prevent wire damage.
Attach Box Extender and Finish
- Slide the UL-listed extender into the electrical box.
- Secure it with included screws or clips.
- Reinstall the outlet using longer screws through the extender.
- Test the outlet with a plug-in tester to confirm correct wiring.
Common Mistakes to Avoid
Even experienced DIYers make errors that compromise safety or functionality.
Misaligned Cabinet Holes
Cutting the hole too high, low, or off-center makes the outlet unreachable. Always double-check measurements from multiple reference points, including the floor, side walls, and cabinet base.
Using Inadequate Extenders
Non-UL-listed or makeshift spacers like stacked washers are unsafe. Only use UL-rated box extenders designed for electrical use.
Overloading the Circuit
A single bathroom outlet shouldn’t power a hair dryer, curling iron, and electric shaver simultaneously. Calculate total load:
- Hair dryer: 1500W equals 12.5A on 120V
- Circuit max: 15A with 80% continuous load equaling 12A
Running near or above capacity trips breakers or causes overheating. Consider a dedicated circuit.
Maintenance and Usage Tips
Once installed, keep the outlet safe and functional.
Label the Outlet
Use a small label like “For Hair Dryer Only” to prevent misuse with high-wattage appliances.
Inspect Periodically
Check every 6 to 12 months for:
- Loose faceplate
- Discoloration, which signals overheating
- Warm outlet when in use
Unplug devices when not in use, even if convenient to leave them plugged in.
Upgrade with Smart Features
Consider installing a:
- GFCI outlet, as required in bathrooms by NEC
- Smart outlet with app control or voice activation
- Timer switch to auto-cut power after 30 minutes
Frequently Asked Questions About Installing Outlets in Cabinets
Can I mount an electrical box directly to the cabinet wall?
Technically, both methods are code-acceptable. However, mounting the box in the wall is strongly preferred because it keeps wiring protected within stud cavities and ensures the outlet remains accessible if the cabinet is ever replaced.
Do I need a box extender when installing an outlet in a cabinet?
Yes, in most cases. If the cabinet back sits proud of the drywall, the outlet will be recessed. A UL-listed box extender slides into the existing box and brings the outlet flush with the cabinet interior.
Is it safe to leave a hair dryer plugged in inside a cabinet?
Many modern hair dryers include built-in circuit breakers and thermal protection. Still, it’s wise to unplug devices when not in use, especially in enclosed spaces. Canadian code requires automatic power cutoff for appliance garages when doors close.
What size wire do I need for a cabinet outlet?
Use 14/2 NM cable for 15-amp circuits or 12/2 NM cable for 20-amp circuits. Always match the wire gauge to the breaker rating and the receptacle’s amperage.
Are tamper-resistant outlets required in bathrooms?
Yes, current NEC requirements mandate tamper-resistant receptacles in bathrooms. These outlets have built-in shutters that prevent foreign objects from being inserted.
How do I align the cabinet hole with the wall outlet?
Measure the exact center of the electrical box from the floor and side walls before the cabinet is installed. Transfer those measurements to the cabinet back panel and cut carefully. Test-fit the cabinet before final installation to verify alignment.
Key Takeaways for Installing a Cabinet Outlet
Installing an electrical outlet in a cabinet is feasible and practical when done correctly, but the method matters. Mounting the box in the wall and cutting a precise hole in the cabinet back is the safest, most code-compliant approach. It keeps wiring protected, ensures accessibility, and simplifies future repairs.
Avoid mounting the box directly to the cabinet unless absolutely necessary, and never compromise on box extenders, wire protection, or circuit load limits. With careful planning and adherence to electrical codes, your cabinet outlet will provide convenient, long-lasting power for low-wattage bathroom devices without sacrificing safety.
Take the time to measure twice and cut once, use only UL-listed components, and consult a licensed electrician if you have any doubts about your wiring plan.


