

Adding shelves to a cabinet can completely change how you use your storage space. If you’ve been struggling with stacked items that topple over or wasted vertical space, learning how to install shelves in a cabinet is a practical DIY skill that pays off immediately. You don’t need to be a master carpenter to get this done right, but you do need the correct approach, proper measurements, and the right support system for your specific cabinet type.
This guide walks you through every phase of the process, from gathering tools and choosing support styles to cutting shelves, securing them properly, and troubleshooting common problems. You’ll learn about adjustable pin systems, fixed bracket installations, and heavy-duty cleat methods so you can pick the solution that matches your storage needs and skill level.
Tools and Materials You’ll Need

Having everything ready before you start makes the job faster and prevents frustrating interruptions. Most of these items are probably already in your toolbox.
Essential Tools for Shelf Installation
- Drill with assorted bits – Needed for pilot holes and pin holes
- Level – A small torpedo level works well inside cabinets
- Tape measure and pencil – For precise marking
- Stud finder – Useful when mounting into cabinet backs or walls
- Screwdriver or driver bit – For securing brackets and cleats
- Hammer – For tapping shelf pins into place
- Sandpaper (120 grit) – For smoothing cut edges
- Safety glasses – Protect your eyes during cutting and drilling
Shelf Support Options
Your choice of support depends on the cabinet style and how much weight the shelves will carry:
- Adjustable shelf pins – Perfect for cabinets with pre-drilled holes or for those who want flexibility
- L-brackets – Simple metal supports that work for light to medium loads
- Cleats – Wood strips mounted along cabinet sides for maximum strength
- Shelf standards – Vertical metal tracks with movable clips for easy repositioning
- Flipper brackets – Fold-down supports used in face-frame cabinets
Recommended Shelf Materials
Pick a material that balances durability with ease of installation:
- Plywood – Strong and stable, especially in 3/4 inch thickness
- Solid wood – Attractive and sturdy, though it may need finishing
- MDF – Smooth and uniform, ideal for painted shelves
- Melamine – Pre-finished and easy to wipe clean, common in kitchen cabinets
Measuring and Planning Shelf Placement

Accurate planning prevents crooked shelves and wasted materials. Take your time with this phase because every later step depends on correct measurements.
Determine Ideal Shelf Spacing
Think about what you plan to store before committing to shelf positions:
- Dishes and glassware – Allow 10 to 12 inches between shelves
- Canned goods and spices – 6 to 8 inches works well
- Small appliances – Plan for 14 to 18 inches
- Tall bottles or blenders – Measure the item height and add 1 inch of clearance
Grab the tallest items you intend to store and test them against your planned spacing before drilling anything.
Mark Shelf Positions Accurately
- Decide how many shelves you want and where each one should sit
- Start from the bottom and measure up from the cabinet floor
- Mark each shelf height on both interior side panels
- Use a level to draw a light horizontal line across both sides
- Double-check that both marks align before proceeding
Pro Tip: If your cabinet already has pin holes, check whether they match your planned spacing. If not, fill the old holes with wood filler and drill fresh ones.
Installing Adjustable Shelf Pins
Pin systems are the most common method in modern cabinets because they allow quick height changes whenever your storage needs shift.
Locate or Drill Pin Holes
- Check for pre-drilled holes first, typically 5mm in diameter
- If no holes exist, mark positions using your level lines
- Use a 1/4 inch or 5mm drill bit for clean results
- Drill straight into the cabinet wall to a depth of about 1/2 inch
Warning: Keep holes at least 1 inch away from the top and bottom edges of the cabinet to prevent splitting the wood.
Insert and Test Shelf Pins
- Tap plastic or metal pins into the holes with light hammer taps
- Make sure all four pins sit evenly and firmly
- Place the shelf on the pins and check for wobble
- Adjust any pin that sits proud or replace bent ones
Common Mistake: Mixing different pin types. Some pins are press-fit while others are threaded. Use the style that matches your cabinet hardware.
Mounting Fixed Bracket Supports
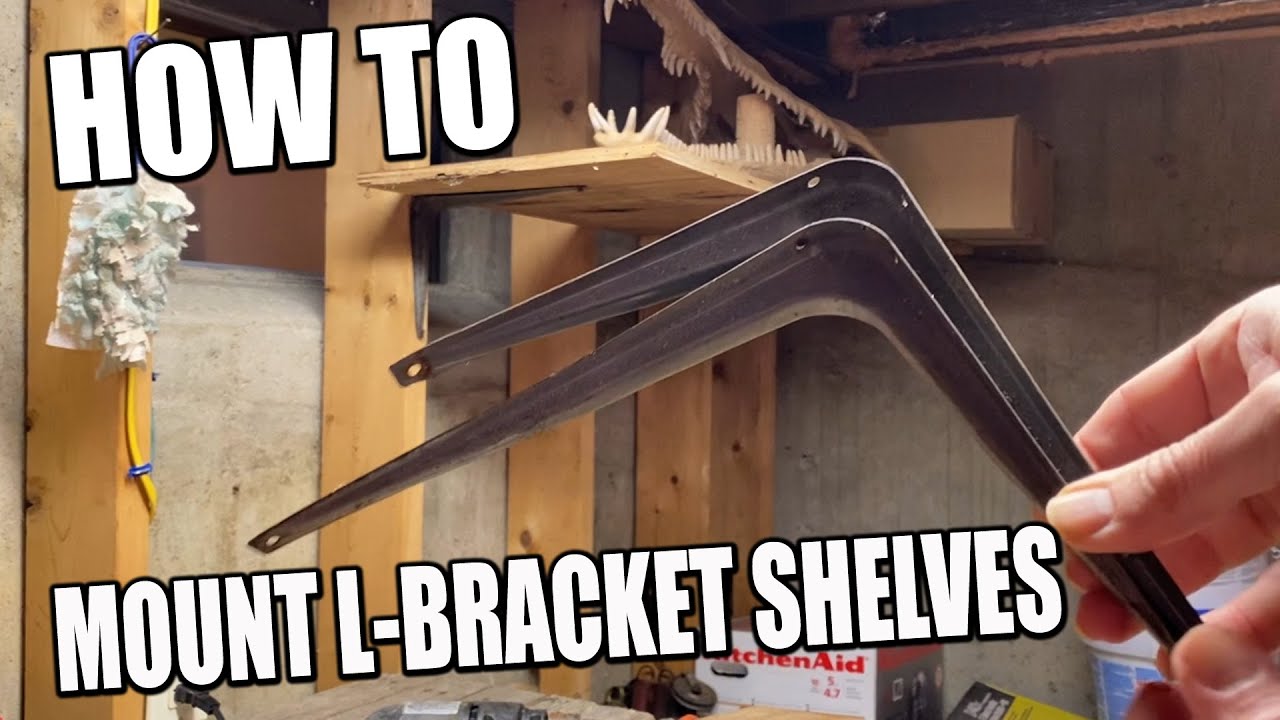
For heavier loads or cabinets without pin holes, fixed brackets offer dependable support that won’t shift over time.
Choose the Right Brackets
- L-brackets – Simple and strong, suitable for most applications
- Z-brackets – Hidden from view, designed for face-frame cabinets
- Heavy-duty shelf brackets – Rated for 50 pounds or more, ideal for pantries
Install Brackets Securely
- Position the shelf where it should sit and mark bracket locations
- Hold each bracket against the cabinet side wall
- Mark screw holes with a pencil
- Drill pilot holes to prevent wood from splitting
- Attach brackets with screws, using wall anchors if you’re not hitting a stud
Expert Note: For floating shelves, choose brackets that extend deep enough to reach wall studs for maximum support.
Using Cleats for Maximum Support
Cleats are the strongest option for wide shelves or heavy storage areas like pantries and utility cabinets.
Cut and Position Cleats
- Cut a wood strip, typically 1×2 or 1×3, to fit along each cabinet side
- Position the cleat so its top edge aligns with your shelf height line
- Verify it’s level before marking screw locations
- Pre-drill holes through the cleat to prevent splitting
Attach and Test
- Apply wood glue to the contact side of the cleat for added strength
- Screw the cleat into place with two screws per side
- Place the shelf on top and verify it sits level
- Add a center cleat for extra support on shelves wider than 36 inches
Pro Tip: Butt the cleat against the cabinet back panel. This creates a hidden support point and adds stability without visible hardware.
Cutting and Fitting the Shelf
Once your supports are in place, it’s time to prepare the shelf itself. Precision here determines how professional the final result looks.
Measure Cabinet Interior
- Measure the width between the two interior side panels
- Measure the depth from the front edge to the back panel
- Subtract 1/8 inch from each dimension to allow for easy insertion
- Account for any obstructions like hinges or pipes
Cut the Shelf Accurately
- Mark your dimensions on the chosen material
- Use a circular saw with a straightedge guide for clean cuts
- Sand all edges smooth with 120 grit sandpaper
- Test the fit before finishing
Safety Reminder: Always wear safety glasses and secure the board properly when cutting. A loose board can kick back unexpectedly.
Finish the Shelf
- Apply paint, stain, or clear sealant before installation
- Allow finishes to dry completely to avoid fumes inside the cabinet
- Prime MDF first to prevent edge swelling
Placing and Leveling the Shelf
The final placement step determines whether your shelf looks professional or amateur.
Set Shelf on Supports
- Gently lower the shelf onto pins, brackets, or cleats
- Avoid dragging it across supports to prevent scratches
- Push the shelf back until it touches the cabinet back panel
Check for Level
- Place a level across the front edge of the shelf
- Also check side to side for squareness
- If one corner sits low, adjust the support or add a thin shim
Quick Fix: Adhesive felt pads work well as discreet shims. They’re thin, easy to cut, and won’t damage the cabinet.
Reinforcing Shelves to Prevent Sagging
Long shelves carrying heavy items can bow over time. A little reinforcement now prevents bigger problems later.
Choose the Right Shelf Material
- For spans over 24 inches, use 3/4 inch plywood or solid wood
- Avoid 1/2 inch MDF for wide shelves, it sags under weight
- Consider hardwood edge banding for added rigidity
Add a Front Edge Band
- Glue and nail a hardwood strip along the front edge
- This increases structural strength and gives a finished appearance
- Choose a band that matches your cabinet finish
Install a Center Support
- For shelves exceeding 36 inches, add a vertical cleat underneath
- Position it at the midpoint to reduce deflection
- Use a metal bracket for a cleaner look
Troubleshooting Common Issues
Even careful installations can hit snags. Here’s how to handle the most frequent problems.
Shelf Won’t Fit or Is Too Tight
- Sand the edges lightly to remove excess material
- Check if the cabinet is square, some are slightly trapezoidal
- Measure again if the shelf binds at one corner
Shelf Wobbles on Pins
- Verify all pins are fully seated in their holes
- Replace any bent or damaged pins
- Add shelf liner or rubber caps to stabilize the shelf
Uneven Gaps at the Front
- Confirm the cabinet itself is level on the floor
- Shim the cabinet base if necessary
- Adjust shelf supports individually to compensate
Safety and Maintenance Tips
Proper care keeps your shelves functional and safe for years.
Weight Limits to Know
- Plastic pins and brackets – Support 15 to 25 pounds per shelf
- Metal brackets and cleats – Handle 30 to 50 pounds
- Center-supported shelves – Can hold up to 75 pounds with proper materials
Warning: Never exceed the manufacturer’s rated limits. Overloading can cause sudden collapse and damage stored items.
Regular Inspection
- Check pins, brackets, and screws every 6 to 12 months
- Tighten any loose hardware you find
- Replace worn or corroded parts promptly
Cleaning and Care
- Wipe shelves with a damp cloth, avoid soaking wood
- Use coasters under jars to prevent moisture rings
- Reapply finish if surfaces start to look worn
Frequently Asked Questions About Installing Cabinet Shelves
Do I need to drill new holes if my cabinet has existing pin holes?
No, you can use existing holes if they align with your desired shelf spacing. If they don’t match, fill the old holes with wood filler, let it dry, sand smooth, and drill new holes at your preferred positions.
What’s the best shelf material for a bathroom cabinet?
Plywood with a waterproof finish works best in humid environments. Avoid raw MDF because it swells when exposed to moisture. Seal all edges thoroughly to prevent water damage.
How much weight can adjustable shelf pins hold?
Standard plastic pins support about 15 to 25 pounds per shelf. Metal pins handle slightly more. For heavier items, switch to cleats or metal brackets rated for higher loads.
Can I install shelves in a cabinet without pre-drilled holes?
Absolutely. You’ll need to drill your own pin holes or use alternative support systems like brackets or cleats. A shelf pin jig helps ensure perfectly spaced and aligned holes.
Why does my shelf wobble even with all four pins in place?
Check that all pins are fully inserted and seated evenly. Bent or worn pins can cause instability. Also verify the shelf itself is flat, warped wood will wobble regardless of support quality.
Should I paint or stain shelves before or after installation?
Finish shelves before installing them. This allows for even coverage on all sides and prevents drips on cabinet interiors. Let finishes cure completely before placing shelves in the cabinet.
Key Takeaways for Installing Cabinet Shelves
Installing shelves in a cabinet comes down to three critical factors: accurate measurement, proper support selection, and careful leveling. Whether you choose adjustable pins for flexibility, brackets for simplicity, or cleats for maximum strength, the same principles apply. Measure twice, drill carefully, and always verify level before loading your shelves.
Start with a single cabinet to build your confidence. Once you master the process, you can apply the same techniques to every cabinet in your home. The satisfaction of opening a well-organized cabinet with perfectly level shelves makes the effort worthwhile. Grab your tools, take accurate measurements, and enjoy the upgrade to your storage space.


