
If you are looking to refresh your kitchen or bathroom on a budget, painting particle board cabinets is a smart, cost-effective solution. Unlike solid wood, particle board is made from compressed wood fibers and resin, making it more porous and prone to swelling when exposed to moisture. But with the right prep and technique, you can achieve a smooth, durable finish that looks professionally done. This guide walks you through every step, from choosing materials to applying the final coat, so you can transform your dated cabinets into a stylish focal point. You will learn how to seal edges, prevent chipping, and select the best paint and primer for long-lasting results.
Essential Prep Steps
Before any paint touches the surface, proper preparation ensures a smooth, lasting finish. Particle board’s porous nature means it absorbs moisture and paint unevenly, leading to warping or bubbling if not treated correctly. Start by removing cabinet doors and hardware to work off-site, giving you better access and a cleaner result.
Remove Doors and Clean Surfaces
Take down cabinet doors, drawers, and all hardware. Label each piece with tape to make reassembly easier. Wash all surfaces with a degreasing cleaner. Kitchen cabinets collect grease and grime over time, which can prevent paint from adhering. Use a mixture of warm water and mild dish soap or a TSP solution for heavy buildup. Rinse with a damp cloth and let dry completely. This can take several hours.
Repair and Sand Lightly
Fill dents or screw holes with a wood filler made for composite materials. Once dry, lightly sand the entire surface with 220-grit sandpaper. Do not over-sand. Particle board has a thin veneer that can easily wear through. The goal is to scuff the surface to help primer stick, not to remove material. Wipe away dust with a tack cloth after sanding.
Seal Edges and Porous Areas
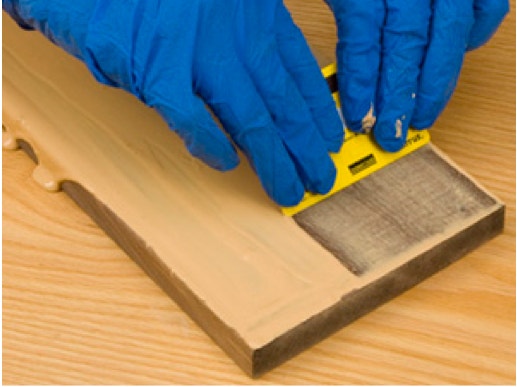
Particle board absorbs liquids quickly, especially at cut edges and end grains. If left unsealed, these areas will soak up primer and paint, leading to uneven coverage and potential swelling.
Apply Edge Sealer First
Use a brush to apply a wood pore filler or PVA glue to all exposed edges. These sealers penetrate and block moisture without causing the board to swell. Let dry completely, usually 1 to 2 hours, then lightly sand with 220-grit paper. This step is critical for durability, especially in high-moisture areas like kitchens.
Prime for Maximum Adhesion
After sealing, apply a high-adhesion primer designed for laminate or glossy surfaces. Oil-based primers like shellac-based primer or stain-blocking formulas work best. They seal tightly and resist moisture. Use a high-quality synthetic brush or microfiber roller to avoid brush marks.
Apply a thin, even coat and let dry as directed. Most primers require 2 to 4 hours between coats. One coat is often enough, but apply a second if you notice uneven coverage.
Choose the Right Paint Type
Not all paints hold up on particle board. The surface is prone to chipping and moisture damage, so durability matters.
Use Cabinet-Grade Acrylic or Alkyd Paint
Opt for 100% acrylic enamel or alkyd paint. These are formulated for high-traffic surfaces. Brands that offer self-leveling finishes dry to a hard, smooth surface. Avoid flat finishes. Go for satin or semi-gloss for easier cleaning.
Roll, Don’t Spray Unless Experienced
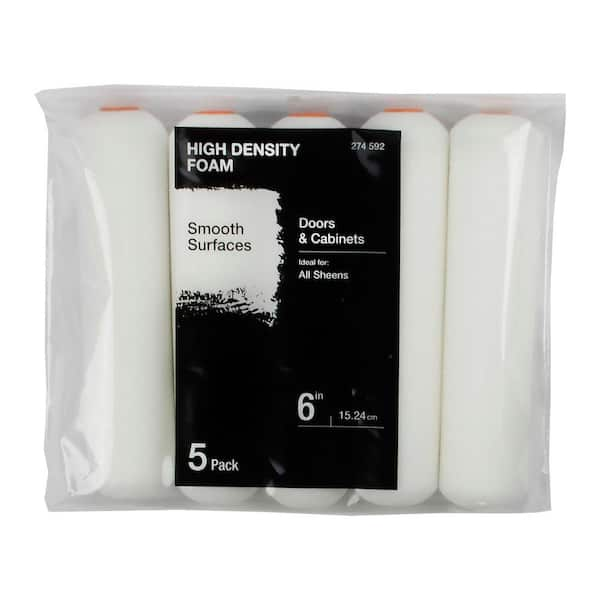
While spraying delivers the smoothest finish, it requires equipment and a dust-free environment. For most DIYers, a high-density foam roller gives excellent results with minimal stipple. Use a small brush for corners and grooves, then roll the flat surfaces in one direction for consistency.
Apply two thin coats instead of one thick one. Wait 6 to 8 hours between coats, and lightly sand with 320-grit paper before the final coat to remove dust nibs.
Prevent Common Painting Mistakes
Even with good prep, mistakes can ruin your finish. Knowing what to avoid saves time and frustration.
Avoid Water-Based Primers Alone
Latex primers do not seal particle board well and can cause the fibers to swell. Always use a shellac- or oil-based primer first. If you prefer water-based paint, apply it over a sealed, primed surface, not directly on raw particle board.
Don’t Skip the Curing Time
Paint may feel dry in hours, but oil-modified enamels can take up to 30 days to fully cure. Avoid heavy use or placing items on shelves during this time. Rushing leads to scratches and marks that will not heal.
Watch for Moisture Exposure
Even sealed, particle board is not waterproof. Install cabinets away from direct water sources. Use exhaust fans in kitchens and bathrooms to reduce humidity. Wipe up spills quickly, especially on shelf edges.
Reassemble with Care
Once paint is fully dry, wait at least 48 hours before reinstalling doors and drawers. Check hinges for wear and replace any that are loose or rusted. Use a level to ensure doors hang straight.
Upgrade Hardware for a Fresh Look
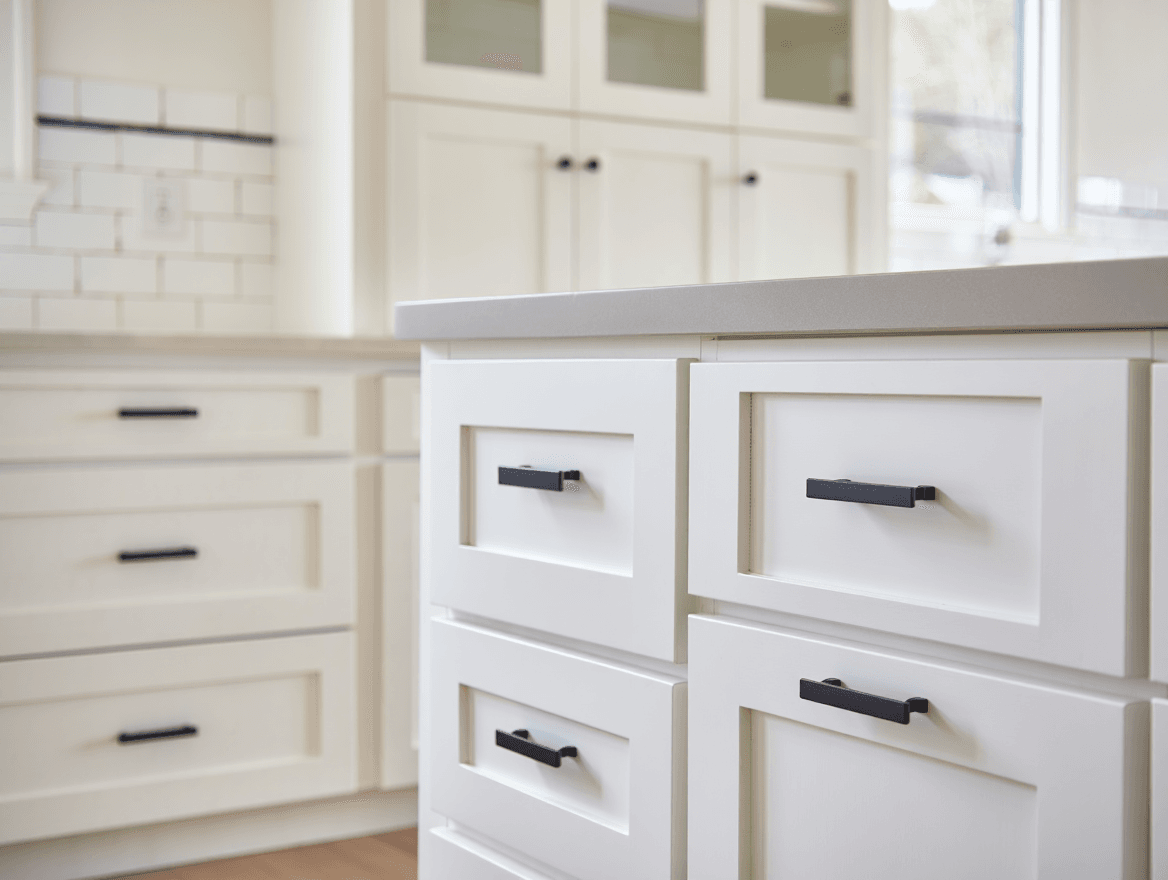
New knobs or pulls can elevate the entire look. Match the style to your new paint. Modern finishes like brushed nickel or matte black work well with neutral or bold cabinets. Drill new holes carefully, or use adhesive-backed options to avoid damaging the painted surface.
Maintain Painted Cabinets Long-Term
A beautiful finish deserves proper care. With minimal effort, your painted cabinets can last years.
Clean Gently and Regularly
Use a soft cloth and mild soap-and-water solution. Avoid abrasive cleaners or scrubbing pads. They will wear down the finish over time. For sticky spots, dampen the cloth with rubbing alcohol.
Touch Up When Needed
Keep leftover paint in a labeled jar for touch-ups. Small chips or scuffs can be fixed with a fine brush. Lightly sand the area, apply primer if the substrate is exposed, then paint to match.
Reapply Topcoat Every Few Years
For high-use kitchens, consider a clear polyurethane topcoat every 3 to 5 years. A water-based polycrylic adds protection without yellowing. Apply with a foam brush in thin, even layers.
Frequently Asked Questions About Painting Particle Board Cabinets
Can I paint particle board cabinets without priming?
No. Skipping primer leads to poor adhesion and uneven color. Particle board is highly porous and will absorb paint unevenly. A shellac- or oil-based primer seals the surface and creates a stable base for paint.
What is the best paint for particle board cabinets?
Use 100% acrylic enamel or alkyd paint in a satin or semi-gloss finish. These paints offer durability and moisture resistance. They self-level for a smooth, professional look and hold up to daily use.
How long does painted particle board last?
With proper prep and maintenance, painted particle board cabinets can last 5 to 10 years or more. The key is sealing edges, using quality primer and paint, and allowing full curing time before heavy use.
Can I use chalk paint on particle board cabinets?
Chalk paint requires a proper primer and sealer on particle board. Its matte finish is less durable for high-traffic cabinets. If you choose chalk paint, apply a clear topcoat to protect the surface.
How do I fix bubbling paint on particle board?
Bubbling occurs when moisture gets trapped under the paint. Remove the damaged paint, sand the area, seal any exposed edges, and repaint with primer and fresh paint. Address the moisture source to prevent recurrence.
Do I need to sand between coats of paint?
Yes. Light sanding with 320-grit paper between coats removes dust nibs and creates a smooth surface. Wipe away dust with a tack cloth before applying the next coat.
Key Takeaways for Painting Particle Board Cabinets
Painting particle board cabinets is a rewarding DIY project that transforms spaces without the cost of replacement. Success lies in sealing the surface properly, using the right primer and paint, and allowing time for curing.
Remember these three critical steps. First, seal all edges with a pore filler or PVA glue to prevent moisture damage. Second, use a shellac- or oil-based primer to create a stable base. Third, apply two thin coats of cabinet-grade enamel paint and allow full curing time.
With careful prep and maintenance, your cabinets will look fresh and hold up to daily use for years to come. Start with one door to test your technique, then tackle the rest of your kitchen with confidence.


