

Installing a countertop on cabinets is a transformative step in any kitchen renovation. Whether you’re upgrading old counters or installing new cabinetry, properly securing a countertop can dramatically improve both the function and appearance of your kitchen. The process involves precise measurements, proper support, and attention to detail to ensure a seamless fit. If done correctly, your new countertop will be level, sturdy, and ready for daily use, whether you’re prepping dinner or entertaining guests.
This guide walks you through every step of how to put a countertop on cabinets, from preparing your workspace to securing the slab in place. You’ll learn how to measure accurately, choose the right fasteners, support overhangs, and seal joints, especially for materials like laminate, granite, quartz, or solid surface. No matter your skill level, with the right tools and approach, you can achieve professional-looking results.
Measure Cabinet Layout First
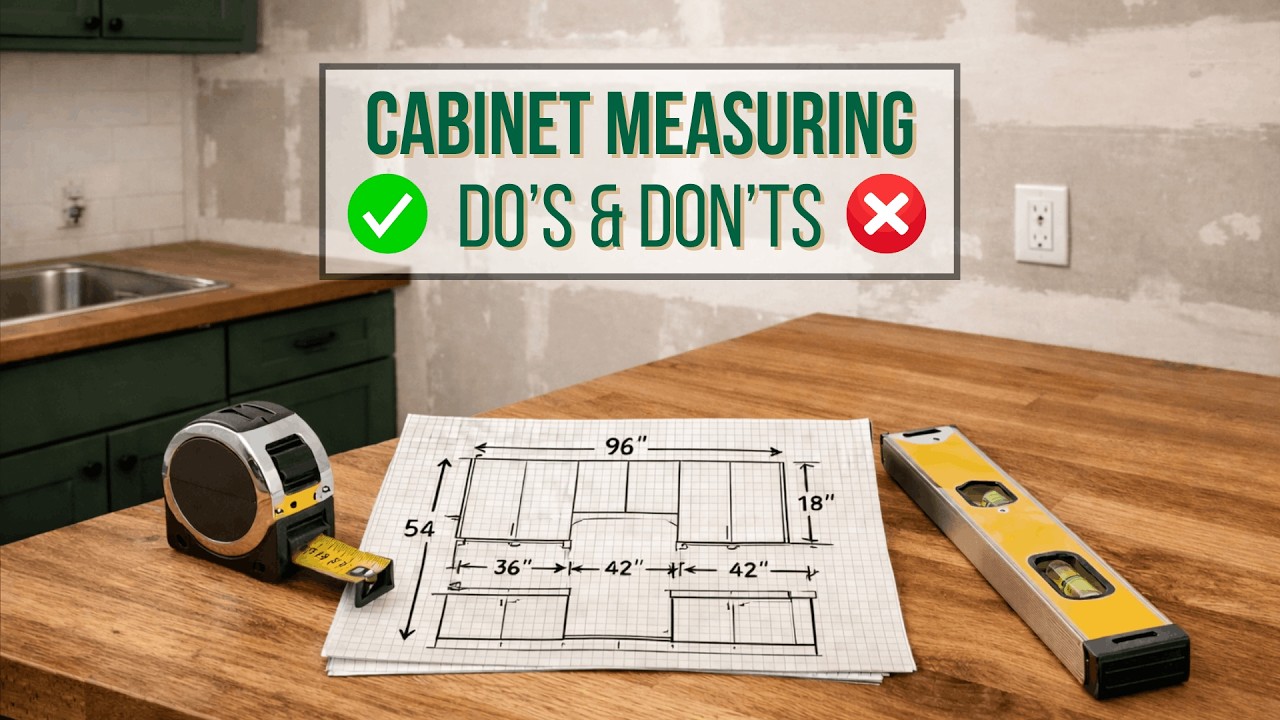
Before purchasing or cutting your countertop, accurate measurements are essential. Even small errors can result in gaps, overhangs, or misalignment.
Check Cabinet Height and Level
Use a tape measure and level to confirm all cabinets are the same height and aligned. Standard base cabinets are designed to sit at 34.5 inches tall without countertop, allowing for a 1.5-inch countertop to reach the standard 36-inch countertop height.
- Measure from floor to top of each cabinet.
- Place a long level across multiple cabinets to spot dips or unevenness.
- Shim cabinet legs or adjust feet to correct any imbalance.
Uneven cabinets will cause the countertop to sit improperly, leading to stress cracks or visible gaps.
Record Widths and Depths
Measure the front to back depth and side to side width of each cabinet run. Note any obstructions like plumbing, walls, or appliances.
- Measure at multiple points, since walls are rarely perfectly straight.
- For U-shaped or L-shaped kitchens, measure each section separately.
- Account for sink, cooktop, or backsplash cutouts if not pre-cut.
Use these dimensions to order or trim your countertop material accordingly.
Prepare the Workspace
Clearing and organizing your work area ensures a smooth installation and protects your floors and cabinets.
Remove Cabinet Doors and Drawers
Take off any doors and drawers that might interfere with positioning the countertop. This also reduces weight during lifting and allows better access for fastening.
- Label each door and drawer for easy reinstallation.
- Store hardware in labeled bags.
Protect Flooring and Edges
Lay down cardboard, plywood, or moving blankets to prevent scratches when sliding the countertop into place. Countertops are heavy and can easily damage hardwood or tile.
- Use felt pads on cabinet edges if the countertop will slide across them.
- Have at least two people on hand, since most countertops are too heavy and unwieldy for one person.
Position the Countertop Carefully
Lifting and aligning the countertop requires coordination and caution.
Lift With Help, Not Your Back
Always use two or more people when lifting stone, quartz, or solid surface countertops. For laminate, one person may manage shorter sections, but teamwork ensures better control.
- Wear work gloves for grip and protection.
- Lift from the underside, not the front edge, to avoid chipping.
Align Front and Side Edges
Slide the countertop into place, aligning the front edge with the cabinet face frame. Leave a consistent overhang, typically 1 inch beyond the cabinet doors.
- Use spacers like wood shims to maintain even overhang.
- Ensure the countertop is flush with side walls or adjacent sections.
For multi-section countertops, align seams over a cabinet for added support.
Support Countertop Overhangs

Any overhang beyond 6 inches requires additional support to prevent sagging or breakage.
Install Corbels or Brackets
For overhangs up to 12 inches, use decorative corbels or metal brackets underneath.
- Mount brackets directly into cabinet framing or wall studs.
- Space supports no more than 24 inches apart.
For breakfast bars or islands, ensure supports are strong enough to handle weight and use.
Avoid Unsupported Long Overhangs
Most materials have overhang limits:
- Laminate: Up to 6 inches unsupported
- Granite/Quartz: Up to 12 to 14 inches with proper thickness (3 cm)
- Solid Surface: Up to 18 inches, depending on structure
Exceeding these limits risks cracking or detachment.
Secure Countertop to Cabinets
Once positioned, the countertop must be fastened to prevent shifting or movement.
Use Countertop Fasteners or Cleats
The safest method is using L-shaped clips or mounting cleats that attach to the cabinet and hold the countertop from underneath.
- Screw cleats into the cabinet’s side or face frame.
- Slide the countertop into place so it rests against the vertical part of the cleat.
- Do not screw directly through the top of the countertop, as this can cause cracks.
For laminate, some installers use a bead of adhesive along the cabinet tops for extra hold.
Seal Seams and Edges
For multi-piece installations, seal seams with appropriate filler or epoxy.
- Laminate seams use special seam glue and iron-fused joints.
- Granite and quartz use color-matched epoxy.
- Solid surface is sanded and polished into a seamless joint.
Apply silicone caulk along the backsplash and wall joint to prevent water infiltration.
Handle Edge Treatments and Finishing

The exposed front and side edges of the countertop may need finishing, especially with stone or plywood substrates.
Apply Edge Banding for Laminate
If using DIY laminate over particleboard, iron-on edge banding matches the countertop surface.
- Cut banding to length and press with a hot iron.
- Trim excess and sand smooth.
For stone or quartz, edges are pre-finished at the factory with options like bullnose, beveled, or waterfall.
Install Backsplash if Needed
Some countertops include a built-in backsplash. For slab materials, a separate backsplash tile or stone piece may be installed later.
- Leave a small gap of 1/8 inch between countertop and backsplash to allow for expansion.
- Seal with silicone, not grout, to prevent moisture damage.
Final Checks and Cleanup
After installation, verify everything is secure and functioning.
Test for Level and Stability
Use a level to confirm the surface is even front to back and side to side.
- Gently press on overhangs to check for movement.
- Tighten any loose cleats or brackets.
Clean the Surface
Remove dust, fingerprints, or adhesive residue with a cleaner suitable for the material.
- Avoid abrasive pads on glossy or soft surfaces.
- For natural stone, use pH-neutral cleaner.
Reinstall doors, drawers, and appliances once the area is clear.
Frequently Asked Questions About Installing Countertops on Cabinets
How much overhang should a countertop have on cabinets?
A standard overhang is about 1 inch beyond the cabinet doors. For seating areas like breakfast bars, you can extend the overhang to 12 inches, but you must add support brackets or corbels to prevent sagging.
Can I install a countertop without removing cabinet doors?
You can, but removing doors and drawers makes the job easier. It reduces weight, prevents interference during positioning, and gives you better access to fasten cleats or brackets.
What is the best way to attach a countertop to cabinets?
L-shaped clips or mounting cleats are the safest method. They screw into the cabinet frame and hold the countertop from underneath without requiring screws through the top surface, which could cause cracks.
Do I need to seal the seam between countertop and backsplash?
Yes, always seal this joint with silicone caulk. Silicone remains flexible, allowing for slight movement, and prevents water from seeping behind the countertop. Grout is too rigid and can crack over time.
How do I fix uneven cabinets before installing a countertop?
Use shims under the cabinet base or adjust the leveling feet if your cabinets have them. Place a long level across multiple cabinets and add shims until everything sits perfectly flat before positioning the countertop.
Can one person install a countertop alone?
For short laminate sections, one person may manage, but it is risky. Stone, quartz, and solid surface countertops are extremely heavy and require at least two people to lift and align safely without causing damage or injury.
Key Takeaways for Installing Your Countertop on Cabinets
Proper installation of a countertop on cabinets comes down to three critical factors: accurate measurement, adequate support, and secure fastening. Start by leveling your cabinets and measuring carefully to avoid gaps and misalignment. Always support overhangs beyond 6 inches with brackets or corbels, and use L-shaped clips or cleats to hold the countertop firmly in place without risking damage to the surface.
Take your time with each step, especially when lifting heavy materials and aligning seams. A well-installed countertop not only looks professional but also protects your cabinets from moisture damage and daily wear. With the right preparation and teamwork, you can complete this project in a weekend and enjoy your refreshed kitchen for years to come.


