

Refinishing your kitchen or bathroom cabinets is one of the most cost-effective ways to transform your space. If you’re wondering how to restain cabinets, you’re not alone. Thousands of homeowners tackle this DIY project each year to refresh worn, outdated, or damaged finishes without replacing entire cabinet systems. The process involves removing the old stain, preparing the wood, applying a new stain, and sealing it for long-term durability. When done correctly, restaining can make your cabinets look brand new and even increase your home’s resale value.
This guide walks you through every step of restaining cabinets, from removing hardware and choosing the right products to applying a flawless finish. You’ll learn how to prep like a pro, avoid common mistakes, and achieve a smooth, professional-looking result in just a few days. Whether your cabinets are dull from years of use or you simply want a darker or lighter tone, this complete tutorial gives you everything you need to succeed.
Remove Cabinet Doors and Hardware
Before any sanding or staining begins, take everything apart. This ensures even coverage and makes the job much easier.
Take Off Doors and Drawers
Remove all cabinet doors, drawers, and face frames using a screwdriver or drill. Label each door and its corresponding hinge location with painter’s tape so reassembly is simple. Store screws in labeled bags to avoid confusion later.
Uninstall Hinges and Hardware
Detach hinges, knobs, pulls, and any other fixtures. Clean hardware with mild soapy water if you plan to reuse them. Consider upgrading to new hardware for a fresh look. Many people do this during restaining projects.
Clean All Wood Surfaces
Stain adheres poorly to dirty or greasy wood. Cleaning is essential for a smooth, lasting finish.
Degrease with TSP Substitute
Mix a solution of trisodium phosphate (TSP) substitute and warm water according to label instructions. Use a sponge or cloth to wipe down every surface, especially around handles and near stovetops where grease builds up. Rinse with clean water and let dry completely. This may take several hours.
Inspect for Damage
Check for dents, scratches, or water damage. Fill small imperfections with wood filler, let it dry, then lightly sand smooth. For deep damage, consider patching or consulting a woodworker.
Sand Cabinets Thoroughly
Proper sanding opens the wood pores and removes the old finish, allowing new stain to penetrate evenly.
Start with Coarse Grit
Use 120-grit sandpaper to strip off the existing finish. An orbital sander speeds up the process, but be careful not to press too hard. This can create uneven spots. Sand in the direction of the wood grain to minimize scratches.
Finish with Fine Grit
After the old finish is gone, switch to 220-grit sandpaper for a smooth surface. This final pass removes sanding marks and preps the wood for staining. Wipe down all surfaces with a tack cloth to remove dust.
Pro Tip: Never skip sanding, even if the current finish looks worn. Without proper prep, new stain will blotch or peel.
Choose the Right Stain Type
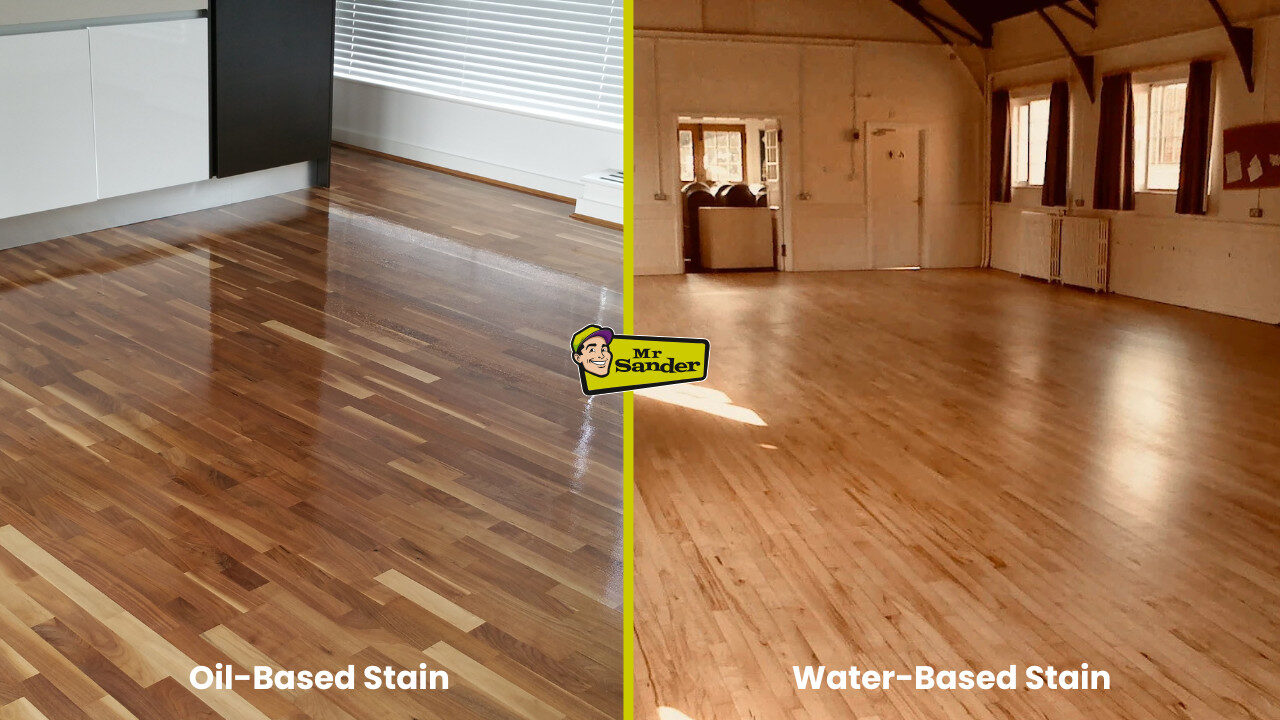
Picking the correct stain affects both appearance and durability.
Oil-Based vs Water-Based Stain
Oil-based stains penetrate deeper and are more durable, making them ideal for high-traffic kitchens. They take longer to dry and have stronger fumes. Water-based stains dry faster and clean up with water, but may raise the grain slightly and offer less depth.
Test on a Hidden Area
Always test your chosen stain on an inconspicuous part of the cabinet, like the back of a door. Let it dry fully to see the true color. Apply your topcoat over the test area to check the final look.
Apply Stain Evenly
Application technique determines whether your cabinets look professional or amateur.
Use a Lint-Free Cloth or Brush
Pour a small amount of stain onto a clean, lint-free cloth or use a high-quality synthetic brush. Work in small sections, following the wood grain. Apply liberally, then wipe off excess with a dry cloth after 5 to 15 minutes, depending on desired darkness.
Maintain Consistent Timing
Wipe off each section within the same time window to prevent uneven color. Don’t let stain sit too long. It can become gummy and hinder topcoat adhesion.
Let Dry Completely
Allow stain to dry for at least 24 hours before applying a protective finish. Drying times vary by product and humidity, so follow manufacturer instructions.
Common Mistake: Applying a second coat of stain for a darker color. Most stains aren’t designed for multiple coats. Instead, choose a darker formula or use a tinted topcoat.
Seal with Protective Topcoat
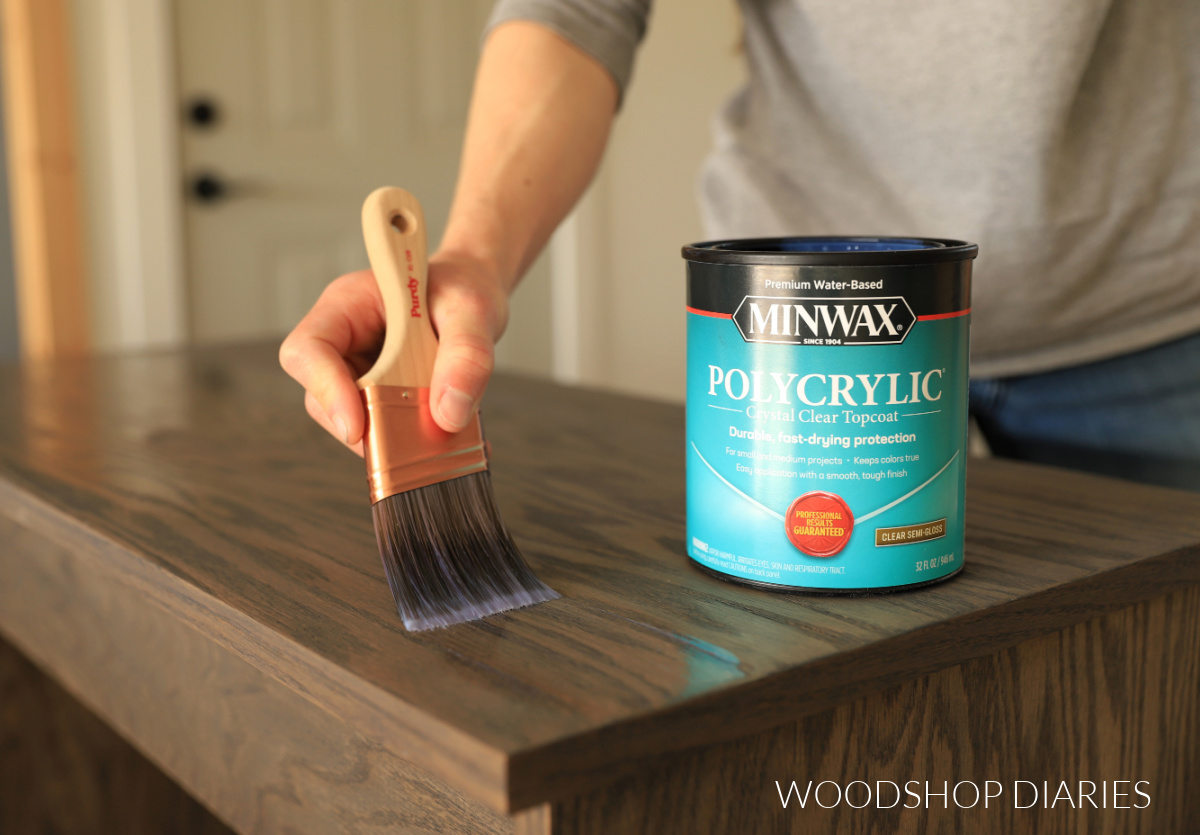
Stain alone won’t withstand daily use. A topcoat protects against moisture, scratches, and fading.
Pick a Durable Finish
Polyurethane is the most popular choice. Oil-based polyurethane offers a warm, rich finish and excellent durability. Water-based polyurethane dries faster and stays clear over time, ideal for lighter stains.
Apply Thin, Even Coats
Use a high-quality brush or foam applicator. Apply in long, smooth strokes along the grain. Let the first coat dry completely, usually 4 to 6 hours, then lightly sand with 320-grit paper and wipe clean. Apply 2 to 3 more coats for maximum protection.
Avoid Bubbles and Drips
Stir the finish gently. Don’t shake the can, which creates bubbles. If drips form, sand them lightly once dry before the next coat.
Reassemble Cabinets Carefully
Once everything is dry, it’s time to put it all back together.
Reattach Doors and Drawers
Hang doors using your labeled system. Adjust hinges as needed so doors are level and aligned. Slide drawers back in and ensure they open and close smoothly.
Reinstall Hardware
Screw on knobs and pulls. If using new hardware, drill pilot holes first to prevent splitting the wood.
Maintain Your Restained Cabinets
A little care goes a long way in preserving your work.
Clean With a Damp Cloth
Avoid harsh cleaners or soaking the wood. Wipe spills quickly and use a slightly damp microfiber cloth for regular cleaning.
Avoid Direct Sunlight
Prolonged UV exposure can fade stained wood. Use blinds or curtains to reduce sunlight on cabinets near windows.
Reapply Topcoat as Needed
Every 3 to 5 years, consider lightly sanding and adding a fresh coat of polyurethane to high-use areas.
Frequently Asked Questions About Restaining Cabinets
How long does it take to restain cabinets?
The full process typically takes 3 to 5 days. Most of this time is spent waiting for stain and topcoat to dry. Sanding and cleaning take the most physical effort, while drying times depend on humidity and product specifications.
Can I restain cabinets without sanding?
Sanding is strongly recommended for best results. Skipping this step means the new stain won’t penetrate properly, leading to blotchy or peeling finishes. If you absolutely cannot sand, use a liquid deglosser, though results may not be as durable.
Do I need to remove cabinet doors to restain them?
Removing doors and drawers is highly recommended. It allows you to work on flat surfaces, prevents drips, and ensures even coverage on all edges. Labeling each piece makes reassembly straightforward.
What’s the difference between restaining and repainting cabinets?
Restaining enhances the natural wood grain and changes its color while keeping the wood texture visible. Painting covers the grain entirely with a solid color. Restaining requires more prep work but preserves the wood’s character.
How do I fix a blotchy stain job?
Lightly sand the blotchy areas with 220-grit paper and reapply stain. For persistent blotching, use a wood conditioner before staining. This helps porous woods like pine or oak absorb stain more evenly.
Can I restain cabinets a lighter color?
Yes, but it requires more effort. You must remove the existing stain thoroughly, which may involve chemical strippers and extra sanding. Lighter stains won’t hide dark wood tones, so be prepared for a multi-step process.
Key Takeaways for Restaining Your Cabinets
Restaining cabinets is a rewarding DIY project that can dramatically upgrade your kitchen or bathroom. With proper preparation, the right materials, and attention to detail, you can achieve results that look professionally done. The key is patience. Don’t rush sanding or drying times, and always test your stain before committing to the full application.
Remember these three essentials. First, thorough prep work, including cleaning and sanding, determines the final outcome. Second, choose the right stain and topcoat for your specific wood type and usage level. Third, maintain your restained cabinets with gentle cleaning and periodic topcoat touch-ups.
By following this guide on how to restain cabinets, you’ll extend the life of your cabinetry and enjoy a beautiful, custom look for years to come. Start with one door to build confidence, then tackle the rest of your kitchen at your own pace.


