
Your kitchen cabinets endure constant use, moisture, heat, and accidental bumps that leave them looking worn over time. Scratches, chips, dents, and fading can make even well-maintained cabinets appear tired and outdated. Before you consider a full refacing or replacement, there’s a smarter, faster, and far more affordable solution: touching up kitchen cabinets. This simple process restores their appearance, extends their life, and refreshes your entire kitchen without the mess or cost of a remodel.
Touching up kitchen cabinets isn’t just for cosmetic fixes, it’s a proactive way to protect your investment. Small imperfections, if left untreated, can lead to deeper damage like moisture penetration or veneer lifting. The good news is that most damage can be repaired in under an hour with basic tools and the right techniques. Whether you’re dealing with a scratched finish, a chipped edge, or tarnished hardware, this guide walks you through every step to make your cabinets look like new again.
You’ll learn how to match finishes, choose the right repair products, and apply fixes that blend seamlessly. We’ll cover wood grain repair, stain matching, paint touch-ups, and hardware restoration, all tailored to common cabinet materials like wood, laminate, and thermofoil. No professional experience needed. With a steady hand and this guide, you’ll achieve results that look anything but DIY.
Assess Cabinet Damage First
Before grabbing any tools, inspect each cabinet door, frame, and drawer front closely. Not all damage requires the same fix, and identifying the type and depth ensures you choose the right method.
Identify Surface vs. Deep Damage
Light scratches that only affect the top finish can often be buffed out or colored in. Use your fingernail to test, if it catches, the scratch is deep enough to need filler. Chips and dents usually require wood putty or wax sticks. Discoloration from sun exposure or cleaning products may need stain refreshers or toners.
Check Material Type
Wood, laminate, thermofoil, and painted cabinets each respond differently to touch-ups. Solid wood accepts stain and filler well. Laminate and thermofoil, which are plastic-based finishes, need special markers or paint for blending. Painted cabinets may only need a tiny brush and matching paint. Knowing your cabinet material prevents mismatched results.
Test in Hidden Areas
Always test your repair method on an inconspicuous spot, like the back of a shelf or an inside corner. This helps confirm color match and adhesion before working on visible surfaces.
Gather Essential Repair Tools
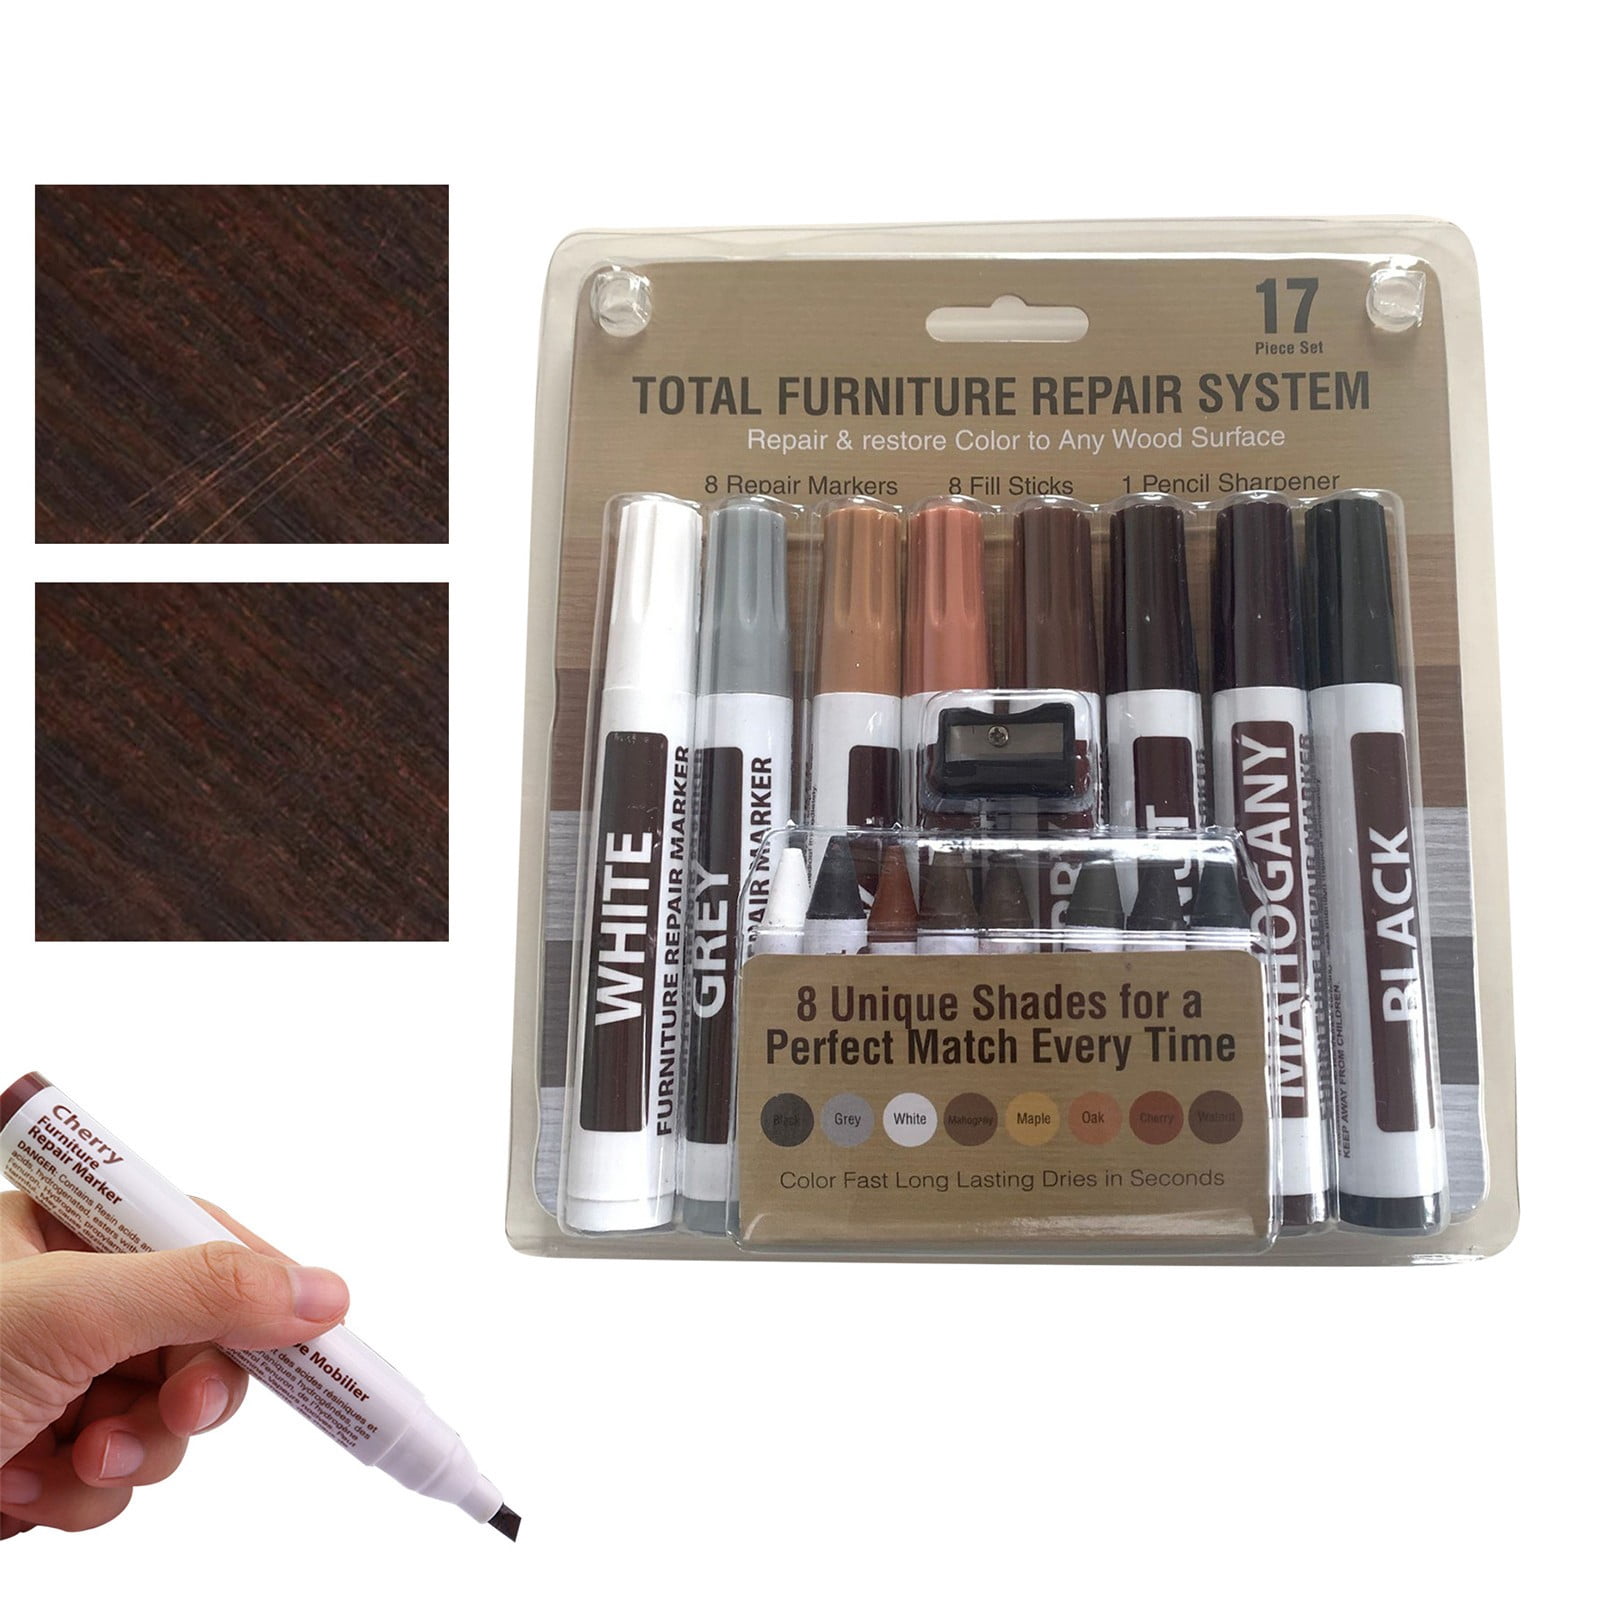
Having the right supplies on hand makes the job faster and more effective. Most items are affordable and reusable for future maintenance.
Basic Touch-Up Kit
• Touch-up markers or pens with blendable tones
• Wax repair sticks or wood putty
• Fine steel wool (0000 grade)
• Microfiber cloths
• Artist’s brush with fine tip (1/8 inch)
• Denatured alcohol or mineral spirits
• Sanding sponge (220–320 grit)
Advanced Tools for Bigger Jobs
• Touch-up spray for larger areas
• Grain texture paper for wood replication
• Heat gun for thermofoil bubbling
• Clear finish sealer in matte or satin
Choose Color-Matched Products
Many brands offer touch-up kits specific to cabinet finishes like maple, cherry, or white shaker. If unsure, take a small cabinet sample or door to a hardware store for color matching. Label each product with the cabinet zone to avoid confusion later.
Fix Scratches and Scuffs
Scratches are the most common cabinet issue. The repair method depends on depth and visibility.
Use Touch-Up Markers for Light Scratches
For surface-level marks, apply a color-matched touch-up marker directly over the scratch. Use short, feathered strokes to blend into the surrounding finish. Let dry for 5–10 minutes. Wipe gently with a microfiber cloth. For best results, apply in the direction of the wood grain.
Pro Tip: Layer multiple thin coats instead of one heavy stroke to avoid dark spots.
Fill Deeper Scratches with Wax Sticks
If the scratch catches your nail, clean it with mineral spirits first. Then press a matching wax stick or wood putty into the groove using a plastic scraper or credit card edge. Work at a 45-degree angle to force filler into the crevice. Let harden for 10–15 minutes.
Once set, level the surface with 320-grit sandpaper or fine steel wool. Wipe clean with a dry cloth. Apply a matching marker over the filled area to blend.
Buff Out Fine Scuffs
For dull surface scuffs that aren’t indented, gently rub with 0000 steel wool dampened with furniture oil or mineral spirits. Use light, circular motions. This polishes the finish and reduces visibility. Wipe dry and follow with a wax rub for sheen matching.
Repair Chips and Dents
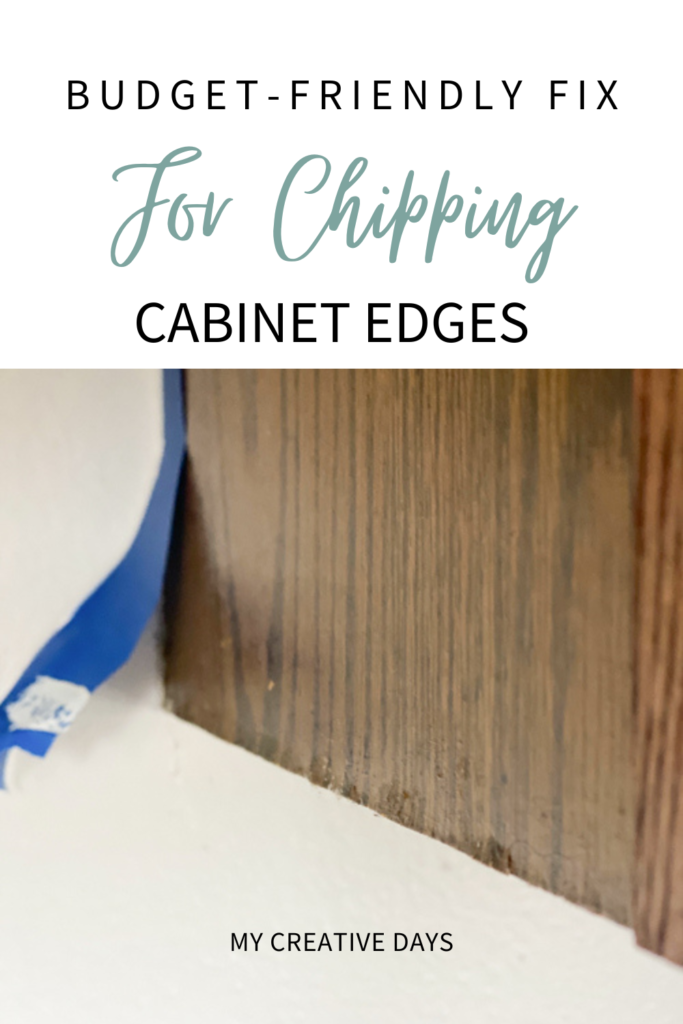
Chipped corners and dented edges are common near handles and countertops. These require filling and texturing to look natural.
Apply Wood Putty for Chipped Edges
Clean the chipped area with denatured alcohol to remove grease. Squeeze a small amount of water-based wood putty into the missing section. Use a putty knife to press it flush. Avoid overfilling.
Let dry completely, which usually takes about 30 minutes. Sand smooth with a 220-grit sanding sponge. Feather the edges so the repair fades into the original surface.
Replicate Wood Grain When Needed
On grainy wood finishes, use a wood grain pen or texture stamp to mimic natural lines. Trace lightly over the dried putty. Let dry, then seal with a clear matte finish to match sheen.
Pro Tip: Practice grain replication on scrap wood first to perfect your technique.
Fix Dents from Impact
For shallow dents with no missing material, dampen a cotton ball with water and place it over the dent. Cover with a towel and press with a warm iron for 10–15 seconds. The steam can raise compressed fibers. Let dry overnight. If the dent remains, treat it as a scratch or fill lightly.
Restore Faded or Discolored Areas
Sun exposure, cleaning chemicals, and aging can dull or yellow cabinet finishes.
Clean Before Color Correction
Wipe the faded area with a gentle cleaner like dish soap and water. Rinse and dry completely. Avoid abrasive pads that can worsen discoloration.
Use Furniture Refinisher or Toner
Apply a liquid furniture refinisher or wood toner with a microfiber cloth. These products refresh the color without sanding. Test first, since some toners darken the finish. Apply in thin, even layers. Let dry for 15 minutes between coats.
For painted cabinets, use a touch-up paint that matches the original sheen, whether satin or semi-gloss.
Match Sheen with Final Coat
After any repair, the area may look shinier or duller than the surrounding finish. Seal with a clear topcoat that matches the original sheen. Use a small brush or cloth to apply lightly over the repaired spot and feather outward.
Touch Up Painted Cabinets
Painted cabinets show wear quickly, with chips around handles, scuffs on edges, and faded fronts.
Use Exact Paint Match
Find the original paint code, often on the cabinet back or frame, or take a chip to a paint store for scanning. Use a small sample pot to avoid waste.
Prepare the Surface
Lightly sand the chipped area with 320-grit paper. Wipe with a tack cloth. Apply a tiny drop of primer if bare wood is exposed. Let dry.
Apply Paint with Precision
Use a fine artist’s brush to apply paint in thin layers. Let each coat dry for 15–20 minutes. Avoid thick applications that create bumps. Feather edges outward for seamless blending.
Seal for Durability
Once dry, apply a clear protective topcoat. This prevents future chipping and matches the gloss level of the surrounding finish.
Handle Laminate and Thermofoil Fixes
Laminate and thermofoil cabinets are popular for their durability, but repairs require different techniques than wood.
Repair Laminate Scratches
Use a laminate repair marker or acrylic-based touch-up pen. These are formulated to bond with plastic surfaces. Apply like a marker, then blend with a cotton swab. Let dry, then buff lightly.
Fix Bubbling Thermofoil
Heat and moisture can cause thermofoil doors to bubble. Use a utility knife to make a small slit in the bubble. Apply wood glue with a syringe, then press flat. Clamp with wax paper and a flat board for 2 hours. Remove and touch up with a matching marker.
Avoid Sanding Thermofoil
Sanding can remove the printed wood grain. Stick to non-abrasive cleaners and touch-up pens for this material.
Maintain Hardware and Fixtures
Cabinet handles, knobs, and hinges also show wear and can detract from a fresh look.
Clean and Polish Metal Hardware
Remove hardware and soak in warm, soapy water. Use a soft brush to remove grime. Dry completely. Polish with metal cleaner designed for brass, chrome, or nickel finishes.
Replace or Refinish Old Hardware
Consider updating outdated knobs or replacing damaged ones. If refinishing, use spray paint designed for metal. Apply in thin, even coats for best results.
Tighten Loose Hinges
Wobbly doors make cabinets look neglected. Tighten hinge screws with a screwdriver. If holes are stripped, use toothpicks and wood glue to reinforce them.
Prevent Future Cabinet Damage
A few simple habits can keep your cabinets looking newer for longer.
Use Cabinet Bumpers
Install felt or rubber bumpers on inside corners to prevent door slam damage.
Wipe Spills Immediately
Moisture weakens finishes and causes swelling. Clean up grease, water, and cleaners promptly.
Avoid Direct Sunlight
Use blinds or curtains to reduce UV exposure that fades finishes over time.
Schedule Annual Touch-Ups
Inspect cabinets every 6–12 months. Fix small issues before they grow into bigger problems.
Frequently Asked Questions About Touching Up Kitchen Cabinets
Can I touch up kitchen cabinets without repainting the whole door?
Yes, most scratches, chips, and scuffs can be repaired with touch-up markers, wax sticks, or small amounts of matching paint. The key is color matching and feathering the repair into the surrounding finish.
How do I match the exact color of my cabinets?
Check the cabinet back or frame for a paint code or manufacturer label. Alternatively, bring a small sample or door to a hardware store for professional color scanning.
What’s the best way to fix a chip on a painted cabinet?
Lightly sand the area, apply primer if needed, then paint with a fine artist’s brush in thin coats. Seal with a clear topcoat to match the original sheen.
Can I use regular wood filler on laminate cabinets?
No, laminate requires acrylic-based touch-up pens or laminate-specific repair markers. Wood filler won’t bond properly to plastic surfaces.
How do I fix bubbling thermofoil cabinet doors?
Make a small slit in the bubble, inject wood glue with a syringe, press flat, and clamp for 2 hours. Touch up with a matching marker once dry.
Will touching up cabinets increase my home’s value?
Yes, well-maintained cabinets improve kitchen appearance and perceived value. Touching up small damages is a cost-effective way to refresh your kitchen before selling.
Key Takeaways for Touching Up Kitchen Cabinets
Touching up kitchen cabinets is one of the most cost-effective ways to maintain a fresh, clean kitchen. With the right tools and techniques, most repairs take minutes and deliver professional-looking results. Focus on precision, color matching, and blending to make damage disappear.
Regular maintenance not only improves appearance but also extends cabinet life by years. Whether you’re preparing to sell or simply proud of your home, well-touched cabinets make all the difference.
Your next step: Gather a basic touch-up kit and inspect your cabinets today. Fix one small scratch or chip to see how simple and rewarding the process can be.


