Sagging kitchen cabinet shelves are more than just an eyesore—they can lead to broken items, damaged cabinets, and even safety hazards. If you’ve noticed your shelves bowing in the center or wobbling when loaded, you’re not alone. This common issue affects homeowners across all types of kitchens, especially as cabinets age or face heavy use. The good news? Most sagging shelf problems can be fixed quickly and affordably, often without replacing the entire cabinet.
The root causes vary: weak shelf materials, inadequate support, overloading, or poor installation. Whether your cabinets are made of particleboard, plywood, or solid wood, understanding why shelves sag is the first step to fixing and preventing it. In this guide, you’ll learn how to diagnose the cause, reinforce or repair sagging shelves, and upgrade supports for long-term durability. No guesswork—just clear, actionable steps that work.
Identify the Cause of Sagging

Before making repairs, determine what’s causing the shelf to droop. Misdiagnosis leads to wasted time and temporary fixes. Most sagging results from one or more of the following issues.
Check Shelf Material and Thickness
Thin or low-quality materials are top culprits. Particleboard shelves under ¾ inch thick often sag under moderate weight. Plywood holds up better but still sags if undersupported. Solid wood is strongest but not immune.
- Look for cracks, warping, or swelling along the shelf surface
- Press down on the center—if it flexes noticeably, support is insufficient
- Measure thickness: ½-inch shelves almost always sag; ¾-inch is standard minimum
Replace any compromised shelves. For future installations, use ¾-inch plywood or solid wood for spans over 24 inches.
Inspect Support Hardware
Even strong shelves fail with weak supports. Common issues include worn shelf pins, stripped holes, or inadequate brackets.
- Remove items and pull the shelf out
- Examine pin holes for elongation or splitting
- Test pins for wobble or corrosion
- Check if supports are spaced too far apart (ideal: every 16–18 inches)
If pins spin freely or holes are damaged, reinforcement or replacement is needed.
Evaluate Load Distribution
Overloading is a silent shelf killer. Heavy dishes, appliances, or uneven weight distribution accelerate sagging.
- Note what’s stored on the shelf—mix of light and heavy items?
- Are heavy objects clustered in the center?
- Is the total load beyond the shelf’s capacity?
Redistribute weight toward the edges and limit heavy items on unsupported spans.
Reinforce Existing Shelves
Strengthen sagging shelves without full replacement. These methods restore stability and prevent further damage.
Install Under-Shelf Supports
Add hidden support beneath the shelf for immediate lift and long-term stability.
- Measure the sag: use a level to see how much the shelf dips
- Choose support type: metal L-brackets, wooden cleats, or adjustable shelf stiffeners
- Position supports at the center and mid-points along long spans
- Secure with screws into wall studs or cabinet framing
Pro tip: Paint metal brackets to match cabinet interior for discreet look.
Use wood cleats for a seamless finish—glue and screw a 1×2 board along the back edge and center.
Upgrade to Continuous Support Rails
Replace individual shelf pins with full-length support rails.
- Remove old pins and clean mounting holes
- Install aluminum or steel rails along cabinet sidewalls
- Rest shelf directly on rail for even weight distribution
These rails eliminate stress points and are ideal for heavy glassware or cookware.
Add a Shelf Stiffener Strip
Attach a reinforcing strip to the underside of the shelf.
- Cut a 1×2 pine or metal angle bar to match shelf length
- Glue and screw it along the front edge underside
- For extra strength, run a second strip down the center
This method increases rigidity by up to 50%, especially on particleboard.
Replace Damaged Shelves
When reinforcement isn’t enough, replacement is the best option.
Choose the Right Replacement Material
Not all shelf materials perform equally. Select based on strength, cost, and finish.
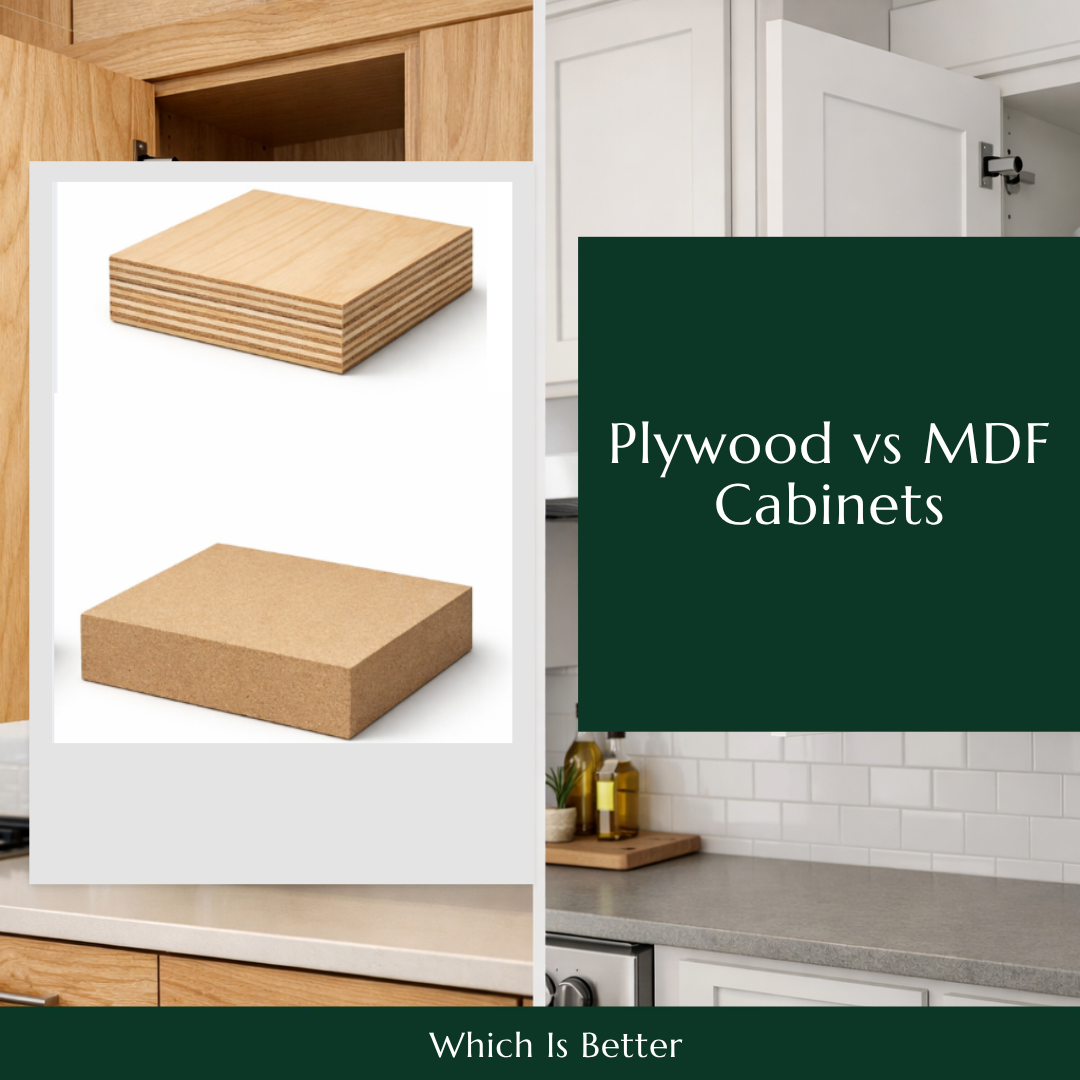
| Material | Pros | Cons | Best For |
|---|---|---|---|
| ¾” Plywood | Strong, resists sagging | Edges need veneer | High-use cabinets |
| Particleboard | Affordable, smooth finish | Swells if wet, sags easily | Light-duty, short spans |
| Solid Wood | Durable, repairable | Expensive, may warp | Custom or visible cabinets |
| MDF | Smooth paint finish | Heavy, weak when wet | Decorative, low-moisture areas |
For most kitchens, ¾-inch plywood with edge banding offers the best balance.
Custom Fit vs. Pre-Cut Shelves
Decide whether to DIY-cut or buy pre-sized.
- Custom-cut: Measure cabinet interior (depth, width, height clearance), cut to fit, sand and finish edges
- Pre-cut: Available at hardware stores; limited sizes, may require trimming
Ensure 1/8-inch gap on all sides for expansion and easy installation.
Install with Proper Spacing
Correct support spacing prevents future sagging.
- Use shelf pins or brackets every 16 inches for shelves under 30 lbs
- For heavier loads, space supports every 12 inches
- Always anchor into solid wood or studs—not just drywall or particleboard
Use a level during installation to avoid uneven stress.
Prevent Future Sagging
Stop sagging before it starts with smart design and maintenance.
Limit Weight per Shelf
Know your shelf’s load limit and stick to it.
- Particleboard: max 25 lbs per shelf
- Plywood: up to 50 lbs
- Solid wood: 60+ lbs, depending on span
Use lighter containers and avoid storing small appliances in upper cabinets.
Use Shelf Liners Strategically
While liners protect surfaces, thick or sticky types can mask early warning signs.
- Choose thin, non-adhesive liners (felt, rubber mesh)
- Inspect shelves every 6 months by removing liners
- Replace damaged liners promptly
Avoid adhesive-backed liners—they trap moisture and weaken edges.
Schedule Regular Inspections
Catch problems early with routine checks.
- Every 6 months: remove contents, inspect for sag, cracks, loose supports
- Look for gaps between shelf and wall, wobbly pins, or creaking sounds
- Tighten screws and replace worn hardware immediately
Treat cabinets like any other home system—preventive care saves money.
Upgrade Cabinet Design
:no_upscale()/cdn.vox-cdn.com/uploads/chorus_asset/file/19496473/drawer_illo.jpg)
For recurring issues, consider structural improvements.
Install Face Frames or Cleats
Add front and back supports to distribute weight.
- Attach a wood cleat along the cabinet back wall
- Reinforce the front with a face frame or toe strip
- Mount shelves directly to all three points
This creates a box-like support system that resists flexing.
Switch to Thick Solid Wood Shelves
Invest in long-term durability.
- Replace multiple weak shelves with fewer, thicker ones
- Use 1-inch hardwood (birch, maple, oak) for spans up to 36 inches
- Finish with polyurethane for moisture resistance
Higher upfront cost pays off in longevity and performance.
Consider Pull-Out or Tiered Shelves
Redesign for better function and reduced load.
- Pull-out shelves reduce need for deep, sag-prone spans
- Tiered shelves improve visibility and weight distribution
- Mount on full-extension drawer slides for smooth operation
These upgrades also improve accessibility and kitchen efficiency.
Frequently Asked Questions About Sagging Kitchen Cabinet Shelves
How much weight can a sagging shelf hold before it breaks?
Most standard particleboard shelves can safely hold 25 lbs, while plywood supports up to 50 lbs and solid wood up to 60 lbs or more. Once a shelf begins to sag visibly, its capacity drops significantly. Remove heavy items immediately and reinforce or replace the shelf before loading it again.
Can I fix a sagging shelf without removing everything from the cabinet?
You can install under-shelf supports or stiffener strips with items still in place, but it’s safer to empty the shelf first. Working around stored items risks dropping them and makes it harder to position supports correctly. Emptying the shelf takes five minutes and ensures a proper, lasting repair.
What’s the best material to replace sagging particleboard shelves?
¾-inch plywood with edge banding is the best replacement for most kitchens. It resists sagging better than particleboard, handles moisture well, and costs less than solid wood. For spans over 24 inches, consider 1-inch solid hardwood for maximum strength and durability.
How often should I check my cabinet shelves for signs of sagging?
Inspect your shelves every six months. Remove all contents, look for visible bowing, press down on the center to test flexibility, and check pins and brackets for looseness. Regular inspections catch problems early, preventing costly damage to dishes, appliances, and the cabinet structure itself.
Do shelf liners cause sagging?
Adhesive-backed liners can contribute to sagging by trapping moisture against the shelf, which weakens particleboard and MDF over time. Thin, non-adhesive liners like felt or rubber mesh are safe. Always remove liners during inspections to check the shelf surface underneath.
Can I reinforce a sagging shelf from underneath without visible brackets?
Yes, wood cleats offer a nearly invisible reinforcement method. Glue and screw a 1×2 board along the underside of the shelf, either at the center or along the back edge. Paint or stain the cleat to match the cabinet interior, and it will blend in seamlessly while providing strong support.
Key Takeaways for Fixing Sagging Kitchen Cabinet Shelves
Sagging kitchen cabinet shelves are fixable—and preventable. By identifying the cause, reinforcing or replacing weak components, and adopting smart storage habits, you can restore strength and safety to your cabinets. Focus on proper support spacing, quality materials, and regular maintenance to keep shelves level for years.
Start with a thorough inspection of your shelves today. Remove all items, check for visible bowing, and test the support hardware. If you spot sagging, reinforce with under-shelf supports or replace damaged boards with ¾-inch plywood. For ongoing issues, consider upgrading to stronger designs like pull-out systems or continuous rail supports. A few hours of work now can save costly cabinet replacements later.