You are remodeling your kitchen and want a sleek look without bulky appliances breaking the flow. The right dishwasher cabinet ideas turn this appliance into a design highlight rather than an eyesore.
This guide covers professional strategies for flush-fit concealment and custom builds using real construction techniques. You will learn to choose moisture-resistant materials and avoid common installation pitfalls.
Hidden Dishwasher Integration Strategies
Concealing your dishwasher completely creates a seamless kitchen aesthetic that flows from one cabinet to the next. This approach requires precise planning to ensure the appliance functions correctly while remaining invisible.
Achieving a Flush-Fit Front Panel
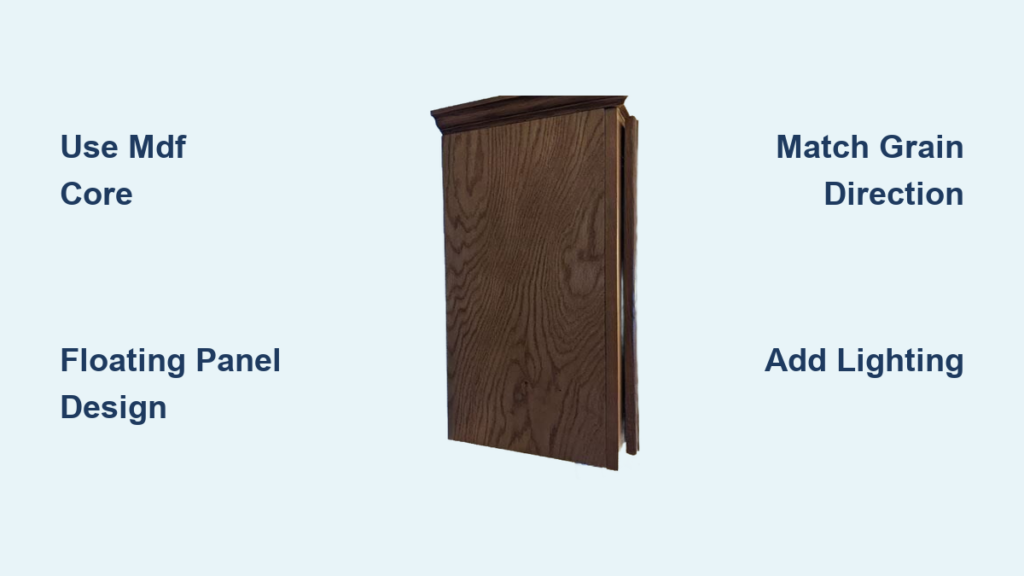
Cover the dishwasher with a custom front panel that matches your existing cabinetry exactly. This panel attaches directly to the dishwasher door and moves with it, staying flush with surrounding units. Use solid wood or MDF with a matching painted or stained finish to blend perfectly. Precise measurement is critical since the panel must align vertically and horizontally with adjacent doors. Leave a 1/16-inch gap on all sides to allow smooth operation without binding.
Utilizing Concealed Door Mechanisms
Standard dishwasher doors open downward, but hidden designs rely on specialized hardware to function. Use integrated hinges or mounting brackets that allow the cabinet panel to follow the door motion while staying aligned. Specific dishwasher panel kits are available for IKEA kitchens to adapt standard units effectively. Always test the door swing before finalizing the cabinet structure because some high-end models need extra clearance.
Implementing Elevated Installations
Raise the dishwasher into a base cabinet for ergonomic access, which is ideal for seated users or those avoiding bending. This requires building a platform or riser frame that lifts the unit to counter height or slightly below. Reinforce the platform with 3/4-inch plywood and secure it firmly to floor joists for stability. Leave at least 1 inch of clearance on all sides for ventilation and future service access.
Solving Corner Placement Challenges
Maximize awkward corner space by designing a custom dishwasher cabinet that fits the unique geometry. Standard units are 24 inches wide, so you can fit them diagonally or use a rotating carousel cabinet. Alternatively, build a custom L-shaped enclosure with a diagonal front panel using precise angle cuts. Ensure water and drain lines can route cleanly since corner plumbing often needs flexible connectors.
Custom Built-In Cabinet Designs

Tailor your cabinet to fit any kitchen layout or aesthetic preference with a custom build. This method allows for perfect alignment with existing structures and specific functional needs.
Executing the Three-Stage Construction Method
Build a professional-grade cabinet in three precise phases: Body, Face Frame, and Drawers. Start with the body using 3/4-inch plywood for durability and assemble side panels into an L-shape. Add the center panel cut 3/4 inch shorter than outer panels to accommodate top stretchers. Flip and attach back stretchers with pilot holes to ensure perfect alignment.
Next, build the face frame from solid wood stiles and rails using pocket holes for strong joints. Clamp each rail to the workbench and screw into stiles while using a plywood spacer for consistent spacing. Attach the frame to the body with wood glue and 18-gauge brad nails to pull the cabinet square. Finally, install interior plywood strips to support drawer slides and build drawers with grooved sides.
Matching Existing Cabinetry Styles
Ensure your dishwasher cabinet matches the rest of the kitchen by selecting identical materials. If your cabinets are oak with a honey stain, use solid oak face frames and oak-veneer plywood for the body. Stain all components together for consistency and test the finish on scrap pieces first. For painted kitchens, use MDF face frames because they sand smoother and resist grain bleed.
Installing Adjustable Cabinet Doors
Fine-tune alignment with soft-close, adjustable hinges that allow micro-adjustments in three directions. This feature is crucial when the dishwasher door shifts slightly during operation over time. Mount hinges to solid wood stiles rather than MDF for long-term durability and strength. Use recessed pulls or integrated finger grips to maintain a flush surface without protruding hardware.
Material Selection for Durability

Choose the right materials to withstand moisture and daily use in a high-traffic kitchen environment. Proper material selection prevents warping and ensures your cabinet lasts for decades.
Using 3/4-Inch Plywood Construction
Use sanded pine or birch plywood for the cabinet body because it is strong and resists warping. Veneer edges can chip during cutting, so prevent this by taping cut lines with blue painter’s tape. Score the veneer with a utility knife before sawing to ensure clean edges. Seal all cut edges with wood glue or primer to block moisture effectively.
Selecting MDF for Painted Finishes
Medium-density fiberboard (MDF) is ideal for painted cabinets because it has no grain. It sands perfectly smooth and provides a flawless surface for paint application. Always prime both sides before painting to prevent moisture absorption from the air. Never use MDF in high-moisture zones without sealing because steam can cause swelling.
Choosing Solid Wood for Premium Builds
Solid oak, maple, or birch offers unmatched longevity and repairability for high-end projects. Use these materials for stiles, rails, and front panels where strength is paramount. Although the cost is higher, the investment pays off in durability and aesthetic appeal. Always acclimate wood to your home’s humidity for 48 hours before cutting to prevent warping.
Functional Upgrades and Features

Boost usability with smart cabinet enhancements that improve your daily workflow. These features add convenience and make loading or unloading dishes much easier.
Installing Pull-Out Trays
Install a pull-out tray next to or beneath the dishwasher to create a staging area. Use full-extension, soft-close drawer slides rated for 100 lbs to support heavy loads. Build the tray from 1/2-inch plywood with a 1-inch lip to hold dishes securely in place. Line the bottom with non-slip matting to prevent items from sliding during movement.
Adding Interior Lighting Solutions
Add LED strip lighting under the upper cabinet or inside the cabinet frame to illuminate the interior. Use motion-activated or touch-switch strips for convenience when your hands are full. Position lights to avoid glare but ensure visibility of the bottom rack for easy loading. Run wires through a small notch in the cabinet back and keep them away from water lines.
Selecting Handle and Pull Options
Choose handles that match your kitchen style while maintaining functionality and safety.
* Recessed pulls involve routing a shallow groove into the cabinet front.
* Built-in finger grips require cutting a 1-inch deep notch at the top edge.
* Matching hardware uses the same knobs or pulls as your other cabinets.
Avoid protruding handles near the dishwasher door because they can snag clothing or interfere with opening.
Appliance Compatibility & Clearance

Ensure your cabinet fits the dishwasher and allows for service without removing the entire unit. Proper planning prevents costly mistakes during installation.
Verifying Standard vs. Custom Dimensions
Most built-in dishwashers are 24 inches wide, 24 inches deep, and 35 inches high including legs. Confirm exact dimensions before building because some models require 3/4-inch side clearance for ventilation. Leave 1 inch at the back for plumbing and electrical connections. Order a custom cabinet if installing in a non-standard space rather than modifying a stock unit.
Ensuring Ventilation and Access
Dishwashers vent steam during drying cycles, so never fully enclose the unit without airflow gaps. Leave gaps at the top or sides for proper ventilation depending on the model. Some models have top-venting systems, so ensure cabinetry does not block the vent path. Always allow front pull-out access so the dishwasher can be removed for repairs easily.
Routing Utility Lines Correctly
Map water supply, drain, and electrical lines before construction begins to avoid conflicts. Run a dedicated 120V outlet nearby instead of powering the dishwasher from an inaccessible outlet. Use a flexible stainless steel supply line and an air gap or high-loop drain hose to prevent backflow. Leave 6 inches of service loop for each line so the dishwasher can be pulled out easily.
Avoiding Common Installation Mistakes
Prevent costly errors with proactive planning and attention to detail during the build process. These mistakes often lead to moisture damage or mechanical failure.
Preventing Moisture Damage
Seal all plywood edges, especially in the toe kick and interior areas exposed to steam. Use oil-based primer or moisture-resistant paint to protect the wood surface. Apply silicone caulk around the cabinet base where it meets the floor to block spills. Check the dishwasher door gasket monthly and replace it if cracked to prevent steam leaks.
Preventing Hinge and Hardware Failures
Use heavy-duty hinges rated for at least 50 lbs if using solid wood or glass panels. Low-quality hinges sag over time under the weight of a heavy front panel. Tighten hinge screws every 6 months because vibration from the dishwasher loosens them. Use undermount slides for drawers instead of side-mount options for better strength.
Fixing Misalignment Issues
If cabinet doors do not align, use shim kits behind hinges or adjust the dishwasher leveling legs. For face frames, clamp and re-nail if the cabinet twisted during assembly. Always check for squareness with a framing square before attaching the face frame to ensure accuracy.
Long-Term Maintenance Tips
Keep your dishwasher cabinet looking new with regular care and inspection routines. Proper maintenance extends the life of both the appliance and the surrounding woodwork.
Conducting Regular Seal and Hardware Checks
Inspect seals around the cabinet interior every 3 months for signs of wear or gaps. Reapply caulk immediately if you see any separation to prevent water intrusion. Tighten drawer slides and hinge screws biannually to maintain structural integrity. Lubricate slides with silicone spray and never use oil, which attracts dust.
Caring for the Appliance Inside the Cabinet
Clean the dishwasher filter monthly to prevent clogs and water backup that damages wood. Remove debris from spray arms to avoid imbalance and vibration during cycles. Run a vinegar or citric acid cycle every 2 months to clear mineral buildup. This protects both the appliance and surrounding cabinetry from steam damage.
Cleaning and Finish Care
Wipe cabinet surfaces with a damp microfiber cloth and avoid harsh chemicals that strip finishes. For wood finishes, use a pH-neutral cleaner to maintain the luster. Touch up scratches with a matching marker or wax stick to prevent moisture entry. Refinish every 5 to 10 years if wear becomes visible on high-traffic areas.
Frequently Asked Questions About Dishwasher Cabinet Ideas
Can I hide a standard dishwasher with a cabinet panel?
Yes, you can hide a standard dishwasher by attaching a custom front panel that matches your cabinetry. This requires specific mounting brackets or integrated hinges to ensure the panel moves with the door.
What material is best for a dishwasher cabinet in a humid kitchen?
Use 3/4-inch plywood or solid wood for the best moisture resistance in humid environments. Avoid using unsealed MDF near water sources as it can swell when exposed to steam.
How much clearance does a built-in dishwasher need?
Most models require about 1 inch of clearance at the back for plumbing and 3/4 inch on the sides for ventilation. Always check your specific model’s manual for exact requirements before building.
Do I need special hinges for a hidden dishwasher cabinet?
Yes, you need heavy-duty adjustable hinges rated for the weight of your front panel material. Standard cabinet hinges may sag over time due to the vibration and weight of the dishwasher door.
How do I prevent my custom cabinet from warping?
Prevent warping by sealing all cut edges of plywood and acclimating solid wood to your home’s humidity before cutting. Proper ventilation around the appliance also reduces moisture buildup that causes warping.
Key Takeaways for Successful Dishwasher Cabinet Ideas
Creating a seamless look requires precise measurements and moisture-resistant materials like plywood or sealed solid wood. Always plan for adequate ventilation and service access to ensure long-term functionality.
Start by mapping your utility lines and selecting hardware rated for heavy use. With careful planning and the right dishwasher cabinet ideas, you can transform a bulky appliance into a sleek part of your kitchen design.