
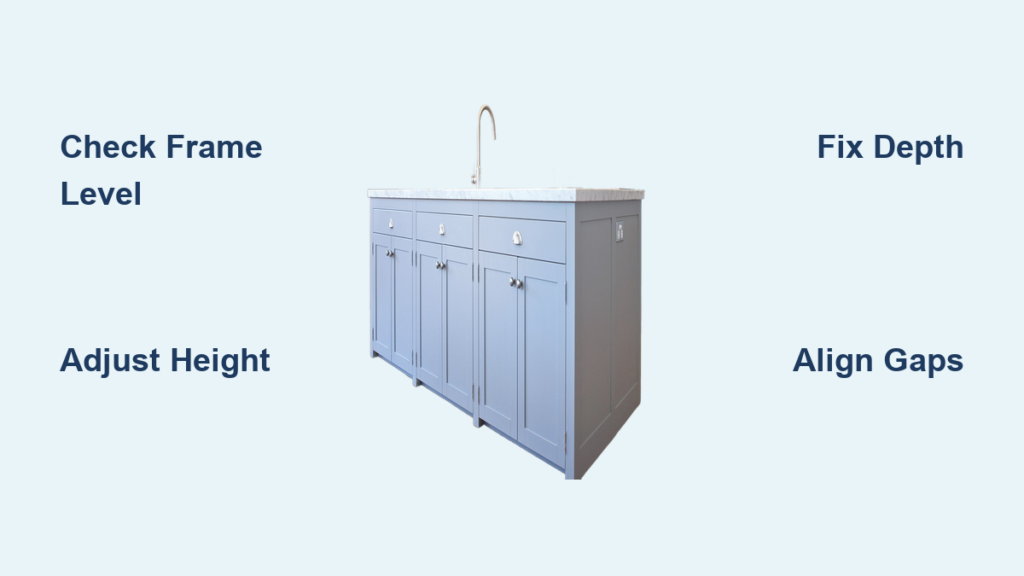
If your cabinet doors hang crooked, rub against the frame, or refuse to close flush, the culprit is almost always misaligned exposed hinges. Properly aligning cabinet doors with exposed hinges restores smooth operation, delivers a clean visual finish, and prevents premature hardware wear. Whether you’re installing new cabinet doors or correcting an existing alignment problem, this guide walks you through the exact process to achieve perfect results without guesswork or frustration. You’ll learn how to use adjustment screws, diagnose common hinge issues, and maintain proper alignment for years to come.
Prepare the Cabinet Frame Before Mounting
A stable, level cabinet frame is the foundation for any successful hinge alignment. If the frame itself is off, every door adjustment you make will be fighting against a flawed starting point.
Check the Frame for Level and Plumb
Use a level to verify the cabinet frame is both vertically plumb and horizontally level. Check the top, bottom, and both sides of the frame. If the cabinet sags, leans, or sits unevenly, adjust the mounting screws or add shims underneath the cabinet base. Never proceed with door installation until the frame is true, because any frame misalignment transfers directly to the door and makes perfect alignment impossible.
Mark Reference Points for Hinge Placement
With the frame confirmed level, hold the cabinet door in position against the opening. Check the reveal, which is the gap between the door and the frame, on all four sides. This gap should be consistent, typically measuring between 1/8 inch and 1/4 inch. Use a pencil to mark the hinge mounting positions on both the door edge and the cabinet frame. Standard hinge placement positions hinges 2 to 3 inches from the top and bottom of the door, which provides balanced support.
Mount the Hinges to the Cabinet Door

Proper hinge attachment to the door is critical because any error here compounds during frame mounting. Take your time with this step to ensure a flush, secure fit.
Align and Secure Each Hinge Plate
Position each hinge exactly over the pencil marks on the door edge. The hinge plate must lie completely flush against the door surface with no visible gaps. Use the screws that came with your hinge hardware, and always pre-drill pilot holes when working with MDF, particle board, or veneer-covered materials. Pre-drilling prevents wood splitting and ensures screws drive straight for maximum holding power.
Confirm Consistent Hinge Orientation
All hinges must face the same direction for the door to swing properly. For inset doors, mount hinges flush with the door edge so the door sits inside the frame opening. For overlay doors, position hinges so they extend slightly beyond the door edge, allowing the door to cover more of the frame face. Double-check orientation on both hinges before tightening screws fully.
Attach the Door to the Cabinet Frame
With hinges secured to the door, the next phase is connecting everything to the cabinet frame. This step requires patience because small positioning errors become obvious once screws are tightened.
Align the Frame-Side Hinge Plates
Hold the door in its closed position and align each hinge’s mounting plate with the reference marks you made on the frame. Insert the screws loosely at first, leaving them just tight enough to hold the hinge in place. This loose mounting allows you to make minor positional adjustments before committing to the final screw placement.
Verify Even Spacing Around the Door
With screws partially tightened, open and close the door several times to test the swing. Examine the reveal on all sides of the door. If gaps are uneven, shift the hinge plates left, right, up, or down in small increments. Use a measuring tape to confirm equal spacing at the top, bottom, and both sides before fully tightening all screws.
Fine-Tune Alignment Using Adjustment Screws

Most modern exposed hinges, particularly European-style designs, include three-way micro-adjustment screws. These allow precise alignment corrections without removing the door from the cabinet.
Adjust the Door Height
Locate the vertical adjustment screw, typically positioned on the hinge arm or mounting plate. Turn this screw clockwise to raise the door and counterclockwise to lower it. Make adjustments in quarter-turn increments, testing the door position after each change. The goal is to have the door align perfectly with adjacent doors and sit evenly within the cabinet opening.
Correct the Door Depth
If the door sits too far inside the cabinet or protrudes past the cabinet face, use the depth adjustment screw. Turning this screw moves the door forward or backward relative to the cabinet body. The ideal position has the door surface perfectly flush with the cabinet front or matching the plane of neighboring doors. This adjustment is essential for achieving a seamless, professional appearance across multiple cabinets.
Fix Side-to-Side Gaps
The lateral adjustment screw shifts the door left or right within the opening. Use this to correct uneven side reveals or to ensure equal spacing between double doors on the same cabinet. Turn the screw gently because small movements produce significant positional changes. Check the gap on both sides after each adjustment.
Diagnose and Fix Common Alignment Problems
Even with careful installation, issues can arise. Here are the most frequent problems and their solutions.
Door Rubs Against the Frame
When a door scrapes the frame during opening or closing, check depth and lateral alignment first. The door is likely positioned too close to the contact point. Adjust the depth screw to pull the door slightly outward, or use lateral adjustment to shift it away from the rubbing area. Also inspect for swollen wood from moisture exposure or carpet interference on floor-level cabinets.
Door Won’t Close Flush
If the door sits proud at one corner or refuses to close completely, tighten all hinge screws on both the door and frame sides. Loose screws are the most common cause of this problem. If tightening doesn’t resolve the issue, recheck height and depth adjustments. For particularly heavy doors, consider adding a third hinge in the middle to provide additional support.
Door Sags Over Time
Sagging typically indicates loose screws or worn hinge components. Tighten every screw on both hinges, checking both the door side and frame side. If screw holes have become stripped, fill them with wood glue and toothpicks, allow the glue to dry, then reinstall the screws. For doors that sag repeatedly, upgrade to longer screws or replace the hinges entirely.
Uneven Gaps on Double Doors
For cabinet pairs, align both doors to a shared centerline. Measure from the center of the cabinet opening to each door edge and use lateral adjustments to equalize the gaps. If the doors overlap at the center, verify the reveal is consistent at the top, middle, and bottom of both doors.
Ensure Professional Visual Alignment
Beyond functional operation, exposed hinges are visible design elements. The final appearance matters as much as smooth mechanics.
Check Flushness and Symmetry Across All Doors
Close all cabinet doors and step back to assess the overall look. Look for consistent gaps around each door, doors sitting flush with cabinet fronts, and even alignment across multiple cabinet units. Use a straightedge or level placed across adjacent doors to spot height differences that might not be obvious at eye level.
Match Hinge Style and Finish to Your Décor
Since exposed hinges remain visible, choose finishes that complement your cabinet hardware and overall design scheme. Popular options include brushed nickel, matte black, oil-rubbed bronze, chrome, and satin brass. Replace mismatched or outdated hinges to create a cohesive, intentional look throughout your space.
Maintain Long-Term Hinge Alignment
Proper alignment isn’t a one-time task. Regular maintenance keeps doors operating smoothly and prevents small issues from becoming major problems.
Tighten Screws Periodically
Check all hinge screws every 6 to 12 months. Daily use causes screws to loosen gradually over time, and a quick tightening session prevents misalignment before it starts. This simple habit takes only a few minutes but extends the life of both hinges and doors.
Lubricate Moving Parts for Smooth Operation
If doors begin to squeak or operate stiffly, apply light machine oil to the hinge pins and moving components. Wipe away any excess oil to prevent dust accumulation. Avoid heavy grease, which can gum up moving parts and attract dirt.
Recognize When Replacement Is Necessary
Replace hinges if you notice cracks in the hinge plate, stripped screw holes that won’t hold screws, or difficulty making adjustments despite functional screws. Worn hinges compromise both door alignment and safety, so replacement is the smart choice when these signs appear.
Pro Tips for Flawless Hinge Alignment
These expert insights help you achieve professional-grade results with less effort.
Work on One Adjustment Axis at a Time
When fine-tuning alignment, focus on height first, then depth, then lateral position. Changing multiple settings simultaneously makes it difficult to isolate which adjustment is working. Test the door after each small change to build a clear picture of what’s happening.
Use Spacers for Consistent Gaps
Cut small pieces of cardboard or plastic to 1/8 inch thickness and place them in the door corners while positioning it. These spacers ensure even reveal on all sides before you tighten the hinges. Remove them before final screw tightening.
Align All Doors to a Single Reference Point
In a kitchen with multiple cabinets, select one central cabinet as your alignment benchmark. Match all other doors to this reference. This approach prevents the stair-step effect where each door sits at a slightly different height, creating an unprofessional appearance.
Upgrade to Adjustable Hinges
If your current hinges lack micro-adjustment capability, consider replacing them with European-style exposed hinges. These offer superior precision and make future adjustments significantly easier. The upgrade cost is minimal compared to the convenience gained.
Frequently Asked Questions About Aligning Cabinet Doors with Exposed Hinges
How do I know if my cabinet frame is level before installing hinges?
Use a level to check the frame both vertically and horizontally. Place the level against the frame’s side edges to verify plumb, and across the top and bottom to verify level. If the frame is off, adjust mounting screws or add shims before proceeding with hinge installation.
What tools do I need to align cabinet doors with exposed hinges?
You need a measuring tape, level, pencil, screwdriver or drill, and the appropriate screws for your hinge hardware. Pre-drilling bits are also recommended when working with MDF, particle board, or veneer materials.
How often should I tighten cabinet hinge screws?
Check hinge screws every 6 to 12 months as part of routine maintenance. Daily use gradually loosens screws, and periodic tightening prevents misalignment before it becomes noticeable.
Can I fix a sagging cabinet door without replacing the hinges?
Often yes. Tighten all hinge screws on both the door and frame sides first. If screw holes are stripped, fill them with wood glue and toothpicks, let dry, then reinstall screws. If sagging persists, the hinges may be worn and require replacement.
What is the standard distance for hinge placement on cabinet doors?
Position hinges 2 to 3 inches from the top and bottom edges of the door. This placement provides balanced support for standard-height doors. Taller doors over approximately 36 inches may require a third hinge in the center.
How do I fix uneven gaps on double cabinet doors?
Align both doors to a shared centerline by measuring from the center of the cabinet opening to each door edge. Use lateral adjustment screws to shift doors left or right until gaps are equal on both sides.
Key Takeaways for Aligning Cabinet Doors with Exposed Hinges
Successful cabinet door alignment starts with a level frame and ends with careful micro-adjustments. Always verify the cabinet frame is plumb and level before mounting hinges, because frame issues transfer directly to door alignment. Use the three-way adjustment screws on modern hinges to fine-tune height, depth, and lateral position in small quarter-turn increments.
Regular maintenance prevents most alignment problems. Tighten hinge screws every 6 to 12 months, lubricate moving parts when doors squeak, and replace worn hinges before they cause damage. When adjusting multiple doors, work one axis at a time and align everything to a single reference cabinet for consistent results.
Start by checking your cabinet frames today. A quick level check and screw tightening session now prevents frustrating misalignment issues later. With the right approach, you can achieve factory-perfect door alignment that looks professional and operates smoothly for years.


