
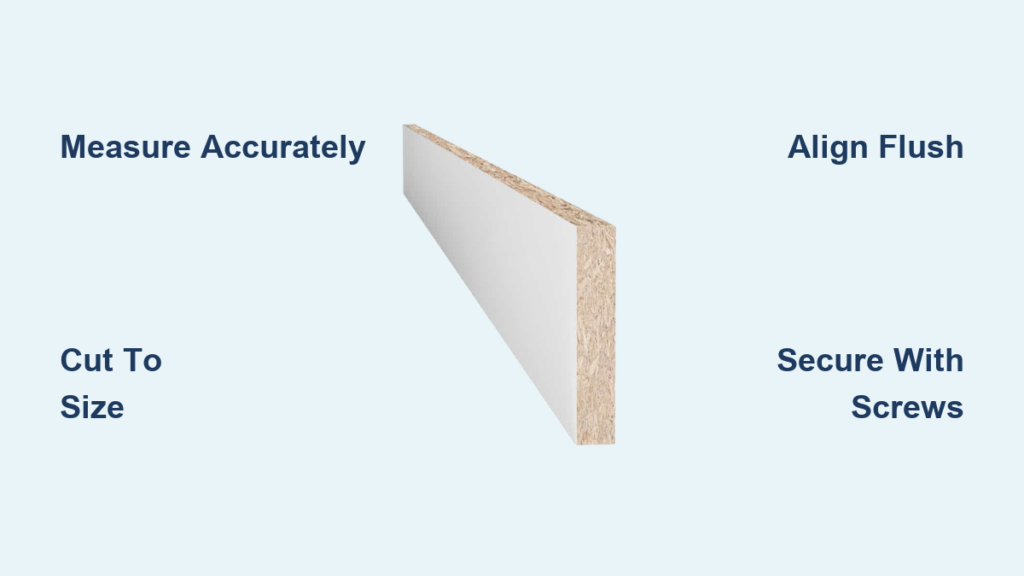
Cabinet installations rarely end with perfect, flush edges against walls or ceilings. Uneven surfaces, out-of-plumb walls, and slight measurement errors leave unsightly gaps that collect dust and compromise the finished look. Learning how to attach cabinet filler strip solves this problem with a clean, professional solution that hides imperfections and creates a seamless transition between your cabinetry and surrounding surfaces.
Filler strips are thin panels of matching wood, veneer, or MDF that bridge the gap between cabinets and adjacent walls, appliances, or ceilings. Whether you’re installing IKEA units, custom cabinetry, or prefabricated boxes, proper filler strip attachment is critical for both appearance and long-term durability. This guide walks you through the complete process, from accurate measurement and cutting to final finishing and troubleshooting common issues.
You’ll also learn professional techniques for concealing seams, selecting the right fasteners, and achieving a flawless blend with your existing cabinet finish.
Measure and Cut Filler Strip
Before any cutting begins, evaluate the space where the filler strip will live. Most installations require vertical strips at the ends of wall cabinets or horizontal pieces above tall units to close gaps between the cabinet and ceiling or adjoining wall.
Determine Required Length
Use a tape measure to record the exact dimension needed. For vertical applications, measure from the floor to the top of the base cabinet or from the countertop to the underside of the wall cabinet. For ceiling gaps, measure horizontally across the top of tall cabinets.
Pro Tip: Take measurements at multiple points along the gap. Walls are rarely straight, so use the longest measurement to guarantee full coverage without shortfalls.
Cut Strip to Size
A miter saw or circular saw delivers straight, clean cuts. Clamp the filler strip securely to a workbench and align the blade with your mark. Cut slowly to prevent splintering the veneer or chipping the surface.
Visual Cue: After cutting, hold the strip in place without fasteners to check for gaps at the top and bottom. Adjust the length if needed before proceeding.
Common Mistake: Cutting the strip too short. Always verify measurements twice before making the cut.
Position and Align Strip

Correct alignment ensures the filler strip sits flush with the cabinet face and maintains a consistent profile across the entire run.
Dry-Fit Before Securing
Hold the filler strip against the cabinet edge and verify it aligns with the front of the doors or drawer fronts. The strip should sit perfectly flush with no overhang or recess.
For face-frame cabinets, align the filler with the outer edge of that frame. For frameless cabinets, match the front edge of the cabinet box.
Expert Note: Use a level to confirm the strip is plumb (vertically straight), especially on tall cabinets where slight tilts become obvious.
Mark Fastener Locations
Once aligned, mark where screws or nails will pass through the cabinet into the filler strip. Place fasteners every 12 to 16 inches along the strip for even holding power.
Avoid positioning fasteners within 1 inch of the ends to prevent splitting the wood.
Secure Filler Strip to Cabinet
With alignment confirmed, it’s time to permanently attach the filler strip using the right technique for your cabinet type.
Use Trim Screws or Finish Nails
Choose 1¼-inch trim-head screws or 1½-inch finish nails for a clean result. Trim screws feature small heads that countersink easily and hide beneath wood filler.
- For screws: Pre-drill pilot holes through the cabinet side into the filler strip to prevent splitting.
- For nails: Use a brad nailer for speed and precision, or hand-nail with a hammer and nail set.
Difficulty Level: Easy to moderate
Time Estimate: 10 to 20 minutes per strip
Check Flush Fit After Fastening
After driving each fastener, run your hand along the seam between the cabinet and filler strip. There should be no ridges or steps. If the strip protrudes slightly, sand it down with fine-grit sandpaper to achieve a smooth transition.
Conceal Seams and Edges
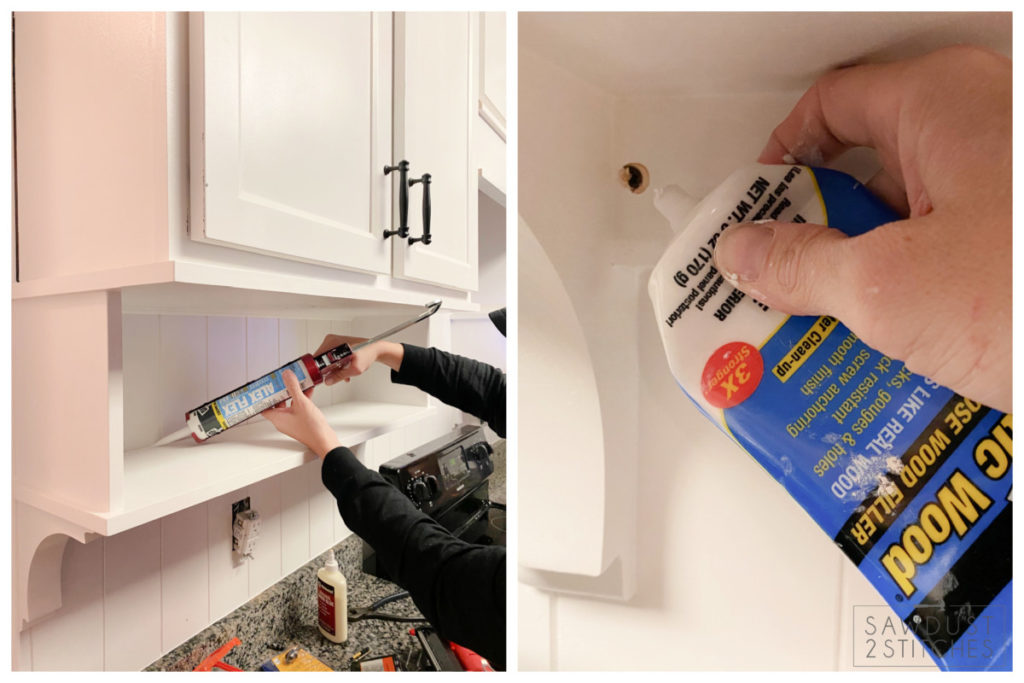
Even a perfectly installed filler strip may reveal a subtle seam where it meets the cabinet. Blending this joint is essential for a professional, built-in appearance.
Fill Gaps with Wood Filler
Use a paintable or stainable wood filler to seal any tiny gaps between the filler strip and cabinet. Apply with a putty knife and wipe away excess with a damp cloth.
Allow the filler to dry completely, then sand smooth.
Pro Tip: For painted cabinets, choose white or gray filler that matches the paint color. For stained wood, select a filler tinted to match the grain.
Sand Entire Surface
Lightly sand the complete filler strip with 220-grit sandpaper to prepare it for finishing. Focus on smoothing the seam and eliminating any tool marks.
Wipe away all dust with a tack cloth before applying finish.
Finish to Match Cabinets
The final step transforms the filler strip from a functional piece into an invisible extension of your cabinetry.
Prime and Paint for Painted Cabinets
Apply one coat of primer first, especially when using MDF filler strips. Then apply two coats of paint using the same type and color as your cabinets.
Use a small brush or foam roller for even, streak-free coverage.
Time Estimate: Allow 4 to 6 hours drying time between coats.
Stain and Seal for Wood Cabinets
Apply wood conditioner first for softwoods like pine, then apply stain with a cloth or brush, wiping off excess. Follow with two to three coats of polyurethane or cabinet varnish.
Expert Note: Test the stain on a scrap piece first to confirm the color matches your existing cabinets.
Handle Corner and Overlap Transitions
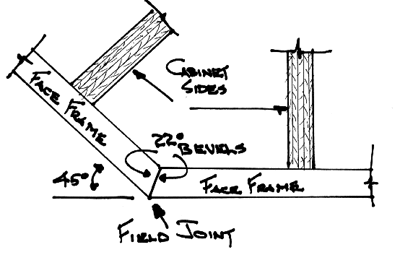
When filler strips meet at corners or overlap other cabinet components, extra care prevents visible gaps and awkward transitions.
Miter Inside Corners
For inside corners where two cabinets meet at an angle, cut a 45-degree miter on the leading edge of each strip. This creates a tight, clean joint.
Secure mitered corners with wood glue and pin nails.
Overlap at Cabinet Intersections
When a filler strip meets a perpendicular cabinet, allow it to overlap slightly. This hides minor alignment errors and accommodates natural wood movement.
Trim the back edge if needed to maintain flush alignment with the cabinet face.
Troubleshoot Common Installation Issues
Even experienced installers encounter small problems. Here’s how to resolve them quickly.
Strip Is Not Flush with Cabinet Face
If the filler strip sits too far forward or recessed:
- Too proud? Sand carefully with a sanding block.
- Too recessed? Remove and reinstall with shims behind the strip to bring it forward.
Warning: Never force a strip into place, as this can warp the cabinet.
Visible Gaps After Installation
If gaps appear after fastening, remove the strip and insert thin cardboard or veneer shims between the cabinet and strip before reattaching.
Fill remaining gaps with caulk or wood filler.
Split or Damaged Strip
If the wood splits during installation, replace the strip entirely. Prevent splits by pre-drilling pilot holes and avoiding fasteners near the ends.
Prevent Gaps in Future Installations
Once you’ve mastered how to attach cabinet filler strip, use these best practices to avoid issues from the start.
Measure Walls Before Installing Cabinets
Use a laser level or long straightedge to check wall flatness before mounting cabinets. Note high and low spots to plan filler strip thickness and length accordingly.
Choose Matching Material
Always use filler strips that match the cabinet’s material, whether same wood species, veneer, or MDF type. This ensures consistent expansion, finishing, and appearance.
Pre-Finish Strips When Possible
For new builds or full remodels, finish the filler strips before attaching them. This avoids paint drips and ensures complete coverage on all sides.
Frequently Asked Questions About Attaching Cabinet Filler Strips
What thickness should a cabinet filler strip be?
Filler strips typically match the thickness of your cabinet material, usually 3/4 inch for standard cabinets. Thinner strips may flex and warp, while thicker strips create an awkward protrusion.
Can I use construction adhesive instead of screws?
Adhesive alone is not recommended. It doesn’t provide immediate holding strength and can fail over time. Combine adhesive with screws or nails for a secure, permanent installation.
How do I attach a filler strip to a cabinet without damaging the surface?
Pre-drill pilot holes and use trim-head screws with a countersink bit. This prevents splitting and leaves a small hole that’s easily concealed with wood filler.
Do filler strips need to be the same color as the cabinets?
Yes, filler strips should match your cabinet color and finish exactly. This creates a seamless look where the strip becomes invisible against the cabinet.
Can I use filler strips to close gaps between cabinets and appliances?
Absolutely. Filler strips work well to bridge gaps between cabinets and refrigerators, dishwashers, or ranges. Measure carefully and use the same attachment method.
What’s the best way to cut a filler strip for a corner cabinet?
Use a miter saw set to 45 degrees for inside corners. This creates a tight joint that looks clean and professional.
Key Takeaways for Attaching Cabinet Filler Strips
Mastering how to attach cabinet filler strip transforms a potential eyesore into a seamless, professional finish. The process comes down to three critical steps: precise measurement, careful alignment, and proper fastening. Take your time during the measuring phase, as walls and cabinets rarely sit perfectly straight.
Always dry-fit before securing anything. This simple step catches alignment issues before they become permanent problems. Choose fasteners that match your cabinet construction, and never skip the finishing process, as this is what truly blends the strip into your cabinetry.
Final Note: Knowing how to attach cabinet filler strip correctly makes the difference between a DIY look and a pro-grade finish. With precise measuring, careful alignment, and proper finishing, you can eliminate unsightly gaps and create a polished, seamless cabinetry installation. Whether you’re upgrading a single cabinet or doing a full kitchen renovation, these steps ensure durable, attractive results every time.


