
Opening a 24-inch deep cabinet often feels like peering into a black hole where pasta boxes vanish and canned goods become impossible to reach. You end up pulling out three items just to grab the one you need, leaving the back shelf as a graveyard for expired snacks. If your kitchen storage feels more like a chaotic void than a functional space, you are not alone in this struggle.
This guide reveals exactly how to organize deep cabinets using proven hardware solutions and smart layout strategies. You will learn to build DIY sliding shelves, install corner turntables, and implement a pest-prevention cleaning routine that keeps your pantry fresh. By following these steps, you can transform hard-to-reach zones into efficient storage hubs that make daily cooking effortless.
Install Sliding Shelves for Full Depth Access
Deep cabinets require hardware that brings the back of the shelf to you. Static shelves force you to dig through layers of items, but sliding systems eliminate the need to stretch or guess what hides behind the front row.
Build a DIY Sliding Shelf with Roller Bearings
You can construct a cost-effective sliding shelf using plywood and roller bearings for under $30. Cut a piece of plywood to fit your cabinet depth minus two inches to ensure smooth movement. Mount roller tracks on the interior sides of the cabinet to create a gliding surface that supports up to 30 pounds. This project takes less than a day and works perfectly for accessing canned goods or large bags without strain.
Upgrade to Heavy-Duty Pull-Out Drawer Kits
For heavier loads like glass jars or appliances, pre-made pull-out drawer kits offer superior stability. These units extend fully so nothing gets lost at the back and are designed to support significant weight. Measure your cabinet depth precisely before purchasing, as standard kits come in 18, 20, or 24-inch sizes. Select models with ball-bearing glides to ensure smooth operation and long-term durability for your heavy items.
Create a Tiered Zone with a Secondary Back Shelf
Install a second shelf a few inches above the cabinet floor at the rear to create a tiered storage zone. This setup allows you to store lighter, less-used items like extra spices or backup condiments in the back while keeping everyday essentials up front. The slight height difference prevents front items from blocking your view, improving visibility without requiring a major renovation.
Optimize Corner Zones with Rotating Tools
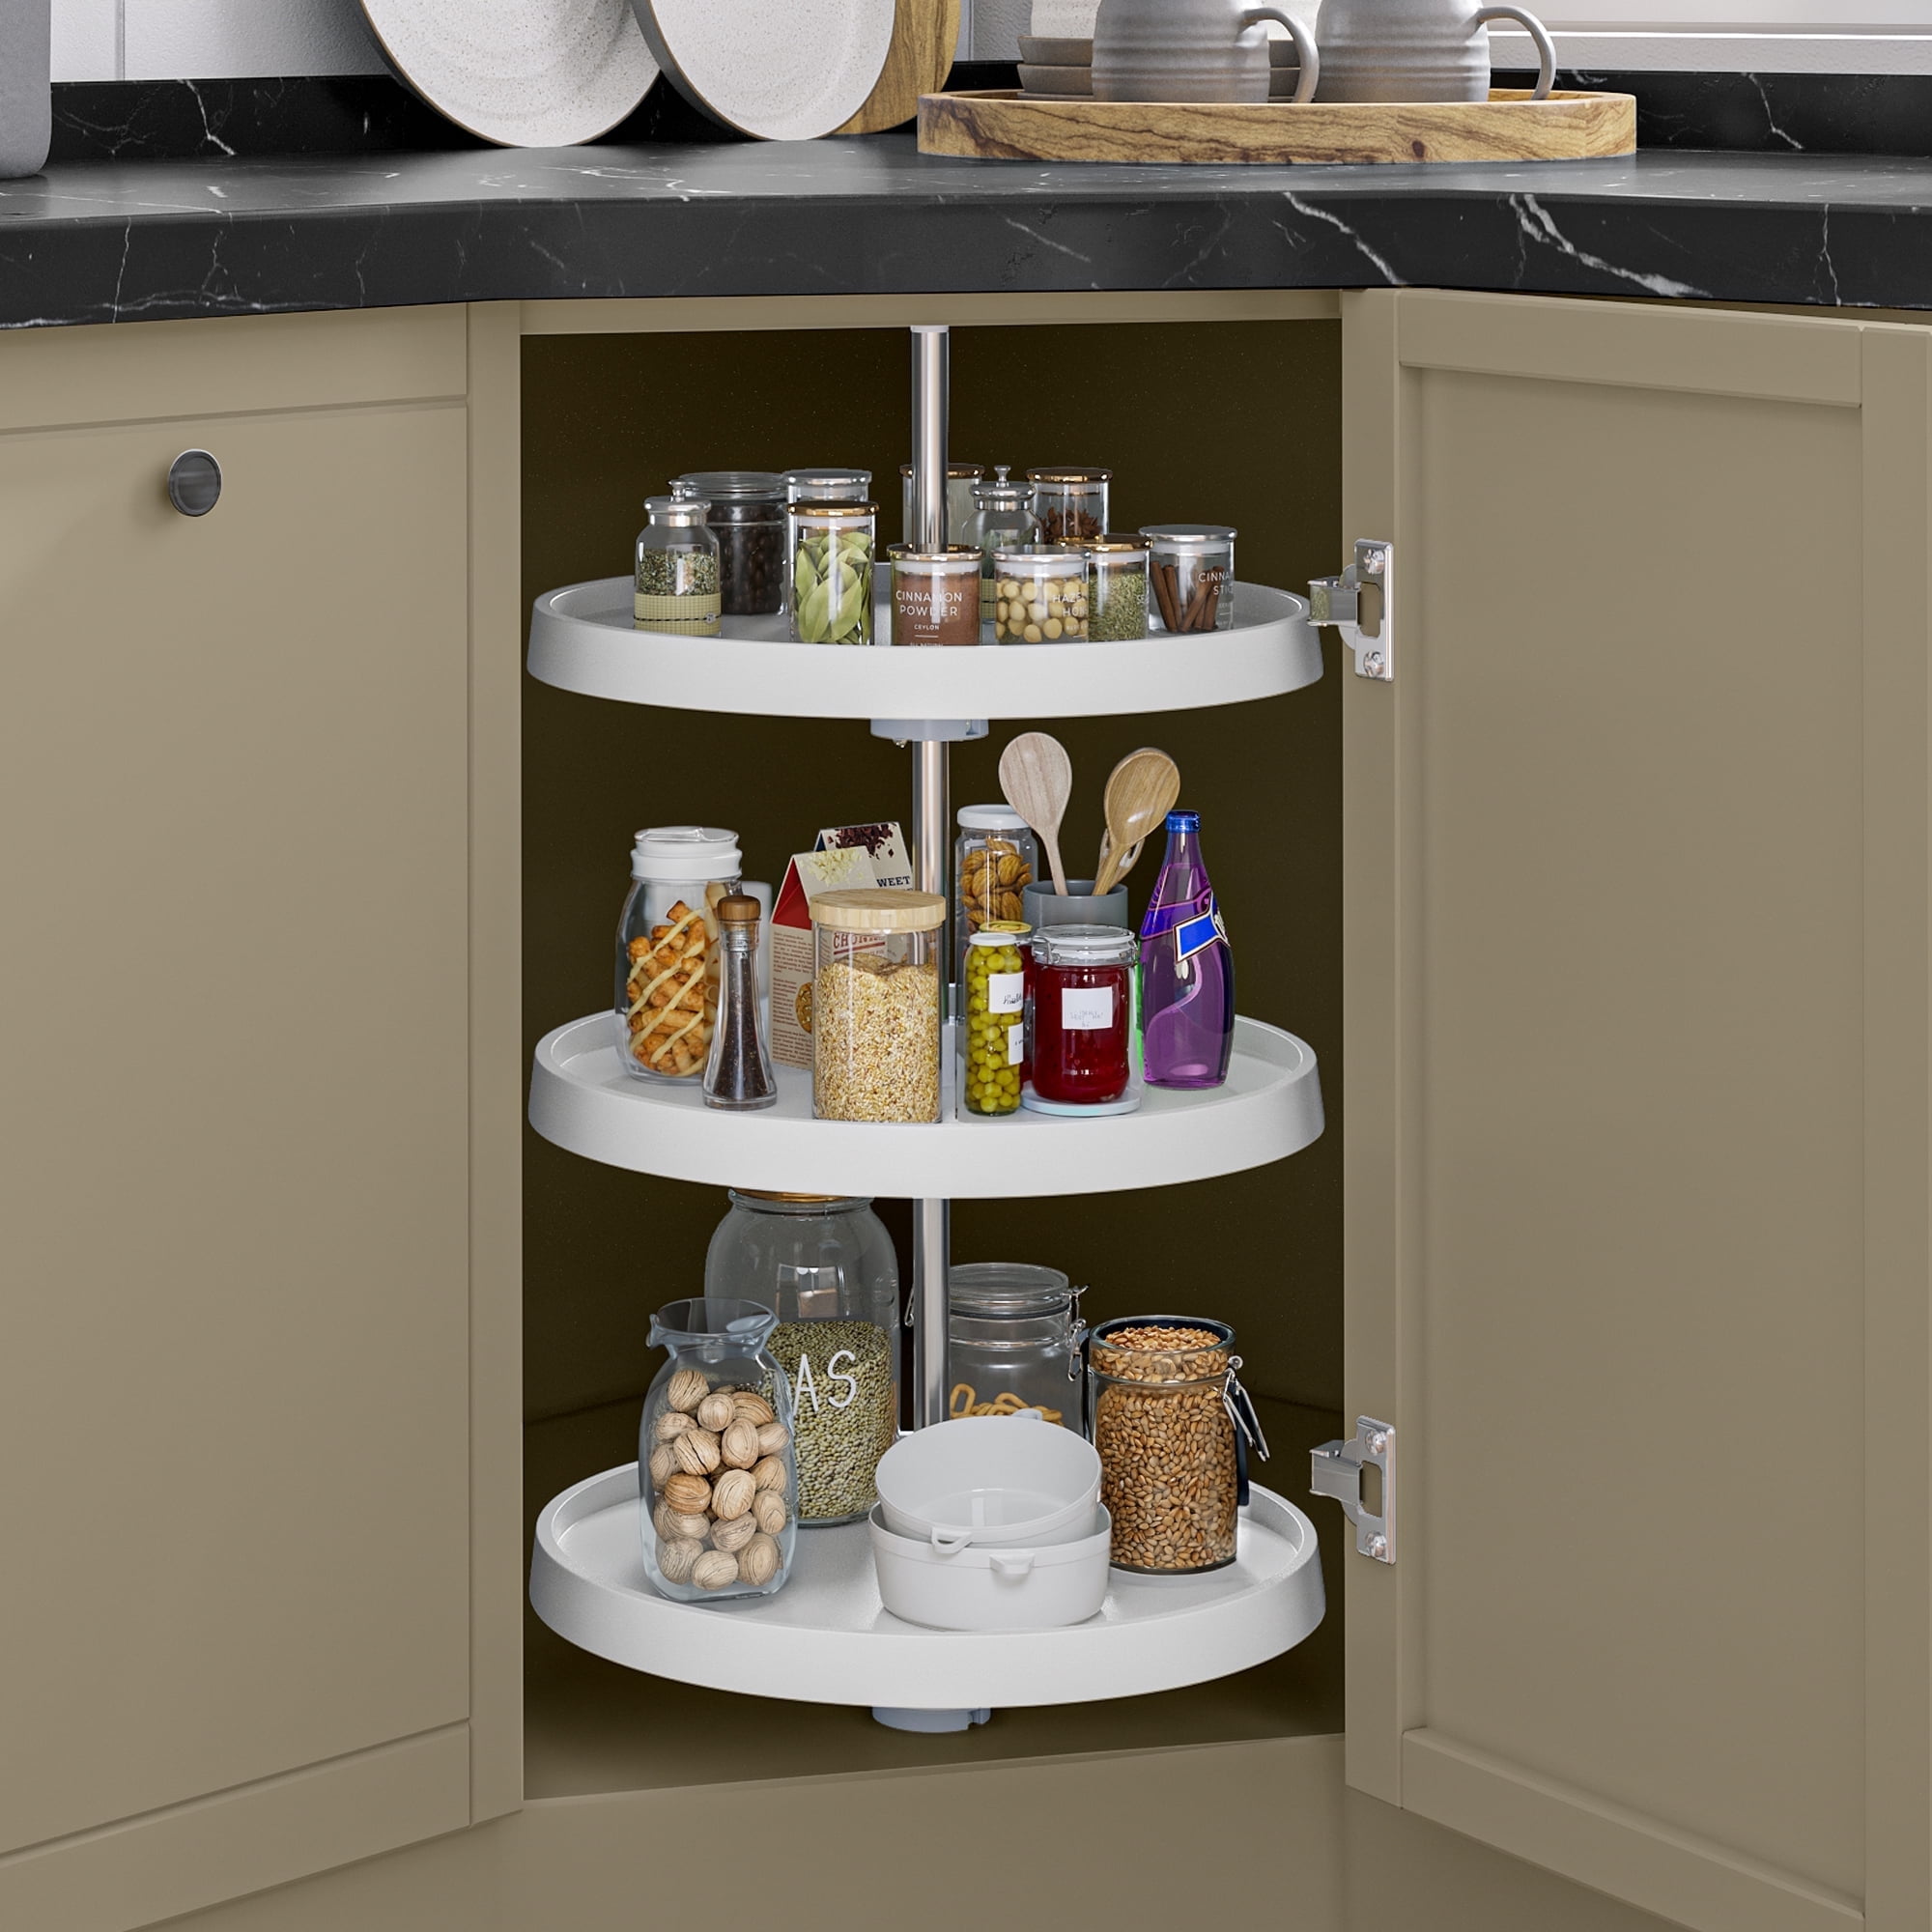
Cabinet corners are notorious dead zones that trap clutter and hide inventory. Without proper tools, these awkward spots become frustration points, but the right hardware transforms them into high-functioning storage areas.
Mount Lazy Susans in Back Corners
A Lazy Susan is the most effective solution for corner inaccessibility in deep cupboards. Spin the turntable to bring items from the far back to the front in seconds, solving the reach problem instantly. Install one in each deep corner to store oils, sauces, or spice jars, ensuring you can access everything with a simple twist. Choose a low-profile model to avoid hitting cabinet doors when opening them.
Use Angled Can Racks for Tight Spaces
If you store canned goods in corners, utilize angled can racks designed specifically for tight spaces. These racks allow vertical stacking while ensuring cans roll forward as you remove the front ones. Unlike flat shelves where cans get buried and forgotten, these racks maintain a first-in, first-out flow that reduces waste and improves access.
Empty and Deep Clean Before Organizing
You cannot organize clutter effectively, so you must clear everything out to start with a clean slate. This process reveals hidden problems and sets the foundation for a lasting organizational system.
Remove All Contents Completely
Take every single item out of the cabinet, including empty jars, expired snacks, and forgotten condiments. This blank slate approach lets you see exactly how much space you have and helps you identify duplicates or unused goods. Be ruthless during this phase and toss anything expired or unused rather than automatically returning it to the shelf.
Clean with Vinegar and Bay Oil Solution
Start by using a vinegar cleaner to dissolve sticky spills and grease on every shelf and the cabinet floor. Next, mix warm water with bay oil and wipe down all surfaces to naturally repel pantry pests like moths and beetles. Finish by scattering fresh bay leaves across the shelves, as they continue deterring bugs without the need for harsh chemicals.
Schedule Seasonal Refreshes
Plan a quarterly cabinet refresh where you remove items, re-clean with the bay oil solution, and replace old bay leaves. This routine prevents infestations and keeps the space fresh throughout the year. Always clean up spills immediately, as dried crumbs attract pests and make future cleaning much harder.
Categorize and Containerize for Clarity
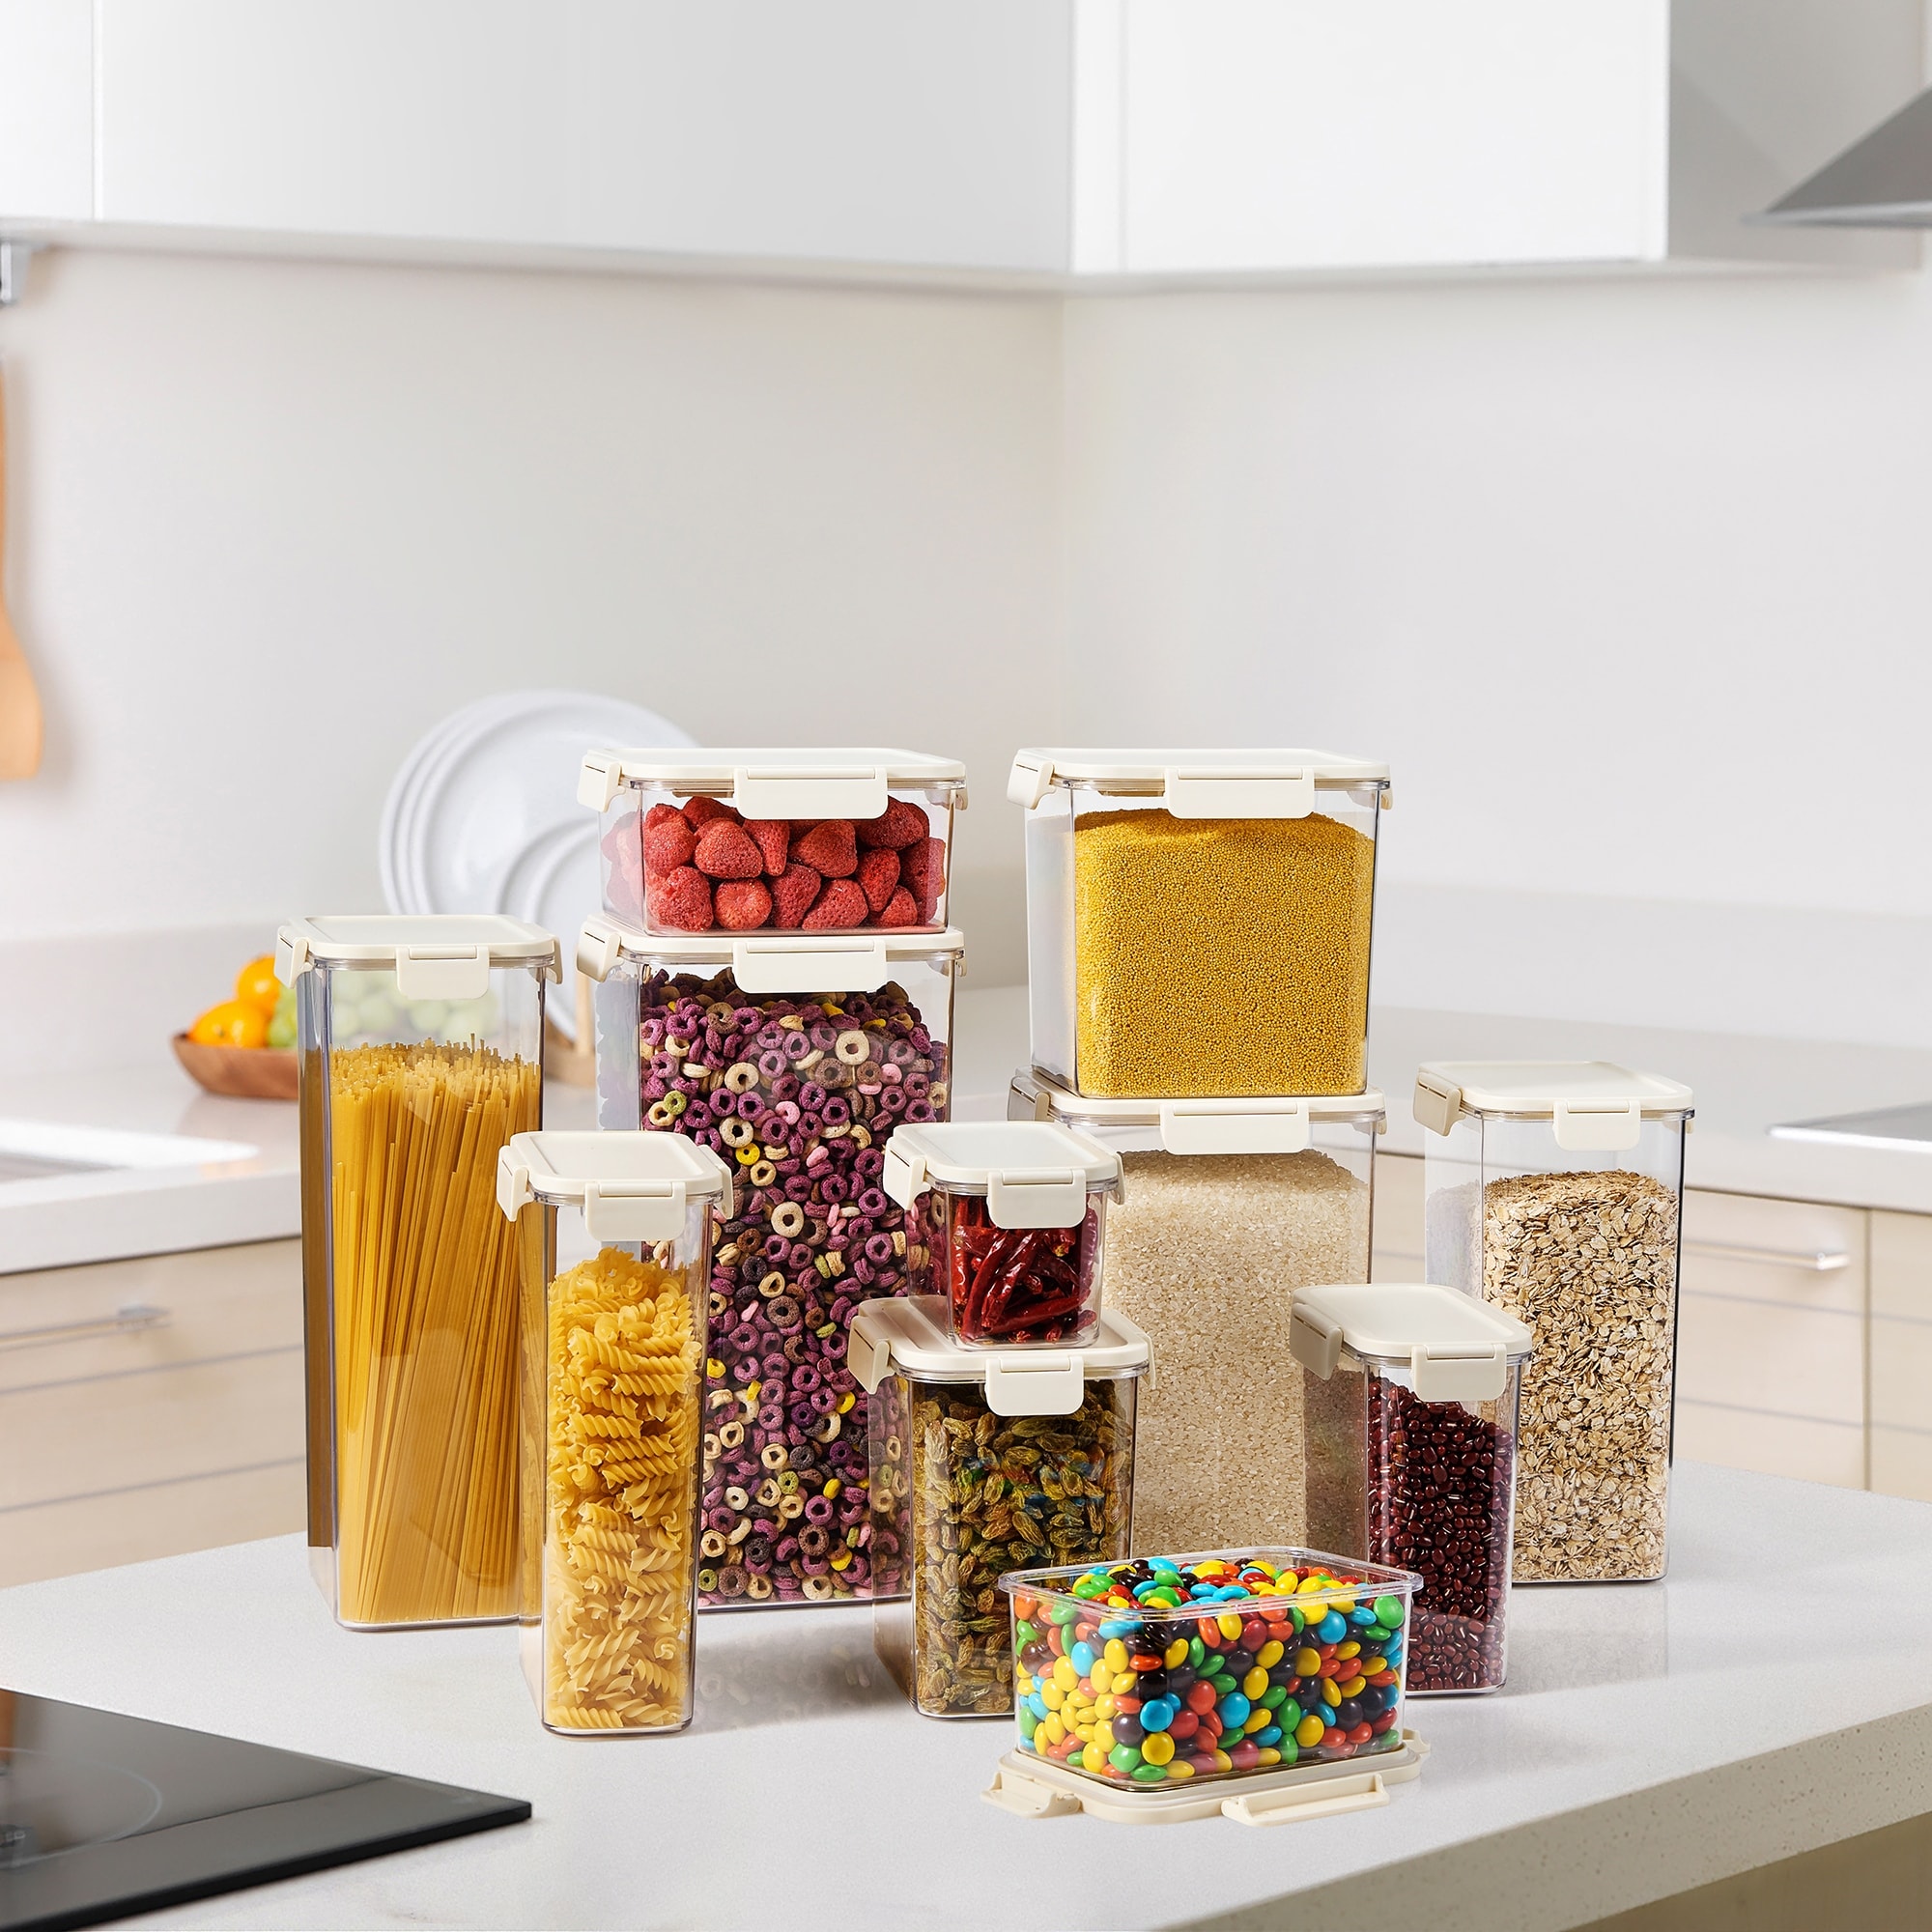
Once the cabinet is clean, group similar items and use containers to maintain order. This step turns chaos into a logical system that anyone in your household can follow easily.
Sort Items into Logical Groups
Create simple categories such as canned goods, boxed staples, bulk dry goods, storage bags, and oils. Keep these groups broad to avoid confusion, as too many subgroups can create more disorder. Use labeled baskets or bins to separate each category, making it easy to pull out an entire group at once for cooking or restocking.
Use Stackable Labeled Containers
Transfer bulk dry goods like flour, sugar, and oats into airtight, stackable plastic containers. These save vertical space, keep food fresh, and allow for neat stacking. Always label the front with the contents and expiration date, and tape the original cooking instructions inside the lid to eliminate guesswork.
Choose Clear or Uniform Containers
Opt for clear containers so you can see the contents at a glance without opening them. If you prefer opaque containers, stick to a single color or style to create visual calm and reduce clutter. Avoid mixing shapes and sizes, as uniformity makes the cabinet look neater and helps maintain order over time.
Maximize Depth with Smart Layouts
Even with containers, poor placement wastes valuable space in deep cabinets. Use depth strategically to balance access with storage capacity.
Apply Front-to-Back Rotation Rules
Use the first-in, first-out rule by placing older items in the back and newer ones in the front. This prevents food waste and ensures nothing gets forgotten in the deep recesses of the cabinet. Use stackable bins with open fronts so you can easily see and reach rear items, or use angled racks for canned goods to maintain this flow automatically.
Place Heavy Items on Pull-Outs
Store heavy items like large jars or cases of canned tomatoes on pull-out shelves or drawers. This reduces physical strain when accessing them and prevents the need to lift heavy stacks from the back of the cabinet. Keep lighter items like chip bags or paper towels on fixed rear shelves where weight is less of an issue.
Utilize Under-Shelf Zones
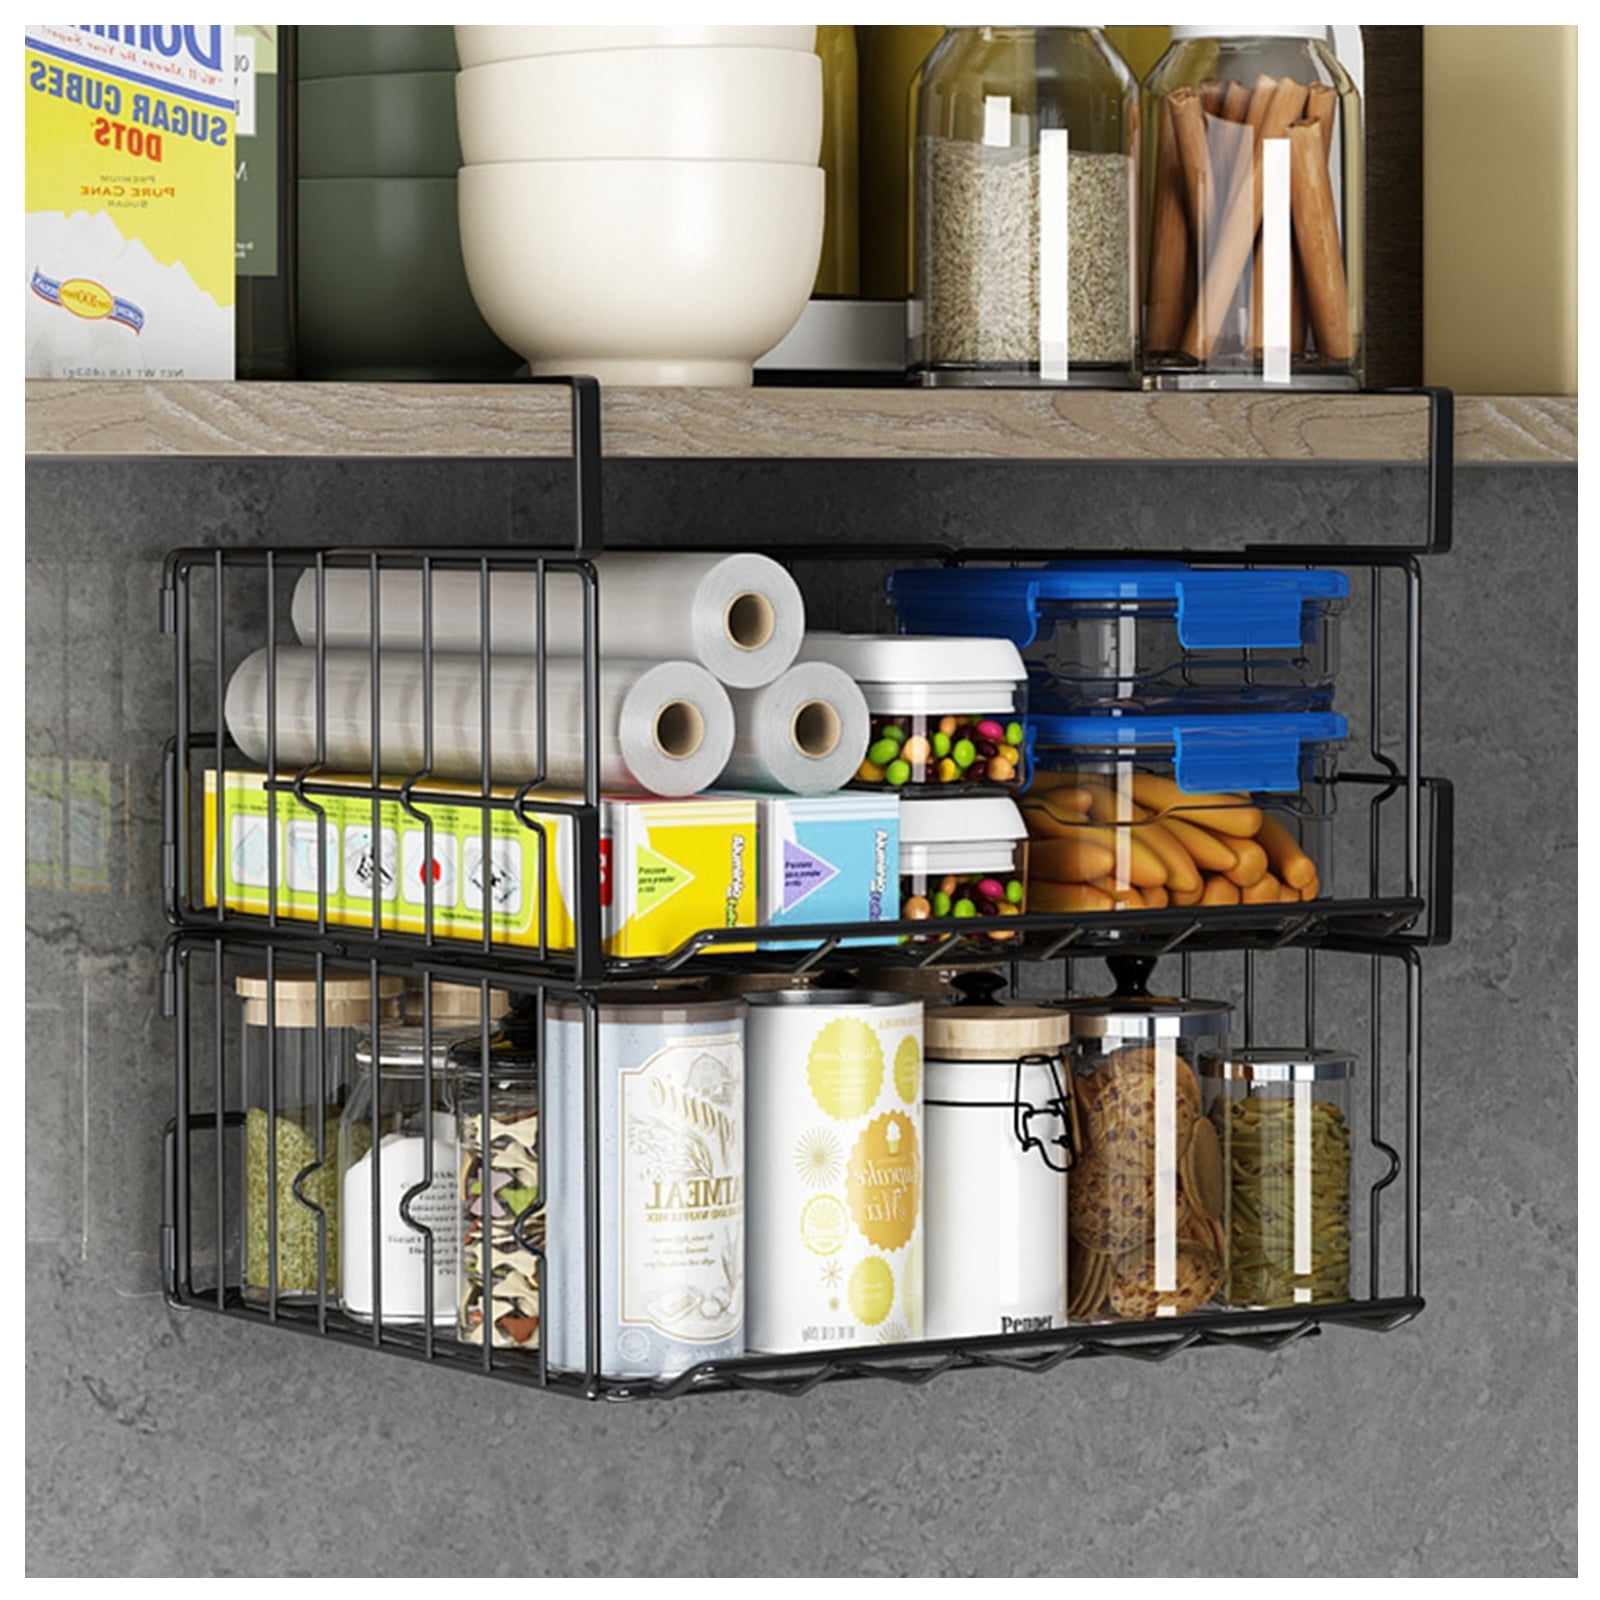
Do not ignore the space under the main shelf, as it is perfect for additional storage. Install small under-shelf baskets for spice jars, tea bags, or cleaning cloths. These zones are ideal for frequently used, compact items that would otherwise clutter the main surface.
Maintain Order with Daily Habits
Organization only lasts if it is maintained through consistent daily actions. Small habits prevent big monthly cleanups and keep your deep cabinets functional.
Enforce the Return Immediately Rule
Return every item to its designated spot immediately after use instead of leaving it on the counter. If family members resist, lead by example and rearrange misplaced items later rather than letting clutter build up. Consistency is key to preventing the slow decay back into chaos.
Finish Tasks Completely
Never leave an organizational task half-done, such as washing jars but leaving them in the sink. Incomplete tasks create secondary messes and drain your motivation to keep going. Set aside enough time to complete the entire process from emptying to arranging so you do not abandon it midway.
Audit Every Three Months
Schedule a three-month pantry audit to check expiration dates and re-evaluate your categories. Wipe shelves with the bay oil solution during this time to maintain your pest prevention shield. This keeps your system responsive to changing needs and prevents slow decay into disorder.
Frequently Asked Questions About Deep Cabinet Organization
How do I reach items in the back of deep cabinets?
Install pull-out shelves, sliding tracks, or Lazy Susans to bring back items to the front. These hardware solutions eliminate the need to reach or dig through layers of stored goods.
What is the best way to prevent pests in deep pantries?
Clean shelves with a vinegar cleaner followed by a warm water and bay oil solution. Scatter fresh bay leaves on the shelves and refresh them quarterly to naturally repel bugs.
How can I organize deep cabinets without buying new shelves?
Use stackable bins with labels and enforce a strict front-to-back rotation system. Group items into logical categories and use Lazy Susans for corner access without major renovations.
What should I store in the back of a deep cabinet?
Store lighter, less frequently used items like backup condiments or extra spices in the back. Keep everyday essentials and heavy items in the front or on pull-out mechanisms for easy access.
How often should I deep clean my deep kitchen cabinets?
Perform a full deep clean and refresh with bay oil every season or quarterly. Clean spills immediately to prevent crumbs from attracting pests and making future cleaning difficult.
Key Takeaways for Organizing Your Deep Cabinets
Transforming deep cabinets requires a combination of smart hardware, thorough cleaning, and consistent habits. By installing sliding shelves or Lazy Susans, you eliminate the “black hole” effect and make every inch of your 24-inch deep storage accessible. Regular maintenance with bay oil and a strict return policy ensures your system stays functional and pest-free.
Start your project today by emptying your cabinets completely and building a simple DIY sliding shelf. With these strategies, you will turn your deepest storage zones into the most efficient parts of your kitchen.


