

Tired of a dull, scratched, or outdated metal file cabinet? Transforming it with a fresh coat of paint is a budget-friendly, creative way to upgrade your workspace. Whether it’s a thrifted find or an old office piece, painting a metal file cabinet gives it new life, matching your décor while boosting storage style. The key to a long-lasting, professional finish lies in proper prep: cleaning, rust treatment, and priming. Skip these steps, and your paint may peel or chip fast. But do it right, and you’ll get a durable, custom piece that looks store-bought, or better. This guide walks you through every step: surface prep, paint options, application tips, and smart upgrades like magnetic storage and two-tone designs.
Clean the Cabinet Thoroughly
Before any paint touches the surface, cleaning is non-negotiable. Even cabinets that look clean carry invisible oils, dust, and grime that block paint adhesion. Skipping this step leads to bubbling, peeling, and premature wear. Take the time to do it right, and your paint job will last for years.
Use Degreaser and Microfiber Cloth
Spray the entire cabinet with a degreaser like Simple Green. Cover all sides, drawers, and edges. Let it sit for a minute to break down residue, then wipe thoroughly with a microfiber cloth. Rinse with clean water to remove any leftover cleaner, and dry completely with a lint-free towel. Work in a well-ventilated area, especially if you’re indoors.
Remove Stickers and Residue
Peel off labels or stickers. For stubborn glue, use a razor scraper at a low angle to avoid scratching the metal. Gently scrape in one direction until the residue is gone. Follow up with another wipe-down to ensure no oily film remains. A clean, dry surface is your foundation for a flawless paint job.
Treat Rust Before Painting
Metal file cabinets often develop rust, especially near seams or in humid environments. Left untreated, rust spreads under new paint. Address it early to prevent future damage and ensure paint sticks properly. Your future self will thank you for the extra effort.
Spot and Remove Surface Rust
Inspect the cabinet closely. Look for reddish-brown spots, flaking, or rough patches. Use a wire brush or fine steel wool to scrub away loose rust. For larger areas, sand lightly with 120–220 grit sandpaper. Wipe the area with a damp cloth to remove dust, then let it dry completely.
Apply Chemical Rust Dissolver
For stubborn rust, use a product like Rust-Oleum Rust Dissolver. Apply it directly to affected spots. Never let it dry on the surface, as this can strip the original finish and create an uneven look. Wipe it off promptly with a clean, wet rag. Once neutralized, dry the area completely. Follow with a rust-inhibiting primer to seal and protect.
Sand for Better Adhesion

Sanding creates a “tooth” on the metal surface, helping primer and paint bond securely. It also smooths imperfections for a professional look. This step is quick but makes a big difference in the final result.
Use 120–220 Grit Sandpaper
Lightly sand the entire cabinet with 120–220 grit sandpaper. Focus on rough areas, rust spots, and any glossy sections. You don’t need to strip all the original finish, just scuff it enough for grip. Avoid aggressive sanding that gouges the metal. Gentle, even pressure works best.
Wipe Away Dust After Sanding
After sanding, wipe the cabinet with a tack cloth or damp microfiber rag to remove all dust. Let it dry completely. This step ensures no particles interfere with primer or paint adhesion. Even tiny specks can ruin a smooth finish.
Choose the Right Primer
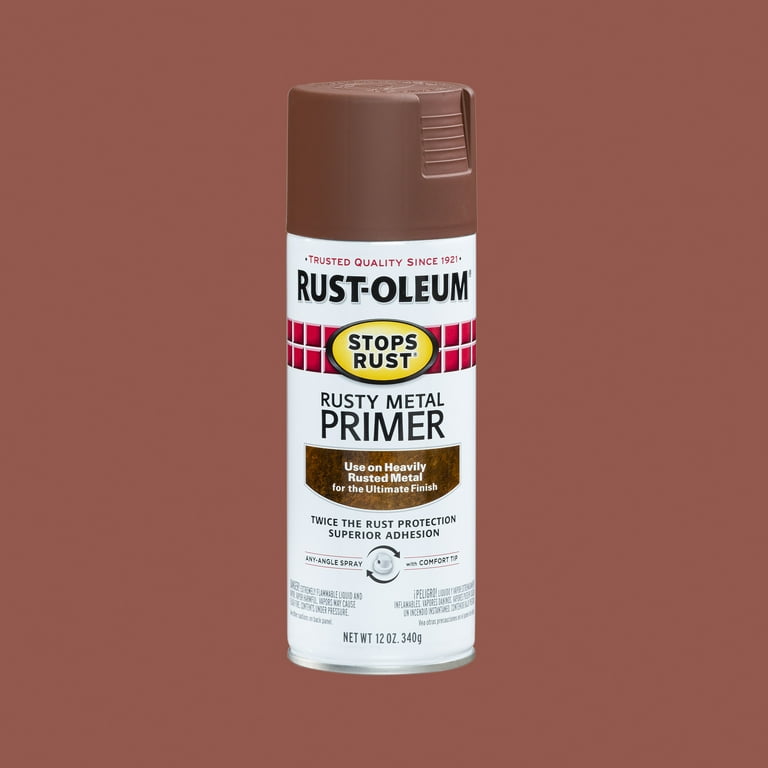
Priming metal is essential for durability and coverage. It prevents rust, blocks stains, and reduces the number of paint coats needed. That means you save time and money on expensive paint. Plus, primer creates a surface that paint can grip properly.
Select Primer Based on Metal Condition
- No rust? Use a clean metal primer like Rust-Oleum Stop Rust Clean Metal Primer.
- Rust present or treated? Use a rusty metal primer like Rust-Oleum Stop Rust Rusty Metal Primer.
Both create a strong base and improve paint performance. Skipping primer means you’ll likely need three paint coats instead of two. That’s extra time and product for no good reason.
Apply Primer Evenly
Mask off areas you don’t want painted, like wheels or drawer tracks, with painter’s tape. Apply primer with a spray can or synthetic brush in thin, even coats. Hold spray cans 8–12 inches from the surface. Let the first coat dry completely, then apply a second if needed. Avoid thick layers that can drip or wrinkle.
Pick the Best Paint for Metal
Not all paints stick to metal. Use a formula designed for durability and adhesion. Your choice affects finish, color depth, and how long the paint lasts. Take a moment to pick the right product, and you’ll avoid frustration later.
Use Furniture or Metal-Specific Paint
- Furniture paint (e.g., Heirloom Traditions or Irish Garden): Offers rich color and durability. Apply with a brush.
- Spray paint for metal: Fast, even coverage. Ideal for smooth finishes with minimal brush marks.
- Acrylic paint for metal: High-quality versions bond well and resist chipping.
- Chalk paint: Gives a matte, vintage look. Requires topcoat for protection.
Avoid regular wall paint, as it won’t hold up on metal surfaces. Stick with products designed for the job.
Consider Two-Tone Color Schemes
Add style with a two-tone design. Paint the body one color, like blue-gray, and the top or drawers another, like bright white. This vintage-inspired look adds character and makes the piece stand out. Tape off edges cleanly with painter’s tape for sharp lines. The color combination can tie into your existing room décor beautifully.
Apply Paint in Thin Coats
How you apply paint matters as much as what you use. Thick coats lead to drips, runs, and longer drying times. Thin layers dry faster and look smoother. Patience during this step pays off with a professional-looking result.
Brush Paint Smoothly
Use a synthetic brush for even application. Natural bristles can leave streaks. Load the brush lightly and apply paint in long, steady strokes. Work in sections to maintain a wet edge and avoid lap marks. This technique keeps the finish consistent across the whole cabinet.
Eliminate Brush Strokes
To hide brush marks, try these methods:
– Dab a sponge lightly over wet paint
– Roll a sponge roller over the surface
– For the final coat, use a foam roller for a glass-like finish
These tricks create a professional, factory-smooth result. Choose the method that works best for your paint type.
Spray Paint for Fast Coverage
If using spray paint, work in a dust-free, ventilated area. Hold the can upright and spray in sweeping motions. Start and stop the spray off the surface to prevent pooling. Apply 2–3 thin coats, waiting 15–30 minutes between coats. Let the final coat dry fully before touching.
Apply a Protective Topcoat
Even the best paint can scratch or wear over time. A topcoat adds a clear shield, especially important for high-use furniture. This extra step keeps your hard work looking fresh for years.
Use Clear Acrylic Sealant
Apply a clear acrylic sealant with a brush or spray. It protects against scuffs, moisture, and UV fading. Choose matte, satin, or gloss based on your desired finish. Let it dry completely, usually 24 hours, before reassembly.
Why Topcoat Matters
Without a topcoat, chalk paint can chalk off, and brushed finishes may show wear quickly. A sealant extends the life of your paint job, keeping it looking great. It’s a small investment of time for long-term protection.
Paint the Interior (Optional)
Most people paint only the exterior, but the inside can also get a makeover, especially if it’s stained or dull. This step adds polish and makes the cabinet feel brand new.
Prime or Use Deglosser
For best results, prime the interior like the outside. If skipping primer, use a degreaser and deglosser like Heirloom Traditions deglosser to prepare the surface. This creates a rough, clean base for paint. Either method works, so pick what fits your supplies.
Expect More Coats Inside
Without primer, you may need three paint coats for full coverage. Interior surfaces don’t need topcoat unless heavily used, but it adds protection. Budget extra time if you’re skipping primer.
Reassemble and Upgrade
Once paint is fully cured, usually 48–72 hours, reassembly can begin. This is also the time to add custom touches that boost function and style. Make it your own with simple upgrades.
Reattach Drawers and Hardware
Slide drawers back in gently. Reinstall handles or knobs. If the original pulls are worn, replace them with colorful or decorative drawer pulls for extra flair. Make sure all parts move smoothly. Test each drawer before loading it with files.
Fix the Lock or Replace the Key
Many thrifted cabinets come without keys. Check the lock face for a code, letters and numbers that identify the key model. Search online using that code to buy a replacement. One user successfully repurposed a locked cabinet to stash snacks away from kids, just hide the key!
Add Magnetic Storage
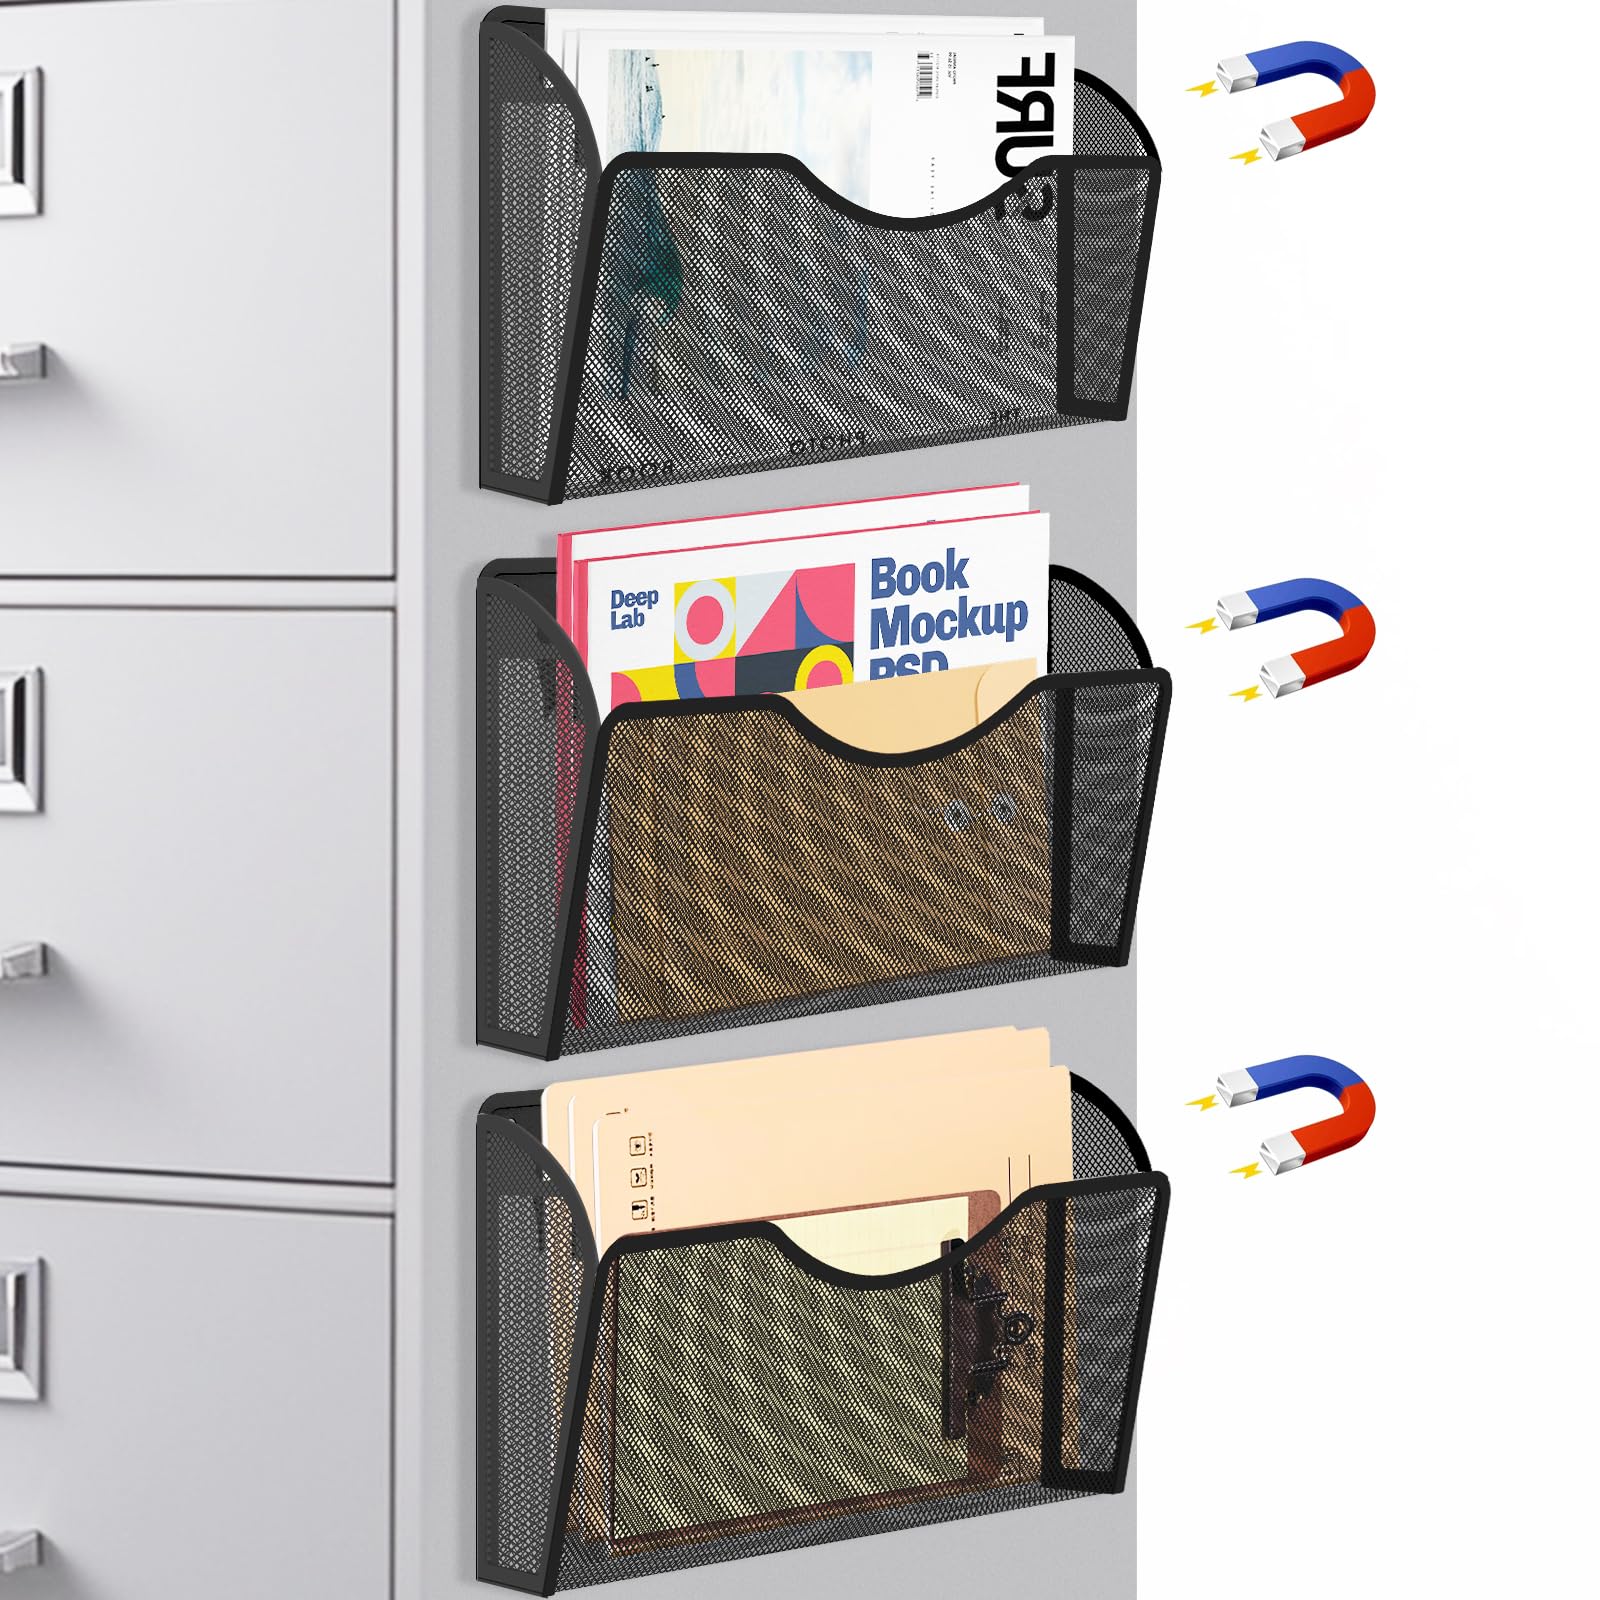
Turn your painted cabinet into a functional command center with magnetic upgrades. These additions make the cabinet work harder for your organization needs.
Attach DIY Boxes with Magnets
Glue small rare-earth magnets to the bottom of wooden boxes or containers. Stick them to the cabinet sides for instant storage. Use them for:
– Notepads
– Tape rolls
– Pens and markers
– Paper clips
Cover boxes with wallpaper or paint to match your theme. It’s a clever way to reuse materials you already have.
Install Hooks for Extra Supplies
Add adhesive or screw-in hooks to the sides or back. Hang scissors, headphones, or measuring tape. Combine with magnetic boxes for a fully customized organizer. You’ll wonder how you managed without this setup.
Prevent Common Painting Mistakes
Even simple projects can go wrong without the right know-how. Avoid these frequent errors for a smooth, lasting finish. A little forethought saves you from frustrating touch-ups later.
Don’t Let Rust Dissolver Dry
Rust-Oleum Rust Dissolver must not dry on the surface. It will eat through the original finish, leaving spots. Work in small sections and wipe it off immediately with water and a rag. This warning comes straight from real user experience.
Avoid Thick Paint Layers
Thick paint dries unevenly and can crack. Always apply thin, even coats. Let each coat dry fully before adding the next. Rushing leads to smudges and poor adhesion. Slow and steady wins this race.
Wait for Full Cure Time
Paint may feel dry in hours, but full cure takes days. Reassembling too soon can mar the finish. Wait at least 48–72 hours before heavy use. This patience ensures your hard work stays intact.
Maintain Your Painted Cabinet
A well-painted cabinet can last years with minimal care. Simple habits keep it looking fresh and protect your investment.
Clean Gently
Wipe with a damp cloth and mild soap. Avoid abrasive cleaners that scratch the finish. For sticky spots, use a degreaser sparingly and rinse quickly. Gentle care preserves the paint and sealant.
Touch Up When Needed
Keep leftover paint for touch-ups. If a corner chips, clean the spot, apply a dab of paint, and seal it. Small fixes keep the cabinet looking fresh. Address issues early before they spread.
Frequently Asked Questions About Painting a Metal File Cabinet
Do I need to sand a metal file cabinet before painting?
Yes, sanding with 120–220 grit sandpaper creates a rough surface that helps primer and paint adhere properly. Lightly scuff the entire cabinet, then wipe away all dust before priming. This step prevents peeling and chipping.
What kind of paint works best on metal file cabinets?
Furniture paint, spray paint designed for metal, and high-quality acrylic paint all work well. Chalk paint is an option for a vintage look, but it requires a topcoat. Avoid regular wall paint, as it won’t bond properly to metal.
How many coats of paint do I need on a metal file cabinet?
With primer, two coats are typically enough for full coverage. Without primer, you may need three coats. Always apply thin, even layers and let each coat dry completely before adding the next.
Can I paint a rusty metal file cabinet?
Yes, but you must treat the rust first. Use a wire brush or chemical rust dissolver to remove it, then apply a rusty metal primer. Never let rust dissolver dry on the surface, as it can strip the original finish.
How long should I wait before using the cabinet after painting?
Wait at least 48–72 hours for the paint to fully cure. While the surface may feel dry in a few hours, reassembling too soon can mar the finish. Follow the paint manufacturer’s instructions for best results.
What is the best way to cover brush strokes on painted metal?
Dab a sponge over wet paint, roll a sponge roller over the surface, or use a foam roller for the final coat. These techniques smooth out brush marks for a professional, factory-like finish.
Key Takeaways for Painting a Metal File Cabinet
Painting a metal file cabinet is a simple, rewarding DIY project that transforms forgotten furniture into a stylish, functional piece. Success comes from preparation: cleaning, rust treatment, sanding, and priming. Follow that with quality paint and a protective topcoat, and you’ll get lasting results.
Add creative upgrades like two-tone colors, magnetic storage, or vintage hardware to personalize your space. These touches make the cabinet truly yours. With the right steps, your painted cabinet won’t just store files, it’ll store compliments.
Start by gathering your supplies and picking a color that fits your room. Then work through each step carefully, and you’ll have a beautiful, durable piece in just a few days.


