

You walk into your bathroom every day, but lately, the cabinets have started to look tired—chipped paint, outdated color, or water spots from humidity. Instead of replacing them, there’s a smarter, more affordable solution: painting your bathroom cabinets. Painting bathroom cabinets transforms the entire space, giving it a fresh, modern look without the cost and hassle of a full renovation. The best part? With the right tools and approach, you can do it yourself in a weekend.
Unlike kitchen cabinets, bathroom cabinets endure constant moisture, steam, and temperature changes. That means a successful paint job requires more than just slapping on a coat of paint. It demands proper prep, the right materials, and a durable finish. If you skip steps, you risk peeling, bubbling, or an uneven surface. But follow a proven process—cleaning, sanding, priming, painting, and sealing—and your cabinets will look professionally refinished and stand up to bathroom conditions.
This guide walks you through every step of how to paint bathroom cabinets, from choosing the best paint and primer to avoiding common mistakes. Whether your cabinets are laminate, wood, or MDF, you’ll learn how to achieve a smooth, long-lasting result. You’ll also discover pro tips for painting cabinet doors without brush marks, drying times to prevent smudges, and how to reassemble everything like a pro.
Essential Prep Steps for Bathroom Cabinet Painting
Before any paint touches your cabinets, proper preparation is crucial. Skipping prep leads to poor adhesion, uneven texture, and premature wear. The goal is to create a clean, smooth surface that allows primer and paint to bond securely.
Start by removing cabinet doors and hardware. Take off hinges, knobs, and screws, then label each door and its corresponding cabinet with masking tape. This ensures easy reassembly later. Lay doors flat on a clean surface or hang them on a rack to prevent warping during painting.
Next, deep clean all surfaces. Use a degreaser or TSP (trisodium phosphate) solution to cut through grime, soap scum, and residue. Wipe down with a damp cloth and let dry completely. For greasy areas around handles, repeat cleaning to remove all oils.
Sand for Better Paint Adhesion
Sanding opens the pores of the surface, helping primer stick. Use 120–150 grit sandpaper for initial smoothing, then 220 grit for a fine finish. Focus on glossy areas—especially if your cabinets have a varnish or laminate finish—as they repel paint without texture.
Wipe away dust with a tack cloth or microfiber towel after sanding. Avoid using a damp rag, which can raise wood grain. For tight corners and edges, use a sanding sponge or detail tool.
Repair Damage Before Painting
Inspect for dents, cracks, or holes. Fill imperfections with wood filler or spackle, then sand smooth once dry. For laminate cabinets with peeling, carefully trim loose edges with a utility knife and patch with filler.
If your cabinets have deep scratches or water damage, consider spot-priming those areas with a bonding primer before moving forward.
Choose the Right Paint and Primer for Bathroom Cabinets
Not all paints are built for bathroom conditions. High humidity and frequent cleaning demand durable, moisture-resistant products. Choosing the wrong type leads to peeling, mildew, or a streaky finish.
Use a High-Adhesion Primer
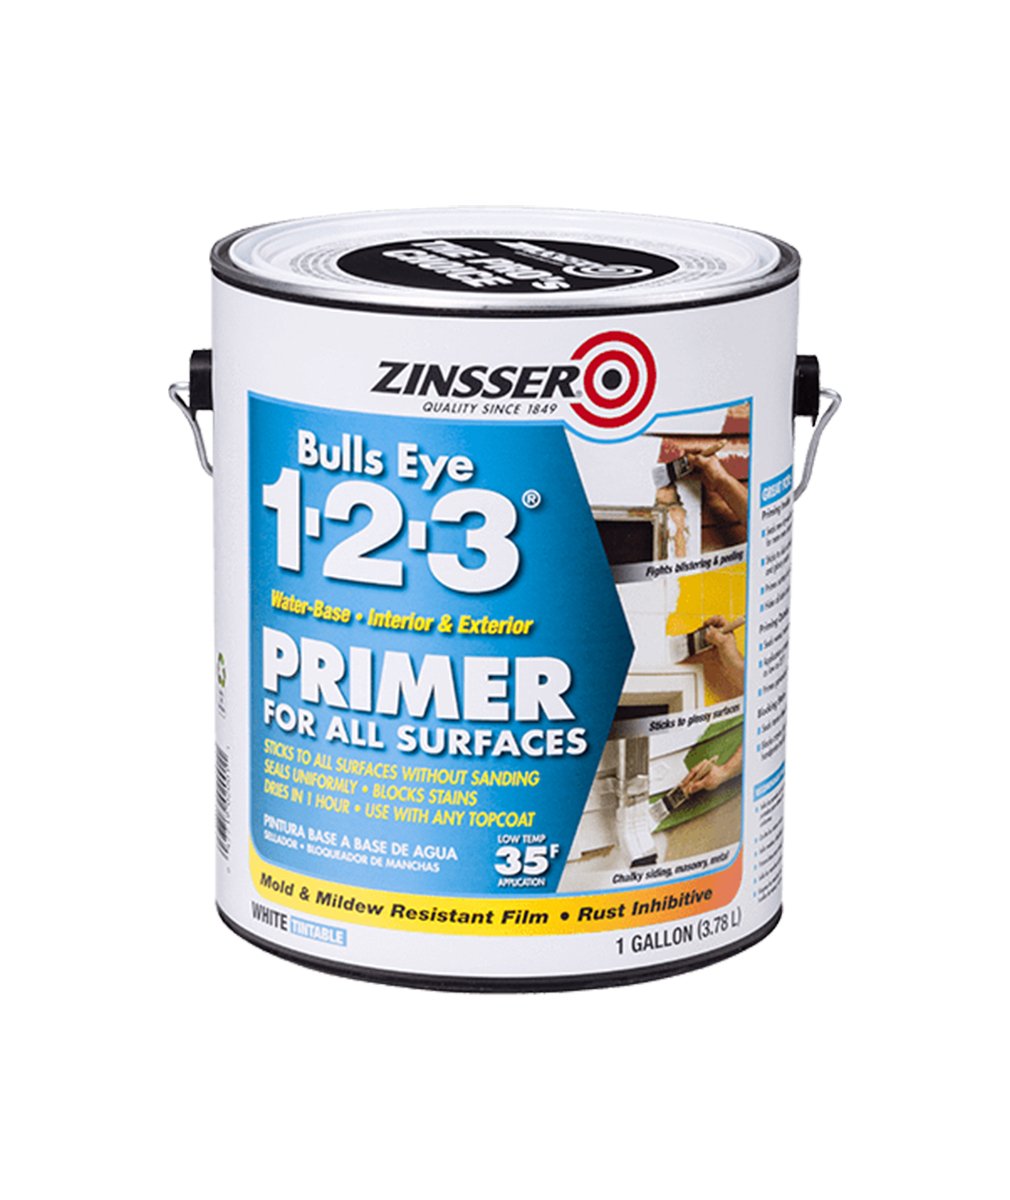
Primers create a uniform surface and block stains. For bathroom cabinets, use either oil-based primer or bonding primer like Zinsser Bulls Eye 1-2-3 or INSL-X STIX. These seal the surface and improve paint adhesion, especially on laminate or glossy finishes.
Apply primer with a high-quality synthetic brush or mini roller. Avoid cheap brushes that leave bristles. Let dry according to manufacturer instructions—usually 2–4 hours—then lightly sand with 220 grit for a smooth base.
Pick a Durable, Moisture-Resistant Paint
The best paint for bathroom cabinets is semi-gloss or satin finish. These are easy to clean and resist moisture better than flat or eggshell finishes.
Choose 100% acrylic or acrylic-urethane hybrid paint for long-term durability. Brands like Benjamin Moore Advance, Sherwin-Williams Emerald Urethane, or Behr Alkyd offer self-leveling properties that reduce brush marks and dry to a hard, washable finish.
Avoid standard latex paints—they lack the toughness needed in humid environments.
Painting Techniques for a Smooth Finish
The way you apply paint determines the final look. Brush marks, drips, and uneven coats ruin an otherwise great job. Follow these techniques to achieve a smooth, professional result.
Paint Cabinet Doors Flat
Always paint cabinet doors flat, not hanging. This prevents drips and allows paint to settle evenly. Use sawhorses or a painting stand to keep them level.
Start with the frame and edges, then fill in the center panels. Work in sections: top rail, stiles, bottom rail, and finally the panel. This keeps your workflow organized and prevents smudging.
Use a small foam roller (4-inch) for flat surfaces and an angled brush (2-inch) for corners and details. Roll in one direction for consistency.
Apply Thin, Even Coats
Apply two to three thin coats instead of one thick one. Thick paint sags, drips, and takes longer to dry. Let each coat dry fully—typically 4–6 hours—before lightly sanding with 320 grit sandpaper and wiping clean.
Between coats, inspect for missed spots or rough areas. A light sanding ensures a glass-smooth finish.
Avoid Common Painting Mistakes
- Don’t rush drying times. Painting over wet layers causes bubbling.
- Don’t overload your brush or roller. Excess paint leads to runs.
- Work in a dust-free area. Cover floors and nearby fixtures.
- Keep a wet edge. Stop mid-panel only if necessary, and always finish a full section.
Reassemble Your Cabinets with Care
Once paint is fully cured—typically after 5–7 days—you can reassemble the cabinets. Rushing this step risks chipping or scratching the finish.
Reattach Doors and Hardware
Match labeled doors to their cabinets. Reinstall hinges first, then hang the door. Adjust alignment if needed using a screwdriver.
Reattach knobs and pulls. If old screw holes don’t line up, use a bit of wood filler or install new hardware in fresh locations.
Touch Up Where Needed
Inspect for nicks or paint flaws during reassembly. Use a small artist brush to touch up edges, corners, or drill holes.
Wait at least 14 days before storing heavy items or cleaning the cabinets with anything more than a damp cloth.
Prevent Future Damage to Painted Bathroom Cabinets
A painted bathroom cabinet can last years—if protected. Humidity, cleaning products, and daily wear take a toll. Use these tips to extend the life of your paint job.
Control Bathroom Humidity
Run the bathroom fan during and after showers to reduce moisture. If you don’t have a fan, open a window or use a portable dehumidifier.
Avoid leaving wet towels on cabinet surfaces, which trap moisture and promote peeling.
Clean Gently
Never use abrasive cleaners or scrub pads. Instead, wipe with a soft cloth and mild soap. For stubborn spots, use a vinegar-water mix (1:1) or a non-abrasive bathroom cleaner.
Dry any standing water immediately.
Consider a Protective Topcoat
For extra protection, apply a water-based polyurethane topcoat (2–3 coats) after painting. Choose a matte or satin finish to avoid shine buildup. This adds a barrier against moisture and scratches.
Reapply every 1–2 years in high-use areas.
Alternative Options and Upgrades
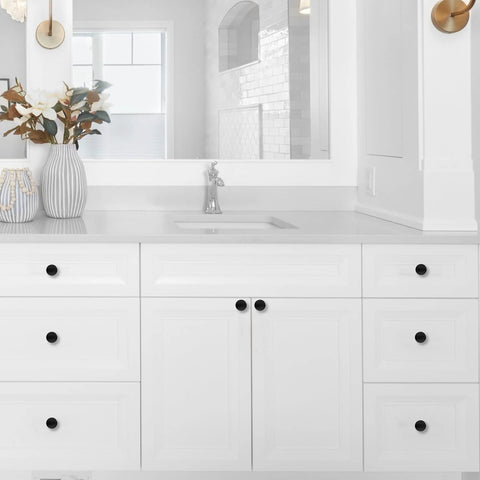
If painting feels too involved—or your cabinets are beyond repair—consider alternatives that still deliver big impact without full replacement.
Laminate Refacing
Peel-and-stick veneer wraps offer a paint-free option. They come in wood grain, solid colors, and textured finishes. Easy to apply, durable, and moisture-resistant, they’re ideal for renters or quick updates.
Clean thoroughly, measure precisely, and use a squeegee to avoid bubbles.
New Doors Only
Replace just the cabinet doors while keeping the boxes. This gives a fresh look at half the cost and labor. Choose from pre-made or semi-custom styles in wood, thermofoil, or shaker design.
Match hinge type and hole placement for seamless installation.
Upgrade Hardware
Sometimes, a fresh coat of paint isn’t needed—just new knobs and pulls. Swapping out dated hardware with modern finishes (brushed nickel, matte black, brass) instantly elevates the space.
Use a template to drill new holes evenly.
Frequently Asked Questions About Painting Bathroom Cabinets
How long does it take to paint bathroom cabinets?
Expect a full weekend for the complete process. Prep takes 4–6 hours, painting requires 2–3 days with drying time between coats, and full curing takes 5–7 days before reassembly.
Can I paint laminate bathroom cabinets?
Yes, but you need a bonding primer like Zinsser Bulls Eye 1-2-3 or INSL-X STIX to ensure adhesion. Sand lightly first to create texture, then prime and paint as usual.
What’s the best finish for bathroom cabinets?
Semi-gloss or satin finishes work best. They resist moisture, wipe clean easily, and hide minor imperfections better than high-gloss options.
How many coats of paint do I need?
Apply 2–3 thin coats for optimal coverage and durability. Each coat should dry 4–6 hours before sanding and applying the next.
Should I use a sprayer or brush for cabinet painting?
A brush and foam roller combination works well for DIYers. Sprayers create the smoothest finish but require more setup, masking, and experience to avoid drips and overspray.
How do I prevent brush marks on cabinet doors?
Use a self-leveling paint, apply thin coats, and use a foam roller for flat surfaces. Lightly sand between coats with 320 grit to smooth any texture.
Key Takeaways for Painting Bathroom Cabinets
Painting bathroom cabinets is one of the most cost-effective ways to refresh your bathroom. With careful prep, the right materials, and attention to detail, you can achieve a high-end look that lasts. Focus on moisture resistance, smooth application, and proper drying times to ensure your cabinets stand up to daily use.
Remember the three pillars of success: prep thoroughly, choose moisture-resistant products, and apply thin, even coats. Skip any of these and you risk peeling, bubbling, or an uneven finish.
Your next step is simple: gather your supplies, clear out your cabinets, and start with the prep work this weekend. In just a few days, you’ll have a bathroom that feels brand new—without the cost of replacement.


